

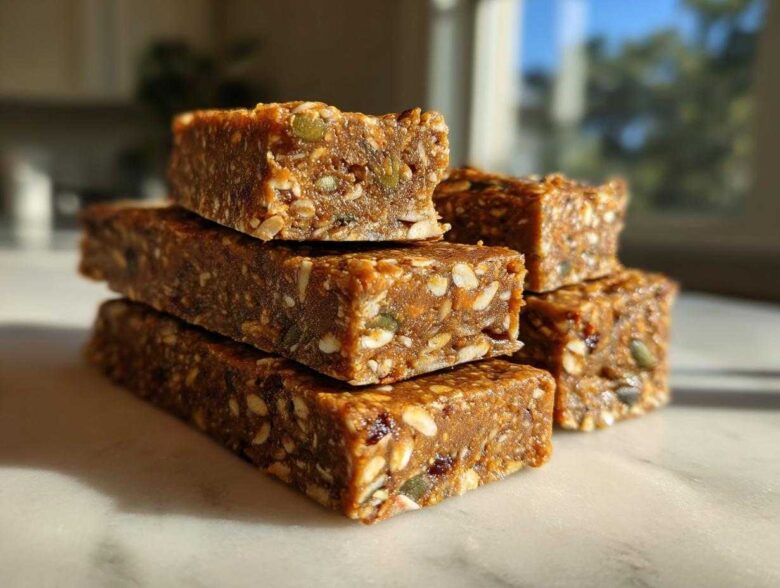
Okay, let’s be real: when you’re trying to hit those fitness goals, sometimes you just need fuel right now. You know that feeling—you’re heading out the door for the gym or crashing mid-afternoon, and you can’t afford to bake something? Store-bought bars are usually loaded with sugars and weird stabilizers, and honestly, they taste like cardboard sometimes. Trust me, I’ve been there!
That’s why I’m obsessed with these **High-Protein Energy Bars**. We’re talking simple, no-bake magic that holds together beautifully, and you can check out my related post on easy no-bake protein bars recipe for more ideas too! I developed this recipe because my routine demands something I can whip up quickly on Sunday night and grab all week long. These homemade protein snacks have the perfect balance of protein for recovery and natural energy to keep you going strong. Forget the confusing labels; this is real food giving you real energy.
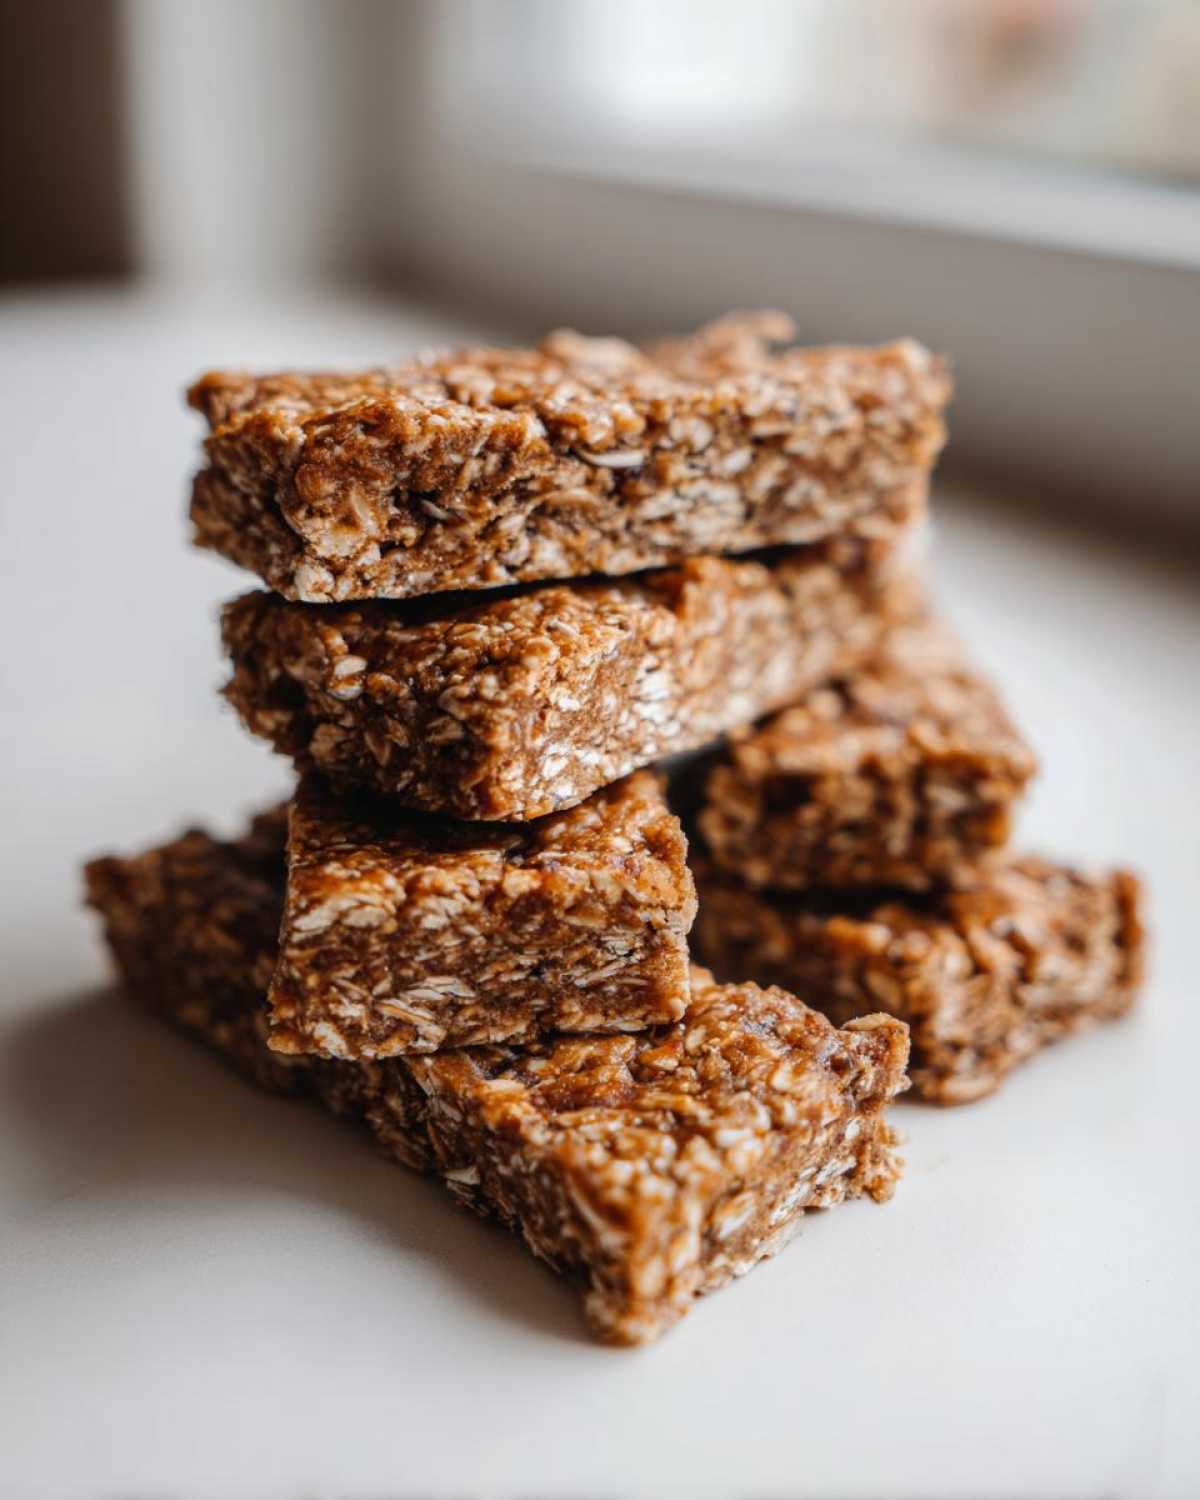
Why These Are the Best High Protein Homemade Bars (E-E-A-T)
When you’re serious about refueling, you need ingredients you can trust, and that’s exactly what these are! The big win here is the protein punch—we’re aiming for around 15 grams per bar, which is fantastic for supporting muscle repair or just keeping you full between meals.
But the real game-changer? Zero oven time! We’re mixing this up in one bowl, and then it just chills out in the fridge. That makes them some of the best high protein homemade bars you’ll ever make. They seal up tight and are perfect for tossing into your gym bag or packing for lunches.
Because they’re so simple and store so well, they totally nail the meal prep requirement. You make a batch, you’re set for the week, and you skip all those funny additives you find in the store. If you love these, check out my no-bake peanut butter energy bites recipe too; sometimes you just need a quick little treat!
Ingredients for Your High-Protein Energy Bars
When we pull together these beauties, I like to keep things straightforward. The ingredients list is short, which means the quality of what you use really matters. Choosing the right protein powder is super important here, so take a peek at my tips on the best protein source for energy bars before you shop!
You’ll need standard pantry staples mixed with your favorite protein source. Everything goes into one bowl, which is just fantastic for cleanup, right?
Key Components for High-Protein Energy Bars
The magic of binding these **High-Protein Energy Bars** without any heat comes down to the binders. Your natural nut butter and sweetener—be it honey or maple syrup—are what grab onto everything else and make sure the dough actually holds shape. They keep things delightfully chewy! Then, the dry ingredients like oats and the protein powder do the heavy lifting for structure and that satisfying protein boost you’re looking for. It’s all about getting that perfect, slightly sticky dough consistency before chilling.
How to Prepare Easy Protein Bar Recipe: Step-by-Step
This is where the magic happens, and honestly, it’s so fast! The total time is around two hours, but that’s mostly chilling time, so your actual hands-on time is just about fifteen minutes. That’s why this is my go-to **easy protein bar recipe** when I need fuel fast. Don’t forget you can glance over my guide for homemade granola bars recipe chewy no bake if you want some inspiration for different textures too!
Mixing the No Bake Protein Snack Bars Dough
First, grab your biggest bowl—you’re going to need the space! Toss in all your dry stuff: oats, your protein powder, chia seeds, and flax meal. Give that a good whisk so everything is evenly distributed. Now, add your sticky stuff: the nut butter, the honey or syrup, and the vanilla extract. Mix it up! It’s going to look super crumbly at first, which is totally normal. If it seems dry and won’t even think about sticking together when you squeeze it, add your water or milk, just one tablespoon at a time. You want it just barely moist enough to clump.
Setting and Cutting Your High-Protein Energy Bars
Once you have a solid dough—it should feel heavy and hold its shape when you press it—line your pan (I always use parchment paper with a good overhang, seriously, this saves your life later!). Now, the most important part for clean bars: press that dough down *firmly*. Use the bottom of a glass or a spatula and press until it’s compact and flat. This compaction is what stops them from falling apart when you cut them! Pop it in the fridge for a full two hours until it’s rock hard. Pull it out using the paper overhang, and then you can cut those perfect squares. You will have 12 beautiful bars!
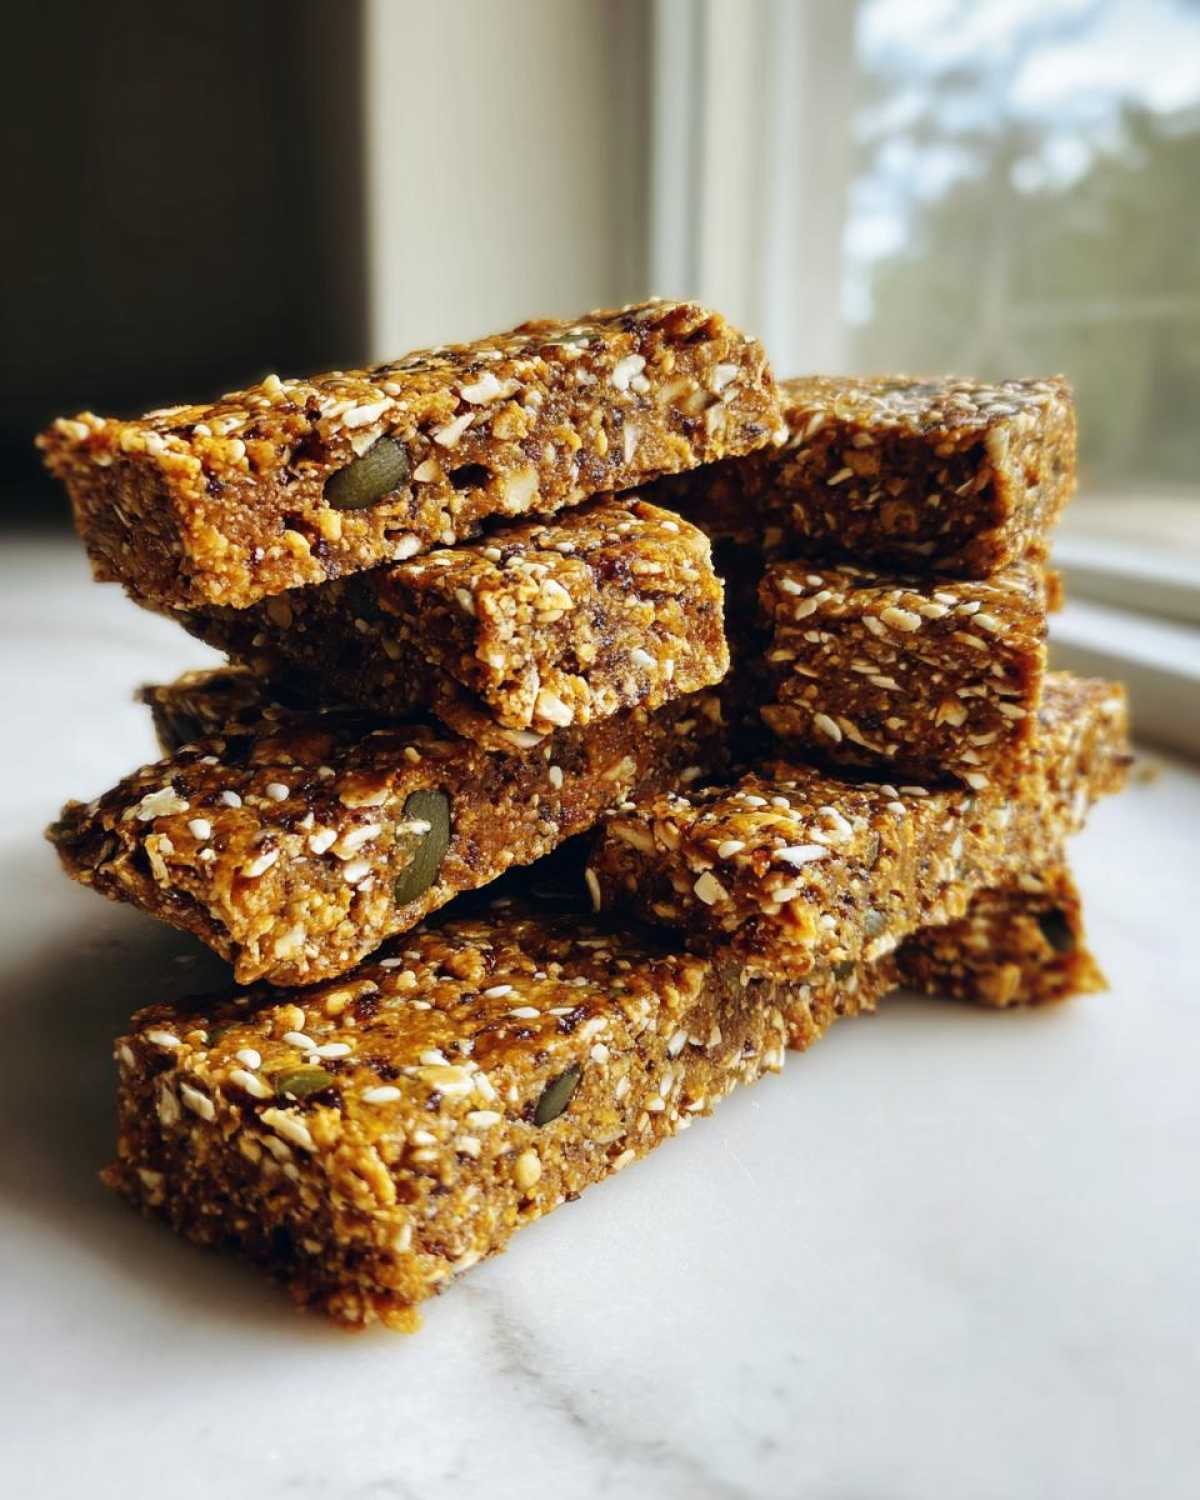
Ingredient Notes and Substitutions for High-Protein Energy Bars
This recipe is surprisingly flexible, which is great because we all have different requirements! If you need a gluten free high protein bars recipe, just make sure you’re using certified gluten-free rolled oats—that’s the only change needed on that front. For my friends who can’t do nuts, sunflower seed butter works a treat in place of the peanut butter; it gives a slightly different flavor but binds just as well.
Now, let’s talk protein powder, because this affects texture so much. Whey protein is fantastic for that dense, chewy texture, but know that it soaks up moisture fast. If you’re using plant-based powder, you might need that extra splash of water we talked about earlier to keep things from getting too dry. You can also make these fully vegan by swapping that honey for maple syrup! Head over to my vegan banana bread recipe if you need some vegan baking inspiration too!
Tips for Success Making Quick Pre Workout Energy Bars
Even though these are simple, a few little tricks will take your bars from good to absolute perfection, especially if you need them ready to grab for a workout! Since these are advertised as **Quick pre workout energy bars**, they need to survive being thrown in a gym bag, right? The compaction step is non-negotiable; seriously, pack that dough down tight in the pan like you mean it. That pressure is what stops the dreaded crumble later.
My favorite addition, if I’m feeling fancy, is tossing in some shredded unsweetened coconut right when I add the dry ingredients. It absorbs some liquid and gives a lovely chewiness. Another pro tip for making sure they last? Make sure your nut butter isn’t too old or stiff; room temperature works best for smooth mixing. If you’re planning way ahead, check out my freezer breakfast burritos guide for other meal prep tricks!
Storage and Make-Ahead Tips for Meal Prep Energy Bars with Protein
These **High-Protein Energy Bars** are a total dream for meal prep! Since they don’t have any baking involved, they stay wonderfully fresh in the fridge. Just store them in an airtight container, and they’ll be perfect for up to two weeks. Seriously, that’s what makes them such a winner for planning ahead.
If you make a huge batch—which, let’s face it, I always do—you can totally freeze them! Wrap each bar individually in plastic wrap or wax paper, toss them into a freezer bag, and they should keep well for about three months. They thaw out perfectly on the counter in about 20 minutes. It’s the ultimate hack for stocking up on your favorite **meal prep energy bars with protein**!
Nutritional Snapshot of These Homemade Protein Bars
I know you’re focusing on fuel, so let’s talk macros! Per bar, you’re looking at approximately 210 calories and a whopping 15 grams of protein. That’s why these are such amazing **High-Protein Energy Bars** for post-workout recovery. Since we are using natural ingredients, these numbers are a close estimate based on standard whey protein and peanut butter—so feel free to check your specific labels!
If you want to see how I incorporate high-protein snacks into other meals, take a look at my guide on cottage cheese toast five ways. Every little bit of clean protein adds up!
Frequently Asked Questions About Making Your Own Protein Bars
I always get questions when people first try to make their own bars at home, and that’s totally fine! It takes a little bit of tweaking to get them exactly how you like them. We all have slightly different protein powders or nut butters, so things might change the texture just a tiny bit.
Can I make these High-Protein Energy Bars vegan?
Absolutely! This is one of the best things about this recipe. To keep it 100% vegan, you just need two simple swaps. First, make sure you use maple syrup instead of honey, and second, use a plant-based protein powder like pea or brown rice protein. It might be slightly drier than whey, so be ready to use that extra tablespoon of water we talked about during mixing!
Why are my homemade bars crumbly?
Oh, that’s the worst! Usually, crumbly bars mean one of two things happened. Either your binder (the nut butter/sweetener mix) wasn’t warm enough and didn’t fully coat the dry ingredients, or you just didn’t press it firmly enough into the pan. Remember that step where you have to compact it really hard? Do that! If you really struggle, add just one more teaspoon of your liquid binder next time, but be careful not to add too much, or they get sticky instead of chewy. If you want to read all the fine print on ingredient sourcing, check out the site disclaimer page.
Share Your Experience with These Natural Energy Bar Recipes High Protein
Alright, now that you’ve got the secret to making truly amazing **High-Protein Energy Bars** at home, I just have to know what you think! Did you stick to my vanilla instructions, or did you sneak in some peanut butter powder or cocoa? I absolutely love seeing the spin you all put on these simple recipes.
If you tried these, please come back and drop a star rating below so other busy folks know they can trust this recipe! Snap a picture of your batch—especially if you added mini chocolate chips—and tag me on social media. You can even send a quick message through my contact form if you have any burning questions!
I’m constantly tweaking things for new flavor ideas, so let me know what modifications you’re excited to try next time around. Happy fueling!
PrintNo-Bake High-Protein Energy Bars
Make simple, high-protein energy bars at home without baking. These bars provide sustained energy and support fitness goals.
- Prep Time: 15 min
- Cook Time: 0 min
- Total Time: 2 hr 15 min
- Yield: 12 bars
- Category: Snack
- Method: No Bake
- Cuisine: American
- Diet: Vegetarian
Ingredients
- 1 cup rolled oats
- 1/2 cup vanilla or unflavored whey protein powder (or plant-based equivalent)
- 1/4 cup chia seeds
- 1/4 cup flaxseed meal
- 1/2 cup natural peanut butter (or almond butter)
- 1/3 cup honey or maple syrup
- 1 teaspoon vanilla extract
- 2-4 tablespoons water or milk (as needed for consistency)
Instructions
- Combine the oats, protein powder, chia seeds, and flaxseed meal in a large bowl. Mix well.
- Add the peanut butter, honey (or maple syrup), and vanilla extract to the dry ingredients.
- Mix everything thoroughly using a sturdy spoon or your hands until a thick, uniform dough forms.
- If the mixture is too dry and crumbly, add water or milk one tablespoon at a time until the dough holds together when pressed.
- Line an 8×8 inch baking pan with parchment paper, leaving an overhang for easy removal.
- Press the dough evenly and firmly into the prepared pan. Use the bottom of a glass to compact it tightly.
- Refrigerate the pan for at least 2 hours, or until the mixture is firm.
- Lift the block out of the pan using the parchment paper overhang. Cut into 12 equal bars.
- Store the bars in an airtight container in the refrigerator for up to two weeks.
Notes
- For a gluten-free option, use certified gluten-free rolled oats.
- Substitute peanut butter with sunflower seed butter for a nut-free version.
- Add 1/4 cup of mini chocolate chips or dried fruit for extra texture, if desired.
Nutrition
- Serving Size: 1 bar
- Calories: 210
- Sugar: 10
- Sodium: 75
- Fat: 10
- Saturated Fat: 2
- Unsaturated Fat: 8
- Trans Fat: 0
- Carbohydrates: 22
- Fiber: 3
- Protein: 15
- Cholesterol: 5