

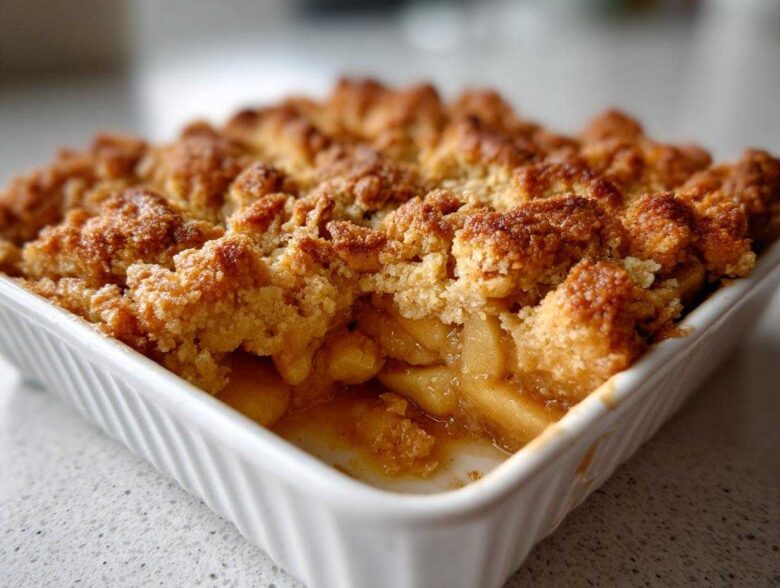
Oh, there is just nothing better than that moment when you pull something truly comforting out of the oven, right? That rich, warm wave of cinnamon and baked fruit smell that just fills the whole house. Honestly, for me, the ultimate comfort food is the perfect Apple Crisp. Forget fancy layered cakes for a minute; this is pure satisfaction in a baking dish.
I’ve tweaked and toyed with fruit desserts my whole life, trying to nail that ideal ratio between sweet, tender apples and a topping that actually stays crunchy. And friends, I found it. This recipe for The Ultimate Classic Apple Crisp delivers that buttery oat topping you dream about—seriously crispy, never soggy. It’s my secret weapon for easy weeknight dinners that still feel special. Trust me, you’re going to want to bookmark this one. We use mine all the time now; it’s quickly become our go-to apple pie cookie alternative!
Why This Easy Apple Crisp Recipe Stands Out (Family Favorite Apple Dessert)
I’ve tried every trick in the book, and what makes this Easy Apple Crisp Recipe so beloved at my house comes down to two things: texture and speed. See, some crisps turn out gummy, but not this one. The filling stays wonderfully tender—not mushy, just yielding—thanks to the tart apples we use.
But the topping? That’s where the magic happens! We get that deeply golden, buttery crunch every single time. It’s what turns an ordinary baked apple dish into a true Family Favorite Apple Dessert. Plus, since everything comes together in under 20 minutes of prep, you can pull this off even on a busy Tuesday night. You’ll be amazed how few ingredients you need for such an incredible result. If you’re looking for something similar that’s just as simple, you should check out my easy apple cobbler recipe too!
Gathering Ingredients for Your Ultimate Classic Apple Crisp
Okay, let’s talk about what goes into this absolute treat. Having the right ingredients ready is half the battle, and honestly, this recipe keeps the shopping list short! For the apples, I always go for a mix—Granny Smith for that great tartness to cut the sugar, or Honeycrisp if I want them a little sweeter. No matter which you pick, make sure you peel them, core them, and slice them up nice and even. We toss those slices with some sugar, a little flour to help thicken the juices, and those warming spices.
Now for the topping—this is where we build that amazing texture! The single most important thing you need to remember is that your butter must be *cold*. I mean fridge-cold! Chilled butter is the secret handshake for a truly crunchy topping because it stays in those little pieces instead of melting right into the flour mixture. Don’t even think about using melted butter here, or you’ll end up with a soggy, baked-on flat sheet instead of a crisp topping.
For the Sweet Spiced Apple Filling
- 6 medium apples (like Granny Smith or Honeycrisp), peeled, cored, and sliced
- 1/4 cup granulated sugar
- 1 tablespoon all-purpose flour
- 1 teaspoon ground cinnamon
- 1/4 teaspoon ground nutmeg
- 1 tablespoon lemon juice
For the Buttery Oatmeal Topping Recipe
- 1 cup all-purpose flour
- 1 cup rolled oats (not instant—we need those sturdy flakes!)
- 1/2 cup packed light brown sugar
- 1/2 teaspoon ground cinnamon
- 1/4 teaspoon salt
- 1/2 cup (1 stick) cold unsalted butter, cut into small cubes
How to Make Apple Crisp: Step-by-Step Tutorial
This is where we put all those great ingredients to work! If you follow these instructions, you’ll have the very best batch of this Easy Apple Crisp Recipe imaginable. The whole thing moves along so quickly once you have everything chopped and measured out. You’ll want your oven preheated to 375 degrees F (that’s 190 degrees C) before you even start mixing, and make sure you give that 8×8 baking dish a quick grease! Since this is such a classic, don’t forget to check out my recipe for Jewish apple cake if you ever want to try a different style of spiced apple dessert!
Preparing the Apples and Baking Dish
Grab your largest bowl for the apples. Toss those sliced beauties with the granulated sugar, the tiny bit of flour, the cinnamon, nutmeg, and a splash of lemon juice. Be thorough here! You want every single apple slice coated in that sweet, spiced glaze. Once they look perfectly dressed, spread them out into that greased baking dish. Make sure they are in an even layer so they cook up uniformly—we don’t want giant clumps of raw apple hiding down there!
Creating the Crispy Topping Secrets
Now, switch to a separate bowl for the topping. Whisk together the flour, the rolled oats, the brown sugar, the last bit of cinnamon, and salt. This is the fun part! You have to “cut in” that cold butter. I usually use an old-school pastry blender, but honestly, my fingers work just as well if they’re cold. You’re looking for a coarse texture, like peas or coarse sand. Stop mixing the second you see those little butter chunks—if you keep going until it’s sandy, you’ll lose that crunchy texture we are aiming for! This is key to our Crispy Topping Secrets.
Baking and Resting the Apple Crisp
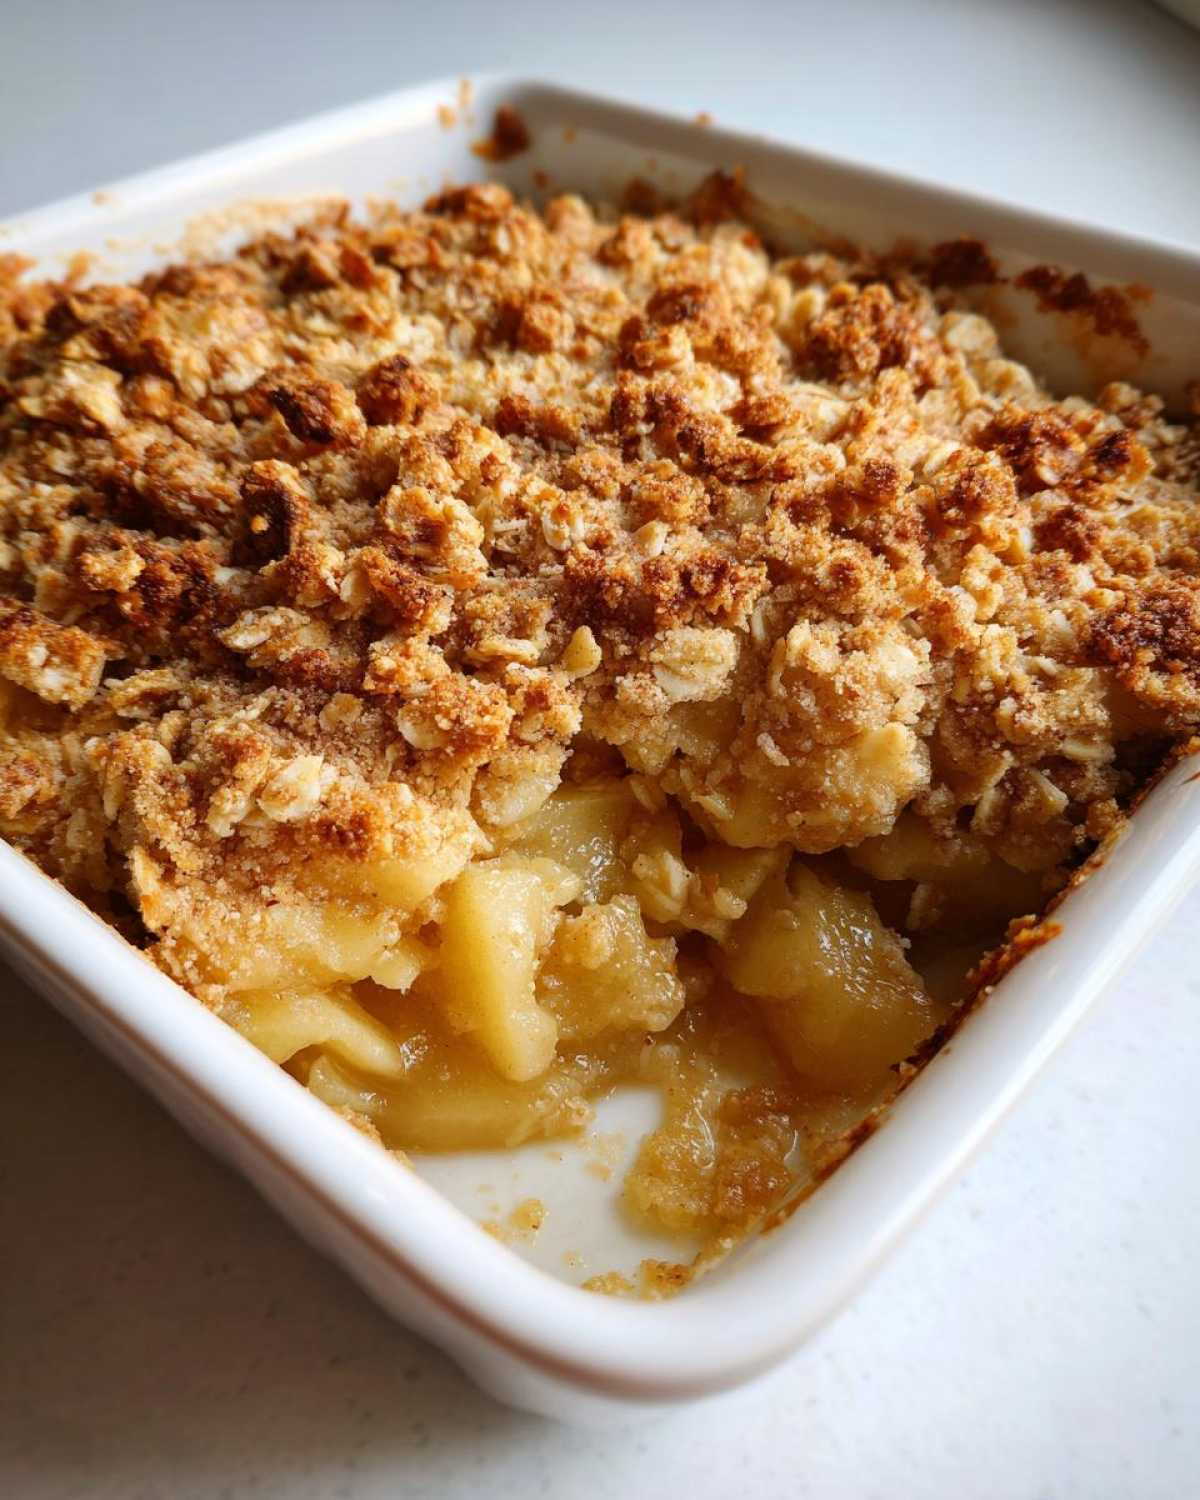
Sprinkle that glorious topping evenly over the apples. Then, pop it into the hot oven for about 35 to 45 minutes. You’ll know it’s done when the topping is perfectly golden brown and you see the apple filling bubbling up around the edges—it should look thick, not watery. My biggest expert tip, though: You absolutely must let it rest for 15 minutes after it comes out. If you dig in right away, everything will be runny! That rest time lets the juices set up perfectly, ensuring you get that lovely dense bottom layer beneath the crisp!
Tips for Success with Your Apple Crisp
Even though this recipe is wonderfully simple, a few little tricks will take your dessert from ‘good’ to absolutely unbelievable. The biggest texture game-changer I learned when testing this was all about temperature control. If you think your topping looks a little too soft before it goes into the oven, just slide the entire prepared dish into the fridge for about 15 minutes.
Seriously, chilling that topping right before baking works wonders. Those cold butter pieces melt slower in the oven, giving the flour and oats time to bake into that sturdy, crunchy layer we all crave before the butter completely sinks in. It’s a small step, but trust me, it pays off huge! If you love playing around with rich, caramelized flavors in your baking, you absolutely have to check out my recipe for brown butter chocolate chip cookies; it uses a similar cold-fat technique!
Achieving the Best Crispy Topping Secrets
When you’re mixing the topping, fight the urge to knead or mush it together! We need those distinct chunks of butter mixed with the oats and flour—that’s the source of the crunch. If you feel like you’re overmixing it by hand, try using a pastry blender; it keeps your warm hands away from the ingredients. Remember, we want a mix that looks uneven; that unevenness is the secret to the Crispy Topping Secrets that everyone asks me about!
Ingredient Notes and Simple Fruit Crisp Tutorial Substitutions
Making this as a Simple Fruit Crisp Tutorial means we should chat about swapping things out! The apples are flexible, but just aim for about six medium ones that hold their shape well. Pears work beautifully if you add a tiny bit more spice, or maybe even toss in some frozen berries if you wanted to change things up next time?
When it comes to the topping flour, I mentioned in the notes that you can swap out half the all-purpose flour for whole wheat flour. I love doing that! It gives the topping a slightly nuttier, richer flavor that feels very seasonal. If you’re trying to make this completely dust-free, you can often grab a gluten-free flour blend, but just be aware the topping texture might be slightly different since GF blends have different binding agents. If you want to see how I handle substitutions in other recipes, take a peek at my vegan banana bread notes!
Serving Suggestions for This Warm Dessert Recipes
I won’t even pretend that this apple crisp is good standing alone—though it is! This needs a cold friend. Seriously, you have to serve this straight from the oven while it’s steaming hot. My absolute favorite way to enjoy these Warm Dessert Recipes is with a big, melting scoop of vanilla bean ice cream. The hot-and-cold contrast is just heavenly.
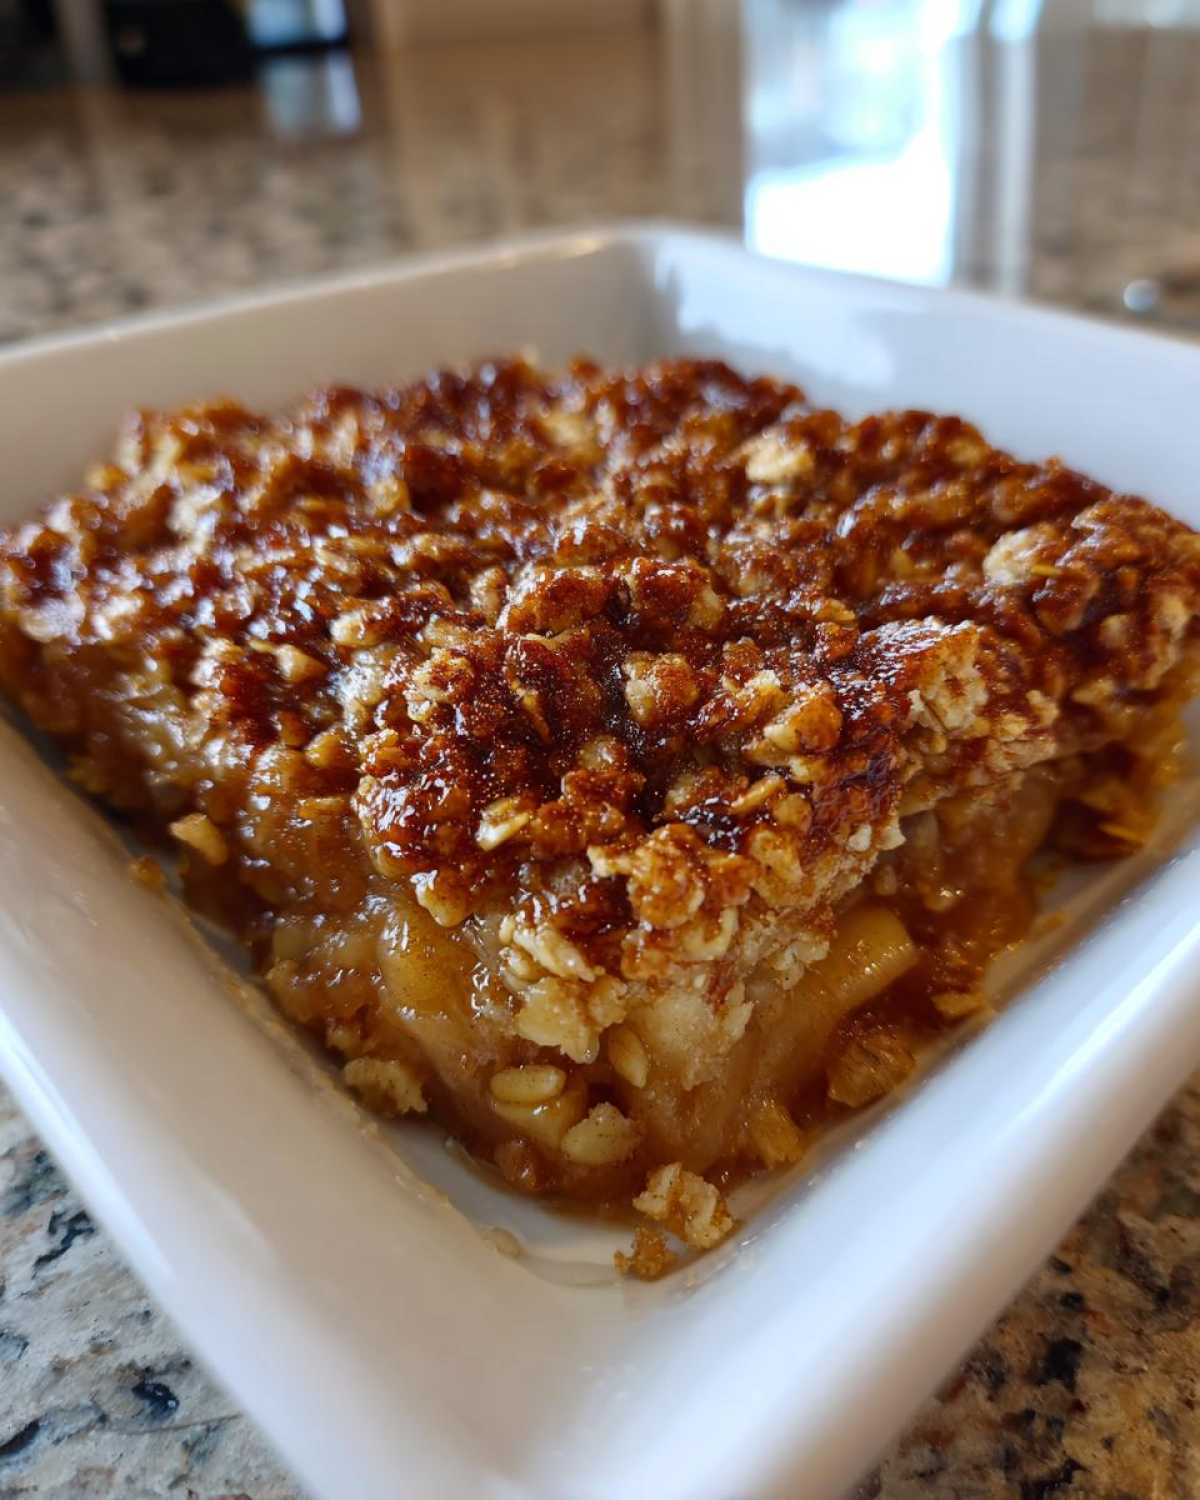
If ice cream isn’t your thing, a dollop of freshly whipped cream is fantastic, or even a drizzle of homemade caramel sauce if you’re feeling extra ambitious! For the ultimate indulgence, check out my easy guide to no-churn nice cream; it pairs surprisingly well with the cinnamon!
Storage and Reheating Instructions for Leftover Apple Crisp
I rarely have leftovers, I won’t lie! But when I do, I just cover the baking dish tightly with foil or transfer the crisp to an airtight container. It sits fine on the counter for a few hours, but for longer storage, the fridge is better. It keeps well for about three days.
When you want to reheat it, skip that sad microwave zap! You absolutely must warm it back up in the oven—350 degrees for about 10 minutes. That heat brings back the crunch to that beautiful buttery oat topping better than anything else, guaranteeing that crisp texture we worked so hard for!
Frequently Asked Questions About Apple Crisp
It’s funny how many questions pop up once people start baking their first batch of apple crisp! Even though this is a Simple Fruit Crisp Tutorial, readers always have little things they want to clarify. I gather the most common ones here so you feel totally confident heading into the kitchen. If I’m baking something new, I always look for an FAQ section, so here’s mine!
What is the difference between Apple Crisp vs Crumble Baking?
That is such a good question that comes up all the time! Honestly, in real life, they are used interchangeably, which causes chaos! Traditionally speaking, a crumble topping is usually a mixture of flour, butter, and sugar—it creates a softer, more sandy texture when baked. Our Oatmeal Topping Recipe makes it an actual *crisp* because we add rolled oats, which toast up and provide that definitive, structural crunch. So, oats equal crisp, generally speaking!
Can I make a Gluten Free Apple Crisp Option?
You absolutely can! This recipe is very adaptable. For the topping, you’ll want to do a one-for-one swap of certified gluten-free flour for the all-purpose flour, and make sure you are using certified gluten-free rolled oats—this is important because oats cross-contaminate really easily during processing. The apples are naturally gluten-free, of course. If you want to see how I handle swaps in other recipes, check out my guide on easy moist lemon loaf!
How can I make this a Naturally Sweetened Apple Crisp?
I get asked this a lot, especially when people are trying to cut down on refined sugar. To make this a Naturally Sweetened Apple Crisp, you can swap the granulated sugar in the filling for honey or maple syrup, and do the same for the brown sugar in the topping. Just start by substituting 2/3 of the sugar amount with your liquid sweetener, and then maybe add an extra tablespoon of flour to the topping just because the liquid slightly changes the texture we are going for.
You might notice the topping gets a bit darker while baking when you use maple syrup, so keep an eye on it so it doesn’t burn! If you want other ideas on getting things crispy without relying on traditional frying methods, my recipe for crispy baked avocado fries uses a similar philosophy!
Share Your Perfect Fall Baking Recipe Experience
Now it’s your turn to make this incredible Autumn dessert! I truly hope you love this as much as my family does. Go ahead and whip up this Perfect Fall Baking Recipe and let me know how you liked it. I always love seeing what you create!
Did you serve it with ice cream? Are you a crumble or crisp fanatic? Drop a rating below or tell me about your experience in the comments. I can’t wait to hear what you think of that buttery topping, and don’t forget to check out my thoughts on the best perfect fall baking recipe while you’re here!
PrintThe Ultimate Classic Apple Crisp
Follow this simple recipe for a classic apple crisp featuring tender, spiced apples under a buttery, crunchy oat topping.
- Prep Time: 20 min
- Cook Time: 40 min
- Total Time: 60 min
- Yield: 6 servings
- Category: Dessert
- Method: Baking
- Cuisine: American
- Diet: Vegetarian
Ingredients
- 6 medium apples (like Granny Smith or Honeycrisp), peeled, cored, and sliced
- 1/4 cup granulated sugar
- 1 tablespoon all-purpose flour
- 1 teaspoon ground cinnamon
- 1/4 teaspoon ground nutmeg
- 1 tablespoon lemon juice
- 1 cup all-purpose flour
- 1 cup rolled oats (not instant)
- 1/2 cup packed light brown sugar
- 1/2 teaspoon ground cinnamon
- 1/4 teaspoon salt
- 1/2 cup (1 stick) cold unsalted butter, cut into small cubes
Instructions
- Preheat your oven to 375 degrees F (190 degrees C). Lightly grease an 8×8 inch baking dish.
- In a large bowl, combine the sliced apples, 1/4 cup granulated sugar, 1 tablespoon flour, 1 teaspoon cinnamon, nutmeg, and lemon juice. Toss gently to coat the apples evenly.
- Spread the apple mixture into the prepared baking dish.
- In a separate medium bowl, whisk together the 1 cup flour, rolled oats, brown sugar, 1/2 teaspoon cinnamon, and salt for the topping.
- Cut in the cold butter using a pastry blender or your fingertips until the mixture resembles coarse crumbs. Do not overmix; some pea-sized pieces of butter are fine.
- Sprinkle the topping evenly over the apple mixture in the baking dish.
- Bake for 35 to 45 minutes, or until the topping is golden brown and the apple filling is bubbly and tender when pierced with a fork.
- Let the crisp cool for at least 15 minutes before serving warm.
Notes
- For a crispier topping, chill the topping mixture for 15 minutes before sprinkling it over the apples.
- You can substitute half of the all-purpose flour in the topping with whole wheat flour for a nuttier flavor.
- Serve with vanilla ice cream or whipped cream for a complete dessert experience.
Nutrition
- Serving Size: 1 serving
- Calories: 380
- Sugar: 30g
- Sodium: 120mg
- Fat: 18g
- Saturated Fat: 11g
- Unsaturated Fat: 7g
- Trans Fat: 0.5g
- Carbohydrates: 55g
- Fiber: 5g
- Protein: 5g
- Cholesterol: 45mg