

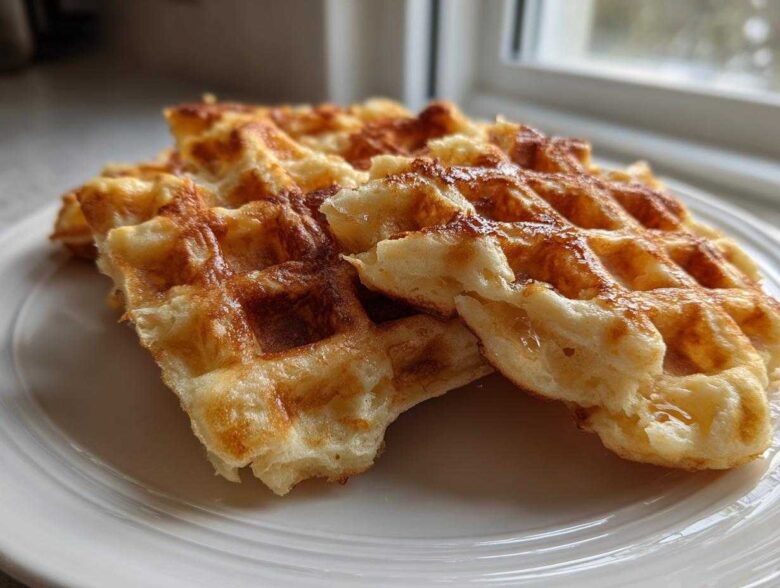
There’s just something about a slow weekend morning, isn’t there? It smells like possibility, mostly because you’ve got a big batch of proper **Belgian Waffles** bubbling away on the iron. Forget those thin, floppy things you get at diner counters. I spent ages trying to nail the true, authentic Brussels style—the kind that tastes like you just stumbled out of a café in Bruges.
After way too many sad, soggy attempts, I finally cracked the code for that perfect texture: a shatteringly crisp exterior giving way to an incredibly light, airy interior. Trust me when I say the secret isn’t just in your waffle iron; it’s all about mastering this yeast-leavened batter. I’ve tweaked this recipe until it’s absolutely foolproof, and now it’s my go-to whenever I need a breakfast that feels like a vacation.
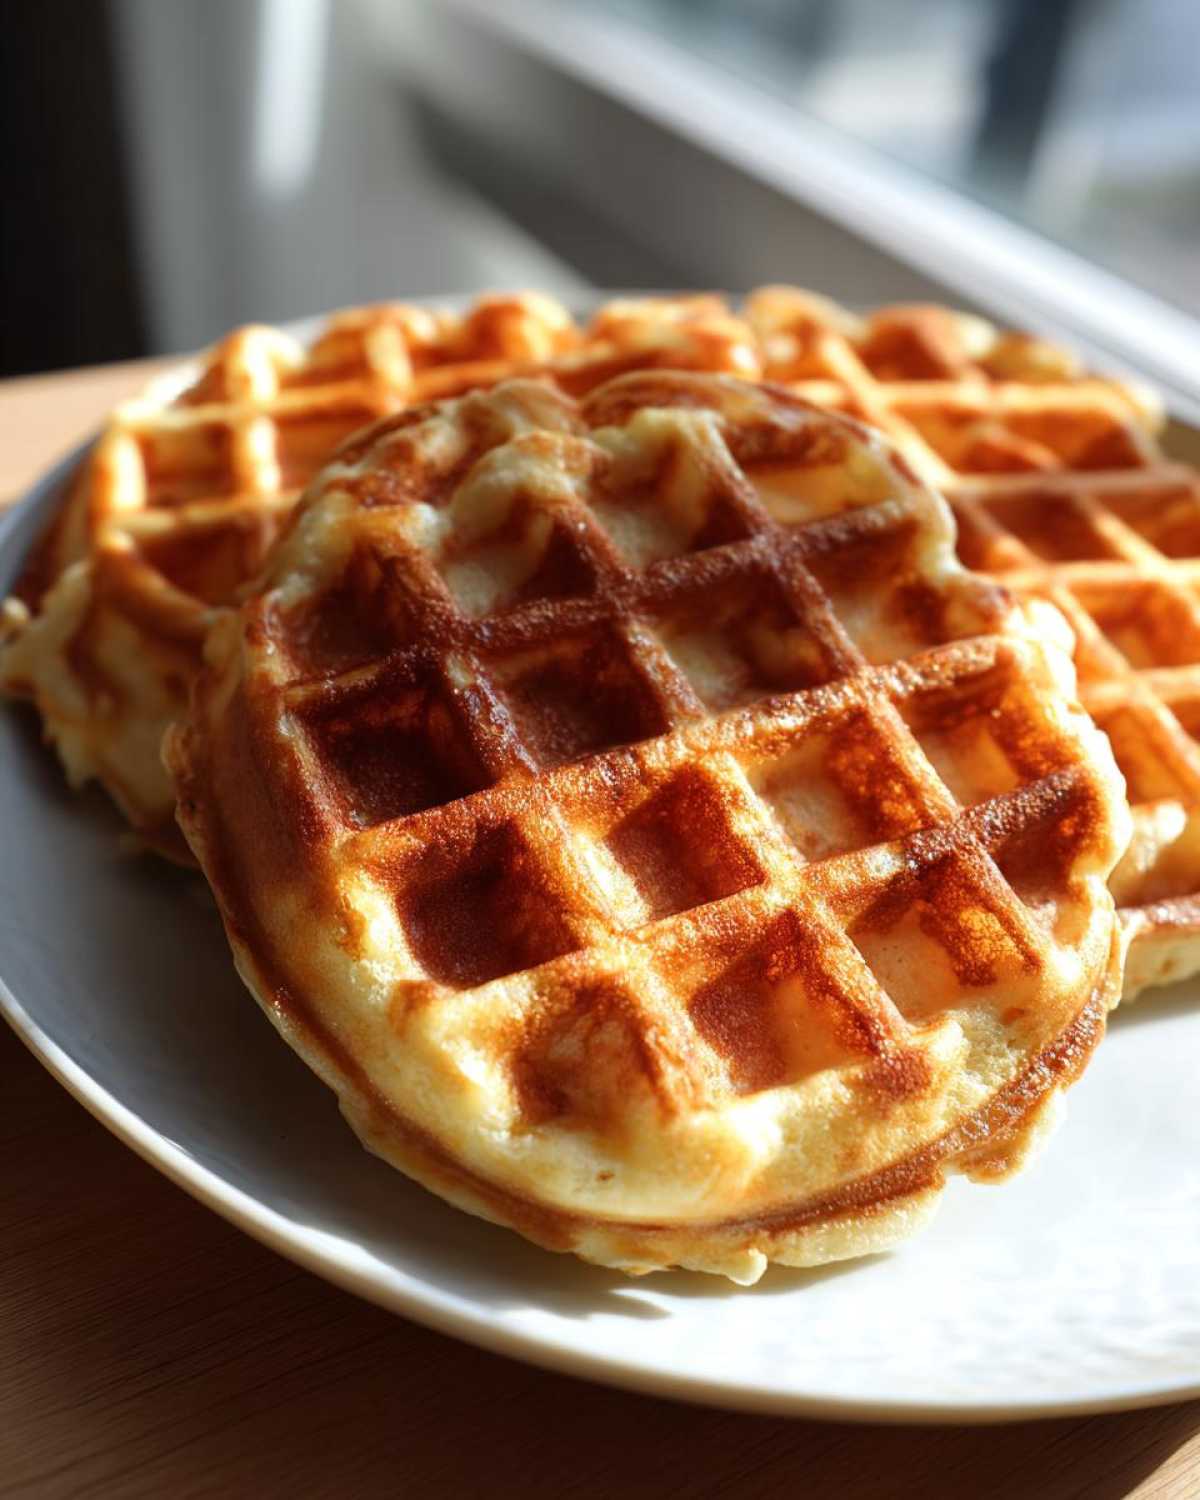
If you’re ready to upgrade your breakfast game—and I mean *really* upgrade it—you’re in the right place. You can find my general breakfast projects over here if you want more ideas, but stay right here for the best waffle experience of your life!
Why This is the Best Belgian Waffle Recipe for Homemade Success
Look, you can use quick baking powder recipes and get an *okay* waffle. But okay isn’t what we’re aiming for, right? This recipe uses active dry yeast, and that’s the whole game-changer. The yeast takes its sweet time doing its thing, creating these internal bubbles that expand when they hit the heat. That’s what gives you that signature, impossibly fluffy and light waffle interior while keeping the outside beautifully crisp. This is truly the Best Belgian Waffle Recipe I’ve ever used for getting that perfect texture Belgian Waffles taste right here in my own kitchen. It takes a little longer because we let the yeast work, but I promise, the patience pays off tenfold!
The Difference Between Liège and Brussels Waffles
Now, before we dive in, we need to clear up one thing immediately: we are making Brussels waffles, not Liège waffles. People mix these up all the time! Brussels waffles are rectangular, much lighter, and made from a thin, yeast-risen batter, which is exactly what we’re working with here. Liège waffles, on the other hand, use a thick, brioche-like dough loaded with crunchy pearl sugar. The pearl sugar caramelizes on the iron, making them chewier and sweeter. If you want that airy, classic waffle experience, stick with the Brussels style. That’s the one that screams “authentic” to me.
Essential Traditional Belgian Waffle Ingredients
To make these truly special, we have to stick to the classics, especially when it comes to the yeast. These aren’t just ingredients; they are the foundation of that fantastic crust. You’ll need flour, a little sugar, salt, the yeast, milk, eggs, melted butter, and vanilla. Every measurement has to be spot-on, especially that yeast—it’s the engine driving this whole operation!
I love how simple the list looks, but the quality really matters here. If you’re looking for other ways to get height in your baked goods, you can check out my tips for high-rising buttermilk biscuits; the principles of treating your leavening agents are similar!
Ingredient Notes and Substitutions for Authentic Belgian Waffles
The most crucial thing you need to get right for our Traditional Belgian Waffle ingredients is the milk temperature. It needs to be lukewarm—and I mean *just* warm to the touch, not hot! If that milk is too hot, it kills the yeast, and you end up with dense bricks instead of airy waffles. If you absolutely must sub out the milk, whole milk is best. Anything lower in fat just won’t give you the richness we need to balance the yeast.
How to Prepare Fluffy and light waffle batter for Belgian Waffles
Alright, let’s mix this incredibly important yeast raised waffle recipe! First, we wake up that yeast. Remember that lukewarm milk we talked about? Dissolve your yeast packet right in there and just let it sit for about five minutes. You want to see that little foamy cap appear on top; that means your yeast is happy and ready to work toward that fluffy and light waffle batter.
Next, we combine the wet stuff—the yeasty milk, egg yolks, and melted butter—into the bowl with your dry ingredients. Mix it gently until it’s just combined. Seriously, stop mixing when you still see a few streaks of flour! Overmixing develops gluten, and we want tender, not tough, waffles.
Now for the waiting game! Cover that bowl up. This batter really needs time to become airy. I always find the best spot in my kitchen for rising is near the back wall above the dishwasher—it’s just slightly warmer there. Let that thing rest for a full hour, or until it’s visibly doubled in size. That rise is everything!
Folding in the Egg Whites for Maximum Air in Your Belgian Waffles
This is where we introduce the *real* lift! While the batter is resting, take your two egg whites and beat them until they hold soft peaks. They should look glossy and pillowy. When the batter is done rising, gently fold those foamy whites in. I mean *gently*—use a spatula and cut down the middle, sweeping up the side of the bowl. Don’t stir, don’t whisk, just fold softly. You must keep all that beautiful air you whipped into those whites; that air is the ticket to a genuinely light texture!
Deep Pocket Waffles Tutorial: Cooking Crispy Belgian Waffles homemade
Okay, the batter is ready, the egg whites are folded, and now it’s time for the main event! You absolutely need a good, deep-pocketed iron for these. If you try to make these magnificent **Crispy Belgian Waffles homemade** in a shallow iron, you miss out on that iconic depth and texture we associate with the real deal. Get that iron preheated properly—seriously, don’t rush it. A cold iron equals a soggy waffle, and we won’t stand for that!
Lightly grease the plates if your machine needs it. Then, ladle in the batter. Don’t cram it in there! You want enough to fill the surface area without spilling out the sides once it expands. This is the moment patience pays off again because you need to let it cook undisturbed. The total cooking time for these big ones is usually between 4 to 6 minutes, depending on how thick your iron is. For truly amazing results, stick with this Deep Pocket Waffles tutorial: keep cooking until the amount of steam pouring out of the sides drastically slows down. That’s how you seal in the crispness!
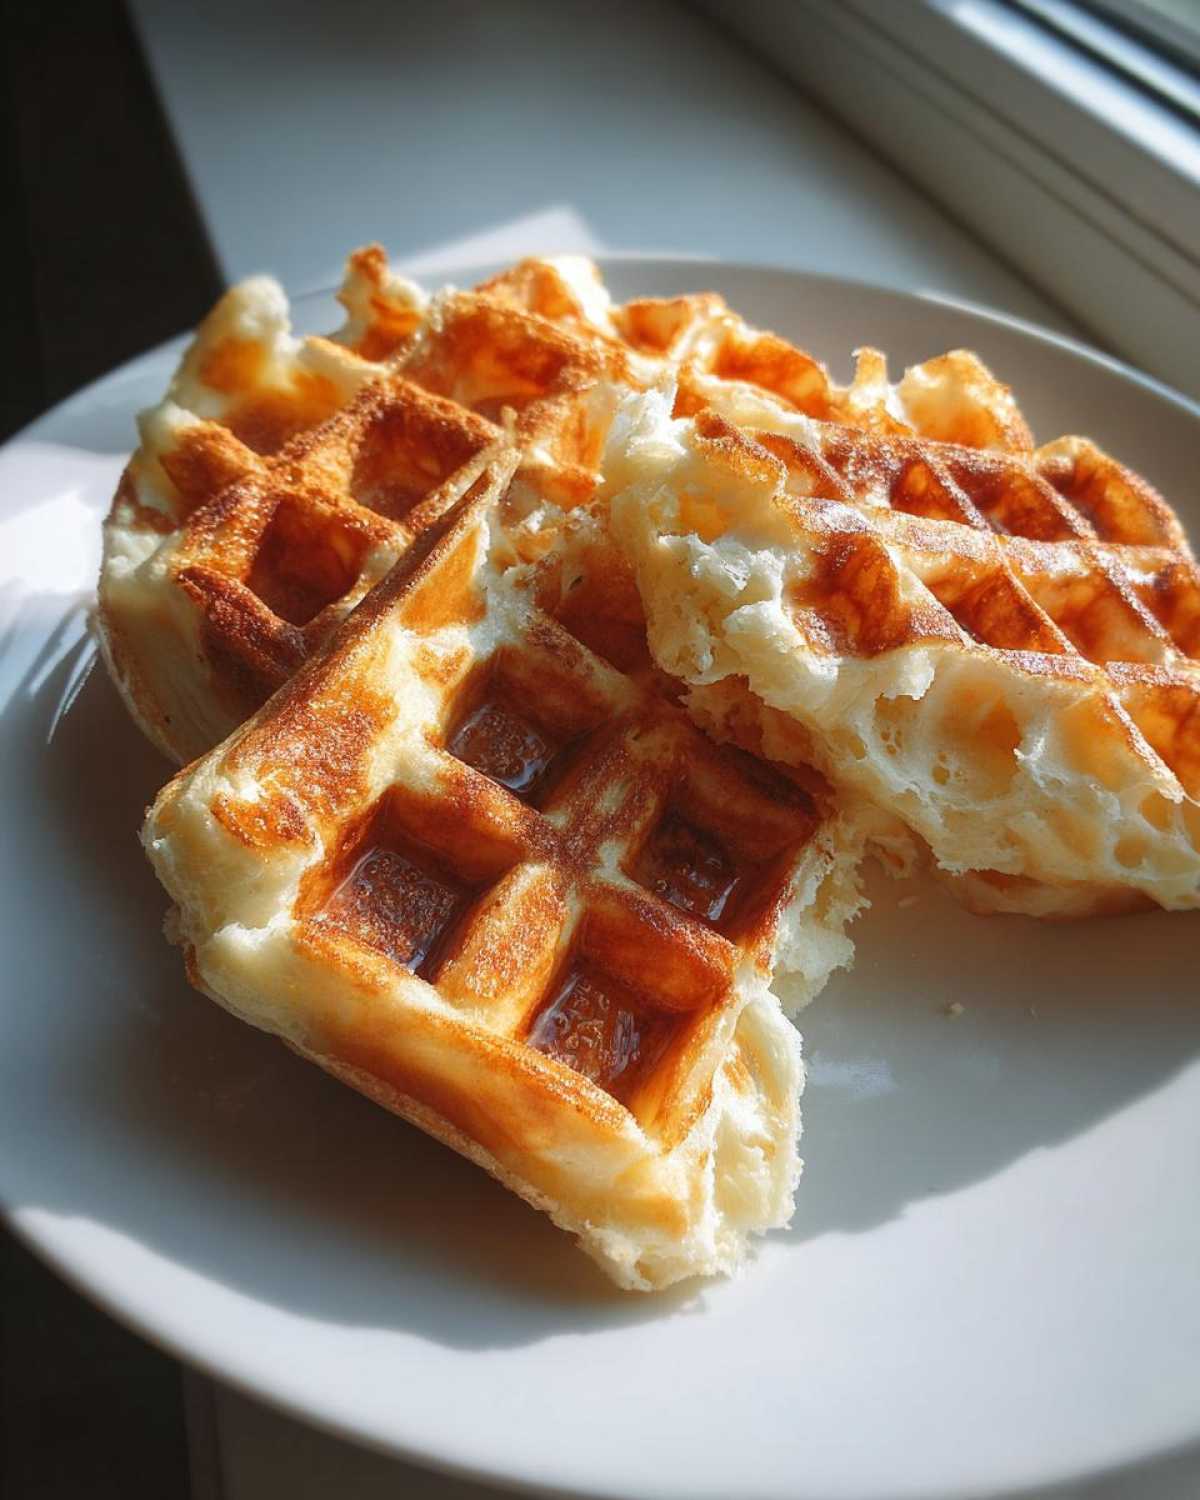
When they look deep golden brown, carefully lift them out. They’ll be delicate right off the iron, but give them sixty seconds on a wire rack, and they firm right up. If you want to see another recipe where I focused heavily on getting the heat right for the crust, check out my pumpkin spice waffles—it uses the same crispy principles!
Tips for Success When Making Belgian Waffles
I’ve learned a few tricks over the years that stop Belgian Waffles from turning into breakfast sadness. My absolute top tip, and I mentioned it briefly before, is to watch the steam. You cook these big guys until the heavy cloud of steam coming out of the sides almost totally stops. That’s when you know the moisture inside has completely set, and you’re locking in that perfect crispness. If you pull them too early, they *will* get soggy fast.
If you’re dealing with waffles sticking (even with greasing), chances are your iron wasn’t hot enough to begin with, or you used margarine instead of butter—don’t do that! Also, resist the urge to check on them constantly. Every time you open the lid, you let heat escape, and you pause the cooking process, which definitely affects that beautiful exterior crust. Trust the process and trust your hot iron!
Belgian Waffle Topping Ideas for Brussels Waffles
Since we made these gorgeous, light Brussels style waffles, they really don’t need much weighing down. My favorite, most traditional approach is just a simple dusting of powdered sugar. It melts slightly into those deep pockets, giving you just the right hint of sweetness without hiding the waffle’s flavor.
If you want something fruitier, you can’t go wrong with fresh strawberries and a dollop of real, barely sweetened whipped cream. That bright acidity cuts through the richness from the butter perfectly. If you’re feeling decadent, a light drizzle of warm maple syrup or maybe some melted dark chocolate works wonders too!
When I want to get fancy, I make a quick berry compote. It’s fun to mix and match! For some incredibly sweet inspiration on fruit toppings, you should take a peek at my thoughts on strawberry shortcake waffles; those same fresh ideas work here. These are just the best starting point for any flavor adventure you want to try for your **Belgian Waffle topping ideas**!
Make Ahead Belgian Waffles and Storage Instructions
I know we all dream of eating these Brussels waffles piping hot right off the iron, but honestly, they freeze beautifully! If you’re planning a big weekend breakfast, you can definitely make them ahead. Once totally cooled, wrap your leftover treats tightly in plastic wrap first, then pop them into a freezer bag. This is key for preventing freezer burn.
When you want to enjoy your **Make ahead Belgian Waffles**, don’t you dare reach for the microwave! That’s a soggy disaster waiting to happen. Instead, pop them directly into a toaster oven or a regular oven set to about 350°F for about ten minutes. This lets the crust crisp right back up. For more make-ahead magic, check out how I stash my freezer breakfast burritos!
Frequently Asked Questions About Belgian Waffles
I always get questions when people first try making these yeast-raised beauties for the first time. It’s normal when you’re moving beyond the usual boxed mix! I’ve tried to answer the most common things that pop up when trying to achieve that perfect texture Belgian Waffles at home. It’s amazing what these little changes can do for your home cooking in general; I even have a whole collection of other ideas for my favorite waffle iron recipes if you want some variation!
If you’re wondering about equipment or swaps, this is your spot. I’ve tried to cover the essentials right here, just like I do on my roundup of other favorite breakfast projects!
Can I use baking powder instead of yeast?
You totally can, but then you aren’t making Brussels Waffles anymore, are you? Baking powder gives you a quick rise, but it results in a texture closer to a standard American waffle—still tasty, but definitely denser and less delicate than what we are going for here. If you’re in a huge pinch, yes, you can substitute the yeast and lukewarm milk with milk mixed with two teaspoons of baking powder, but you can skip the one-hour rise time entirely. You miss out on that amazing cloud-like interior, though!
What is the best waffle iron for Belgian Waffles?
This is crucial! You really need an iron that has deep pockets—at least an inch deep. That depth is what allows the batter to puff up dramatically while cooking. Look for one that has adjustable temperature settings, too. If your iron runs cool, you’ll never get that crispy exterior we want. If you haven’t invested in one yet, do a tiny bit of research before buying; it’s the single most important tool for Deep Pocket Waffles tutorial success.
How long does the batter last if I want to make ahead?
Because this is a yeast raised waffle recipe, it’s actually quite forgiving! You can let the batter rise for that full hour, then gently fold in the egg whites, cover it, and pop the whole bowl in the fridge overnight. It will keep rising slowly in the cold. The next morning, let it sit on the counter for about 30 minutes to warm up slightly before portioning it onto the iron. Don’t reuse the batter the next *day*, though; the yeast loses its power after about 24 hours resting.
Why are my homemade Belgian Waffles soggy right away?
Nine times out of ten, sogginess happens for one of three reasons: 1) Your iron wasn’t hot enough when you poured the batter in. 2) You pulled them off too early, before the steam stopped escaping. 3) You put them directly onto a plate instead of a wire cooling rack. The cooling rack is essential; it lets air circulate underneath so the bottom doesn’t steam itself soft!
Can I make Belgian Waffles without a specialized iron?
Technically, yes, you can pour this batter onto a standard flat waffle iron. However, I have to be really honest with you: you won’t get a true Belgian Waffle experience. The charm of these specific recipes—the depth, the large pockets that hold butter and syrup, the super crisp edges—all rely on that deep mold. If you use a standard iron, the waffle will be thinner and cook faster, meaning you sacrifice the light interior we worked so hard to achieve with the yeast.
Estimated Nutritional Data for Belgian Waffles
I always get asked about the nutrition facts for these beauties, especially since they are such a weekend treat! I want to be super clear with you all: the ingredient list provided here is based on standard measurements, and the final nutritional breakdown can shift quite a bit depending on the specific brands of milk, butter, and sugar you decide to use in your own kitchen.
So please take this information as a helpful guideline rather than a hard fact. If you track everything precisely, that’s fantastic, but for a fun weekend breakfast like these amazing Brussels Waffles, I usually just focus on enjoying them! For more general information on how I calculate these estimates, you can always check out my dedicated disclaimer page. Now go on, let’s eat before they get cold!
PrintAuthentic Brussels Waffles Recipe

Make classic Brussels waffles with a light, airy interior and a crisp exterior using this yeast-leavened batter recipe.
- Prep Time: 15 min
- Cook Time: 20 min
- Total Time: 1 hour 35 min
- Yield: 6 large waffles
- Category: Breakfast
- Method: Waffling
- Cuisine: Belgian
- Diet: Vegetarian
Ingredients
- 1 1/2 cups all-purpose flour
- 1 tablespoon granulated sugar
- 1 teaspoon salt
- 1 packet active dry yeast
- 1 1/2 cups milk, lukewarm
- 2 large eggs, separated
- 1/2 cup unsalted butter, melted
- 1 teaspoon vanilla extract
Instructions
- In a large bowl, whisk together the flour, sugar, and salt.
- In a separate small bowl, dissolve the yeast in the lukewarm milk. Let it stand for 5 minutes until slightly foamy.
- Add the egg yolks and melted butter to the milk mixture. Whisk until combined.
- Pour the wet ingredients into the dry ingredients. Mix until just combined; do not overmix. The batter will be thin.
- Cover the bowl and let the batter rest in a warm place for 1 hour, or until doubled in size. This allows the yeast to work.
- Gently whisk the egg whites in a clean bowl until soft peaks form.
- Fold the beaten egg whites into the risen batter in two additions. Be gentle to keep the air in the batter.
- Preheat your deep-pocketed waffle iron according to the manufacturer’s directions. Lightly grease the plates if necessary.
- Pour the batter onto the hot iron, filling the pockets without overflowing. Cook until golden brown and crisp, usually 4 to 6 minutes, depending on your iron.
- Remove the waffles and serve immediately with your preferred toppings.
Notes
- For the crispiest waffles, use a waffle iron that has adjustable temperature settings and allow the waffle to cook until steam stops escaping the iron.
- If you prefer Liège waffles, substitute the batter for a dough containing pearl sugar. Brussels waffles use a thinner, yeast-risen batter.
- You can prepare the batter the night before; let it rise, then gently fold in the egg whites just before cooking the next morning.
Nutrition
- Serving Size: 1 waffle
- Calories: 310
- Sugar: 5
- Sodium: 280
- Fat: 14
- Saturated Fat: 8
- Unsaturated Fat: 6
- Trans Fat: 0
- Carbohydrates: 39
- Fiber: 1
- Protein: 10
- Cholesterol: 110