

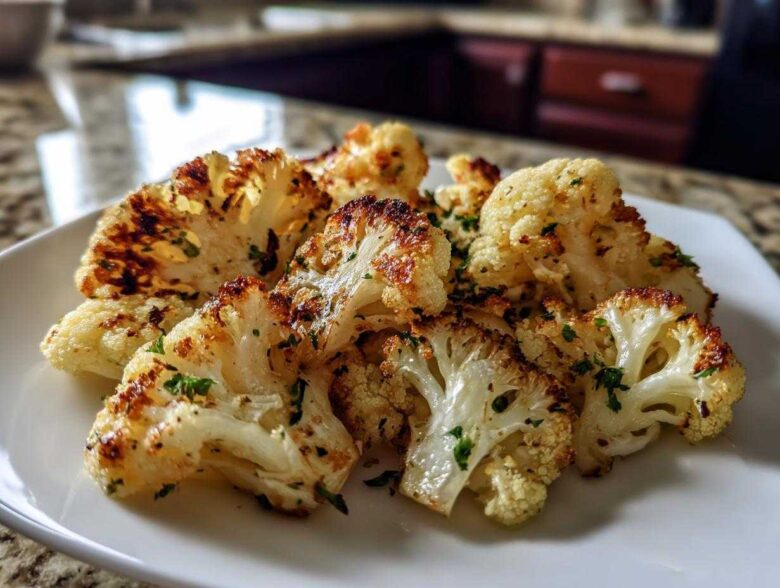
Oh my gosh, you have to try baking cauliflower! Seriously, forget steaming it into oblivion—that turns it into sad, watery mush. I spent years wrestling with soggy florets until I nailed down this technique. This recipe for Baked Cauliflower is my absolute go-to because it’s truly the easiest way to get that perfect blend: tender on the inside but with fantastic, nutty, caramelized edges. We’re talking zero fuss, maximum flavor, every single time. If you’re looking for a side dish that actually tastes exciting, you’ve found it! Head over to my main recipe index if you need more inspiration later on!
Why This Simple Garlic Herb Baked Cauliflower Recipe Works
People mess up roasting vegetables because they treat them like they’re baking a cake—stuffing them all into one baking dish. Nope! The magic behind this simple baked cauliflower is all about respecting the surface area. When you give those florets space, they dry out just enough and get those gorgeous crispy bits instead of simmering in their own steam.
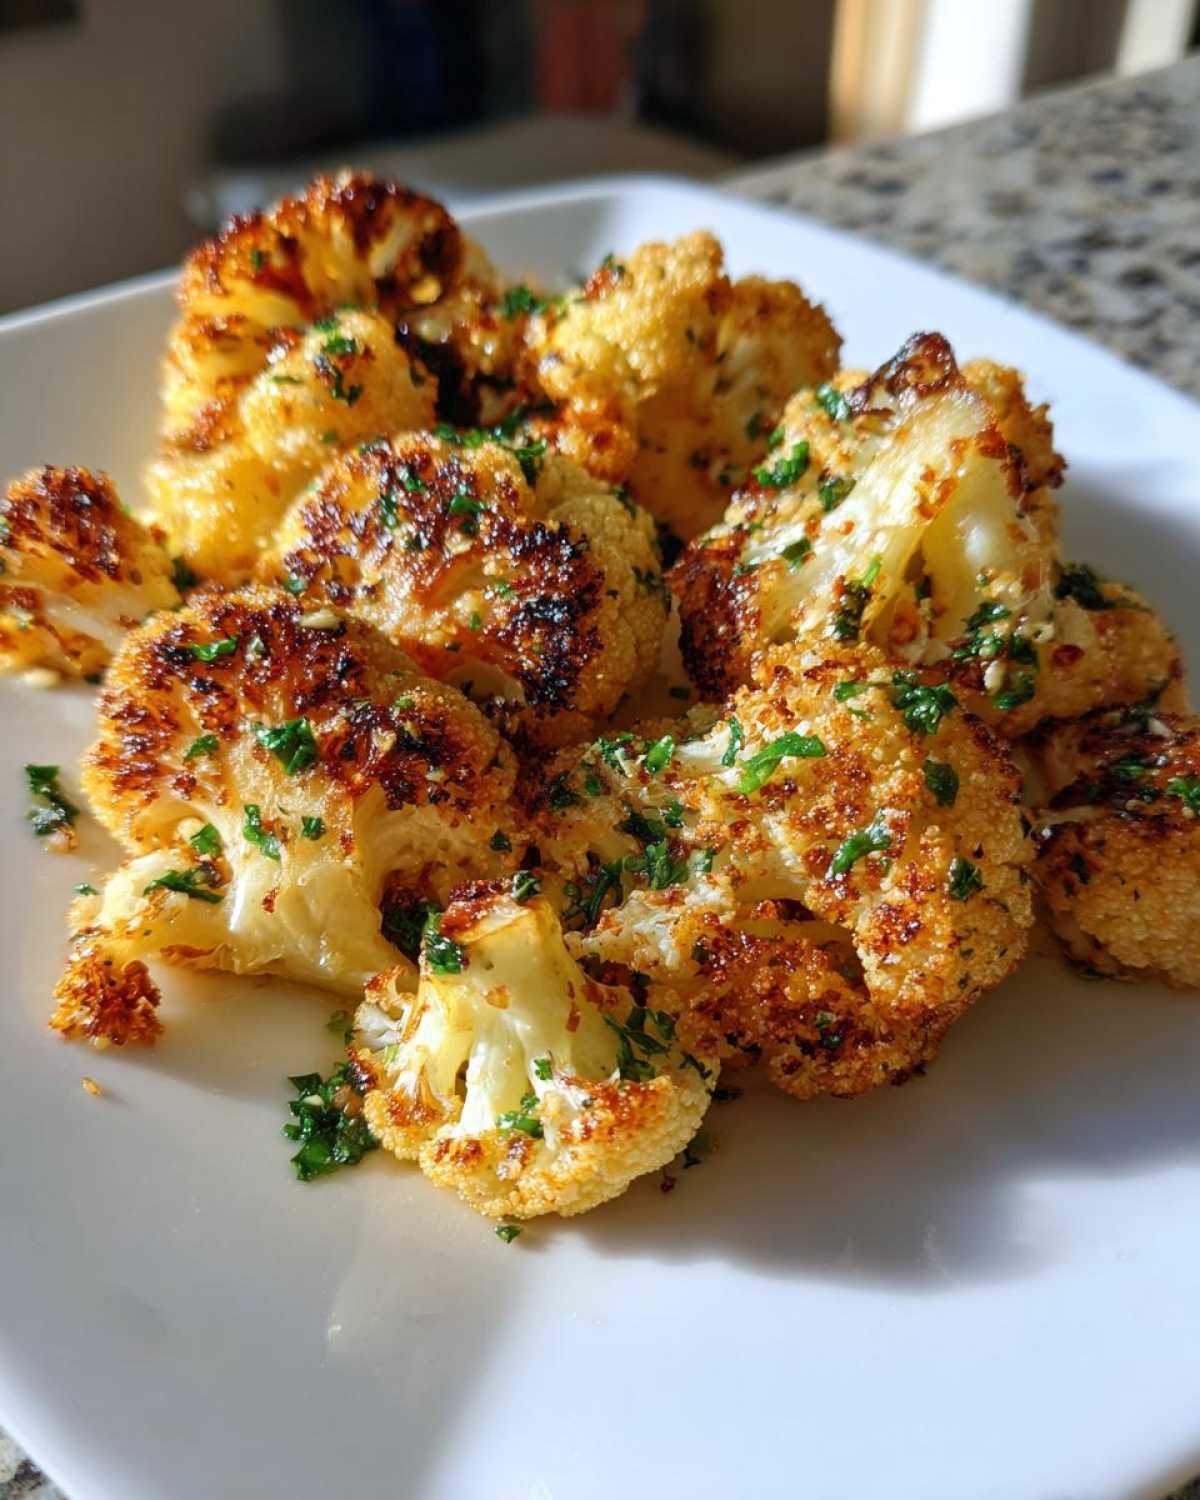
Here’s the breakdown of why this version always gets rave reviews:
- It hits that sweet spot: creamy inside, crunchy outside.
- The high flavor payoff comes from just a few pantry staples.
- It’s really hands-off once it hits the oven, leaving you free to focus on your main course. For even more deep-dive pointers, check out my guide on how to roast cauliflower perfectly!
Perfect Texture: Avoiding Mushy Baked Cauliflower
The single most important rule? Spread your florets out like you’re laying jewels on velvet—one single layer, no crowding! If they are piled up, they trap moisture, and bam—mushy city. Also, don’t be scared of the heat! I recommend a higher temp because the quick blast of heat helps brown the outside before the interior gets too soft. That high-heat treatment is what separates amazing roasted veggies from merely okay ones.
Flavor Profile of this Baked Cauliflower
This specific combination is all about earthy simplicity. Dried oregano and thyme are incredibly robust and stand up well to the roasting process; they don’t burn as easily as fresh might, making them perfect for a straightforward recipe like this. We call this our go-to garlic herb baked cauliflower because the garlic toasts up beautifully in the olive oil. It’s such a versatile base—once you master this, you can easily swap in lemon zest or chili flakes for something brand new!
Gathering Ingredients for Perfect Baked Cauliflower
Wow, the ingredient list for this is almost laughably short, which is why I rely on it when I need a quick and healthy low-carb baked vegetable side. You need one big, beautiful head of cauliflower, cut into florets—aim for bite-sized pieces so they cook evenly. Then we rely on olive oil to carry the flavor, along with minced garlic, salt, pepper, and a couple of hardy dried herbs. That’s it! Trust me, you don’t need fancy powders or stuffy marinades to make this vegetable shine.
Ingredient Notes and Substitutions
Since these are dried herbs, they are super concentrated and easy to keep in the pantry. If you only have fresh thyme or oregano, absolutely use it, but you’ll want to triple the amount because dried herbs are much more potent. I always use standard olive oil here, nothing fancy, because it’s robust enough for the oven heat. If you run out of parsley for the garnish, a sprinkle of fresh chives gives a lovely, gentle onion note without overpowering the garlic. It’s all about working with what you’ve got!
Step-by-Step Instructions for Simple Oven Baked Cauliflower
Okay, let’s get this cauliflower into the oven because waiting is the worst part! Remember how I said spreading them out is key? That matters during the prep phase too. We are making the best simple oven baked cauliflower you’ve ever had, and it starts with getting everything coated like a dream. Get your oven cranked up to 400 degrees F, and trust me, line that baking sheet with parchment paper. If you skip the paper, cleanup takes forever, and who wants that? If you check out my thoughts on quick roasted vegetable ideas, you’ll see this sheet pan approach is gold standard!
Prepping the Cauliflower Florets
First up, toss your florets into a big bowl. Drizzle everything—the oil, the herbs, the salt, and pepper—right over the top. Now, get in there with your hands! Mix it well until every little nub of cauliflower is glistening with oil and has that nice coating of herbs and garlic clinging to it. That even coating is what guarantees consistent browning on every piece of your final baked cauliflower.
Baking Time and Temperature Guidance
Spread the coated florets onto that parchment-lined sheet. Make sure they aren’t touching! They need their personal space to crisp up properly. Pop it in the preheated oven for about 20 to 25 minutes total. The real secret here? Stir them halfway through! Give them a good toss around the 12-minute mark so they brown evenly on all sides. You want them fork-tender but definitely not falling apart when you poke them.
Tips for Achieving the Best Baked Cauliflower Results
I’ve made this every which way possible, so I’ve picked up a few tricks over the years that elevate this from a good side to a *must-have* side dish. Think of these as the insider secrets that other easy roasted cauliflower recipes often leave out. If you really want that restaurant-quality char, use my tip from the notes: cranking the heat up to 425 degrees for the final five minutes. Just watch it like a hawk during those last moments!
Also, don’t skimp on the oil! Cauliflower is thirsty, and if you don’t use enough oil, those beautiful herbs and garlic burn instead of caramelizing. You want them coated enough to sizzle gently, not dry-roast. And if you are ever in a hurry, this method translates perfectly to the air fryer. Just use my guide on the air fryer baked cauliflower alternative to adjust your time and shake schedule!
Variations on Garlic Herb Baked Cauliflower
This recipe is totally customizable, which is why I love it so much! If you need a little kick, simply toss a teaspoon of red pepper flakes in with the herbs to make amazing spicy baked cauliflower florets. That heat really complements the earthiness of the vegetable wonderfully.
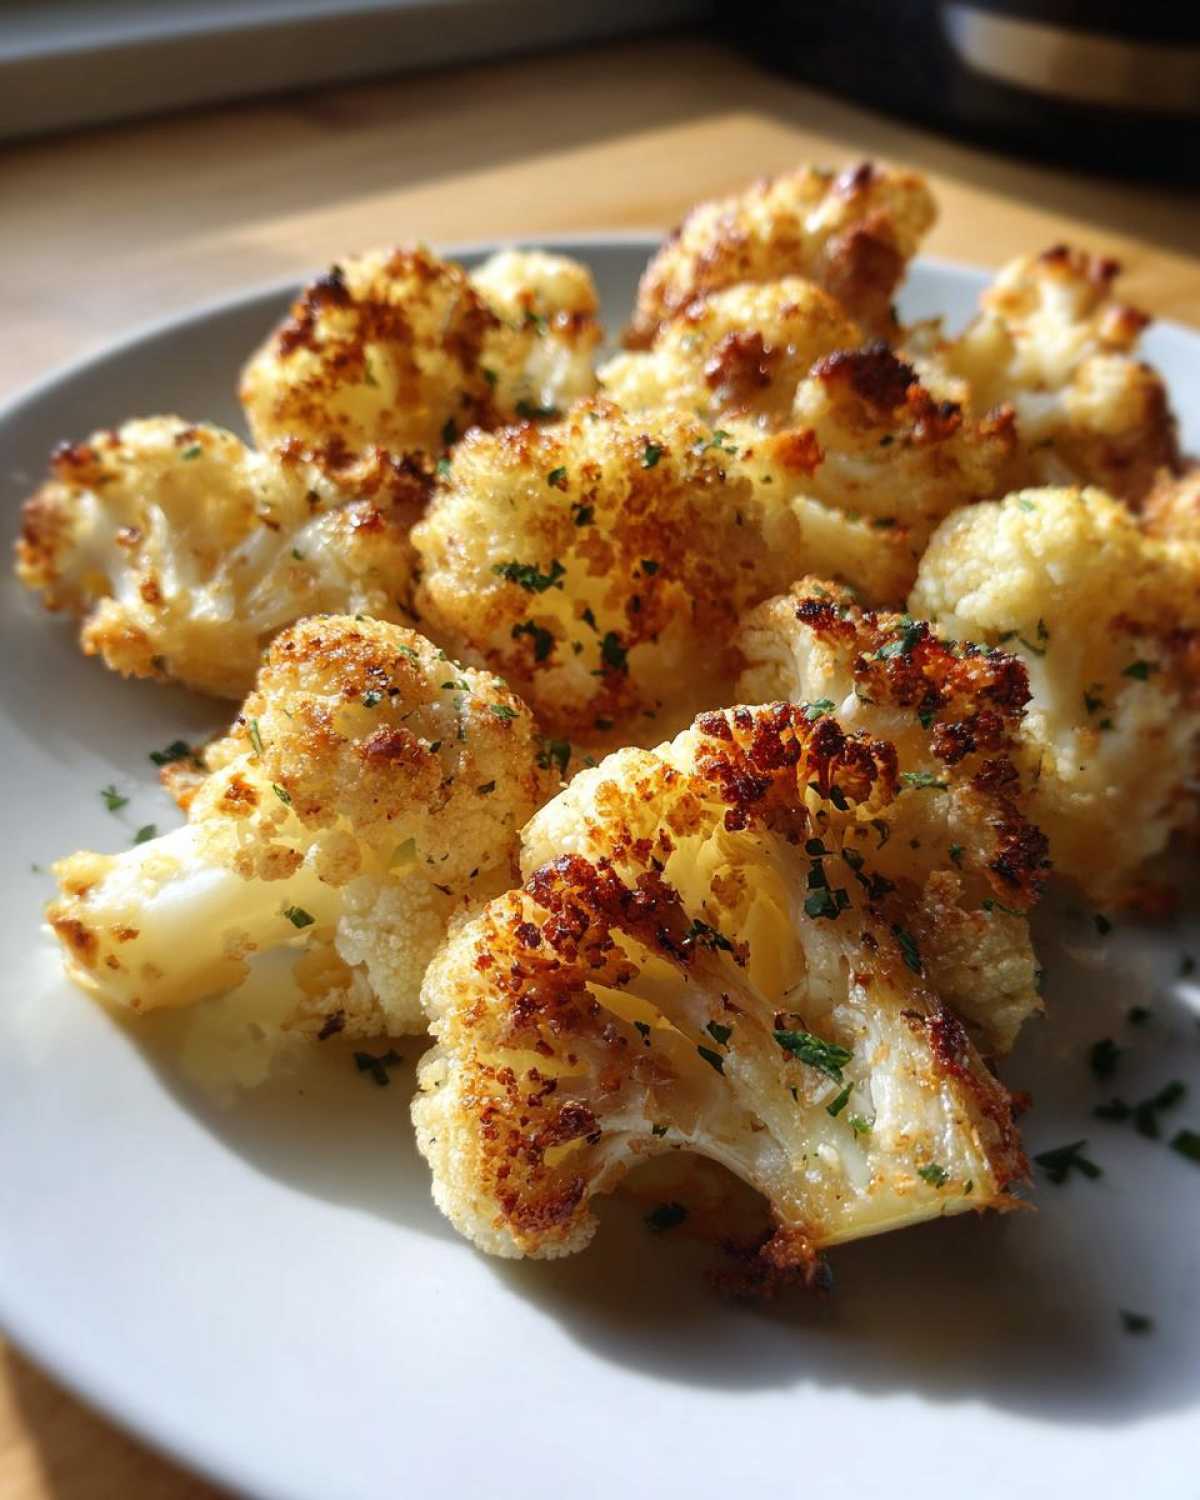
Now, if you’re craving something richer—maybe you’re making it a full-on dinner side—think cheese! After the cauliflower comes out almost done, toss it with a sprinkle of grated Parmesan or sharp cheddar and let it melt under the broiler for just a minute or two. It’s the shortcut to that decadent, cheesy goodness you find in a big cheesy baked cauliflower casserole, but without all the heavy cream sauce.
For an umami boost, try adding a drizzle of soy sauce or Worcestershire sauce before the final toss, or even mixing in a spoonful of nutritional yeast along with the cheese! It’s fun to experiment; just remember to visit my buffalo cauliflower bites recipe if you ever want to go full-throttle on the flavor!
Serving Suggestions for Your Baked Cauliflower Side Dish
So you’ve got this gloriously golden, perfectly seasoned healthy baked cauliflower side dish sitting on your counter—now what? This isn’t just a side dish you hide on the edge of the plate; it deserves center stage! Because the flavor profile is so versatile, it pairs beautifully with almost anything you’re serving for dinner.
I find it shines brightest alongside lean, roasted proteins. It’s especially fantastic with perfectly baked salmon or a juicy roast chicken. If you’re looking for a fantastic sheet pan companion, you *have* to try it alongside my Greek chicken recipe; the lemon and herbs play so nicely together!
It also works great crumbled over grains if you’re building a hearty bowl. It’s so satisfying, you’ll barely notice it’s just a vegetable!
Storage and Reheating Baked Cauliflower
I know you won’t have any leftovers because this stuff vanishes, but just in case you manage to save some, keeping that great texture is important! Store any extra baked cauliflower in a truly airtight container. Don’t just tent it with foil; you want it sealed up tight so it doesn’t absorb fridge smells.
When you’re ready for round two, skip the microwave! It brings back that mushy texture we fought so hard to avoid. Instead, reheat it in a toaster oven or your regular oven at about 350 degrees until it gets those edges crisp again. Or, if you’re really dedicated, pop it in the air fryer for just a few minutes—check out my tips for reheating air fryer chicken; the principle is similar for quick reheating!
Frequently Asked Questions About Baked Cauliflower
I always get tons of questions whenever I post this over on Instagram, and that’s totally fair! People want to make sure their best cauliflower bake recipe turns out perfectly. Here are a few things I hear all the time from bakers trying this out for the first time.
Can I use frozen cauliflower for this Baked Cauliflower recipe?
Oh, that’s a tough one. While you *can* use frozen cauliflower, I really don’t recommend it for this specific recipe context. Frozen cauliflower holds so much extra water even after thawing; it makes achieving those crispy edges nearly impossible for a proper baked cauliflower. If you absolutely must, you need to thaw it completely, press every bit of moisture out with paper towels, and then maybe toss it with an extra teaspoon of oil before baking. But honestly, fresh is always better here!
What is the best way to make Crispy baked cauliflower wings?
If you want that ultimate crunch, we’re talking next-level crispy here, you’ve got two secrets. First, toss the florets in just a tiny bit of cornstarch along with your oil and spices—it creates a thin barrier that crisps up beautifully. Second, use that trick I mentioned earlier: crank the heat to 425 degrees F for the last 5 minutes of cooking! That intense burst of heat is what gives you that shatteringly crisp exterior, perfect for turning them into your favorite crispy baked cauliflower wings!
Nutritional Snapshot of Garlic Herb Baked Cauliflower
I always include this because I love knowing exactly what I’m putting into my body, and this recipe is a total winner for something light yet filling. This is seriously one of the most nutritious cauliflower recipes for dinner you can find! Keep in mind these numbers are just estimates based on my ingredient sourcing, okay? Per serving, you’re looking at around 110 calories, which is amazing for a side dish. It’s got just 7 grams of fat and a solid 4 grams of fiber to keep you feeling satisfied.
PrintSimple Garlic Herb Baked Cauliflower

A straightforward recipe for tender and flavorful baked cauliflower florets seasoned with garlic and herbs.
- Prep Time: 10 min
- Cook Time: 25 min
- Total Time: 35 min
- Yield: 4 servings
- Category: Side Dish
- Method: Baking
- Cuisine: American
- Diet: Vegetarian
Ingredients
- 1 large head cauliflower, cut into florets
- 3 tablespoons olive oil
- 2 cloves garlic, minced
- 1 teaspoon dried oregano
- 1/2 teaspoon dried thyme
- 1/2 teaspoon salt
- 1/4 teaspoon black pepper
- 1 tablespoon fresh parsley, chopped (for garnish)
Instructions
- Preheat your oven to 400 degrees Fahrenheit (200 degrees Celsius). Line a large baking sheet with parchment paper.
- In a large bowl, combine the cauliflower florets, olive oil, minced garlic, oregano, thyme, salt, and pepper. Toss until the cauliflower is evenly coated.
- Spread the seasoned cauliflower in a single layer on the prepared baking sheet. Do not overcrowd the pan; use two sheets if necessary for better crisping.
- Bake for 20 to 25 minutes, stirring halfway through, until the cauliflower is tender when pierced with a fork and lightly browned on the edges.
- Remove from the oven, sprinkle with fresh parsley, and serve immediately.
Notes
- For extra crispiness, you can increase the oven temperature to 425 degrees Fahrenheit for the last 5 minutes of cooking.
- If you prefer a stronger garlic flavor, add one more clove of minced garlic.
- This side dish pairs well with roasted chicken or fish.
Nutrition
- Serving Size: 1/4 of recipe
- Calories: 110
- Sugar: 3
- Sodium: 300
- Fat: 7
- Saturated Fat: 1
- Unsaturated Fat: 6
- Trans Fat: 0
- Carbohydrates: 10
- Fiber: 4
- Protein: 3
- Cholesterol: 0