

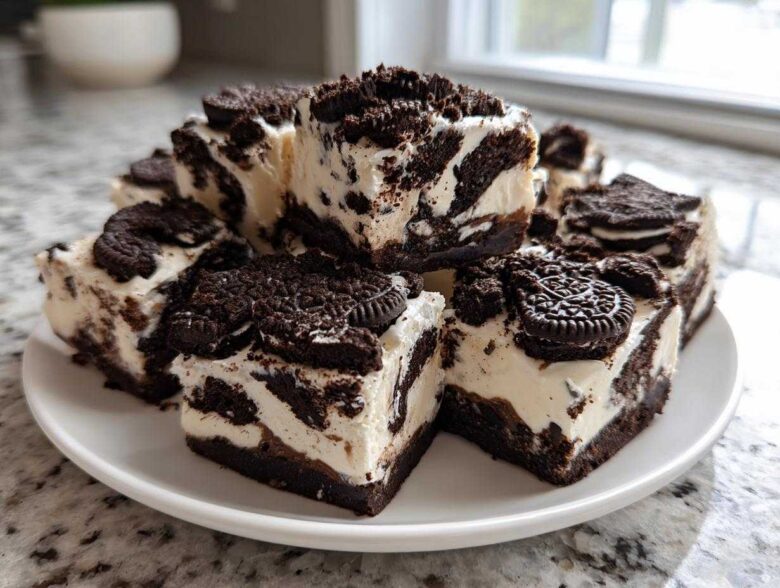
Are you ever hit with that serious need for something utterly decadent, totally chocolatey, but you just cannot bring yourself to turn on the oven? I hear you! When Julian and I step away from the design boards and realize we need a quick fix for a sweet tooth, we turn to the very best shortcut we know. Forget complicated baking; we make this Ultimate 3-Ingredient Oreo Fudge. This recipe is pure magic, taking what should be a day-long candy-making process and squishing it down into ten minutes of bliss. It’s exactly the kind of intentional, delicious moment we always try to feature in our lives here at Magazine Meal!
Why This 3-Ingredient Oreo Fudge is Your New Favorite Shortcut Fudge
We live for things that give us maximum payoff for minimum drama, and this is truly the king of that category! If you’ve ever been intimidated by old-fashioned fudge that requires constant stirring and temperature checks, throw those worries out. This no bake fudge recipe proves you don’t need an oven or fussy candy thermometers to enjoy something truly indulgent. It’s one of those perfect 3 ingredient desserts that tastes like you spent hours on it.
- Total prep time? Just about ten minutes!
- Zero baking required—it’s the ultimate no oven dessert.
- It’s creamy, crunchy, and totally craveable.
If you are looking for fantastic quick candy recipes to whip up before a party, this batch is going to disappear first.
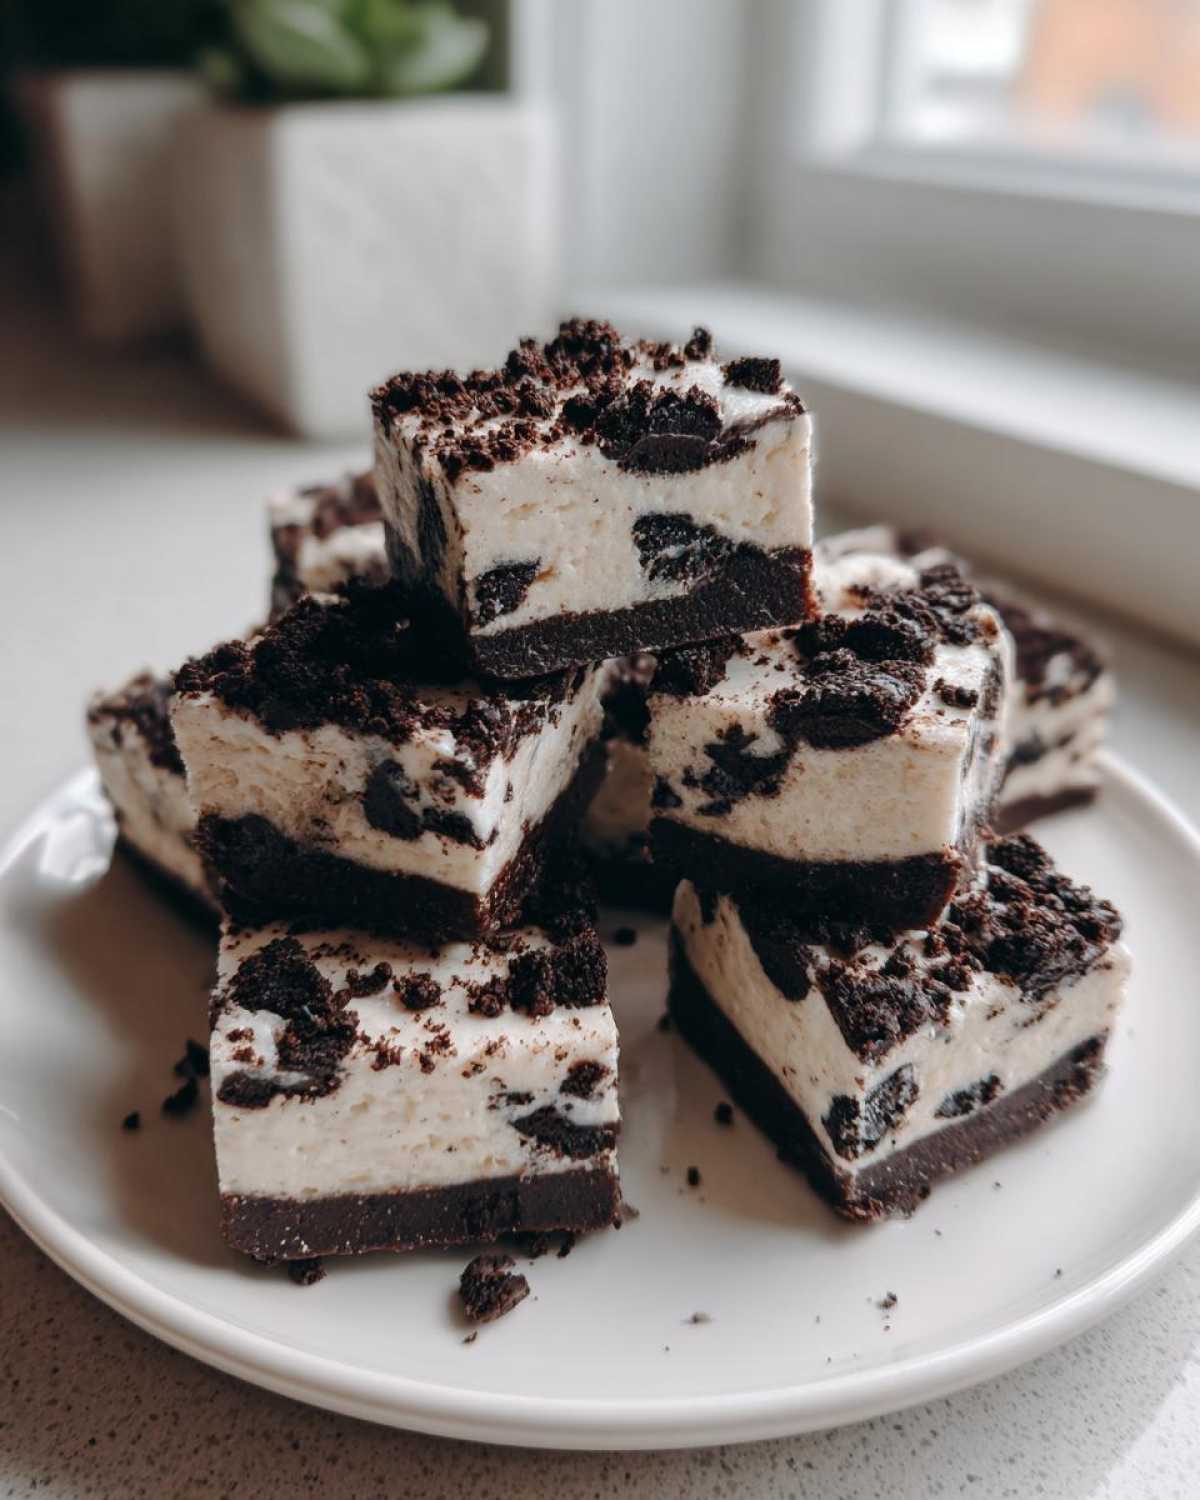
Achieving Creamy Fudge Recipe Perfection
The secret handshake here lies entirely between the white chocolate and the sweetened condensed milk. When they melt together, they create this incredibly smooth, thick base. It’s naturally sweet and stable, which means instead of battling crystallization like old-school fudge, you get instant, foolproof richness. Trust me, this combination sets up into the most gorgeous, melt-in-your-mouth bite every single time.
Gathering Ingredients for Your Oreo Fudge
Okay, let’s talk about what you need to make this incredibly easy Oreo Fudge. Remember I mentioned it’s a 3-ingredient magic trick? It really is! I always keep these items stocked now because you can whip this up anytime you need a last-minute dessert or a gorgeous simple homemade sweet.
You’ll need:
- 14 ounces of sweetened condensed milk (Go for the full-fat version, please! It makes a difference in texture.)
- 12 ounces of good quality white chocolate chips.
- 3 cups of crushed Oreo cookies—that’s about a whole sleeve of the standard ones. Make sure you crush them well so you get a proper distribution of filling and cookie in every bite!
Step-by-Step Instructions for No Bake Oreo Fudge
Alright, let’s get messy! This whole process, from start to finish, should take you maybe 10 minutes of active work, which is just fantastic for a decadent chocolate treat. The key to making this creamy fudge recipe look magazine-ready is all in the setup and careful melting. Don’t rush the chilling part, though—that’s where the patience comes in!
First things first, grab an 8×8 inch pan. You absolutely must line it with parchment paper, making sure you leave a little overhang on two opposite sides. This is Julian’s genius move; those paper ‘handles’ are what let you lift the entire block out later without any drama. We want clean edits, right? Once that’s ready, we melt!
Preparing the Pan and Melting the Base
Pop your white chocolate chips and that beautiful can of sweetened condensed milk into a microwave-safe bowl. Now, listen up: we are working with white chocolate here, and it scorches faster than you can snap a fast photo! Microwave it in short, 30-second bursts. After every 30 seconds, pull it out and stir really well. Keep doing this until it’s glossy smooth. Stop heating when it’s *almost* done; the residual heat will finish the job. This careful technique prevents any grainy texture in your finished white chocolate fudge.
Incorporating Cookies and Setting the Oreo Fudge
Once that melted base is silky, dump in your 3 cups of crushed Oreos. Use a spatula to gently fold everything together. You want those black cookie bits evenly distributed throughout the white chocolate, like stars in the night sky. Scrape it all into your prepared pan and use the back of that spatula to smooth the top flat. Now comes the hard part: waiting. Pop the pan into the fridge for at least two hours. This is crucial for getting those sharp, satisfying cuts later on when you slice your Oreo fudge!
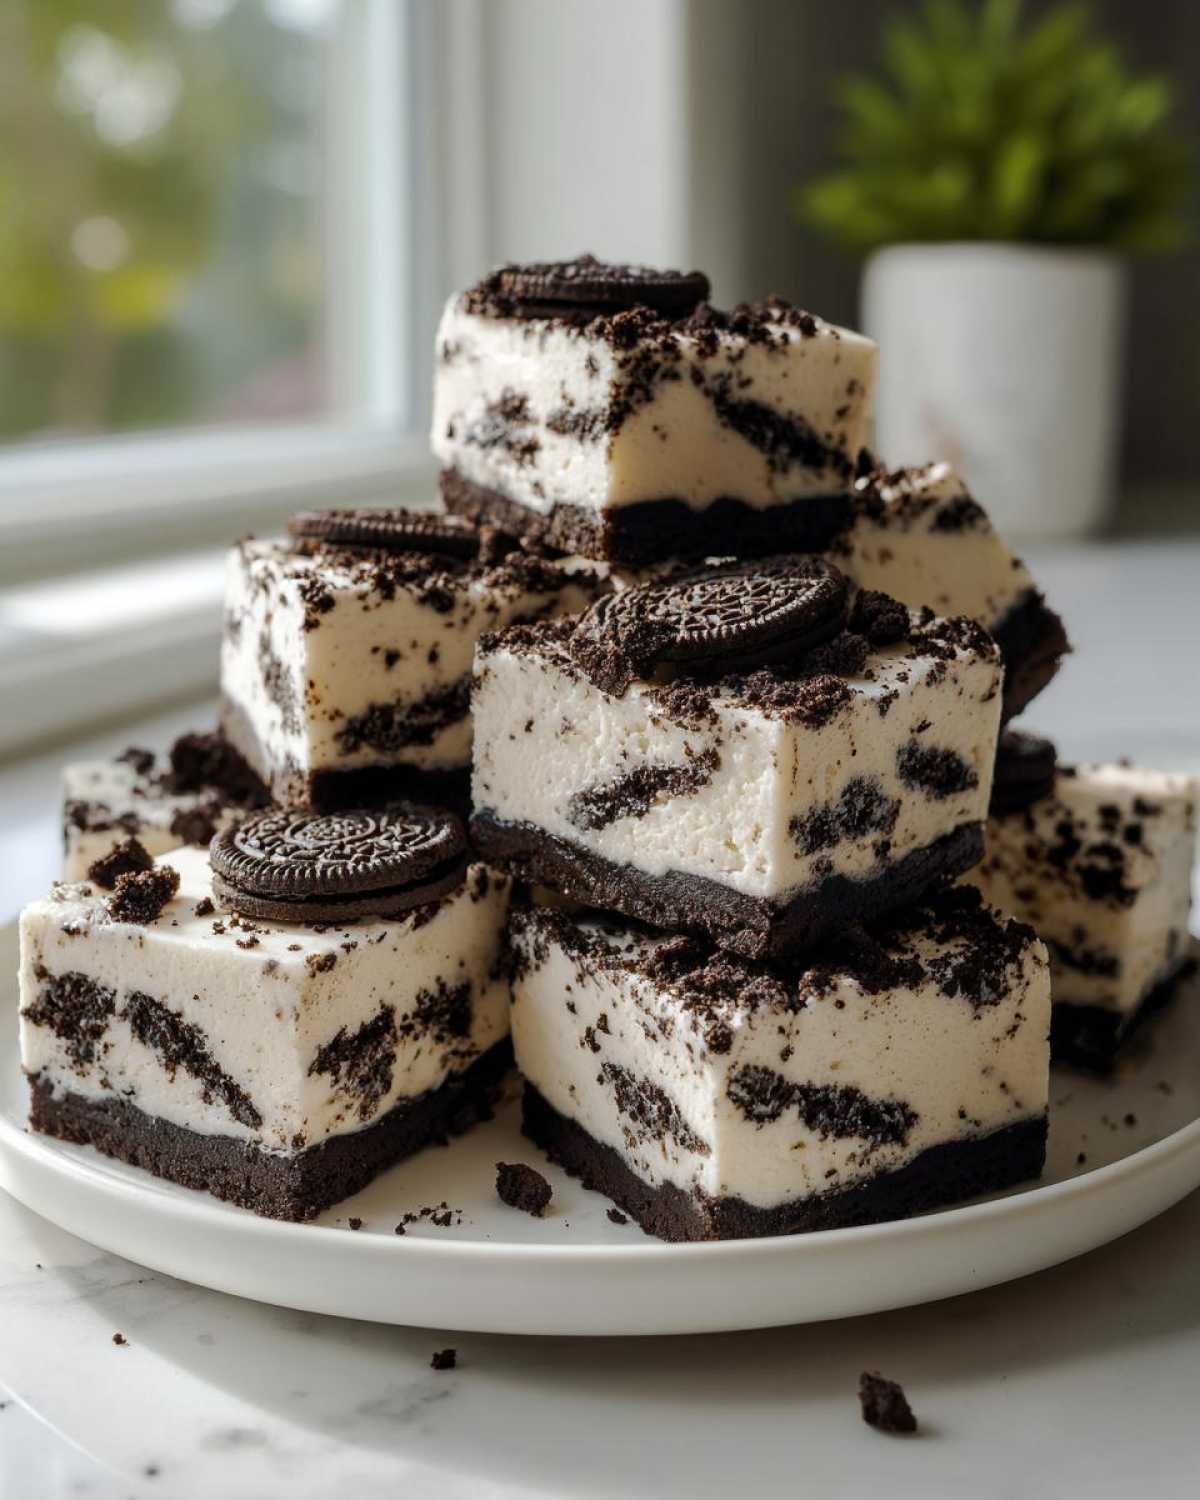
For the best methods that always work out beautifully, you can check out some of our other best tips for simple sweets here: quick bakes aren’t always the fastest route to perfection, but this fudge certainly comes close!
Tips for Success When Making Your Chocolate Cookie Fudge
Even though this is probably the easiest cookies and cream dessert ever conceived, there are still a few little tweaks Iris and I have discovered over our many batches—because we simply can’t stop making this stuff! The biggest pitfall readers mention is often the fudge being too soft, or sometimes, slightly grainy. When that happens, it usually means the chocolate base wasn’t quite smooth enough when the cookies went in, or it didn’t chill long enough.
I remember one time Julian tried to speed up chilling by putting the pan right next to the freezer vent—big mistake! The edges hardened way too fast while the middle stayed gooey. If you stick to the two-hour chill time, you will get those beautiful, clean squares you want for your simple homemade sweets.
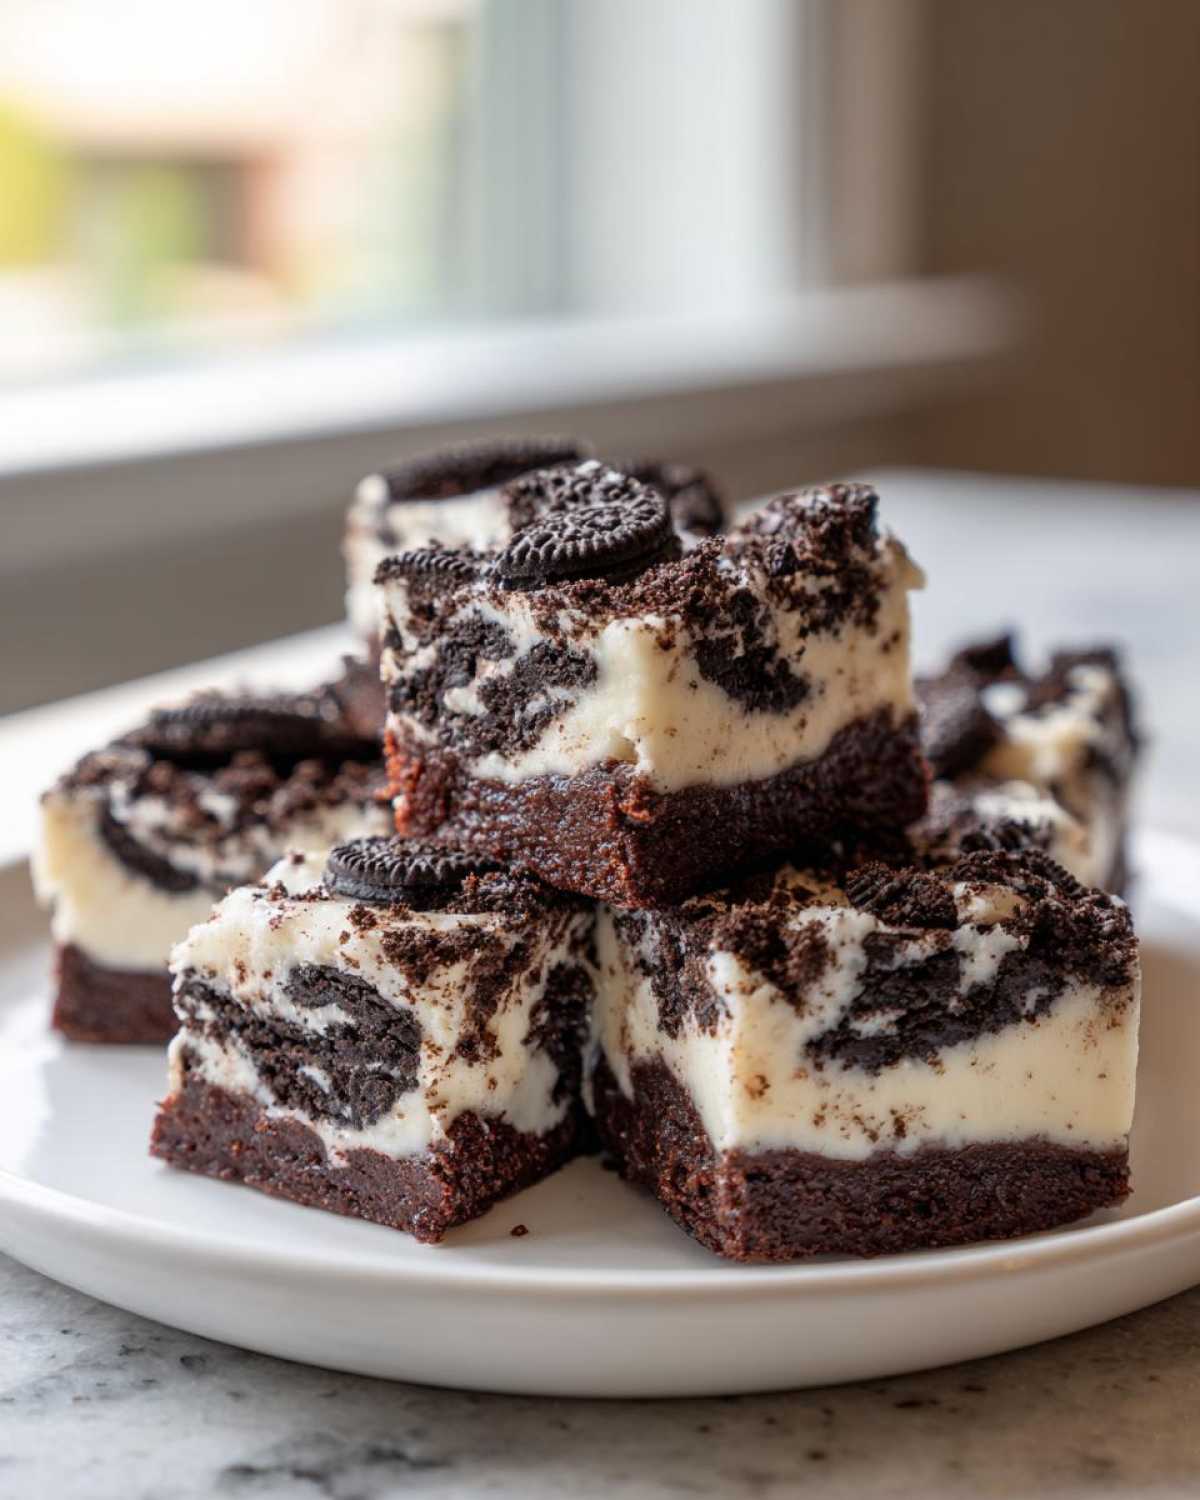
Ingredient Notes and Substitutions for Your Oreo Fudge
We stick religiously to the white chocolate for that signature cookies-and-cream vibe, but if you call me up desperate for a deeper flavor, I’ll happily tell you to swap half the white chocolate chips for semi-sweet. It makes a fantastic, slightly less sweet bar! And don’t forget the holiday fun—if you find Peppermint Oreos, swap those in during December. It makes an amazing easy holiday fudge without adding any extra steps. It’s so versatile!
Serving Suggestions for These Decadent Chocolate Treats
Once your Oreo fudge is firm and you’ve used those parchment handles to lift it out, the real fun begins: styling! While cutting these into small, rich squares is perfect for portion control (you only need a little bite of this stuff!), don’t stop there. For an upcoming party or as lovely chocolate gift ideas, try cutting them into long, skinny bars instead. They look so elegant stacked up on a platter.
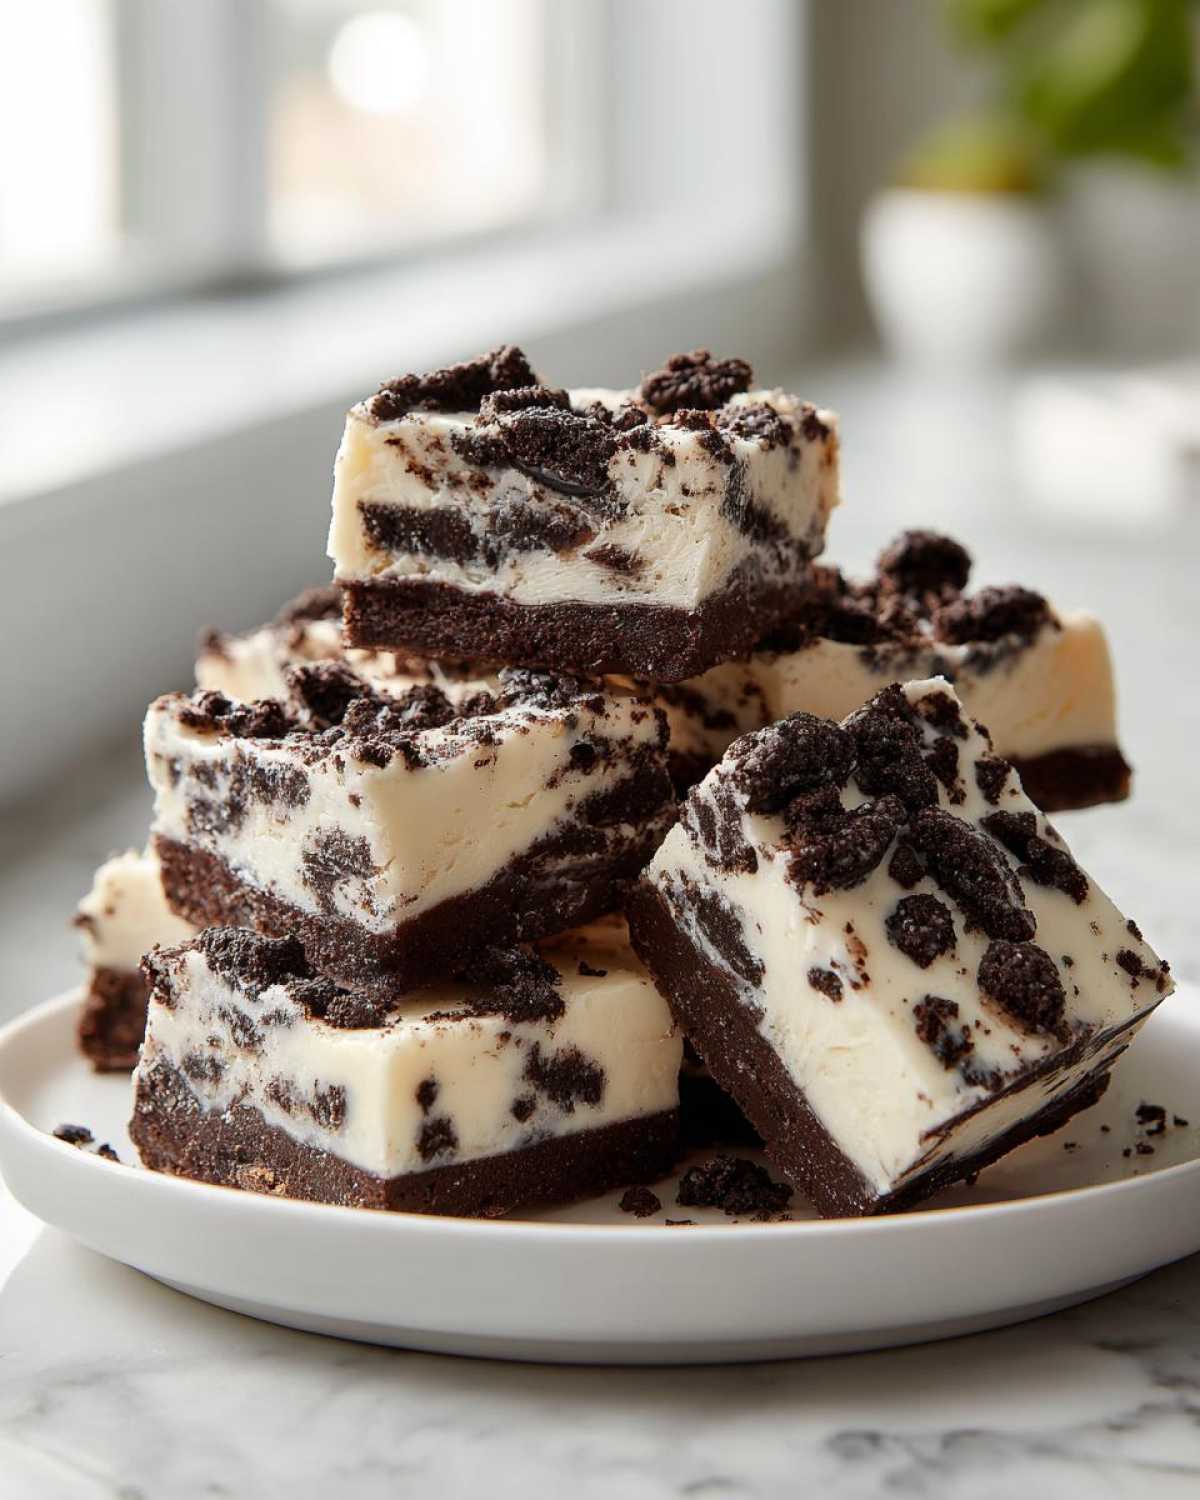
Julian once used little star-shaped cookie cutters when we made Christmas batches; it takes a tiny bit more effort, but the kids absolutely lose their minds over custom shapes! Since this is such a popular party dessert idea, presentation matters. A light dusting of powdered sugar right before serving adds that final, professional touch. Check out how we style our appetizers—sometimes a simple finish makes all the difference: our cranberry brie bites are a great example of simple presentation!
Storage and Reheating Instructions for Homemade Chocolate Candy
Since this amazing Oreo fudge doesn’t actually go into the oven, storage is super easy, which is another win for us busy creatives! You must keep this refrigerated to maintain that perfect, firm texture we worked so hard for. Pop any leftovers into an airtight container—I store mine in a Ziploc bag with the air squeezed out—and they’ll stay fresh for about a week.
Now, a quick note on reheating: please don’t! Since this homemade chocolate candy gets its structure from chilling the melted white chocolate mixture, trying to warm it up will just make it soft and potentially greasy again. It’s best enjoyed cold or letting it sit on the counter for just five minutes before serving. If you need tips on keeping other homemade items perfectly crisp, check out how we do our refrigerator pickles!
Frequently Asked Questions About This Easy Fudge Recipe
When we develop recipes here at Magazine Meal, we always think about what you might need clarification on later. Since this no bake fudge recipe is so simple, people often wonder if they can swap things out, but usually, the classic ingredients lead to the best results. This section of our blog is dedicated to answering those last-minute technique questions, especially regarding using sweetened condensed milk fudge bases!
Can I use different types of cookies in this Oreo Fudge?
While you certainly *could*, I’d advise sticking to Oreos for this particular base. The structure of the Oreo—that thick, slightly stiffer cookie wafer—holds up beautifully in the chilling process. Other cookies, like vanilla wafers, might break down too much and turn into a paste rather than lovely little crunchy bits in your final piece of Oreo fudge.
How do I get perfectly clean cuts when slicing the fudge?
This is all about presentation! A warm knife is your best friend here. Make absolutely sure your fudge is rock hard—chilled for those full two hours, minimum. Then, take a large, sharp knife and slice quickly. If the blade sticks or smears, wipe it clean with a warm, damp cloth before making your next cut. It gives you those clean lines that Julian loves for the final layout!
Is this a good option for kid friendly sweets?
Oh, it’s the absolute best for kid friendly sweets! Since there’s zero fire or hot stovetop work involved—it’s a true no oven dessert—the kids can even help crush the cookies and stir them in. It feels like a fun, edible science project for them, and the result is incredible.
Nutritional Snapshot of Your Indulgent Treats
Now, before you dive headfirst into these gorgeous squares, I want to give you the snapshot of what you’re eating. Because we used white chocolate and sweetened condensed milk, this is definitely an indulgent treat, not a health food! These numbers are just estimates, of course, based on standard brand ingredients, but they give you a good idea of where we stand per square.
Here is the estimated breakdown for one small square:
- Serving Size: 1 square
- Calories: 180
- Sugar: 20g
- Fat: 10g
- Protein: 2g
So yes, these are rich! But when they taste this amazing, we think they absolutely deserve to be the featured item on your dessert platter. Enjoy them intentionally!
Share Your Magazine Meal Masterpiece
We pour our hearts into these recipes because we genuinely want you to feel successful and delighted by the food you make. Now that you’ve tried this incredibly easy oreo fudge, please don’t keep it a secret! Head down below and leave a star rating—we love seeing how yours turned out. If you made any adjustments, tell us about them in the comments!
And please, share snapshots of your incredible homemade candy on social media! Tag us so Julian and I can see your perfectly styled squares. We love featuring our readers’ hits on our pages. If you have any questions left, you can always reach out through our contact page. Happy creating!
PrintUltimate 3-Ingredient No-Bake Oreo Fudge (Cookies and Cream)

Make this incredibly easy, no-bake Oreo Fudge using only three ingredients. This creamy, rich cookies and cream candy comes together fast and is perfect for a quick, decadent treat.
- Prep Time: 10 min
- Cook Time: 0 min
- Total Time: 2 hours 10 min
- Yield: 36 small squares
- Category: Dessert
- Method: No-Bake
- Cuisine: American
- Diet: Vegetarian
Ingredients
- 14 ounces sweetened condensed milk
- 12 ounces white chocolate chips
- 3 cups crushed Oreo cookies (about 25 cookies)
Instructions
- Line an 8×8 inch baking pan with parchment paper, leaving an overhang on two sides for easy removal later. Lightly grease the paper if desired.
- Place the white chocolate chips and sweetened condensed milk in a microwave-safe bowl.
- Microwave in 30-second intervals, stirring well after each interval, until the mixture is completely smooth and melted. This usually takes 1 to 1.5 minutes total. Do not overheat.
- Stir the crushed Oreo cookies into the melted white chocolate mixture until they are evenly distributed.
- Pour the fudge mixture into the prepared pan. Use a spatula to spread it into an even layer.
- Refrigerate the fudge for at least 2 hours, or until firm enough to slice.
- Use the parchment paper overhang to lift the fudge from the pan. Cut into small squares before serving.
Notes
- For a richer chocolate flavor, you can substitute half of the white chocolate chips with semi-sweet chocolate chips.
- If you want a holiday twist, swap out regular Oreos for Peppermint Oreos for a festive flavor.
- Store leftover fudge in an airtight container in the refrigerator for up to one week.
Nutrition
- Serving Size: 1 square
- Calories: 180
- Sugar: 20
- Sodium: 110
- Fat: 10
- Saturated Fat: 6
- Unsaturated Fat: 4
- Trans Fat: 0
- Carbohydrates: 23
- Fiber: 0
- Protein: 2
- Cholesterol: 10