

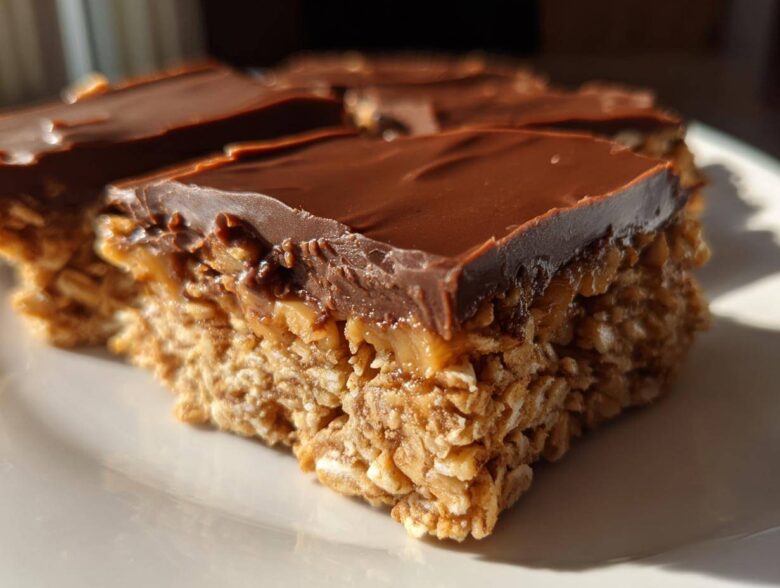
Listen, when the sun is high and the kitchen feels like an oven already, the last thing anyone wants to do is turn the actual oven on, right? Trust me, I totally get it. That’s why these No-Bake Chocolate Peanut Butter Oat Bars are my absolute lifeline during the summer months, or honestly, any busy weeknight when my sweet tooth strikes fast. Forget the fuss; we’re talking about layering a chewy oat base with creamy peanut butter and topping it all off with rich, fudgy chocolate—all assembled in one single pan. It’s the best chocolate peanut butter no bake combination you’ll ever need. I always make sure I have the ingredients on hand, especially since I learned how to make simple homemade granola bars that last longer! They set up beautifully in the fridge, which means you get maximum flavor payoff with minimum effort. I’ve saved myself so many times grabbing these from the fridge when company unexpectedly showed up!
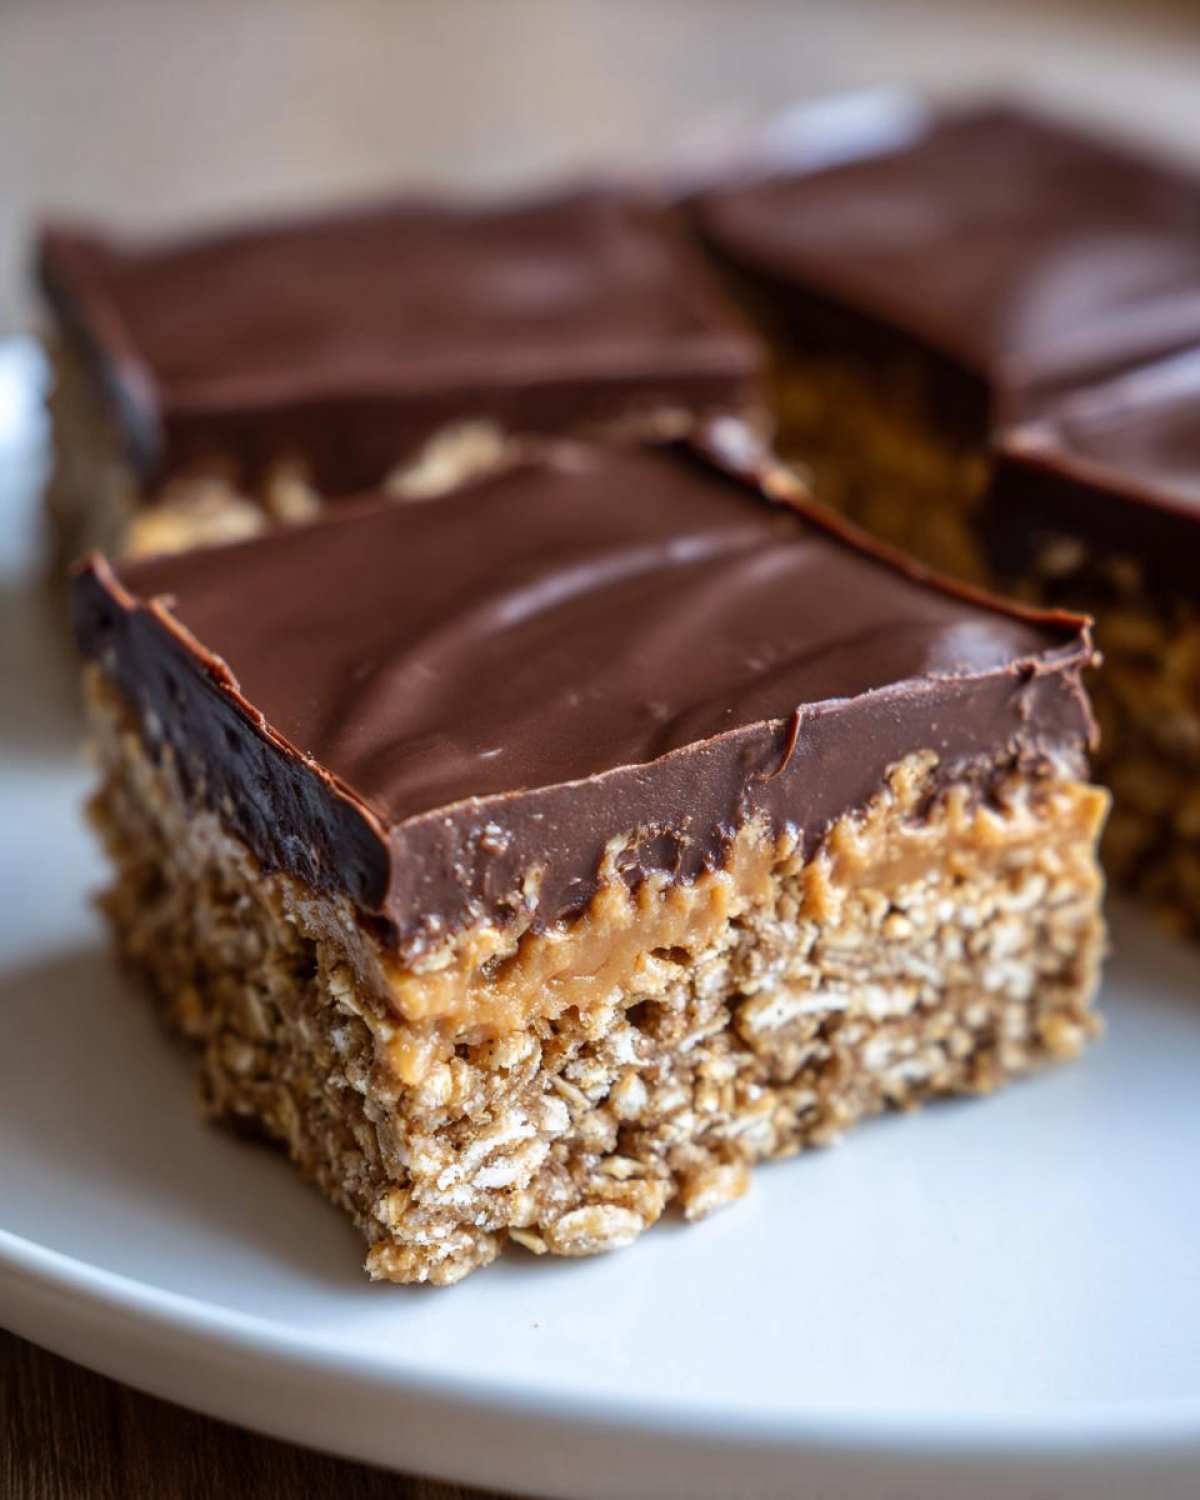
Why You Will Love These No-Bake Chocolate Peanut Butter Oat Bars
Honestly, these are the kind of treats I rely on when I need a gorgeous, satisfying dessert without the stress of turning on the oven. They tick every single box for an easy no bake dessert. You’re going to pull these out of the fridge and wonder how something so simple tastes this rich!
-
Quick Prep and Zero Oven Time
You are going to spend maybe fifteen minutes max actually mixing things. Seriously! This makes them the ultimate quick chocolate snack recipe when you need something sweet right now. They are just so fast to put together.
-
Perfectly Layered Texture
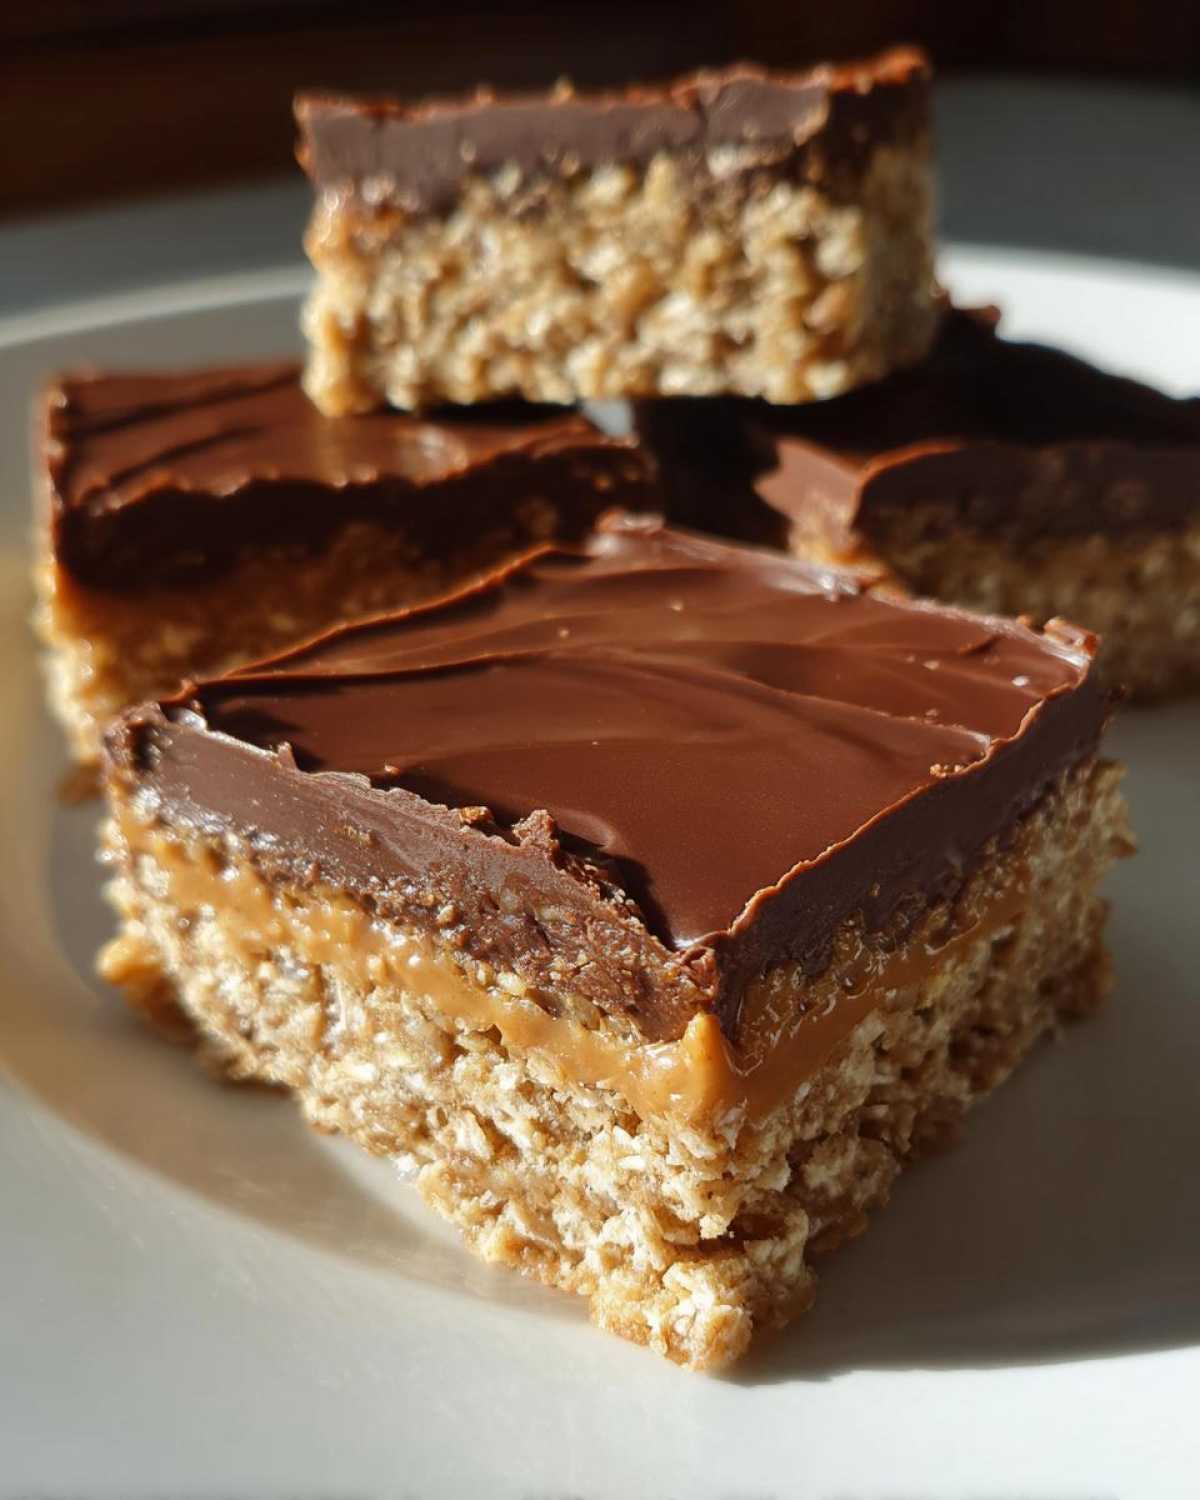
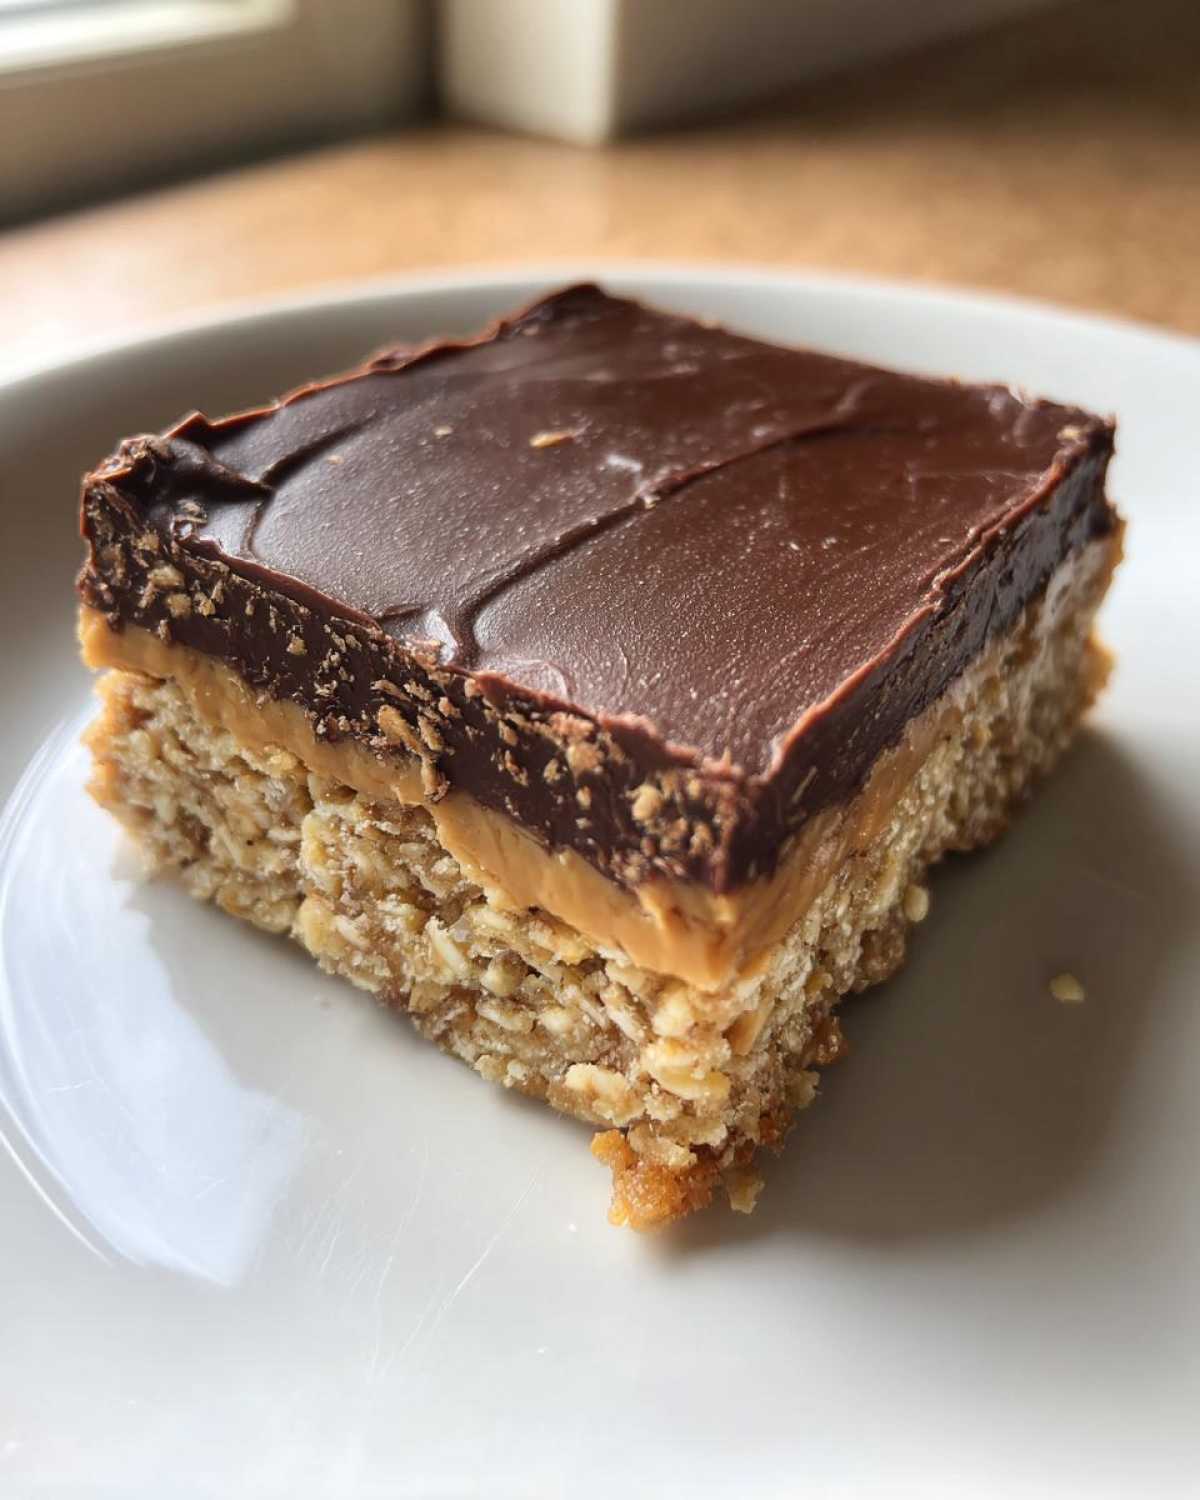
My favorite part is the contrast! You get that wonderfully chewy texture from the oats underneath, and then you hit that cool, smooth, slightly darker layer of chocolate and peanut butter on top. It keeps you coming back for one more little square every time.
Gathering Ingredients for No-Bake Chocolate Peanut Butter Oat Bars
Getting ready for these bars is half the fun because you probably have almost everything hanging out in your pantry already! Precision matters here, especially when we aren’t baking to firm things up. We need the right proportions so the base holds together, right? Trust me on demanding the right type of ingredient—it makes a huge difference when you’re working without an oven.
If you’re looking for other great peanut butter treats that skip the heat, you have to check out my no-bake peanut butter pie recipe—it’s heavenly!
For the Chewy Oat Base
This is the foundation, so make sure your butter is actually melted and your peanut butter is the creamy kind, not the natural drippy stuff, okay?
- 1 1/2 cups rolled oats (make sure they’re rolled for that chew!)
- 1 cup creamy peanut butter
- 1/2 cup unsalted butter, melted
- 1/2 cup powdered sugar
- 1 teaspoon vanilla extract
For the Rich Chocolate Topping
The topping is quick, but you need to separate your peanut butter amounts! We use the rest of the chips and a little extra PB to get that perfect drizzleable consistency.
- 1 cup semi-sweet chocolate chips
- 1/4 cup creamy peanut butter (this is the extra bit for the topping)
Step-by-Step Instructions for Your No-Bake Chocolate Peanut Butter Oat Bars
It’s so satisfying seeing these come together in layers! You definitely want to use parchment paper here, otherwise, you’ll be scraping melted chocolate off your pan forever. Don’t worry, these simple layered dessert bars come together faster than you think, but the chilling time is non-negotiable if you want clean cuts!
Preparing and Setting the Oat Layer
First thing: line that 8×8 inch pan with parchment paper, leaving those helpful overhangs hanging over two sides—that’s your handle later! Now, mix everything for the base—oats, the cup of peanut butter, melted butter, sugar, vanilla—until it’s really uniform. Then, grab a glass with a flat bottom and press that mixture down into the pan. I mean press it! Pop that pan into the freezer for just 15 minutes to let it firm up a bit.
Creating the Smooth Chocolate Topping
While the base chills, we work on the gooey top. Combine your chocolate chips and that final 1/4 cup of peanut butter. I use the microwave for this. But listen closely: heat it for 30 seconds, stir it like crazy, then repeat for 30 seconds until it’s perfectly smooth. If you just blast it, you’ll burn that chocolate, and nobody wants gritty chocolate topping, trust me! This little bit of stirring patience is key to great texture.
Assembling and Chilling the No Bake Oatmeal Squares Recipe
Once the base is cool, pour the melted chocolate mixture right over the top. Use a small offset spatula, or even the back of a spoon, to spread it out evenly so it covers every bit of oat base. Then, it needs a good, long nap in the refrigerator. I always aim for at least two hours—more if you can wait—until that chocolate is totally firm. Once it’s set, just use those parchment handles to lift the whole block out, cut it into 16 squares, and you are done! If you are planning ahead for snacks, remember that easy no-bake protein bars are great too, but these chocolate ones beat them for pure dessert satisfaction.
Tips for Perfect No-Bake Chocolate Peanut Butter Oat Bars
You know, even though we aren’t messing with oven settings, there are still a few tiny tricks to guarantee that these bars turn out exactly how you want them—super firm and wonderfully flavorful. If you follow these little secrets, you’ll nail that best chocolate peanut butter no bake experience every single time. It’s all about a little extra pressure!
Achieving a Firm Base Texture
When you press down your oat mixture into the pan, don’t be gentle! I mean it. You need serious compression if you want these to slice cleanly later on. Skip using your hands after the first bit because they’ll warm up the peanut butter too much. Grab a flat-bottomed measuring cup or even the bottom of a small, clean glass jar. Push down really firmly across the entire surface. You want to squish all those oats together so they become one solid foundation.
Troubleshooting Soft Toppings
If, for whatever reason, you pull these out after two hours and the chocolate layer still looks a little wobbly, don’t panic! It happens, especially if your kitchen is running warm. Just pop them back in the fridge for another hour, no problem. If it still feels too soft later on, maybe next time you make them, add about a teaspoon of coconut oil when you melt the chocolate chips; that helps them set up like a dream. You can always find more great tips for no bake energy bars that stay firm!
Ingredient Notes and Substitutions for Your No-Bake Recipe
Even though these bars come together so easily, people always ask me about swapping things out, and I completely get it! Maybe you’re out of something, or maybe you need to make them work for someone with allergies. I’ve tested a few things so you don’t have to guess. Remember, since we aren’t using the oven, texture changes can be pretty noticeable, so be mindful!
Oat and Sugar Variations
I insist on rolled oats because they give you that perfect, satisfying chew, like a good oatmeal cookie crust. If you only have quick oats on hand, go ahead and use them, but for the oat squares recipe, know that the texture will be a little softer and more… well, crumbly. Don’t substitute cane sugar for the powdered sugar in the base, though; powdered sugar mixes in creamy because it already has that fine, cornstarch-like texture. White sugar will leave gritty little pockets in your peanut butter layer, and nobody wants that!
Nut Butter Swaps
This is one of my favorite things to tweak for the vegan no bake peanut butter bars crowd! You can definitely substitute almond butter if you want a different flavor note, but just know almond butter is usually thinner than standard Jif or Skippy style peanut butter. If you use almond butter, you might notice the base feels a little looser, so just press it harder when you pack it down. Sunflower seed butter works great too if there are nut allergies, but you’ll get a slightly darker final color, which is fine!
Storage and Make Ahead Tips for No-Bake Chocolate Peanut Butter Oat Bars
You absolutely *have* to plan ahead with these bars because they get better the longer they chill! Since these No-Bake Chocolate Peanut Butter Oat Bars rely on the cold to firm up that gorgeous chocolate cap, the refrigerator is your best friend. They definitely fall into the category of perfect make ahead sweet snacks because they don’t go stale quickly at all.
I always advise keeping them in an airtight container right in the fridge. Seriously, don’t leave them on the counter! They will get soft and gooey if they warm up too much. If you leave them in the cold for at least four hours—or even better, overnight—they cut into those perfect, clean squares we were aiming for. They stay tasting fantastic for almost a week too! See? Easy snacking all week long without ever touching the stove. For other great make-ahead recipes, check out my secrets for an easy moist lemon loaf recipe!
Serving Suggestions for These Layered Dessert Bars
When you finally cut into those perfectly set bars, you want to show them off a little bit! Because these are so rich, you truly don’t need much, but I have a couple of favorite ways to elevate these fudgy no bake oat squares. My absolute number one tip for anything this sweet and chocolatey is a little sprinkle of flaky sea salt right over the top before the chocolate sets completely. It just cuts through the richness perfectly!
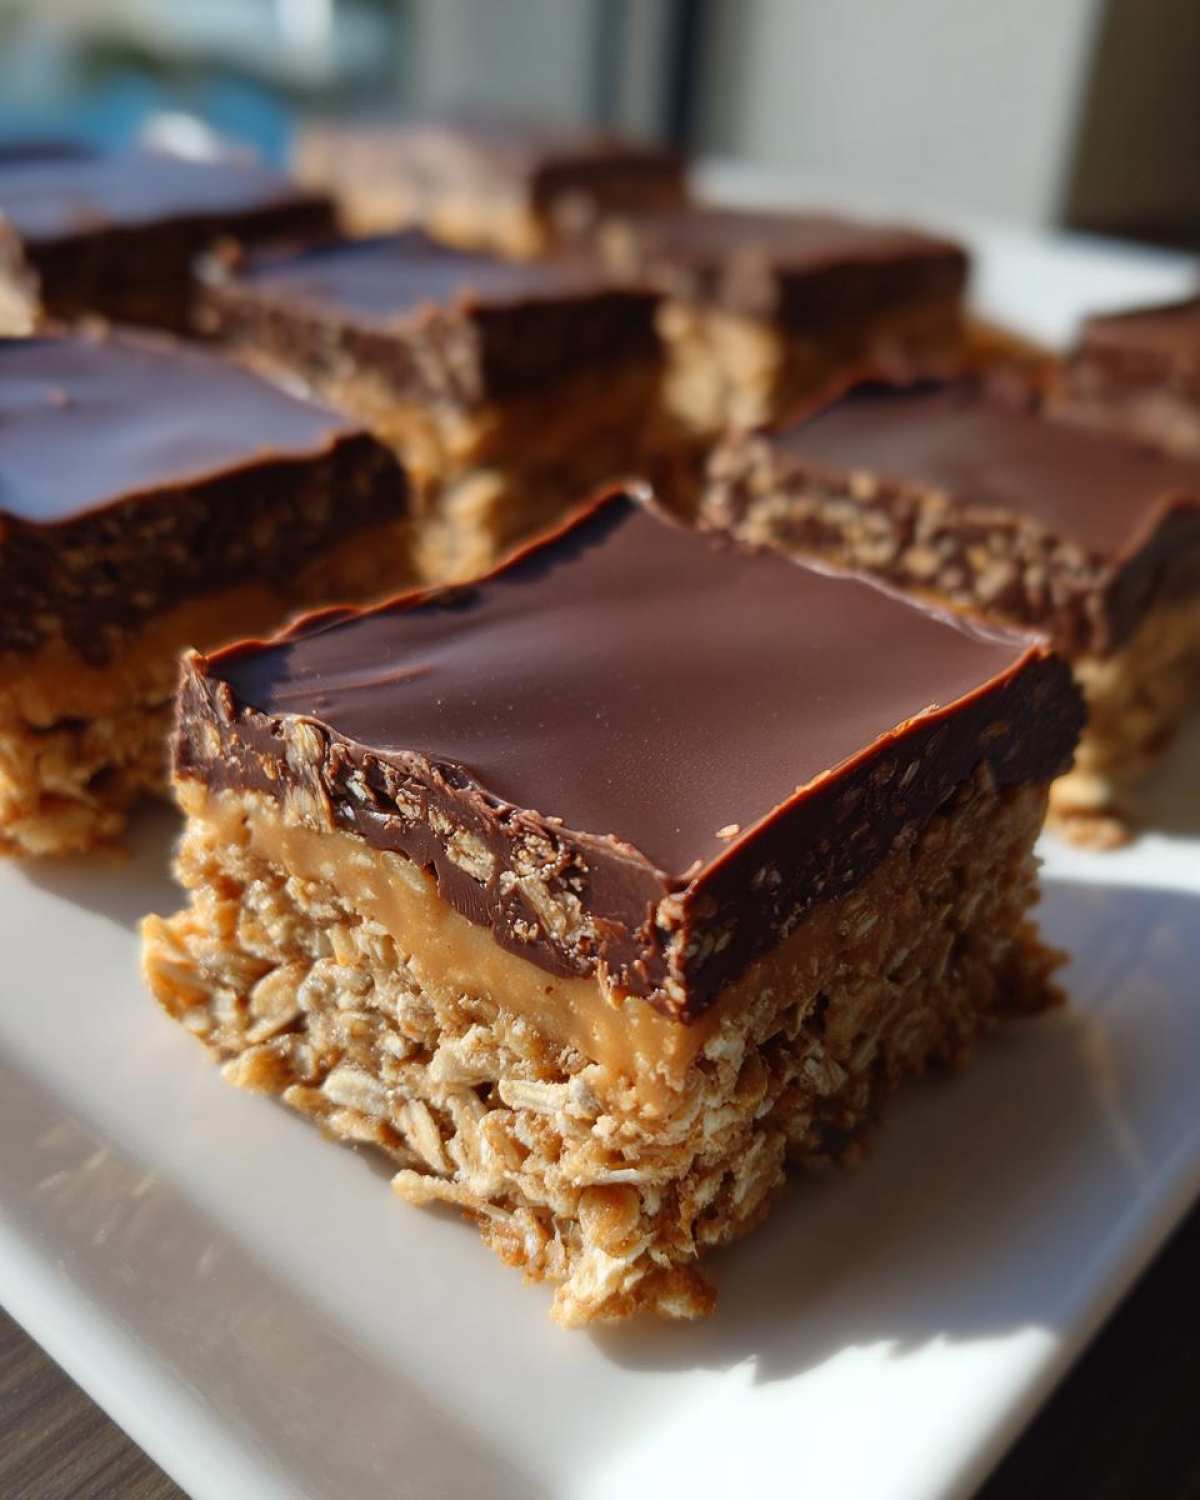
If you are serving them after dinner, a few tart raspberries or some sliced strawberries on the side offer a nice, bright contrast to the heavy peanut butter. They look beautiful sitting next to a big glass of cold milk, too. Seriously, keep them cold until right before serving, and watch them disappear!
Frequently Asked Questions About No Bake Energy Bars Recipe
It’s funny how many questions pop up once you take the oven out of the equation! Since these are no bake energy bars, people worry about how they hold together, and that’s smart! Getting the setting time right is crucial for those clean cuts we talked about. I’ve gathered the most common things folks ask me about making these, so hopefully, it clears everything up!
Can I use quick oats instead of rolled oats in this no bake dessert?
Yes, you totally can! But here’s the thing: rolled oats keep their shape and give you that satisfying, hearty chew, almost like a crispy edge. Quick oats are softer and break down more easily when mixed. So, if you use quick oats, your base layer will likely be a bit softer and less chewy overall. They’ll still taste amazing, though! Just don’t expect that same sturdy texture you get from rolled oats.
How long do these bars need to chill before cutting?
This is where patience pays off! The absolute minimum you should chill them for is two hours—that’s enough time for the chocolate to firm up a bit so you can handle them without getting frosting all over your fingers. But if you want those perfectly clean, sharp edges, like you see in the photos? You need to let them sit for four hours, or even better, overnight in the fridge. They become so much easier to slice neatly when they are totally solid.
Can I make these peanut butter dessert bars no oven vegan?
You absolutely can adapt this! Since the base recipe uses butter and semi-sweet chips (which usually contain milk solids), you’ll need two simple swaps to make these truly vegan. First, use a plant-based butter stick instead of the regular unsalted butter. Second, make sure your chocolate chips are certified dairy-free. Most dark chocolate chips work well, but always double-check the label! If you follow those two steps, you get a wonderful vegan no bake peanut butter bars treat without ever firing up the stove. For more ideas on great baked goods, check out my general posts on the blog!
Estimated Nutritional Information for No-Bake Chocolate Peanut Butter Oat Bars
Now, I know you bakers are going to want to know a little something about what’s inside these treats, even if we didn’t bake them! Since these No-Bake Chocolate Peanut Butter Oat Bars are made with richer ingredients like peanut butter and butter, they are definitely a dessert indulgence, not a diet bar, let’s be real.
Here’s the breakdown based on my standard ingredient measurements for one bar (we cut them into 16 pieces):
- Calories: 220
- Sugar: 14g
- Fat: 14g
- Protein: 6g
- Carbohydrates: 21g
Remember that these are just estimates! If you use low-fat peanut butter or different chocolate chips, those numbers will shift a little. I always just use this as a general guideline when I’m planning out the week’s snacks.
PrintUltimate No-Bake Chocolate Peanut Butter Oatmeal Bars
Make these simple, layered bars featuring a chewy oat base, a creamy peanut butter filling, and a rich chocolate topping. No oven is required.
- Prep Time: 15 min
- Cook Time: 0 min
- Total Time: 2 hr 15 min
- Yield: 16 bars
- Category: Dessert
- Method: No-Bake
- Cuisine: American
- Diet: Vegetarian
Ingredients
- 1 1/2 cups rolled oats
- 1 cup creamy peanut butter
- 1/2 cup unsalted butter, melted
- 1/2 cup powdered sugar
- 1 teaspoon vanilla extract
- 1 cup semi-sweet chocolate chips
- 1/4 cup creamy peanut butter (for topping)
Instructions
- Line an 8×8 inch baking pan with parchment paper, leaving an overhang on two sides for easy removal.
- In a medium bowl, combine the rolled oats, 1 cup of peanut butter, melted butter, powdered sugar, and vanilla extract. Mix until fully combined and the mixture is uniform.
- Press the oat mixture firmly and evenly into the bottom of the prepared pan. Place the pan in the freezer for 15 minutes to set.
- While the base sets, prepare the chocolate topping. In a microwave-safe bowl, combine the chocolate chips and the remaining 1/4 cup of peanut butter. Microwave in 30-second intervals, stirring well after each, until smooth and fully melted.
- Pour the chocolate mixture over the chilled oat base. Spread evenly.
- Return the pan to the refrigerator and chill for at least 2 hours, or until the chocolate topping is firm.
- Use the parchment paper overhang to lift the bars from the pan. Cut into 16 squares before serving.
Notes
- For a firmer bar, chill the bars for 4 hours or overnight.
- Store leftovers in an airtight container in the refrigerator for up to one week.
- You can substitute almond butter for peanut butter if desired.
Nutrition
- Serving Size: 1 bar
- Calories: 220
- Sugar: 14g
- Sodium: 85mg
- Fat: 14g
- Saturated Fat: 5g
- Unsaturated Fat: 9g
- Trans Fat: 0g
- Carbohydrates: 21g
- Fiber: 2g
- Protein: 6g
- Cholesterol: 5mg