

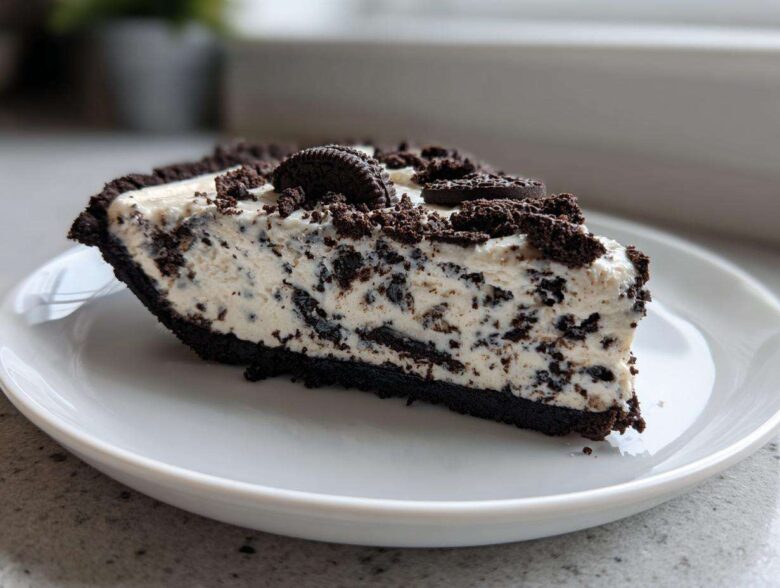
When life feels like one giant rough draft—all deadlines and no polish—we just need a dessert that doesn’t demand perfection, right? That’s why Julian and I are constantly leaning on our **Ultimate No-Bake 3-Ingredient Oreo Pie**. Seriously, if you want a showstopper that takes mere minutes of real work, this is it. It’s the pure, unedited joy of dessert. Forget turning on the oven; this is our go-to for a quick, creamy treat when we need something fast but decadent.
This recipe delivers that amazing cookies and cream experience we all crave in a truly quick **oreo pie**. We’ve tested this version countless times because, honestly, sometimes you just need a win that comes together beautifully without any fuss. It sets up perfectly in the fridge, making it a fantastic make-ahead option for unexpected guests or just surviving a tough Tuesday.
If you want a peek at some of our other simple, fast favorites, check out how we use whipped topping in our easy 3-ingredient cookies. They follow the same philosophy: maximum flavor, minimum effort.
Why This No-Bake Oreo Pie Deserves the Headline
We put our **oreo pie** front and center for good reason! This isn’t just another recipe; it’s your new secret weapon for easy entertaining. It’s all about delivering that incredible cookies and cream flavor without any complicated steps. We love knowing we can pull this together fast.
The Ultimate Oreo Pie: Quick Prep Time
We timed this out, and the actual hands-on time is just 20 minutes! That makes it the definition of an Easy Oreo Dessert when you have zero spare time. It’s perfect for those late-night cravings or when company shows up unexpectedly.
A Truly Simple Oreo Recipe
Yes, you read that right—three ingredients! We cut out all the unnecessary extras. This ultra-clean component list means buying ingredients is simple, and cleanup is a breeze. That’s what we call a 3 Ingredient Pie that actually tastes like it took hours.
Gathering Ingredients for Your Oreo Pie
Okay, let’s get our supplies out. Since this is our **oreo pie** built on ultimate simplicity, we only need three things, but precision matters, even here! You want to make sure your butter is fully melted so it incorporates perfectly into that crust. And crucially, your whipped topping needs to be completely thawed before we start folding things together, otherwise, you’ll get lumps instead of that smooth, creamy filling. Trust me on the thawing part!
Here’s what you need for an 8-serving pie:
- 1 package (14.3 ounces) Oreo cookies (yes, use the whole thing, filling and all!)
- 1 stick (8 tablespoons) unsalted butter, melted
- 1 container (8 ounces) frozen whipped topping, thawed right before you need it
Crafting the Chocolate Cookie Crust for Your Oreo Pie
The foundation of any great **oreo pie** is that crust, and this one is so easy it feels like cheating! We’ve perfected the method for getting that deep, rich chocolate flavor. Most often, Julian runs the entire sleeve of cookies—yes, cream and all—through our food processor until they are just fine crumbs. It’s the fastest way to get a consistent result, giving us that perfect Chocolate Cookie Crust base.
But if you’re having a non-processor day, don’t panic! Just toss all your Oreos into a sturdy zip-top bag, seal it tight, and smash them with a heavy rolling pin or the bottom of a sturdy saucepan. It takes a bit more elbow grease, but it’s totally satisfying!
Crumb Preparation and Butter Mixing
Once you have your crumbs, drizzle in that melted butter quickly and pulse—or mix with a fork if you used the bag method. You are looking for a texture just like slightly wet sand. When you squeeze a bit in your hand, it should hold its shape. That’s the cue!
Now, press that buttery mixture firmly and evenly into the bottom and slightly up the sides of your pie dish. I mean really press it down; this helps it set up hard and sturdy when it chills. As soon as it’s packed in, pop that crust right into the freezer while we whip up the filling. We want it nice and cold!
Achieving the Creamy Oreo Filling for This Easy Oreo Dessert
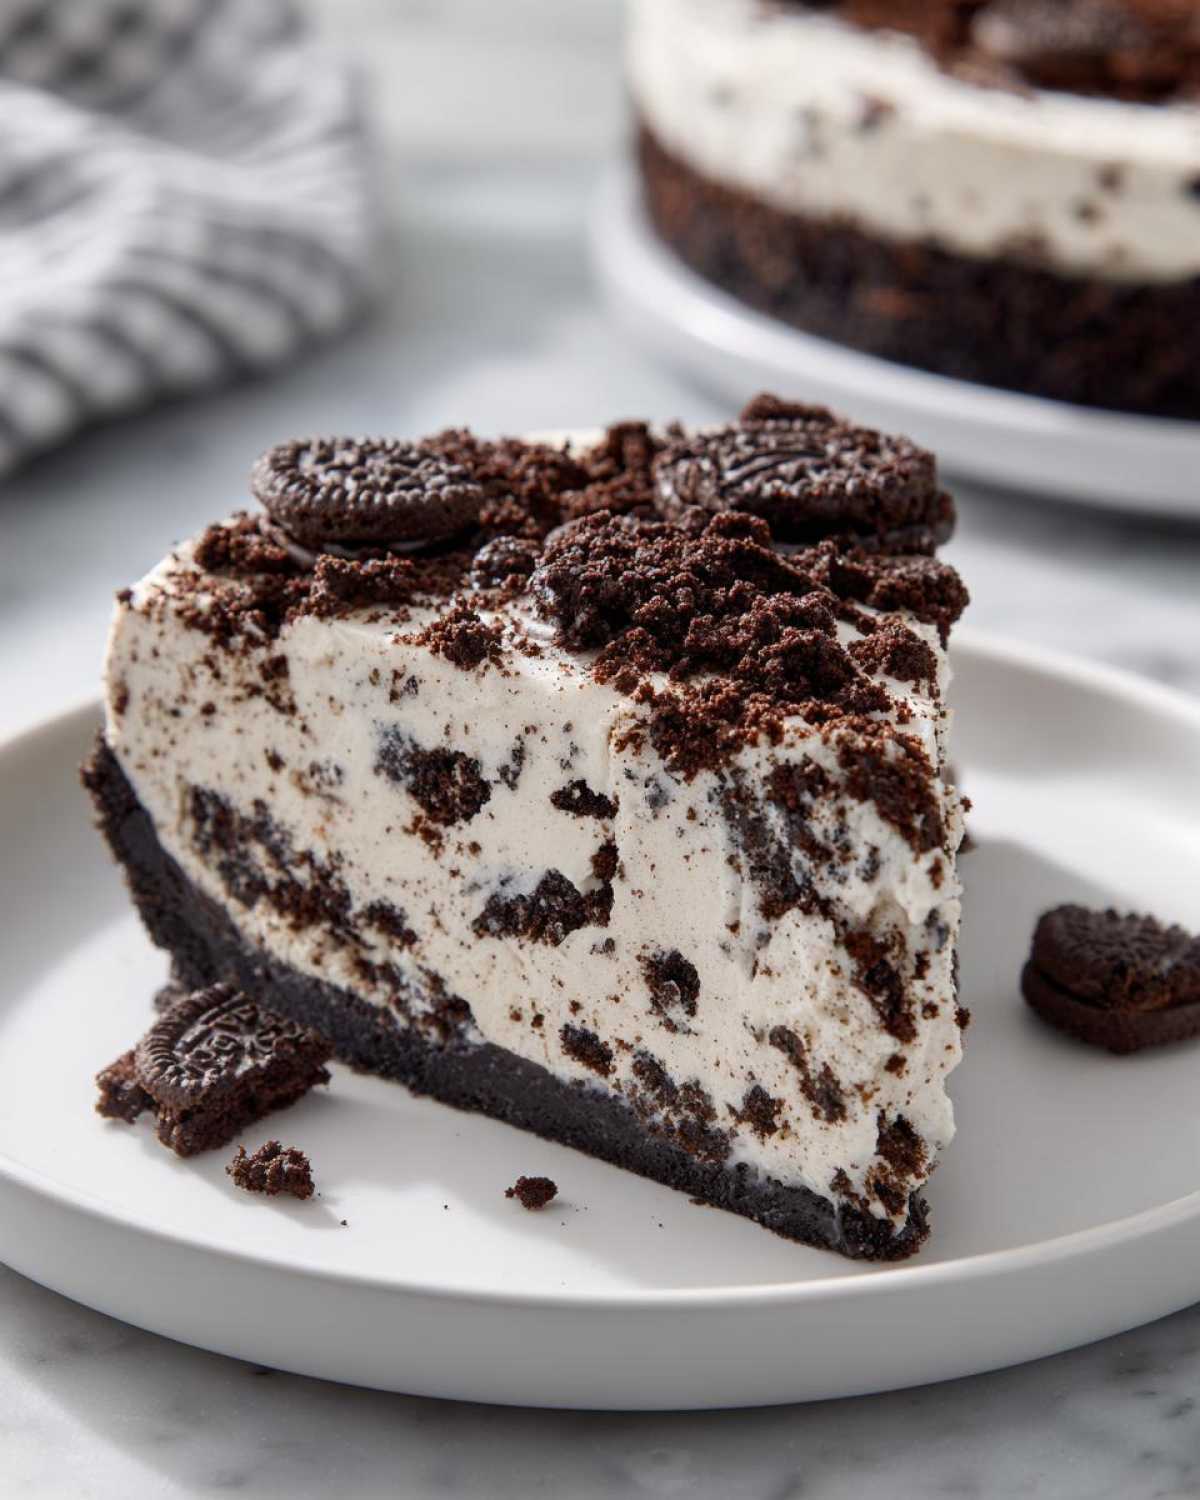
Alright, this next part is where the magic truly happens for this Easy Oreo Dessert. We’re going to make that gorgeous, fluffy cookies and cream core. The trick here is texture, and texture comes from patience—well, gentle patience, anyway! Take your thawed whipped topping and slowly start folding it into the crushed cookies we set aside. Don’t forget to reserve about 1 cup of those glorious crushed bits for the top layer later!
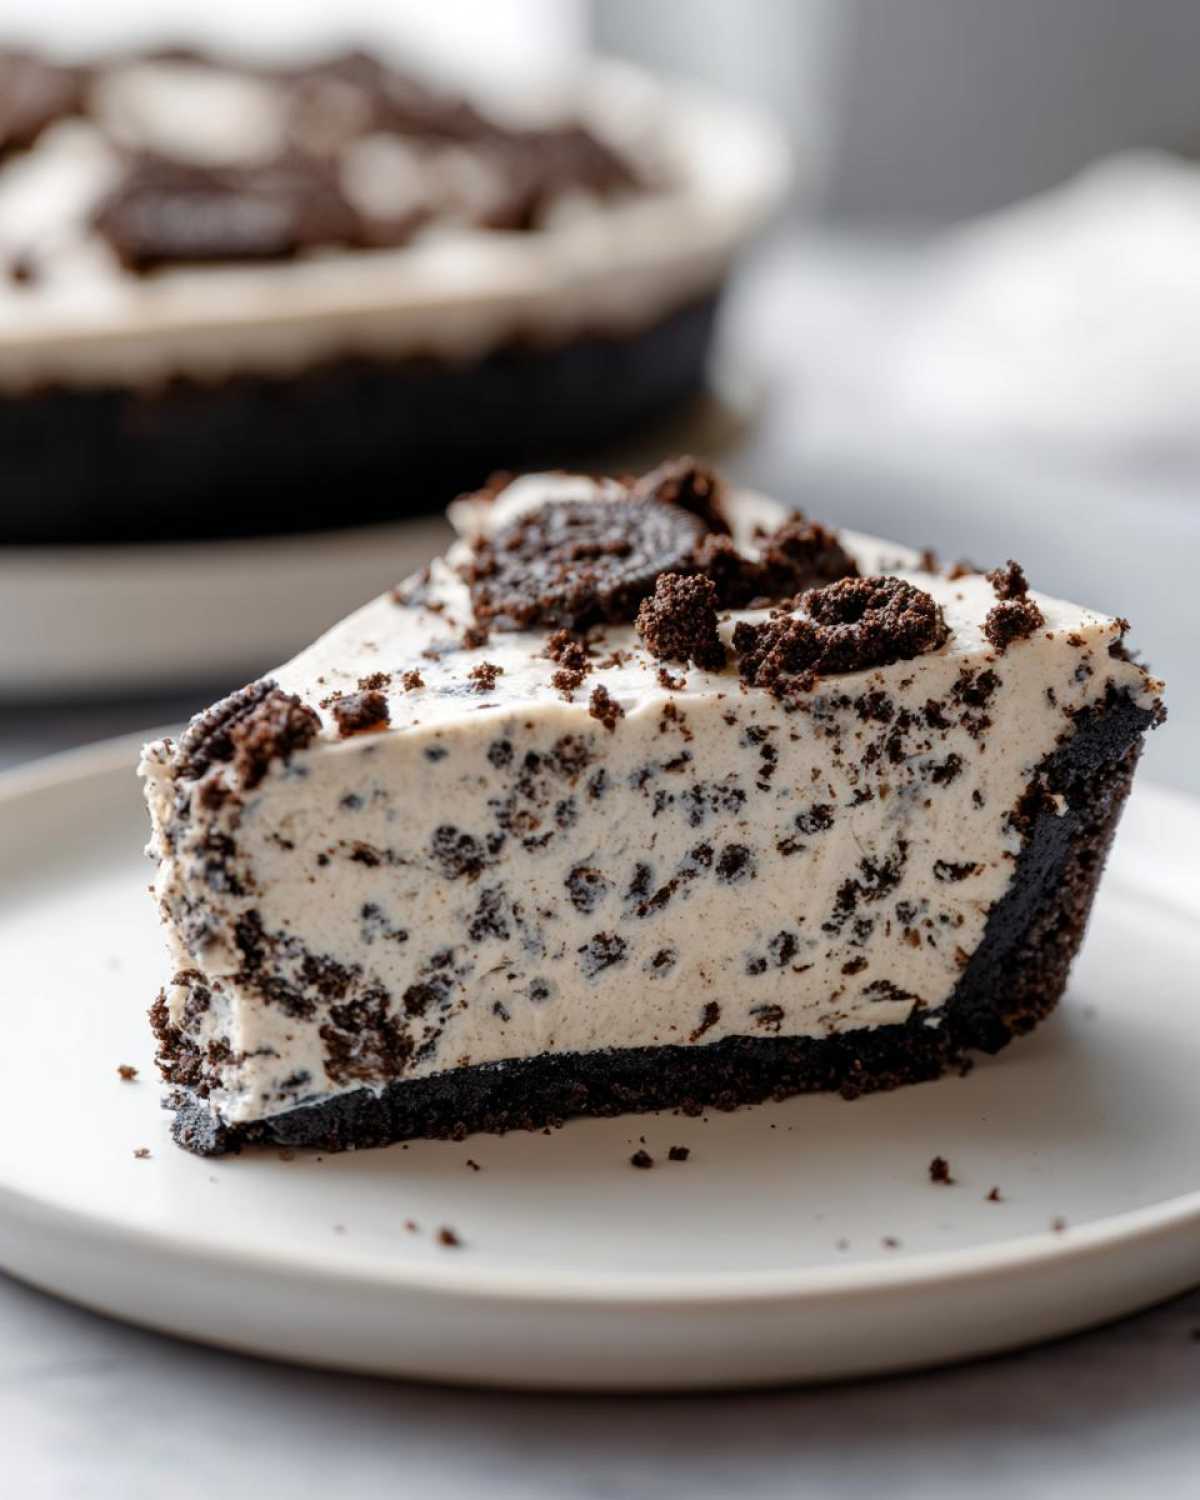
You’re aiming for streaks, not homogeneity! We want ribbons of white topping weaving through the dark cookie pieces. This technique is what gives you that beautiful, distinct cookies and cream look once it sets up. If you’re looking for other cool ways to incorporate whipped topping without baking, check out my guide on no-churn ice cream—same gentle folding principle applies there!
Tips for a Fluffy Oreo Dessert Filling
This is my biggest piece of advice for this specific filling: Do not overmix! I can’t stress this enough. Overmixing is the fastest way to destroy all the beautiful air that the cold whipped topping brings to the party. When you mix too hard or too long, you literally deflate all those tiny air bubbles, and suddenly your light, fluffy dessert turns into a heavy, dense puck.
Slowly, gently, use a spatula and cut down through the center, then sweep up the side. Keep folding until you just see the ingredients starting to incorporate. If you still see distinct white streaks, you’re doing it perfectly. That airiness is what makes this **oreo pie** so unbelievably light against that crunchy base.
Assembling and Chilling Your Party Pie Recipe
Now for the grand finale before the waiting game begins! Take that beautifully chilled chocolate cookie crust out of the freezer. It should feel hard and solid—that’s exactly what we want for a successful **party pie recipe** that holds its shape when you slice it.
Gently spoon that fluffy cookies and cream filling right into the center of that crust. Use an offset spatula or the back of a spoon to smooth the top evenly. Don’t press down hard, or you’ll collapse the air we worked so hard to maintain in the filling!
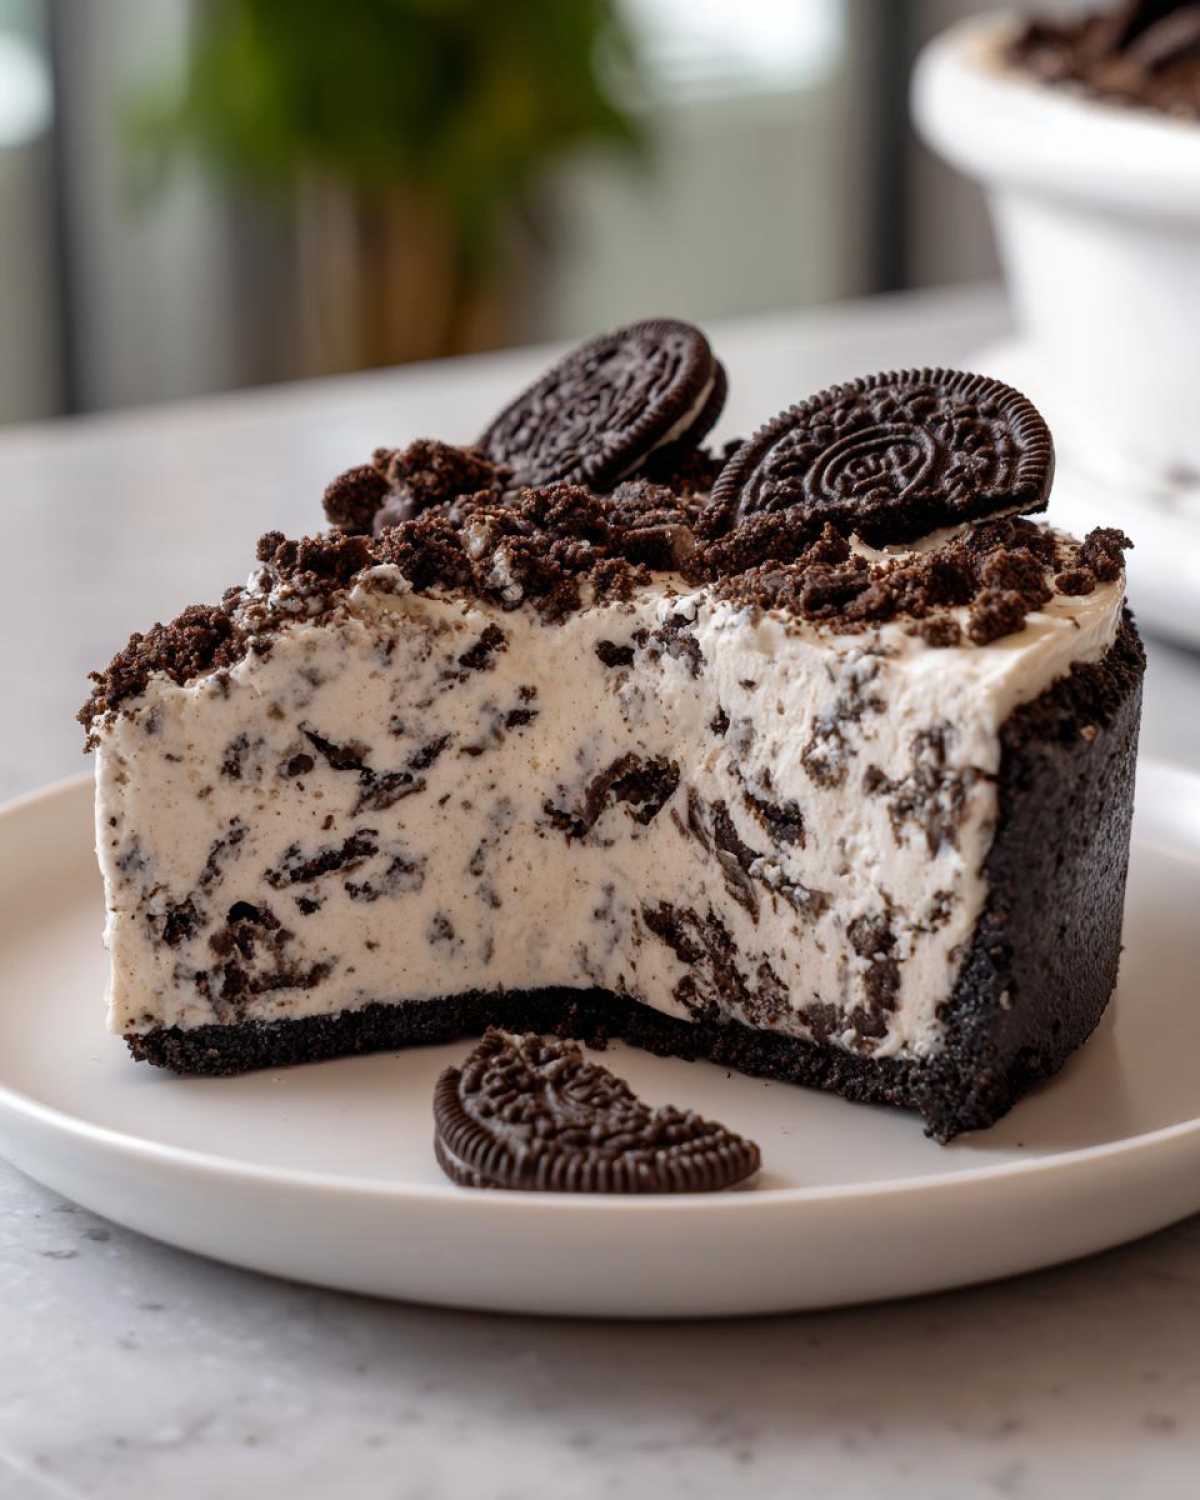
This next step is critical for any great Chilled Dessert: time in the cold. Cover the pie loosely with plastic wrap—don’t let the wrap touch the surface obviously—and slide it into the refrigerator. You need a minimum of four hours for this **No Bake Oreo Pie** to firm up enough to slice. But honestly? If you can wait until the next day, it tastes even better; the flavors meld, and it becomes perfectly sturdy for cutting!
Serving Suggestions for Your Decadent Oreo Treats
The moment of truth! Once the pie is totally set, it’s time for the final styling. Remember those crushed cookies we tucked away? Now is the time to sprinkle them generously over the top. This gives you a great visual texture and reminds everyone what they are about to dive into—a truly Decadent Oreo Treat!
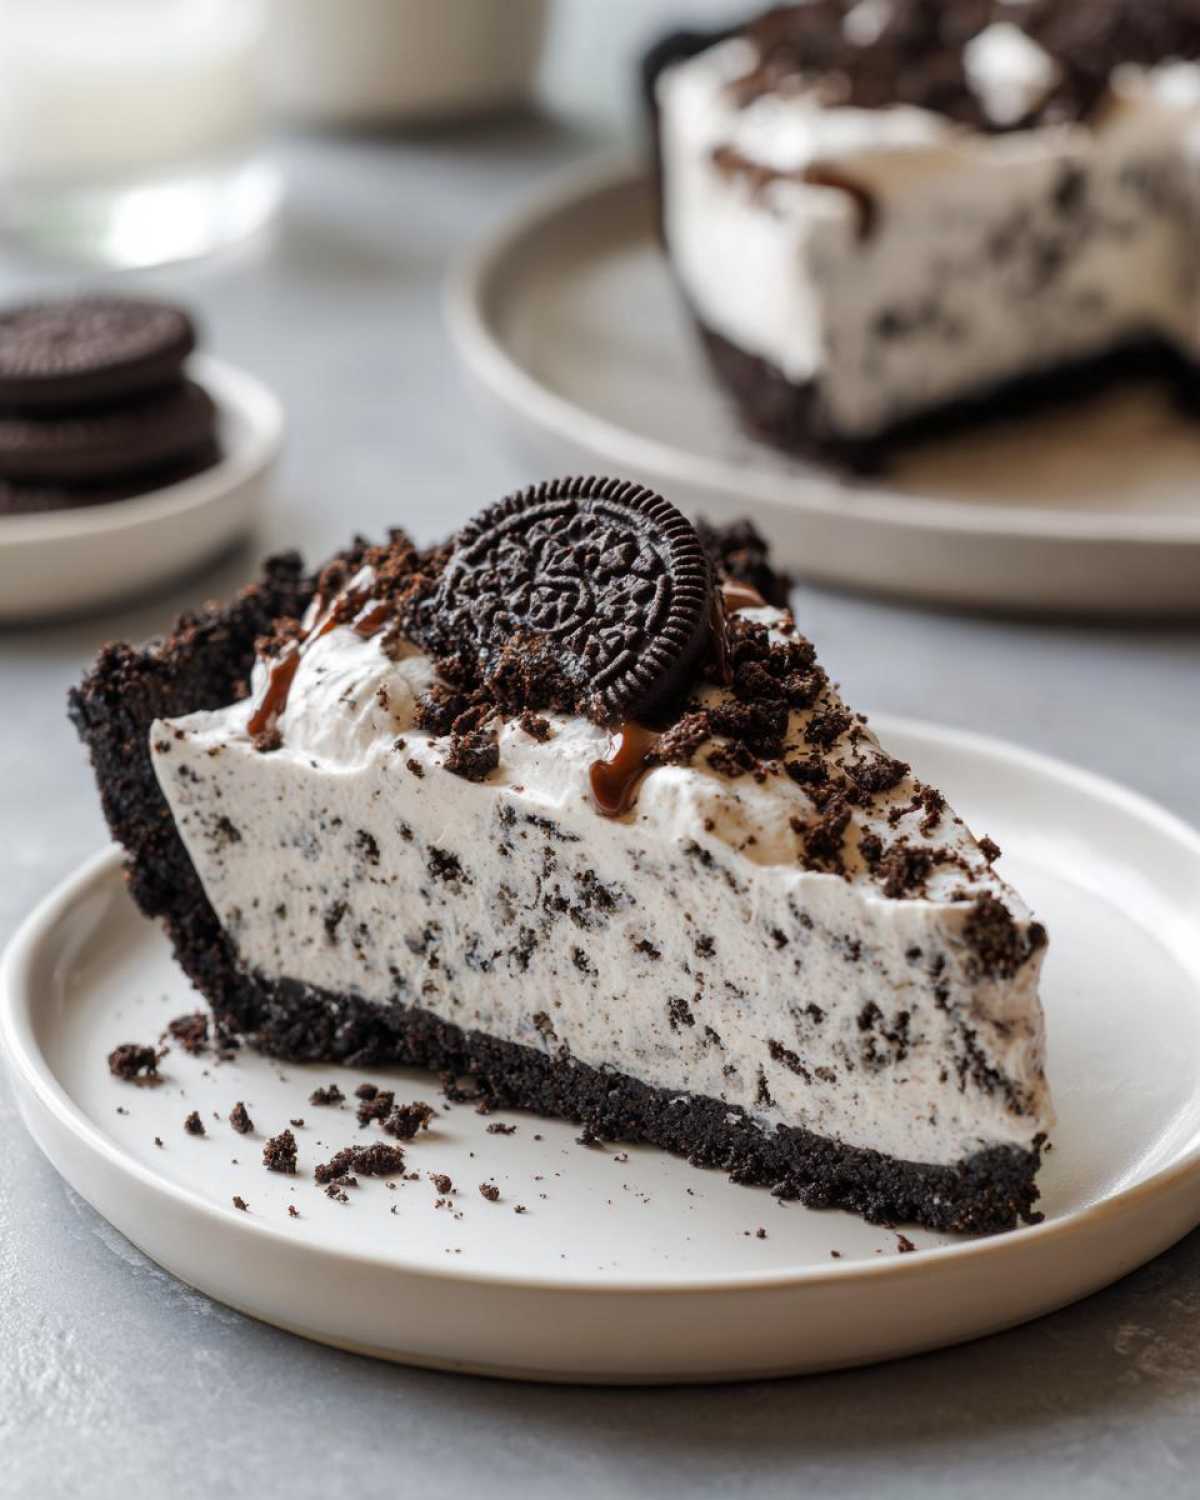
This **party pie recipe** is gorgeous on its own, but if you’re serving it for a crowd, I love having a little contrast nearby. Try pairing a slice with a strong, black coffee or maybe some fresh raspberries on the side to cut through that rich sweetness. It’s simple, stunning, and ready to be photographed!
Make Ahead Pie and Storage Instructions
Since this **oreo pie** is totally no-bake, it’s engineered to be a fantastic Make Ahead Pie! If you can possibly bear it, chilling overnight is truly ideal. That extra time lets the creamy filling firm up fully, ensuring those slices are clean and beautiful—no slump allowed! The recipe holds beautifully in the fridge for about three to four days.
Now, let’s talk about freezing. Because this recipe uses whipped topping, which can sometimes separate when fully frozen and thawed, I usually advise against freezing the whole thing unless you plan to serve it slightly thawed, almost like an ice cream cake. If you do freeze it, wrap it super tight with plastic wrap and a layer of foil (No Bake Oreo Pie!) and aim to thaw it slowly in the fridge overnight before serving. Don’t rush the thaw!
Variations on the Classic Oreo Pie Recipe
Even though this **oreo pie** recipe is a perfect baseline—a straight shot to deliciousness—I know you creative types love to tweak things! Julian and I often play around with the filling when we have a little extra time, just to mix up the visual story. You don’t need a whole new recipe to change the vibe; you just need one swap!
We aren’t talking about reinventing the wheel here, just adding a little styling note to the cover shot. For instance, if you’re looking for something extra rich that feels a bit more substantial, we found the perfect little trick that elevates this into something spectacular. Sometimes we even sneak things like extra espresso powder into our chocolate bases—just like we do when we tackle oreo cinnamon rolls, we try to incorporate deep flavor!
Creating an Oreo Cheesecake Pie Twist
If you want to ditch the lighter, fluffy texture for something more dense and tangy—hello, dream **Oreo Cheesecake Pie**!—you just substitute some of that whipped topping. In the filling step, swap out half of your thawed whipped topping with about 4 ounces of softened cream cheese.
Just make sure that cream cheese is truly soft, or you’ll end up with little unmixed chunks, and that definitely ruins the smooth texture we are going for in this **Easy Oreo Dessert**. Fold that softened cheese in gently right before you fold in the rest of the whipped topping. It makes for an incredible, slightly tart contrast to the sweet chocolate crust. If you want to see someone else nail that cheesecake version, check out the great tutorial from The Dashleys Kitchen here. It’s next level!
Another super simple flavor addition, especially if you like mint chocolate chips, is to add about a teaspoon of peppermint extract right when you mix the filling. It turns this into an instant mint-chocolate dream without needing any extra steps!
Frequently Asked Questions About This No Oven Dessert
We get asked the same questions all the time about this fast **No Bake Oreo Pie**, and honestly, it’s because everyone wants to make sure their first attempt is perfect! Since this entire recipe relies on only three core components, every substitution choice really matters. Don’t worry, we’ve tried all the things so you don’t have to—we want your **Quick Oreo Dessert** to be a total success story! If you’re looking for more of our latest culinary experiments, you can always see what we’re editing over on the main blog page.
Can I use a different cookie crust besides Oreos?
You can, but you’ll lose that signature flavor profile! If you absolutely must substitute, you’ll need a cookie that is dark enough to mimic the chocolate base, like a chocolate wafer cookie. However, since we use the entire Oreo, cream and all, for the crust, the butter ratio is specifically balanced for a good set. Sticking to the original ensures that perfect Chocolate Cookie Crust texture.
What if I don’t have any whipped topping thawed for my Creamy Oreo Filling?
This is the biggest snag in any **No Oven Dessert** relying on whipped topping! If you’re in a total rush for that Fluffy Oreo Dessert, you can speed up the thawing process. Place the container on a paper towel and microwave it on the DEFROST setting for about 15 to 20 seconds. Pull it out, stir it gently, and check again. You are looking for soft edges but still a slightly frozen center. If you microwave it too long, it collapses instantly, and then it’s ruined for our light filling!
Can I make this an Oreo Icebox Cake instead of a pie?
That’s a fun idea! You absolutely can adapt this to an icebox style. Instead of pressing the crust into a pie plate, you can layer the crushed crust mixture with alternating layers of the filling in a clear glass dish. It makes a beautiful layered **oreo pie**! Just remember that the chilling time might need to be extended slightly when layering, as the cold has to penetrate all those layers evenly to set the structure.
Is it absolutely necessary to chill the pie overnight?
Not strictly necessary, no. If you’re in a hurry, four hours works for a soft, sliceable set. But for the cleanest slices and the best overall texture where the filling feels dense and firm—like the best **Cookies and Cream Pie** you’ve ever had—overnight chilling is what Julian insists on. It lets that dairy firm up completely!
PrintUltimate No-Bake 3-Ingredient Oreo Pie

Make this incredibly easy, no-bake Oreo pie using only three ingredients. It features a simple chocolate cookie crust and a creamy, fluffy cookies and cream filling. This chilled dessert is perfect for quick treats or parties.
- Prep Time: 20 min
- Cook Time: 0 min
- Total Time: 4 hr 20 min
- Yield: 8 servings
- Category: Dessert
- Method: No Bake
- Cuisine: American
- Diet: Vegetarian
Ingredients
- 1 package (14.3 ounces) Oreo cookies
- 1 stick (8 tablespoons) unsalted butter, melted
- 1 container (8 ounces) frozen whipped topping (like Cool Whip), thawed
Instructions
- Prepare the crust: Place all Oreo cookies, including the cream filling, into a food processor. Pulse until you have fine crumbs.
- Mix the crust: Pour the melted butter over the Oreo crumbs and pulse until the mixture resembles wet sand.
- Press the crust: Press the crumb mixture firmly and evenly into the bottom and up the sides of a 9-inch pie dish. Place the crust in the freezer while you prepare the filling.
- Make the filling: In a large bowl, gently fold the thawed whipped topping into the crushed Oreo cookies (reserve about 1 cup of crushed cookies for topping). Do not overmix; you want streaks of white and dark cookie pieces for the cookies and cream effect.
- Assemble the pie: Spoon the filling evenly into the chilled Oreo crust. Smooth the top with a spatula.
- Chill: Cover the pie loosely with plastic wrap and refrigerate for at least 4 hours, or until the filling is firm. For best results, chill overnight.
- Serve: Before serving this decadent Oreo treats, sprinkle the reserved crushed Oreo cookies over the top. Slice and enjoy your simple Oreo recipe.
Notes
- If you do not have a food processor, place the cookies in a large zip-top bag and crush them using a rolling pin until fine crumbs form.
- This recipe is a fantastic make ahead dessert; it holds up well in the refrigerator for several days.
- For an extra rich flavor, substitute half of the whipped topping with softened cream cheese for a No Bake Oreo Cheesecake Pie variation.
Nutrition
- Serving Size: 1 slice
- Calories: 350
- Sugar: 30
- Sodium: 280
- Fat: 20
- Saturated Fat: 10
- Unsaturated Fat: 10
- Trans Fat: 0
- Carbohydrates: 42
- Fiber: 1
- Protein: 3
- Cholesterol: 15