

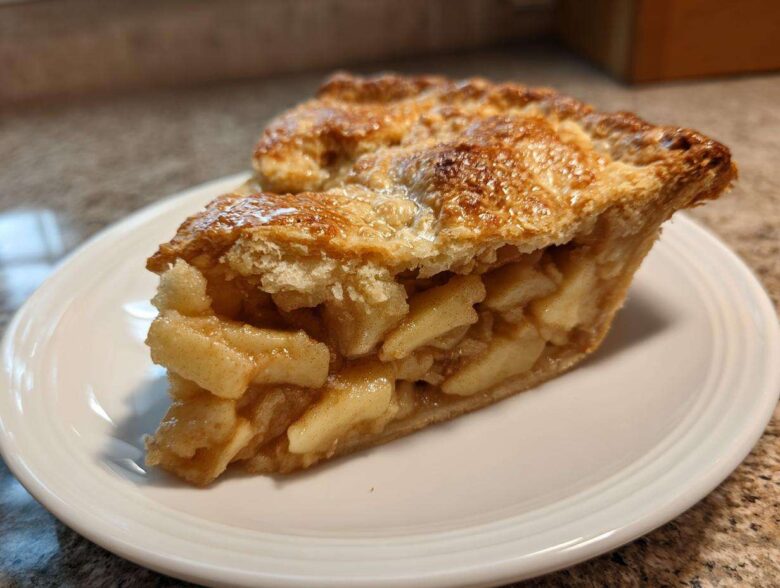
There is nothing quite like the smell of home baking filling the kitchen, is there? For Julian and me, especially after spending all day chasing that unattainable, flawless finish line in our design work, getting messy in the kitchen is where we finally unplug. We used to think that recipes, like those perfect layouts we designed, had to be flawless to be worthy. But making this ultimate homemade apple pie taught us otherwise. This recipe is intentionally crafted not for competition, but for deep satisfaction. It’s proof that taking the time to create something truly from scratch—something delicious, honest, and full of story—is exactly what deserves to be the main feature of your evening. This is our version of intentional home baking. If you want to know more about our philosophy behind treating our meals like the cover story, check out our story here.
Why This Is The Ultimate Homemade Apple Pie Recipe
We’ve made dozens of pies over the years, Julian and I, always trying to get that elusive texture that makes you sigh when you take the first bite. This ultimate homemade apple pie isn’t just another recipe; it’s the one that finally stopped my search. It balances that old-fashioned goodness with techniques that actually work consistently for us, even when we’re tired after a long design sprint. It’s officially our go-to for comfort food desserts.
- The crust? It’s incredibly rich, flaky, and truly all-butter. No scary shortening involved here, ever.
- The filling just sings—it’s sweet but has that necessary tart kick, making it the best apple pie from scratch experience.
- It holds its shape! You get beautiful, defined slices without the filling running everywhere.
We love sharing our secrets, so if you want to see how we make our incredibly flaky crust, check out the full technique breakdown here. And don’t forget to bookmark our guide to sugar cookies for later!
Achieving the Flaky All-Butter Pie Crust Tutorial
You hear ‘all-butter crust’ and you might worry it’ll be tough, but trust me, the secret to that perfect flaky texture is temperature—ice cold, always! If your butter melts even a little bit before it hits the oven, you lose those beautiful pockets of steam that create the flakiness. This simple change is the cornerstone of any great flaky pie crust tutorial. Make sure your butter is diced small and your water is straight from the freezer.
Crafting the Perfect Cinnamon Apple Filling for your homemade apple pie
This filling is truly where the magic happens. We rely almost entirely on Granny Smith apples here because they hold up beautifully and give you that lovely tartness, cutting through the sugar. But it’s the spice blend that elevates it to the ultimate homemade apple pie status. We use cinnamon, of course, but the nutmeg and allspice add such a warm background note. It smells like the whole holiday season packed into one perfect bowl. Don’t be shy with the fresh lemon juice, either; it brightens up everything!
Ingredients for your classic apple pie recipe
Okay, let’s get down to brass tacks. You can’t have the best classic apple pie recipe without the right players on your team. Everything here is straightforward pantry stuff, but the quality really matters—especially that butter! Remember, keep the butter and water straight out of the fridge for this part. We sourced these measurements directly from the family recipe card so you know they’re spot on for the double crust.
- 2 1/2 cups all-purpose flour
- 1 teaspoon salt
- 1 cup (2 sticks) cold unsalted butter, cut into small cubes
- 1/2 cup ice water, plus more if needed
- 6 large Granny Smith apples, peeled, cored, and sliced 1/4-inch thick
- 1/2 cup granulated sugar
- 1/4 cup packed light brown sugar
- 1 teaspoon ground cinnamon
- 1/4 teaspoon ground nutmeg
- 1/8 teaspoon ground allspice
- 2 tablespoons all-purpose flour (for the filling)
- 1 tablespoon lemon juice
- 1 large egg, beaten (for egg wash)
- 1 tablespoon coarse sugar (for sprinkling)
How to Make the Best Homemade Apple Pie from Scratch: Step-by-Step
Alright, this is the part where the art meets the edible science. Making our ultimate homemade apple pie from scratch is totally doable, but you have to respect the process—especially the cold. We aren’t rushing these steps because the texture we’re aiming for doesn’t forgive impatience! Julian usually handles the dough while I prep the fruit, which helps keep everything organized. If you want to review the best bread pudding recipe while you wait for the dough to chill, you can look at it right here.
Making the All-Butter Pie Crust Dough
This is where we nail that beautiful, shatteringly flaky all butter pie crust. Step one is vital: you need cold butter cut into small cubes, and your ice water has to be seriously cold. You are cutting that butter into the flour until it looks like coarse crumbs, but here’s our insider tip—you absolutely need some pea-sized lumps of butter left in there. Those chunks are insurance for flakiness! When you mix in the water, add it slowly. You stop mixing the second it all just holds together. If you overwork it, we’re done for. Divide it, flatten it into disks, wrap it tight, and make it chill for at least two hours. Seriously, don’t sneak it out early!
Preparing the Cinnamon Apple Filling
While the dough is getting happy in the fridge, we toss the apples. Grab your 1/4-inch sliced Granny Smiths—they are the backbone of our filling. Toss them gently in a large bowl with both sugars, all the warm spices, and the flour. The flour is key because it thickens up all the juices that the sugar and apples release. Don’t mash them; if you toss too rough, you’ll bruise the apples and you’ll end up with mush instead of nice bites in your pie. Just a gentle fold until everything is coated lovely and evenly saturated with that amazing cinnamon apple filling.
Assembling Your Double Crust Apple Pie
Once your dough is properly chilled, roll out one disk big enough for your 9-inch pie plate. Drape that carefully into the bottom—no stretching! Trim the edges so you have about an inch hanging over. Now, dump all that gorgeous apple filling right in the center, mounding it up a bit, because they settle down during baking. Then you roll out the top piece. You can cut simple vents, or go for that beautiful lattice top. If you’re not feeling the lattice, just lay the top crust over. Crimp the edges together firmly—this seals everything in, which is so important for your double crust apple pie!
Baking and Setting the homemade apple pie
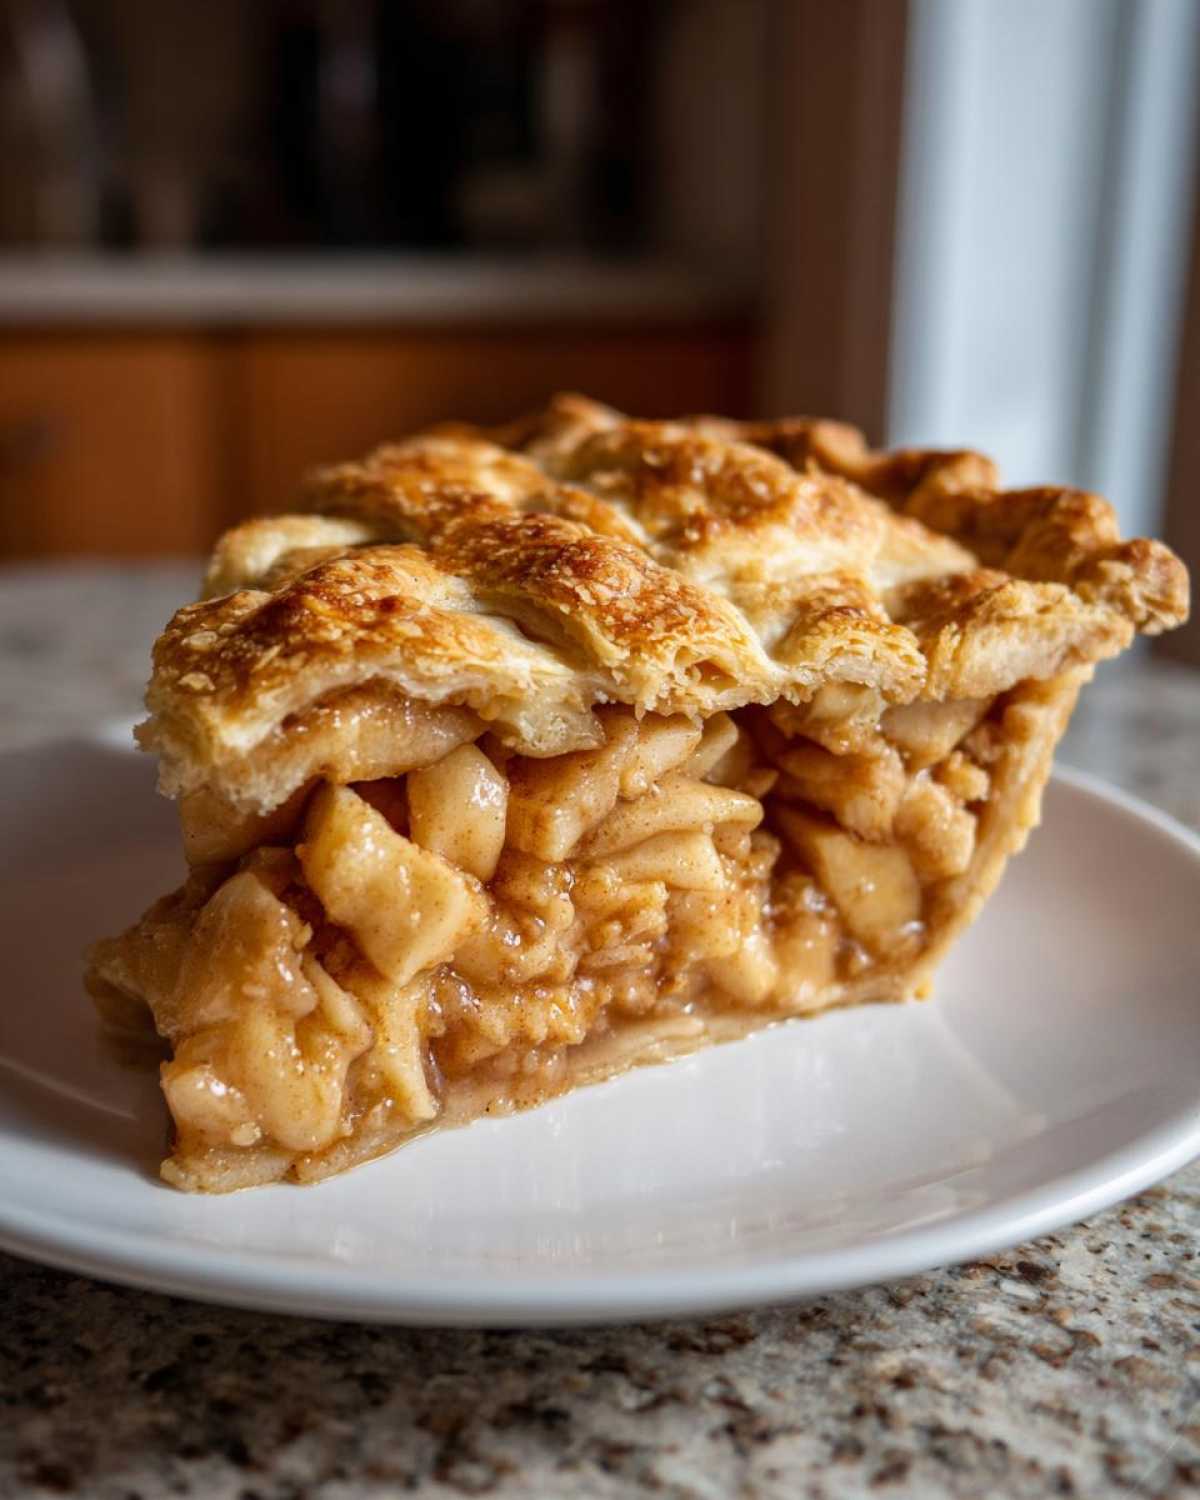
This pie needs two different temperatures, so pay attention! Preheat your oven to 425 degrees F. Slide the pie onto a baking sheet—trust me, something *will* drip out—and bake it hot for the first 15 minutes. That blast of heat sets that bottom crust fast. Then, immediately drop the temperature down to 375 degrees F and let it bake another 40 to 50 minutes. If you see the edges getting too dark before the apples are soft, just sneak some strips of aluminum foil around the rim. The absolute hardest part? You have to let this homemade apple pie cool for at least three to four hours before slicing. If you try to cut it sooner, your beautiful filling will just run right out. Patience makes the perfect slice!
Tips for Success Making your homemade apple pie
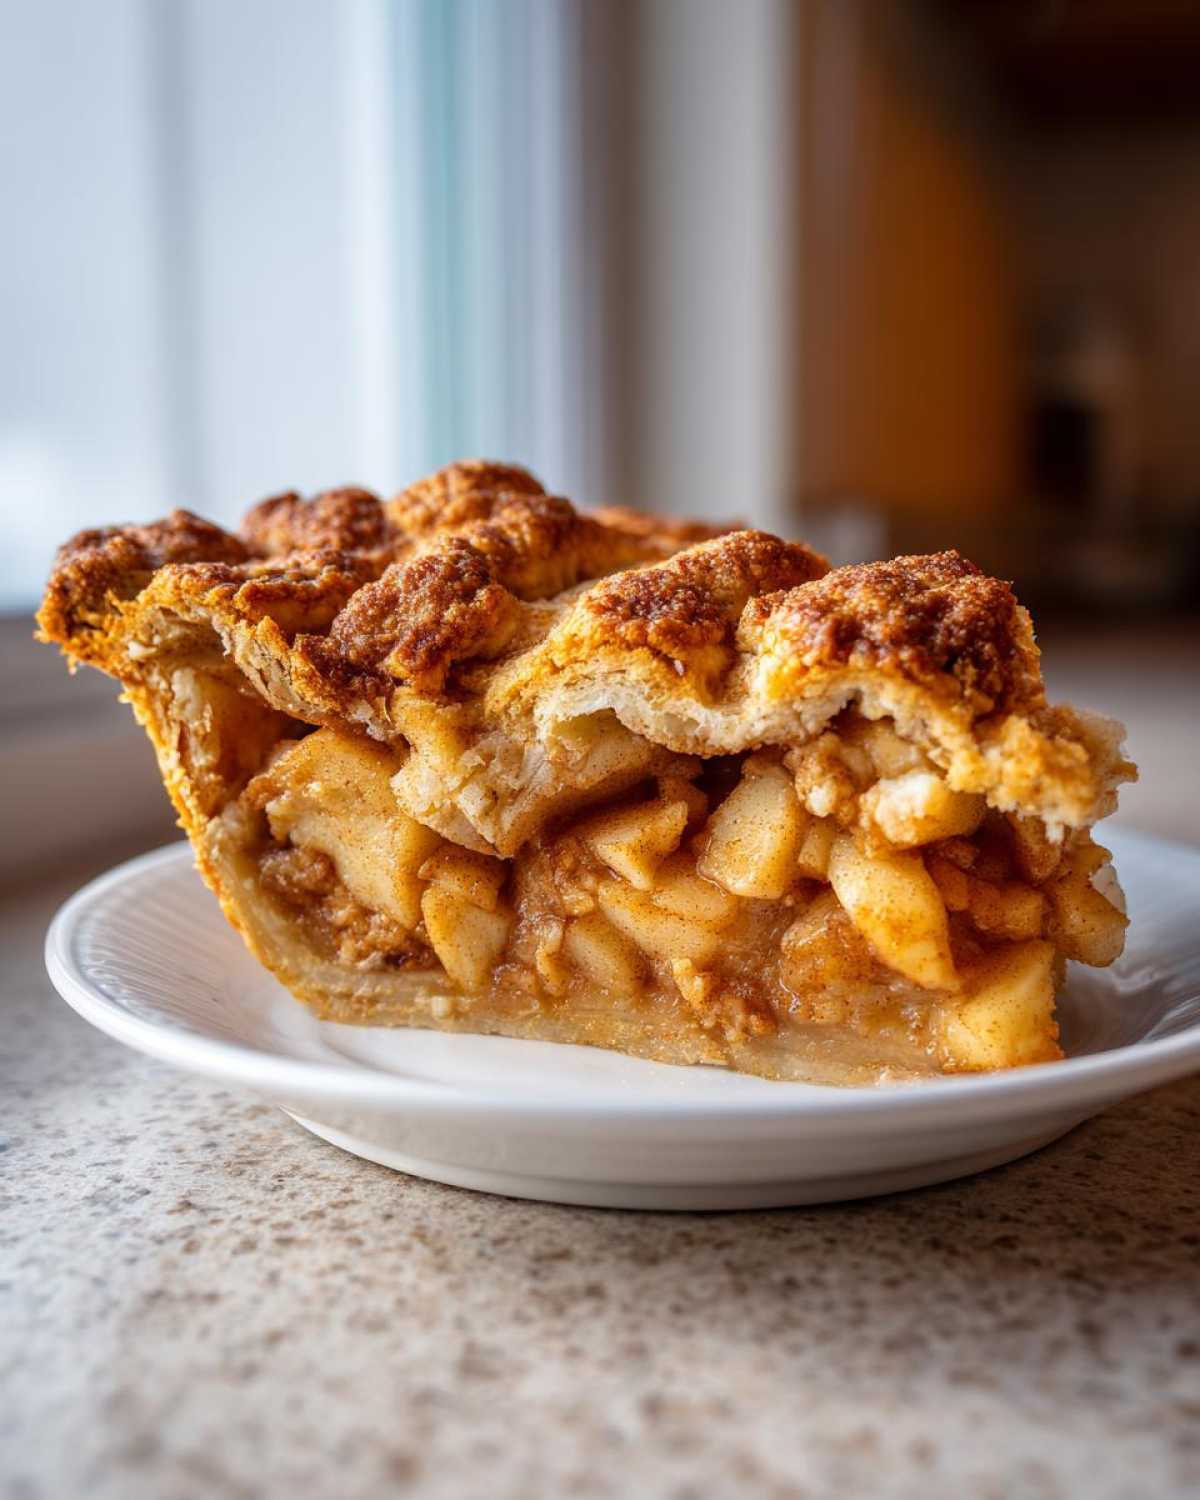
We’ve poured years of frustration and triumph into this recipe, and I want to save you some heartache! Baking the perfect homemade apple pie really comes down to small details that add up to a massive flavor payoff. Julian always jokes that if you nail the butter temperature, you’ve already won half the battle.
Here are the few critical notes we always follow, directly from the scribbles on our recipe card:
- Apple Blends Are Beautiful: While we used Granny Smith as the base for this recipe, Iris found that mixing types totally changes the game. If you can, use a mix of tart apples (like Granny Smith) and sweeter, softer apples (like Honeycrisp or Fuji). This keeps the flavor profile deep and prevents the entire pie from tasting one-note.
- Butter Temperature is Non-Negotiable: Seriously, keep that butter and water icccce cold when making the dough. If the butter melts while you’re mixing the flour, you get tough dough. Those visible, pea-sized chunks of cold butter are what vaporize in the oven and create those airy layers. If you’re worried about warming things up, just chill your mixing bowl in the freezer for ten minutes before starting!
- Thickening Confidence: If you are someone who likes an extremely thick filling that barely oozes when you cut it, be brave and bump up the flour in the filling mixture to 3 tablespoons instead of the 2 we listed. It won’t hurt it, and it gives you extra insurance against runniness, especially if you are using really juicy apples.
When you’re ready to tackle other temperature-sensitive bakes, check out how we manage heat in our brown butter cookie recipe—it uses a hot initial bake, too!
Ingredient Notes and Substitutions for Apple Pie
Okay, let’s talk intel on the ingredients because this is where you go from a good pie to *the* pie—the one people rave about for Thanksgiving. When it comes to the foundation of our filling, using Granny Smith apples is practically required for this kind of structural integrity. They are firm enough to hold their shape right through that long bake time.
The primary reason we rely on them for this Granny Smith apple dessert is that tartness. If we only used sweet apples, the final slice would taste overly sugary, especially with the nice amount of brown sugar we use. Tartness keeps everything balanced and vibrant.
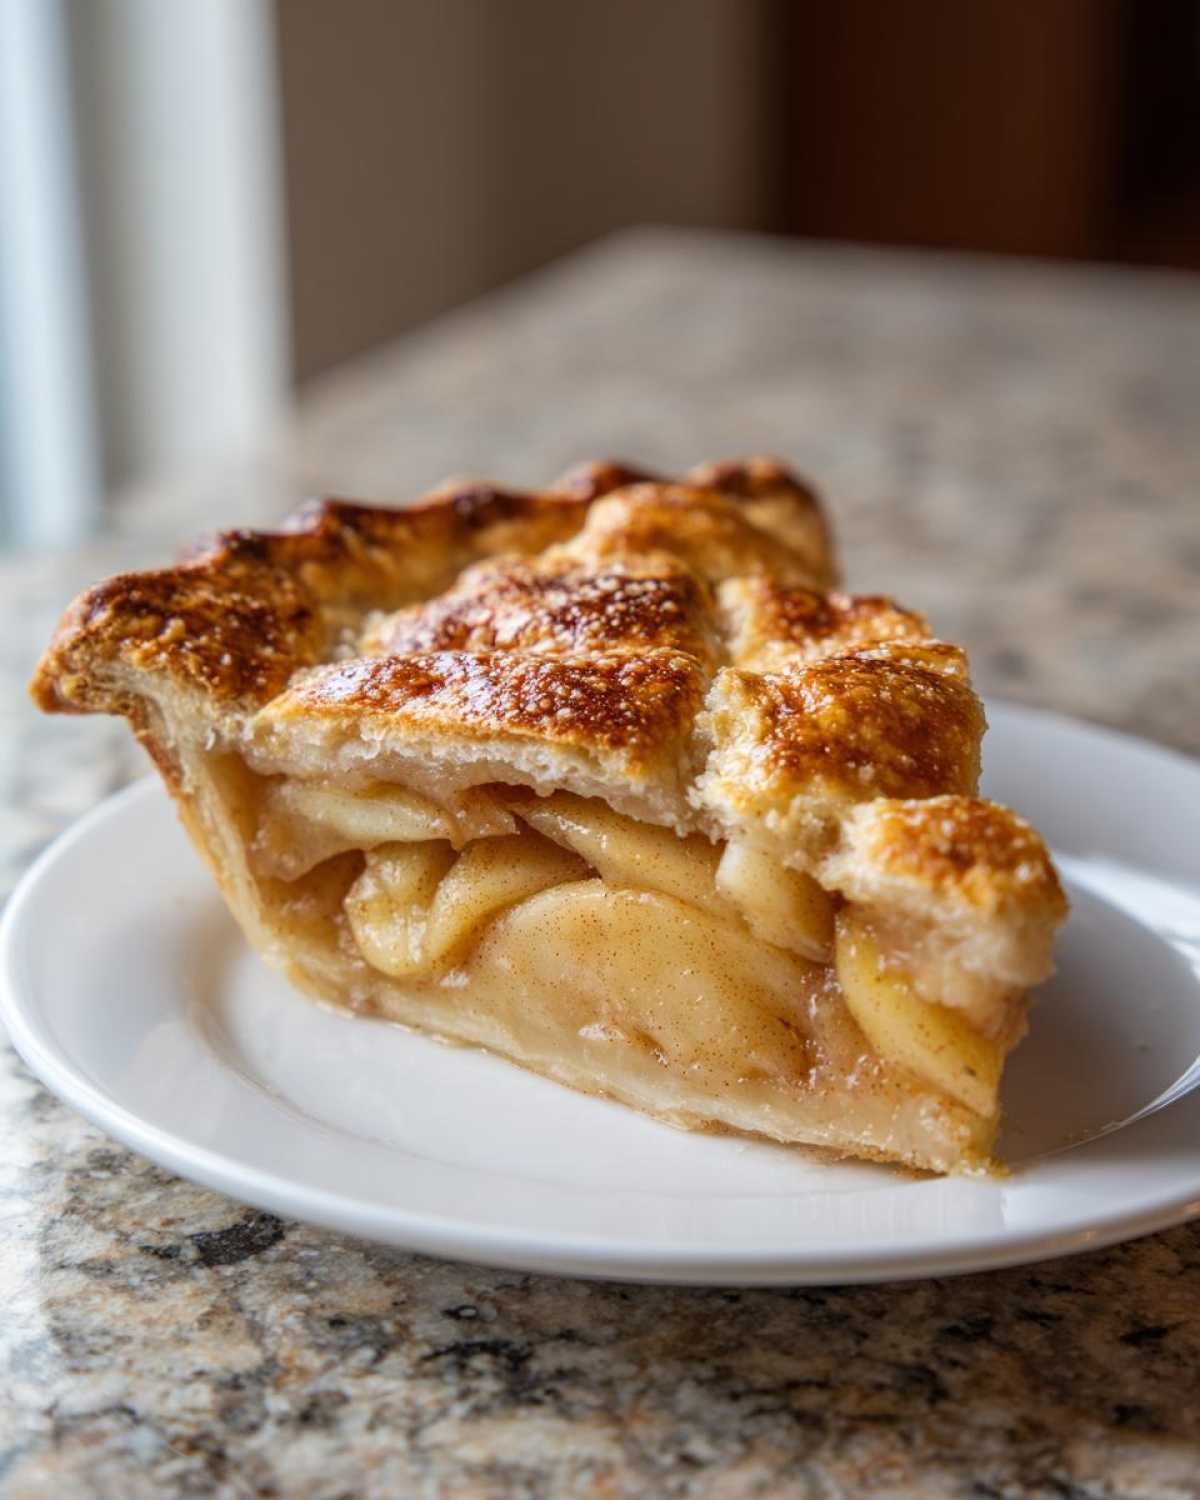
Now, I know not everyone has a trunk full of Granny Smiths at the ready. If you have to substitute, my best advice is to always mix your apples. Try using half Granny Smith and half Honeycrisp, or even Gala if you want something sweeter and a little less sharp. The texture of the final filling benefits hugely from having apples with varying levels of firmness. If you’re experimenting, remember our rule for other fruit bakes, like our persimmon cookies—sometimes the best results come from unexpected pairs!
One quick note on the spices: If you feel like your nutmeg tastes a little flat, try grating it fresh! It’s a total night-and-day difference, and it adds such an intense layer of warmth to the cinnamon blend.
Serving Suggestions for your homemade apple pie
Now that you’ve put in the love and effort to create the ultimate homemade apple pie—the crust golden, the filling perfectly set—we can’t just serve it naked, can we? A slice of this pie is a centerpiece, and the serving suggestion really makes it an event. This is such a wonderfully traditional fall dessert, and it practically begs for something cold and creamy to go right alongside it.
Julian and I are huge sticklers for temperature contrast. There is no greater feeling than cutting into that warm, spiced apple filling and watching the heat meet something frozen. It’s dramatic, and it tastes even better!
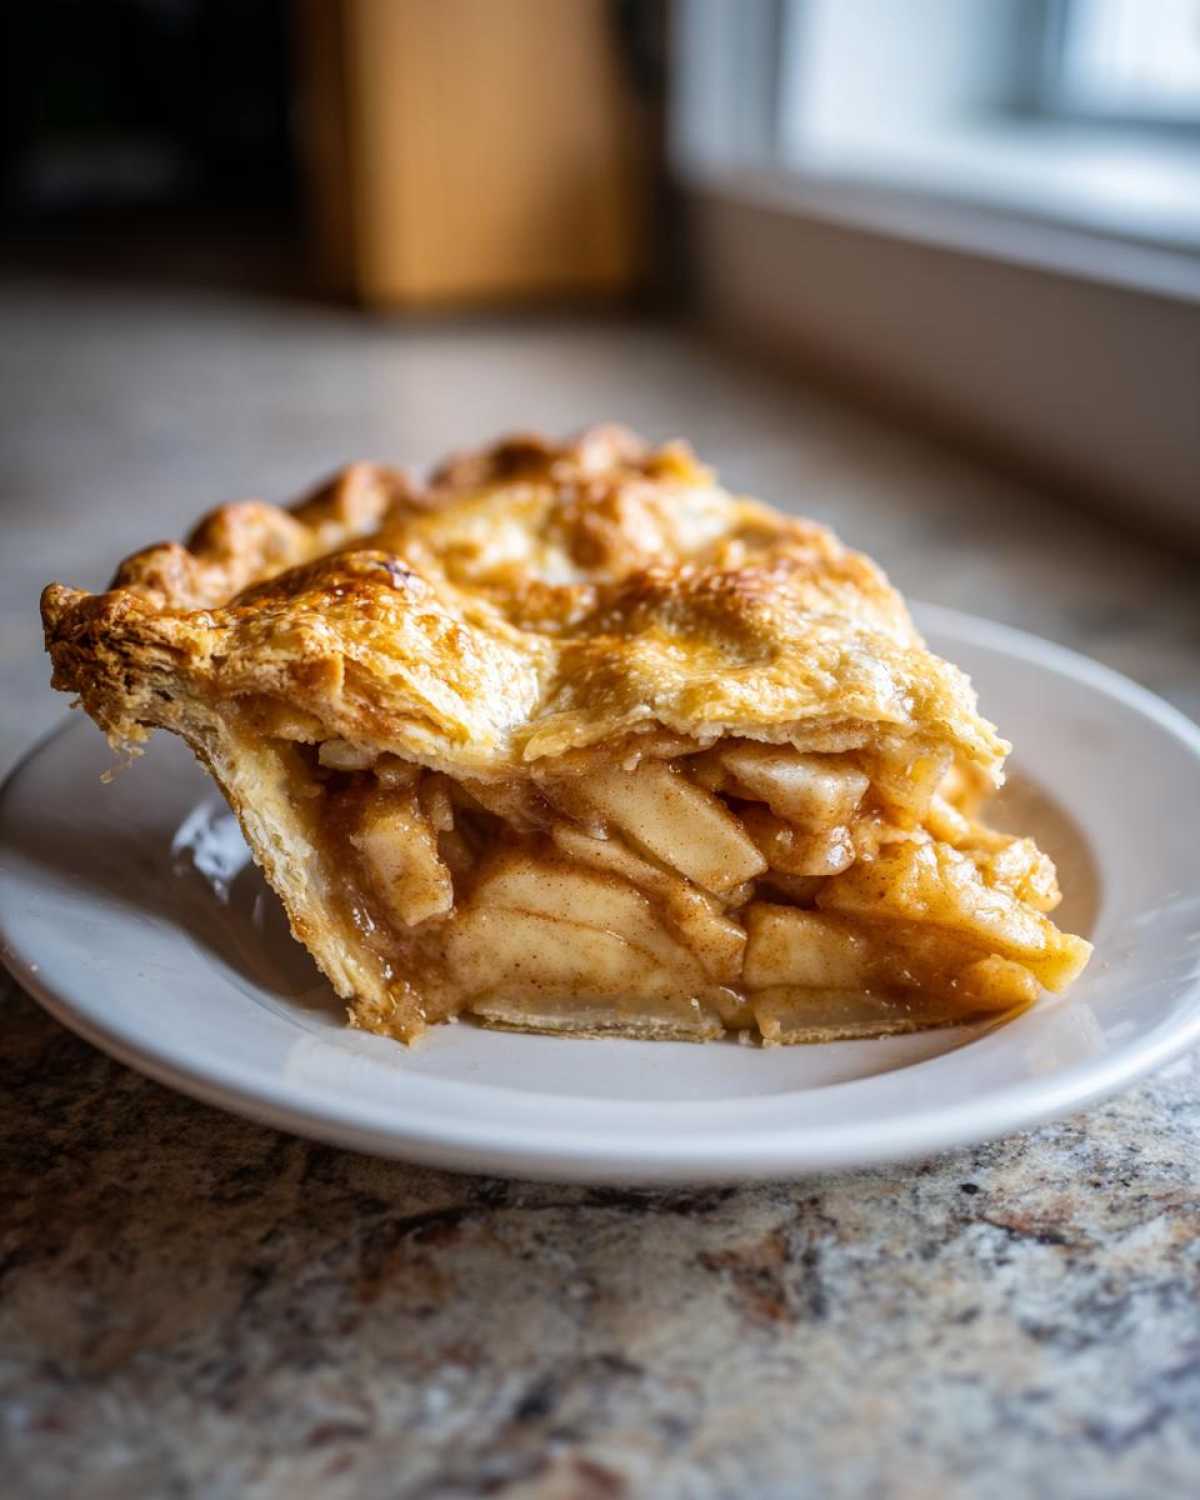
Here are the pairings that always make the cut in our house:
- Vanilla Excellence: You simply cannot beat a high-quality vanilla bean ice cream. The slight melt into the warm apple juices is pure heaven. If you’re into homemade frozen treats, you should definitely check out our guide on making nice cream as a lighter alternative!
- Sharp Cheddar: Yes, I said cheese! This is an old-school pairing that deserves a comeback. Grate a sharp white cheddar cheese over a warm slice. The saltiness and tang cut right through the richness of the butter crust and sweetness of the filling. It sounds wild, but try it!
- Simple Fresh Cream: If you don’t want to mess with ice cream or cheese, just whip heavy cream until soft peaks form, maybe adding just a tiny pinch of powdered sugar. It adds wonderful body and richness without overpowering the apples.
If you’re looking for other easy ways to elevate your holiday spreads, check out this great guide on easy pie recipes—sometimes simplicity is the best styling!
Storage and Reheating Instructions
Once you’ve managed to let your homemade apple pie cool (which is half the battle!), you need to know how to store this beauty. Since it’s packed with fruit juices, leaving it out indefinitely isn’t ideal, even though the sugar is high. At room temperature, it’s good for about 24 hours, covered loosely. For longer keeping—up to four days—wrap slices tightly and keep them in the fridge.
To bring back that magic crust texture, skip the microwave! Just reheat individual slices on a baking sheet at 350 degrees F for about 10 minutes. That gets the butter back in the crust working its flaky charm again.
Frequently Asked Questions about Baking from Scratch
We get so many messages from readers trying this recipe for the first time, and that’s wonderful! Baking an entire homemade apple pie from scratch can feel intimidating, but that’s why we built this guide to hold your hand through it. We want this to be known as the go-to resource for anyone looking for an easy homemade pie that delivers huge results. Here are the questions we hear most often, especially from folks who are new to baking pies!
Can I make the pie crust ahead of time?
Yes, absolutely! In fact, I recommend it. Chilling the dough for at least two hours is a requirement, but you can easily wrap those disks up tight and keep them in the fridge for up to three days. Honestly, I think the dough tastes even better the next day—it relaxes the gluten perfectly. If you chill it overnight, just let it sit on the counter for about 10 or 15 minutes before rolling it out so it’s pliable, but still plenty cold!
What is the best way to cut Granny Smith apples for pie?
This seems small, but it’s crucial for an even bake! You need them sliced about 1/4-inch thick. If they are too chunky, the center won’t cook through by the time your crust is perfectly golden brown. If they’re too thin, they’ll turn to mush before you get the chance to enjoy that firm bite we love. Uniform slicing ensures every forkful has the same beautiful texture!
My filling is runny, what went wrong?
Ugh, the dreaded runny filling! Don’t worry, this is a very common hurdle, especially for apple pie for beginners. There are usually two main culprits. First, did you use the 2 tablespoons of flour (or 3 if you dared to add extra!) that we specified? That thickener is your insurance. Second, and this is the big one: did you let it cool completely? If you slice into a hot homemade apple pie, all those lovely juices haven’t fully set back up yet. Waiting the full 3 to 4 hours is agonizing, I know, but that cooling time is when the magic happens to prevent major run-off. Go explore the rest of the blog while you wait!
Nutritional Estimate for this Dessert
Okay, so Julian and I aren’t nutritionists—we are purely focused on making sure your meal is the main feature, right? But because we operate like a real magazine, we always try to provide an estimate so you know what sort of fuel you’re putting into your body. This information is based on the recipe details provided and is calculated per standard serving size. Please remember, this is just an estimate! If you use different apple varieties or a different fat source, these numbers will shift a bit. We just want you to enjoy this homemade apple pie intentionally!
- Serving Size: 1 slice
- Calories: Approximately 450
- Fat: 25g (with 15g Saturated Fat)
- Carbohydrates: 58g
- Sugar: 35g
- Protein: 5g
- Sodium: 250mg
See? It looks like a classic American indulgence, and that’s okay! Sometimes the feature story needs that rich, satisfying component. We focus on quality ingredients and making sure the process is worth it, and the numbers just reflect that wonderfully rich, buttery crust!
Share Your Magazine Meal Creation
Now that you’ve been through every single step to create this spectacular homemade apple pie, it’s time for the most important part of our “Magazine Meal” philosophy: sharing the story! We poured our hearts into making sure this recipe was beautiful, yes, but more importantly, that the process felt intentional and satisfying for you.
We want to see your results! Did you nail that double crust? Did you create a stunning lattice or keep it simple and rustic? Go ahead and take a picture of your finished pie—treat it like it’s the cover shot of your own personal culinary magazine for the day. You can tag us on social media or, even better, leave a rating and a detailed comment right here on the page.
Tell us what you loved most about making this! Was it the sharp smell of the nutmeg when you mixed the filling? Was it the absolute quiet focus needed for cutting in that cold butter? Knowing what part of the journey you enjoyed most is hugely inspiring for us. If you’re looking for other great desserts to feature, you can always browse our contact page for inspiration, or check out this other great recipe someone pinned recently: a fantastic classic recipe!
Thank you for letting our recipe be the feature story on your table tonight. We truly appreciate you flipping through our pages!
PrintThe Ultimate Homemade Apple Pie with Flaky All-Butter Double Crust
Make the best classic homemade apple pie from scratch. This recipe guides you through creating a perfectly flaky, buttery double crust and a sweet, cinnamon-spiced apple filling using Granny Smith apples. It is a traditional fall dessert perfect for holidays.
- Prep Time: 45 min
- Cook Time: 65 min
- Total Time: 110 min
- Yield: 8 servings
- Category: Dessert
- Method: Baking
- Cuisine: American
- Diet: Vegetarian
Ingredients
- 2 1/2 cups all-purpose flour
- 1 teaspoon salt
- 1 cup (2 sticks) cold unsalted butter, cut into small cubes
- 1/2 cup ice water, plus more if needed
- 6 large Granny Smith apples, peeled, cored, and sliced 1/4-inch thick
- 1/2 cup granulated sugar
- 1/4 cup packed light brown sugar
- 1 teaspoon ground cinnamon
- 1/4 teaspoon ground nutmeg
- 1/8 teaspoon ground allspice
- 2 tablespoons all-purpose flour
- 1 tablespoon lemon juice
- 1 large egg, beaten (for egg wash)
- 1 tablespoon coarse sugar (for sprinkling)
Instructions
- Prepare the All-Butter Pie Crust: In a large bowl, whisk together the 2 1/2 cups flour and salt. Cut in the cold butter using a pastry blender or your fingers until the mixture resembles coarse crumbs with some pea-sized pieces of butter remaining.
- Gradually add the ice water, one tablespoon at a time, mixing until the dough just comes together. Do not overmix. Divide the dough in half, flatten each half into a disk, wrap in plastic wrap, and chill for at least 2 hours.
- Prepare the Apple Filling: In a large bowl, combine the sliced apples, granulated sugar, brown sugar, cinnamon, nutmeg, allspice, 2 tablespoons flour, and lemon juice. Toss gently until the apples are evenly coated. Set aside while you roll out the bottom crust.
- Assemble the Bottom Crust: On a lightly floured surface, roll out one disk of dough into a 12-inch circle. Carefully transfer the dough to a 9-inch pie plate. Trim the edges, leaving a 1-inch overhang. Chill the pie plate while you prepare the top crust.
- Assemble the Top Crust: Roll out the second disk of dough into an 11-inch circle. You can cut vents or create a lattice top as desired.
- Fill the Pie: Pour the apple filling into the chilled bottom crust, mounding the apples slightly in the center. Dot the top of the apples with a few small pieces of leftover butter, if desired.
- Top the Pie: Place the top crust over the filling. Trim the edges, leaving a 1-inch overhang. Crimp the top and bottom edges together to seal. Brush the top crust lightly with the beaten egg wash and sprinkle with coarse sugar. Cut several slits in the top crust if you did not make a lattice.
- Bake the Pie: Preheat your oven to 425 degrees F (220 degrees C). Place the pie on a baking sheet (to catch drips). Bake for 15 minutes at 425 degrees F. Then, reduce the oven temperature to 375 degrees F (190 degrees C) and continue baking for 40 to 50 minutes, or until the crust is golden brown and the filling is bubbly. If the edges brown too quickly, cover them loosely with aluminum foil strips.
- Cool: Let the ultimate apple pie cool on a wire rack for at least 3 to 4 hours before slicing. This allows the filling to set properly.
Notes
- Use a mix of tart apples like Granny Smith and sweeter apples like Honeycrisp for the best flavor balance.
- For the flakiest crust, keep your butter and water as cold as possible during the dough preparation.
- If you prefer a thicker filling, increase the flour in the filling mixture to 3 tablespoons.
Nutrition
- Serving Size: 1 slice
- Calories: 450
- Sugar: 35g
- Sodium: 250mg
- Fat: 25g
- Saturated Fat: 15g
- Unsaturated Fat: 10g
- Trans Fat: 0g
- Carbohydrates: 58g
- Fiber: 4g
- Protein: 5g
- Cholesterol: 60mg