

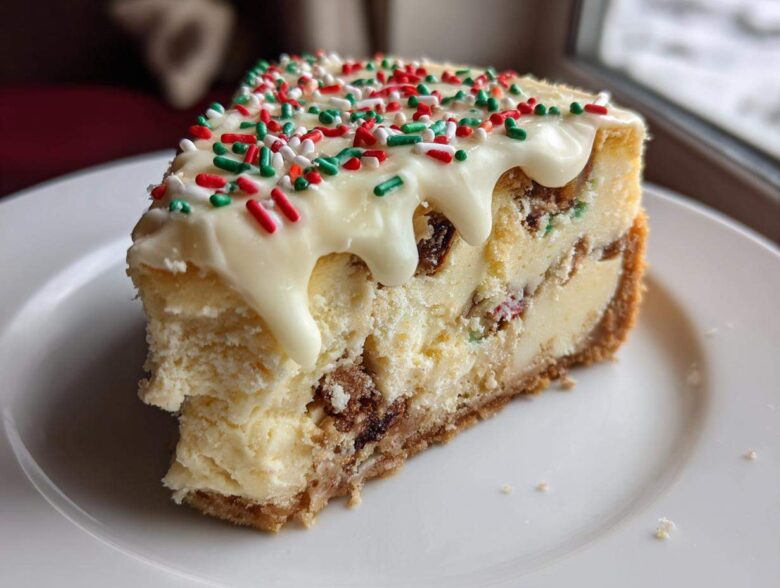
Oh, the smell of December—it always brings me right back to being elbow-deep in glitter and construction paper, trying to make the *best* holiday centerpiece for our dinner table. Julian and I used to skip making anything complicated, but this year, I wanted something that truly screamed childhood joy. That’s why we landed on the Ultimate Nostalgic Little Debbie Christmas Tree Cake Cheesecake. Seriously, this isn’t just dessert; it’s a flavor-packed hug from your past!
Mixing that impossibly creamy texture with the sweet, spongy goodness of those iconic snack cakes creates the ultimate christmas tree cheesecake. It manages to be both ridiculously easy to assemble and utterly show-stopping when it hits the table. For me, seeing those familiar green-frosted triangles baked right into the filling just makes the whole season feel right. Trust me, you are going to want this feature on your holiday menu.
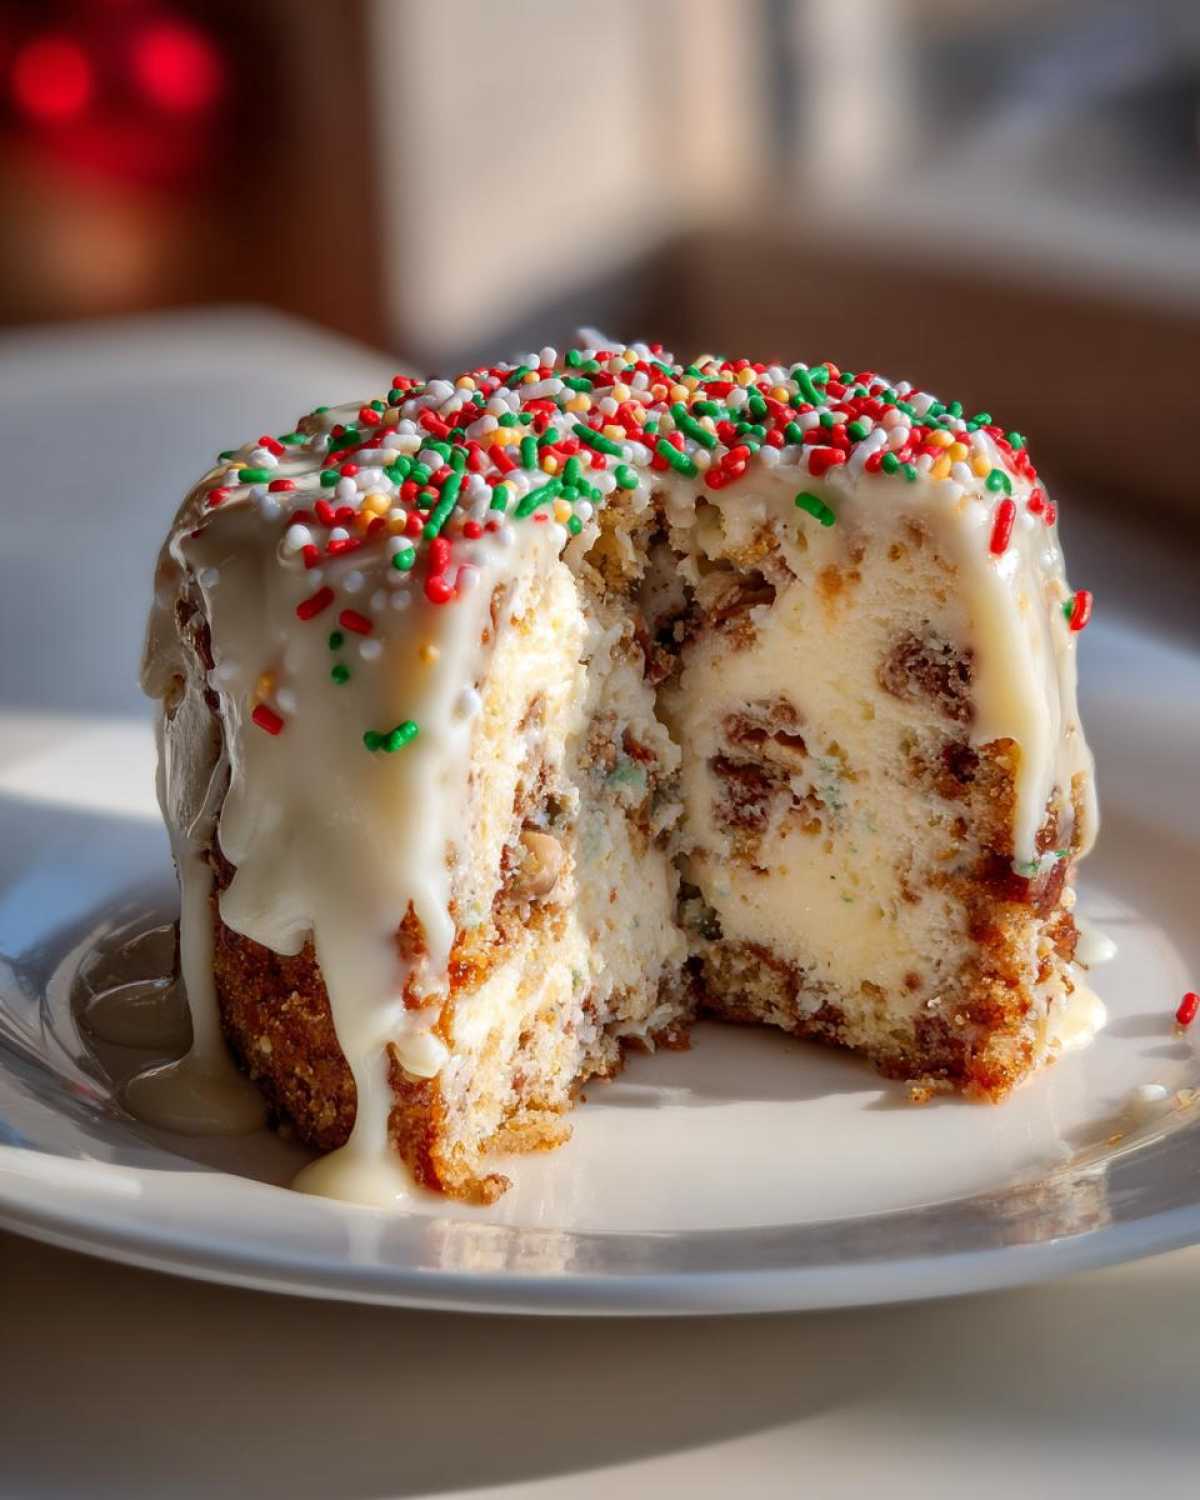
Why This Christmas Tree Cheesecake Is Your Holiday Showstopper
When you’re heading into the holiday rush, the last thing you need is a recipe that requires a degree in pastry arts. That’s the beauty of this dessert! You absolutely nail the ‘Wow Factor’ without spending hours fighting with molds or tricky layering. If you loved making my easy apple cobbler recipe, you’ll appreciate how simple this comes together, too.
- It saves you serious time since we’re using those amazing pre-made Little Debbie cakes inside the filling.
- The presentation is instantly festive—it looks like you spent all day styling it for a magazine cover.
- It marries childhood flavor with grown-up, decadent creaminess.
This is the kind of christmas tree cheesecake that lets you look like a baking superstar, even when you’re juggling wrapping paper and grocery lists.
Nostalgia Meets Creamy Perfection
Honestly, the flavor is unbeatable because we get that distinct vanilla, slightly tangy flavor right in every slice from the snack cakes. It blends with the rich cheesecake base in a way that is pure magic, hitting all those nostalgic notes we love about holiday baking.
Simple Assembly for Maximum Impact
It’s deceptively simple, friends! Julian was shocked when I told him how little actual hands-on time this took. We’re just mixing up a classic filling, folding in our little cakes, and letting the oven and the fridge do the heavy lifting. It’s the perfect fuss-free centerpiece!
Gathering Ingredients for Your Christmas Tree Cheesecake
Okay, let’s get our supplies lined up! Since this dessert relies on that classic Little Debbie flavor, we need to make sure our *other* base ingredients are top-notch quality. For the best possible Creamy Holiday Treats, please, please, please make sure your cream cheese is truly softened. I mean, leave it out for a good two hours before you start. Cold cream cheese leads to lumps, and we definitely don’t want that fight on our hands.
Once you have those blocks soft, everything else is straightforward. Here’s what you’ll need to pull everything together for an amazing dessert experience:
- 1 1/2 cups graham cracker crumbs
- 6 tablespoons unsalted butter, melted
- 1 1/2 pounds cream cheese, softened (Remember this rule!)
- 1 cup granulated sugar
- 1 teaspoon vanilla extract
- 1/4 teaspoon salt
- 3 large eggs
- 1/4 cup sour cream
- 1 package (10.5 oz) Little Debbie Christmas Tree Cakes, roughly chopped
- 1/2 cup white chocolate ganache, for topping
- Festive sprinkles, for decoration
See? We’re setting ourselves up for success with quality foundations! You can grab my favorite quick creamy garlic aioli recipe later, but for now, focus on getting that cheese perfectly pliable.
Step-by-Step Guide to the Ultimate Christmas Tree Cheesecake
Okay, here is where we turn ingredients into art! Since we are aiming for that luxurious, crack-free finish, we need to stick to the process closely. If you want your ultimate crack-free cheesecake, pay close attention to the temperature here—it’s everything when dealing with decadent Holiday Cheesecake Recipes like this one.
Preparing the Crust and Pan
First things first: get that oven preheated to 325 degrees Fahrenheit. Now, grab your 9-inch springform pan. This is super important for the water bath later: wrap the outside of that pan tightly, like you’re preparing it for a spa day, using heavy-duty aluminum foil. We need at least two or three good layers so that water absolutely cannot sneak in. Meanwhile, mix your graham cracker crumbs and melted butter until it looks like wet sand, press it firmly into the bottom of that wrapped pan, and give it a quick 10-minute bake. Let it cool just a touch while you focus on the filling.
Mixing the Creamy Cheesecake Filling
In your biggest bowl, beat that softened cream cheese with the sugar until it’s genuinely smooth—no lumps allowed! Mix in the vanilla and salt until they disappear. Now, the eggs go in one at a time. And I mean *one at a time*. Beat just until combined after each addition, and definitely mix in the sour cream until smooth. Don’t get crazy with the mixer here! Once you’ve got a smooth batter, gently fold in those chopped-up Little Debbie cakes. We want them suspended, not beaten into oblivion.
Baking and Cooling Protocol for a Perfect Christmas Tree Cheesecake
Pour that mixed-up goodness over your crust. Now, set the foil-wrapped springform pan inside a larger roasting pan. Carefully pour in hot water into the roasting pan until it comes about halfway up the sides of the cake pan. We bake this beauty for about 55 to 65 minutes. When the sides look set but the middle still wiggles sweetly—like Jell-O—turn the oven *off*. Crack the door open just a little bit, and let it hang out in there for a full hour. This slow cool-down is the secret sauce to avoid those awful surface cracks! Once cooled on the counter, cover it up and chill it for at least six hours, but overnight is always better for the best christmas tree cheesecake structure.
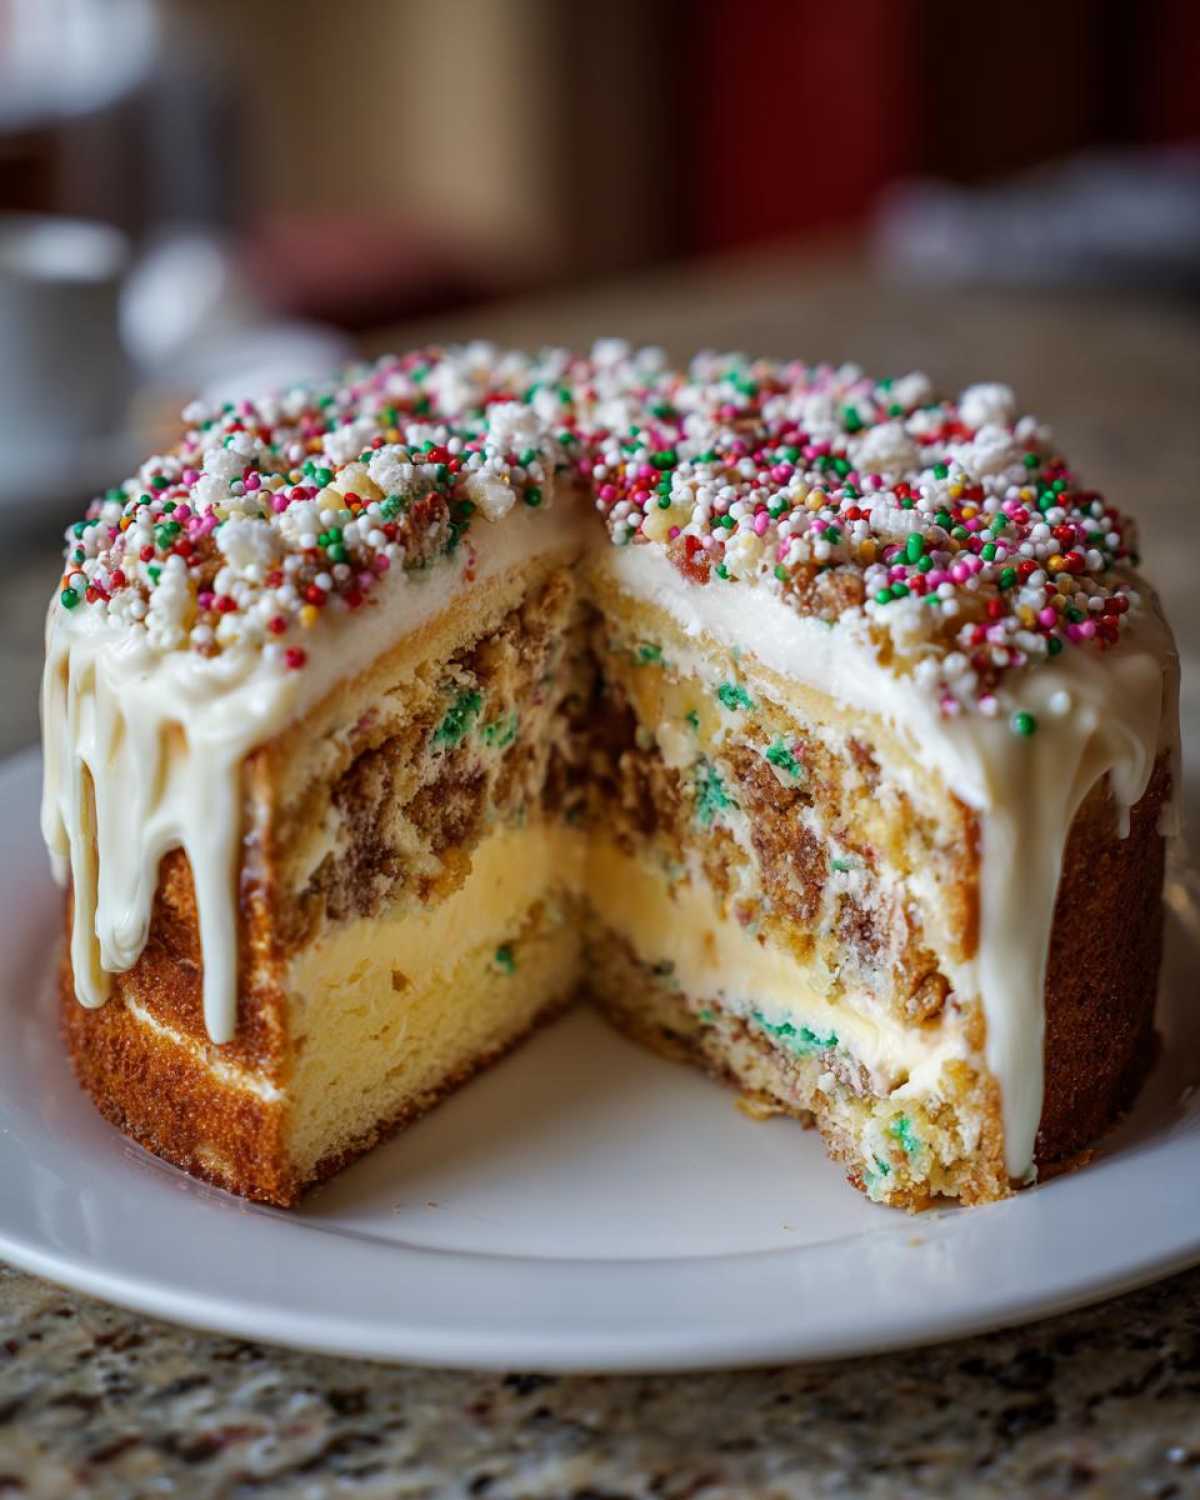
Decorating Your Festive Cream Cheese Desserts
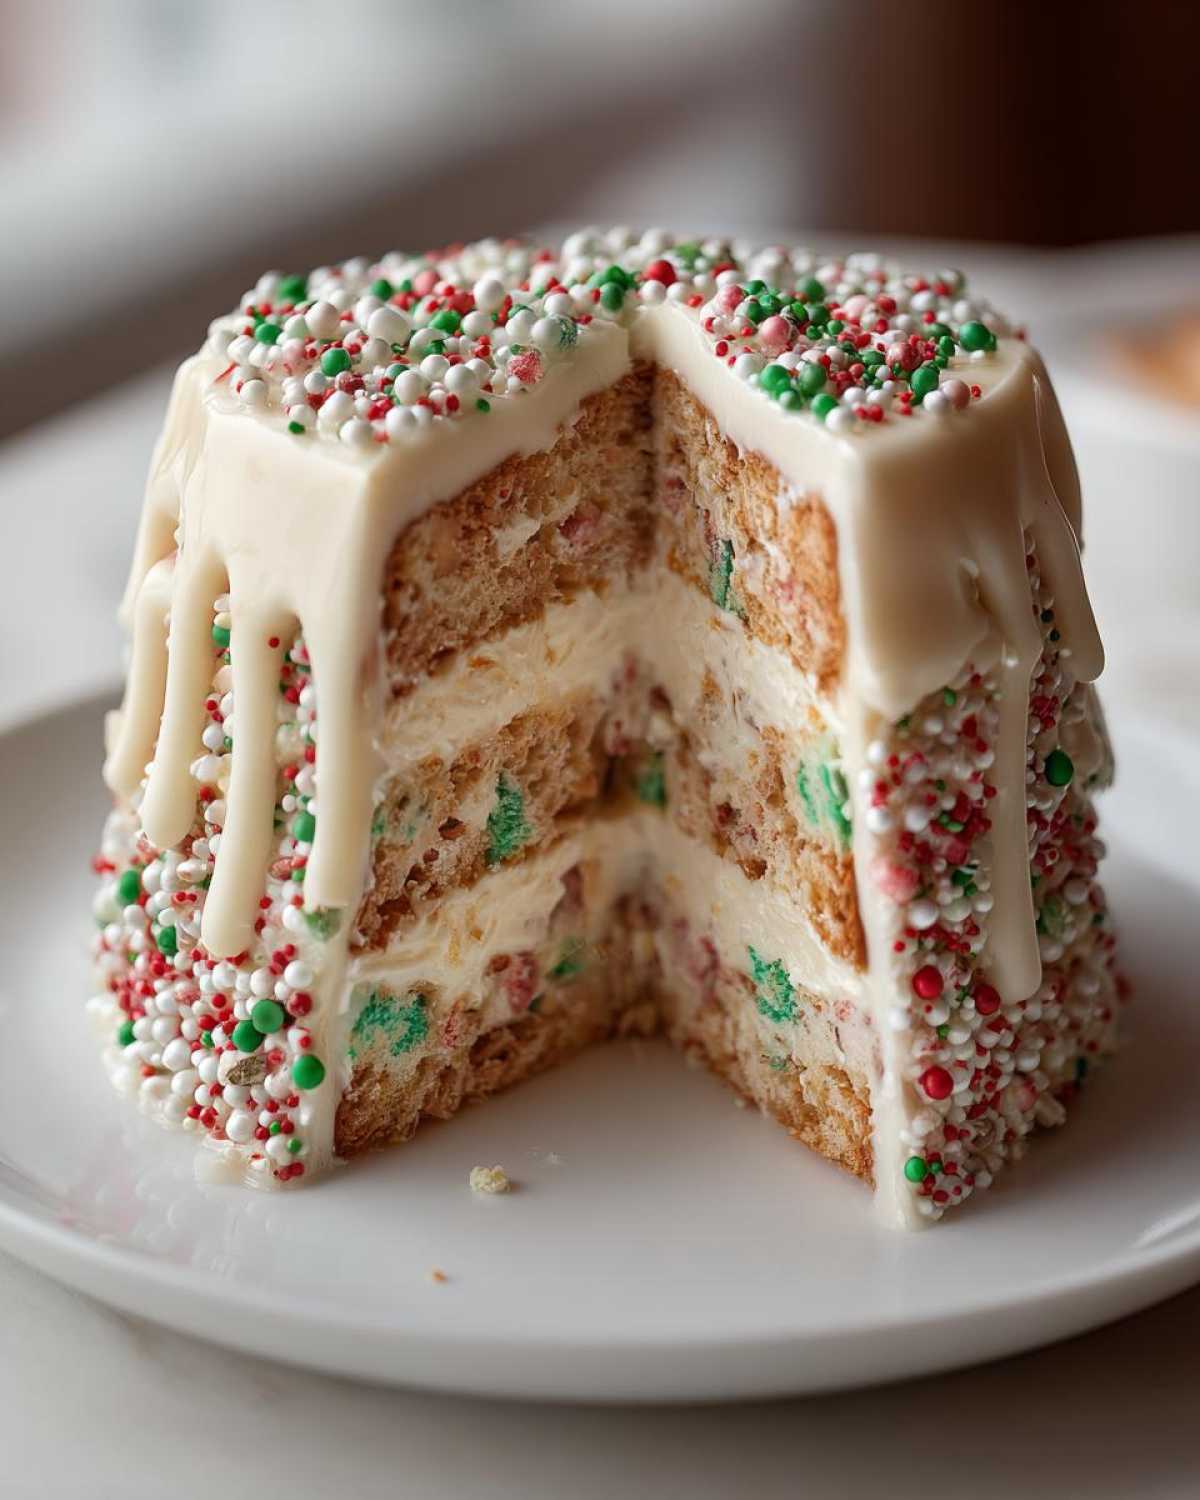
Alright, this is where the magic happens! After all that chilling time—which felt like forever, didn’t it?—it’s time to turn this creamy dessert into a true holiday icon. We want this to scream ‘Christmas Tree Shaped Cake’ the second it lands on the table. Once your cheesecake is completely cold and firm, gently spread that gorgeous white chocolate ganache right over the top. Don’t try to make it perfectly smooth; a slightly rustic, swirly look actually helps mimic that beautiful, fluffy texture of the original treats.
Once the ganache is set just slightly—you can pop it in the fridge for 10 minutes if it feels too runny—start decorating! We use festive sprinkles, which become our ornaments and garland here. Don’t be shy! If you want the ultimate visual payoff for your christmas tree cheesecake, load up those colors. It’s fun, it’s messy, and it’s absolutely the centerpiece your holiday spread deserves. If you loved the fun of making melted snowman cookies, you’ll have a blast styling this.
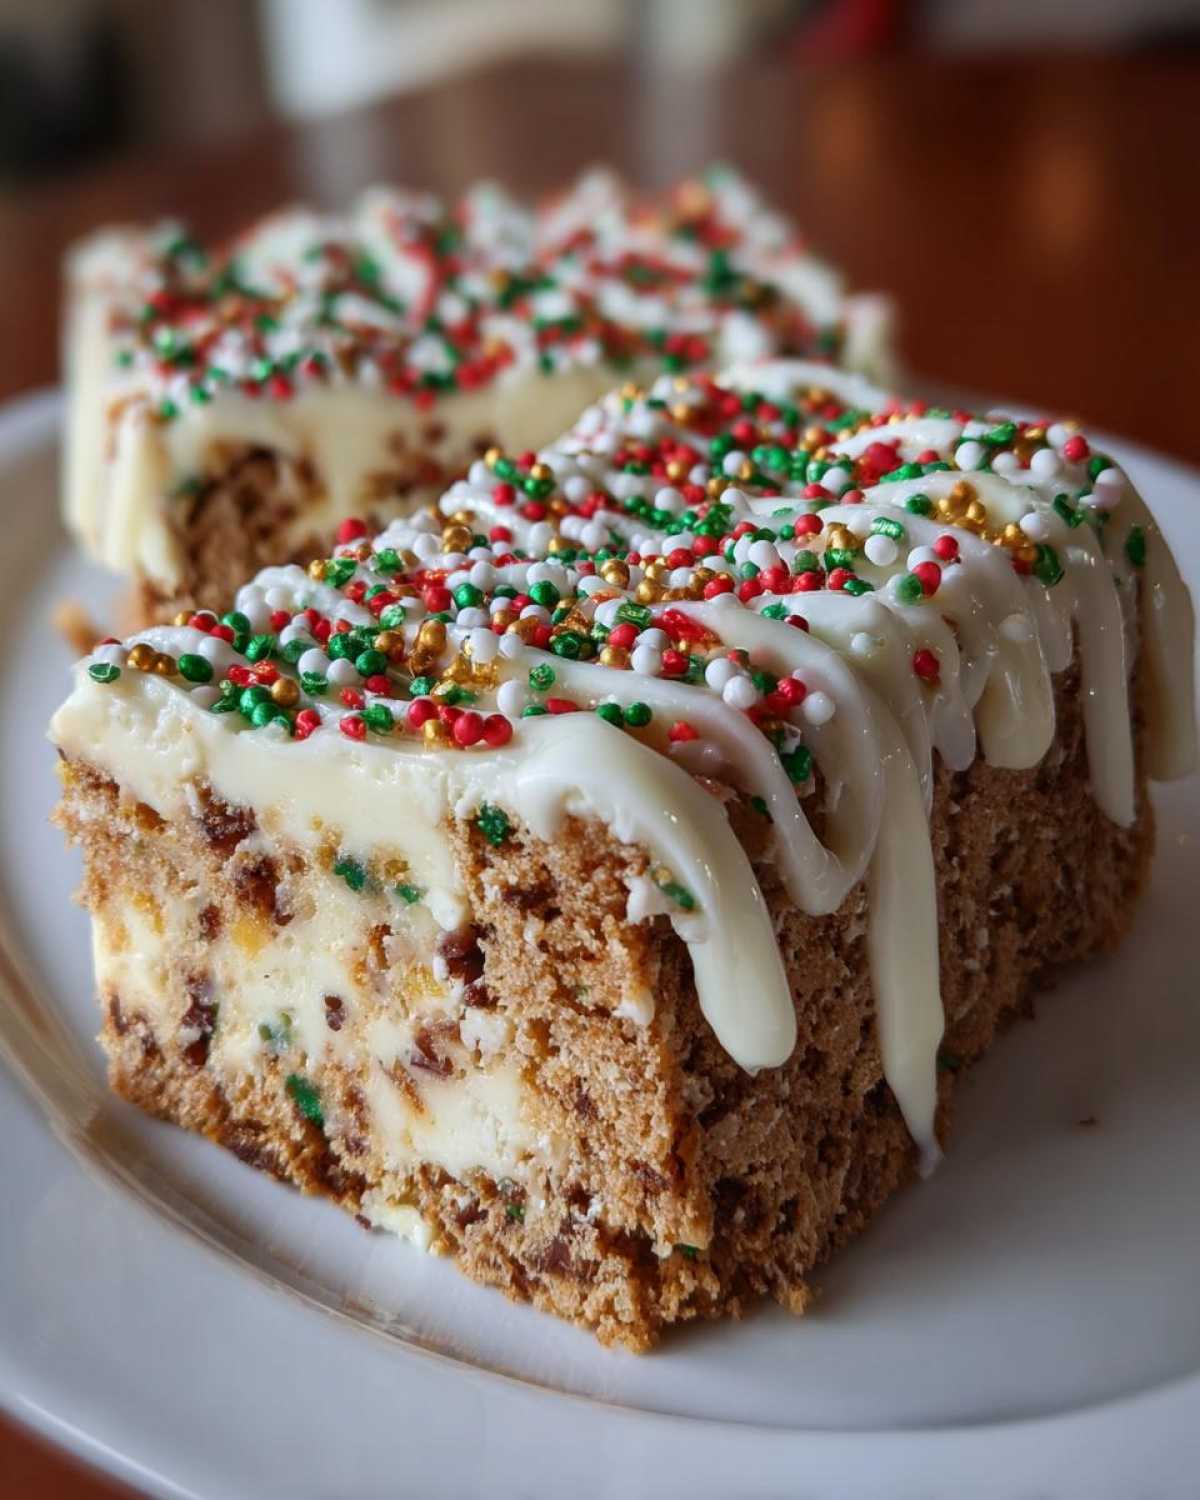
Expert Tips for the Best Christmas Tree Cheesecake Results
We’ve done the hard science part—the baking and the cooling—but a few extra tweaks really take this from good to phenomenal. Seriously, if you want that velvety mouthfeel associated with great Holiday Cheesecake Recipes, listen up! My number one rule, which I mentioned before, is making sure your cream cheese is truly at room temperature. If it’s cold, it won’t incorporate properly, and you end up fighting clumps, which ruins the intended creamy texture.
Secondly, chill time is non-negotiable for this rich, creamy holiday treat. I know waiting six hours feels like an eternity in December, but chilling overnight lets those flavors deepen and lets the structure fully set. If you are completely slammed for time, know that you can skip the oven entirely! For those looking for quick No Bake Holiday Desserts, just chill that filling mixture for about 8 hours instead of baking it. Either way, this christmas tree cheesecake is worth the wait!
Storage and Serving Suggestions for Your Christmas Tree Cheesecake
Once this beauty is chilled and set, you definitely want to treat it right! Reheating isn’t really a thing with cheesecake—it’s best served cool and creamy. For leftovers, which I doubt you’ll have many of, cover that springform pan tightly with plastic wrap or foil and pop it straight into the fridge. It keeps beautifully for about four or five days, tasting just as decadent as day one. That long chill time is crucial for this Decadent Christmas Cheesecake.
Serving-wise, this is my go-to for Christmas Potluck Ideas because it travels so well if you keep it chilled! I love slicing it up alongside something warm to contrast the creaminess—a perfect cup of hot coffee or maybe a mug of my favorite non-alcoholic Christmas punch makes the whole experience feel extra special. This christmas tree cheesecake is so visually complete, it hardly needs anything else on the plate to shine.
Frequently Asked Questions About This Holiday Cheesecake Recipe
I know when you tackle a show-stopping dessert like this, you might have a few little worries! We’ve all been there, staring at a recipe thinking, “What if I mess up the one critical step?” Don’t sweat it. I’ve answered the top things people ask me about making this christmas tree cheesecake so you can bake with confidence.
Do I absolutely have to use a water bath?
I won’t lie, Julian wanted to skip it the first time! For the best, crack-free, velvety texture in these Holiday Cheesecake Recipes, yes, you should use the water bath. Wrapping the pan well and using that hot water creates gentle, humid heat, preventing the edges from setting too fast while the middle is still cooking. If you skip it, you run a big risk of cracking, which definitely dulls the visual impact!
Can I make this entirely no-bake?
You totally can! This is one of the perks of aiming for No Bake Holiday Desserts. The basic filling mixture (everything except the eggs and sour cream) along with your chopped cakes will firm up beautifully if you chill it for at least eight hours—overnight is best. You’ll still want to use the graham cracker crust, but you skip the water bath and oven time.
What if I want a true tree shape?
That’s ambitious, and I love it! While this recipe is designed for a standard 9-inch round for ease and stability, you could attempt this in a specialized Christmas tree-shaped pan. Just be aware that odd shapes bake unevenly, so you’ll need to watch the bake time closely, checking often after the 50-minute mark.
What if I can’t find the Little Debbie snack cakes?
It happens! If you can’t find the specific Little Debbie cakes for your Festive Cream Cheese Desserts, you need something similar in texture and sweetness. Try folding in chunks of vanilla pound cake mixed with a little green food coloring and some extra colorful sprinkles inside to mimic the look. Just make sure whatever you use is relatively dry so it doesn’t add too much extra moisture to the batter. I always have a batch of my amazing holiday drink recipes ready for when we’re done testing!
Nutritional Snapshot of Your Festive Baked Goods
Now, I know we aren’t making this cheesecake for its health value, right? It’s the holidays, and this is meant to be a gorgeous, indulgent treat! But because Julian and I believe in showing you the whole picture—even the less glamorous bits—here is a rough breakdown of what you’re looking at per slice. Remember, this is just an estimate based on standard measurements, and brands can make a real difference in the final spread!
If you feel like you need a lighter side dish to balance things out, you can always check out some of our lighter fare, but honestly, this dessert deserves to stand on its own merit!
- Serving Size: 1 slice
- Calories: 450
- Sugar: 35g
- Fat: 30g
- Carbohydrates: 40g
- Protein: 7g
I always try to be upfront about these numbers. We cut big slices for photos, so yours might be smaller, and if you serve it with coffee instead of a heavy sauce, that changes things too. Think of this data more as a guide than a strict editor’s note. Enjoy it proudly!
Share Your Magazine Meal Masterpiece
Now that you’ve created your own incredible christmas tree cheesecake, I truly want to see it! Please leave a comment below and tell me how it tasted and if it brought back any memories.
Treat this creation like the cover story it is! Tag us on social media with your photos. We are the editors of our delicious life, and I can’t wait to see your stunning holiday feature!
PrintUltimate Nostalgic Little Debbie Christmas Tree Cake Cheesecake
Create a show-stopping holiday centerpiece with this creamy cheesecake loaded with nostalgic Little Debbie Christmas Tree Cakes. This recipe delivers rich flavor and festive fun for your Christmas gatherings.
- Prep Time: 25 min
- Cook Time: 65 min
- Total Time: 8 hours 30 min
- Yield: 12 servings
- Category: Dessert
- Method: Baking
- Cuisine: American
- Diet: Vegetarian
Ingredients
- 1 1/2 cups graham cracker crumbs
- 6 tablespoons unsalted butter, melted
- 1 1/2 pounds cream cheese, softened
- 1 cup granulated sugar
- 1 teaspoon vanilla extract
- 1/4 teaspoon salt
- 3 large eggs
- 1/4 cup sour cream
- 1 package (10.5 oz) Little Debbie Christmas Tree Cakes, roughly chopped
- 1/2 cup white chocolate ganache, for topping
- Festive sprinkles, for decoration
Instructions
- Preheat your oven to 325 degrees Fahrenheit. Wrap the outside of a 9-inch springform pan tightly with heavy-duty aluminum foil.
- Prepare the crust: Mix the graham cracker crumbs and melted butter in a bowl until combined. Press the mixture firmly into the bottom of the prepared springform pan. Bake for 10 minutes. Remove from the oven and let it cool slightly.
- Prepare the filling: In a large bowl, beat the softened cream cheese and sugar with an electric mixer until smooth. Beat in the vanilla extract and salt. Add the eggs one at a time, mixing just until combined after each addition. Mix in the sour cream until the batter is smooth. Do not overmix.
- Gently fold in the chopped Little Debbie Christmas Tree Cakes into the cheesecake batter.
- Pour the filling over the cooled crust in the springform pan.
- Bake the cheesecake using a water bath: Place the foil-wrapped springform pan inside a larger roasting pan. Carefully pour hot water into the roasting pan until it reaches about halfway up the sides of the springform pan.
- Bake for 55 to 65 minutes, or until the edges are set but the center still has a slight jiggle.
- Turn off the oven, crack the door open slightly, and let the cheesecake cool inside the oven for 1 hour. This prevents cracking.
- Remove the cheesecake from the water bath and foil. Let it cool completely on a wire rack.
- Once cool, cover the cheesecake and chill in the refrigerator for at least 6 hours, or preferably overnight.
- Before serving, gently spread the white chocolate ganache over the top of the chilled cheesecake. Decorate with festive sprinkles to resemble a Christmas tree.
Notes
- For an even creamier texture, ensure your cream cheese is truly at room temperature before mixing.
- If you prefer a no-bake holiday treat, chill the filling mixture for 8 hours instead of baking.
- Use a springform pan for easy removal, which is key for presenting this visually stunning Christmas desserts centerpiece.
Nutrition
- Serving Size: 1 slice
- Calories: 450
- Sugar: 35
- Sodium: 300
- Fat: 30
- Saturated Fat: 18
- Unsaturated Fat: 12
- Trans Fat: 0.5
- Carbohydrates: 40
- Fiber: 1
- Protein: 7
- Cholesterol: 100