

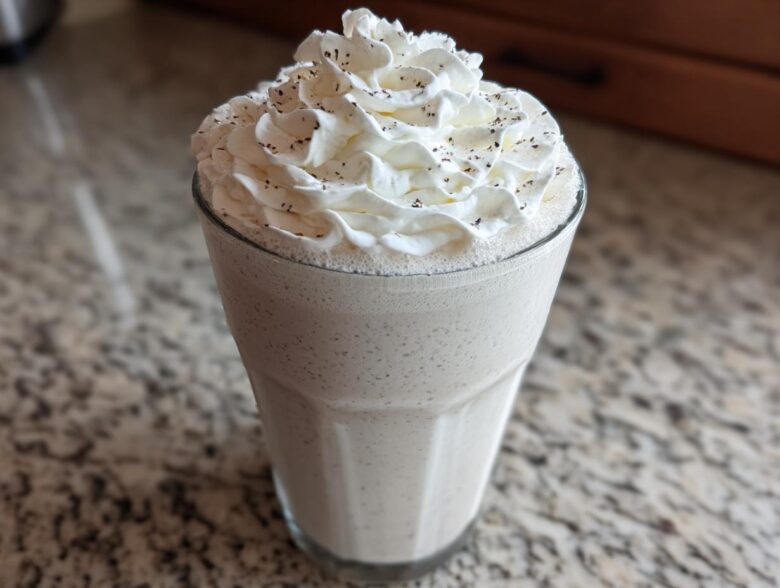
Oh my gosh, you know that moment when the afternoon hits and all you can think about is that thick, icy, creamy drink from the coffee shop? I used to spend way too much money chasing that perfect sip, especially when I totally skipped the coffee shot. Well, friends, after many icy, watery failures, I finally cracked the code. Forget runny drinks! This **Homemade Vanilla Bean Frappuccino** recipe is the real deal. I’m talking about achieving that actual velvet texture that doesn’t melt into a sad puddle two minutes after you pour it. Seriously, I perfected this blend over an entire summer, and now I’m sharing all my secrets so you can make that perfect blended vanilla drink right in your own kitchen.
Why This Homemade Vanilla Bean Frappuccino Recipe Works (The Copycat Vanilla Bean Frappuccino Recipe)
I know you’ve tried those recipes that promise the world but give you chunky ice sludge instead, right? Don’t worry, we’re past that stage now. This **Copycat vanilla bean Frappuccino recipe** is legendary in my house because it focuses on structure first. The key is nailing that incredible texture—you need it thick enough to almost stand up in the glass! We use minimalist ingredients, which keeps this an incredibly Easy blended vanilla drink to whip up whenever the craving hits. Trust me, once you taste how spot-on the vanilla flavor is, you won’t look back! If you want more great kitchen tricks, check out my general tips over at the main blog page.
Quick Prep and Total Time for Your Homemade Vanilla Bean Frappuccino
This is what I love most—it’s faster than running to the drive-through! You are looking at about five minutes flat from grabbing ingredients to taking that first icy sip. Honestly, the longest part is walking from the pantry to the blender. It’s the perfect last-minute treat when you need a Homemade Vanilla Bean Frappuccino fix fast.
Essential Ingredients for the Best Homemade Vanilla Bean Frappuccino Base
When you’re trying to replicate that coffee shop magic, the ingredients list matters way more than you think. This is where we build the foundation for an incredible texture, so pay attention! The full rundown of our Homemade Frappuccino ingredients explained is simple, but the quality really shines through. We need ice, milk—I usually use whole milk but any dairy or non-dairy works—and then the secret sauce ingredients.
I always add a touch of heavy cream, even if it’s optional, because it really boosts that luxurious mouthfeel. Without it, the drink is good; with it, it’s totally decadent. And don’t skip the tiny pinch of salt! It sounds weird, but it actually makes the vanilla sweetness pop against the ice. This recipe creates the ultimate Copycat vanilla bean Frappuccino recipe because we aren’t skimping on richness.
Vanilla Bean Flavor: Paste vs. Extract in Your Homemade Vanilla Bean Frappuccino
This is probably the most important decision flavor-wise. If you want the authentic look—those tiny black flecks dancing in your drink—you absolutely need vanilla bean paste. It’s gorgeous and tastes amazing. That said, pure vanilla extract works perfectly well if that’s what you have on hand for your Homemade Vanilla Bean Frappuccino. Just remember, the extract is stronger, so use about half the amount listed for the paste. You want that deep, creamy vanilla to shine, not taste like weird perfume!
Achieving That Perfect Frappuccino Texture: Stabilizer Notes
Okay, texture is everything here. We want thick, not melt-y. My top choice for serious thickness is a super-tiny amount of xanthan gum. Don’t panic, it’s a common baking ingredient! It acts like a magic thickener without adding any flavor.
If you don’t have the gum, and if you happen to check out my guide on yummy nice cream, you’ll know I love using frozen fruit. For this though, you can smash in half a frozen banana slice—it bulks up the texture beautifully. Another trick that works shockingly well is adding just one tablespoon of cream cheese. It melts right in and gives you that amazing, dense consistency without making the drink taste tangy. This step is crucial for getting that Perfect Frappuccino consistency tips everyone chases!
Step-by-Step Instructions to Make a Perfect Homemade Vanilla Bean Frappuccino
Alright, here is where all that careful measuring pays off! Making the Homemade Vanilla Bean Frappuccino is all about the execution inside the blender cup. Seriously, this isn’t the time to rush things. You want to build your layers correctly in the canister to avoid straining your motor, especially if you aren’t using one of those super high-powered machines. My E-E-A-T (experience, expertise, authoritativeness, and trustworthiness) rule here is to always load liquids in first for easier movement.
- First things first, tuck in all those chilly ingredients: drop the ice cubes in, followed by your milk, that optional heavy cream, sugar, vanilla (paste or extract—remember!), the salt, and whatever stabilizer you chose—xanthan gum or cream cheese.
- Now, secure that lid. I mean really secure it tight, unless you enjoy a sticky mess all over your ceiling! You’re going to start low. Pulse it once or twice on the lowest setting. This just gets everything moving around without immediately jamming up the blades.
- Next, ramp it up! Slowly increase the speed until you hit high. You need to let the machine really churn until that mixture looks completely uniform. Stop after about 30 seconds, use a spatula to scrape down the sides, and then blend again until you can’t see any stray chunks of ice.
- Give it a quick test sip. This is your final chance to customize! If you’re a serious sweet tooth, toss in another teaspoon of sugar and blend for five more seconds so it incorporates perfectly.
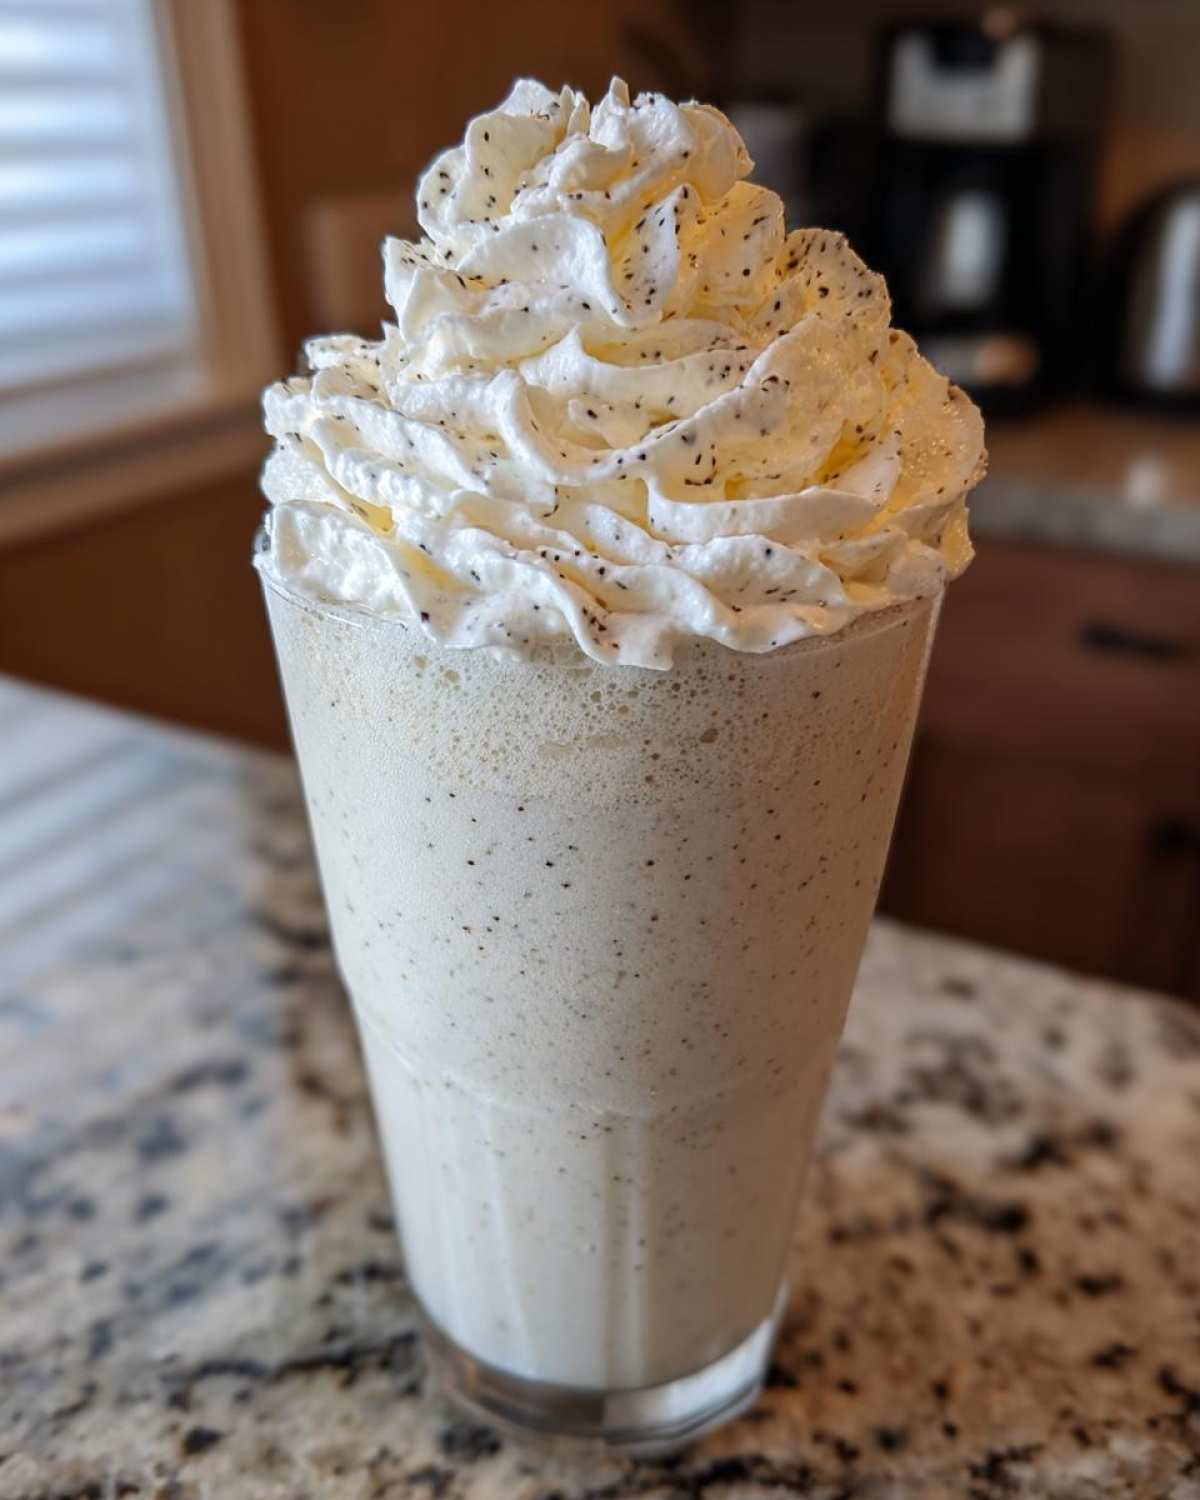
- Pour your beautifully thick Homemade Vanilla Bean Frappuccino into your favorite tall glass—mine is usually a slightly frosty one!
- Top it off! Grab your whipped cream, mound it high, and finish with a tiny dusting of that lovely dark vanilla bean specks if you used the paste. Serve right away so you can enjoy those perfect Homemade Frappuccino texture secrets! If you need more recipe ideas, I always keep my latest finds ready on the main blog page.
Blending Techniques for How to Make Creamy Frappuccino
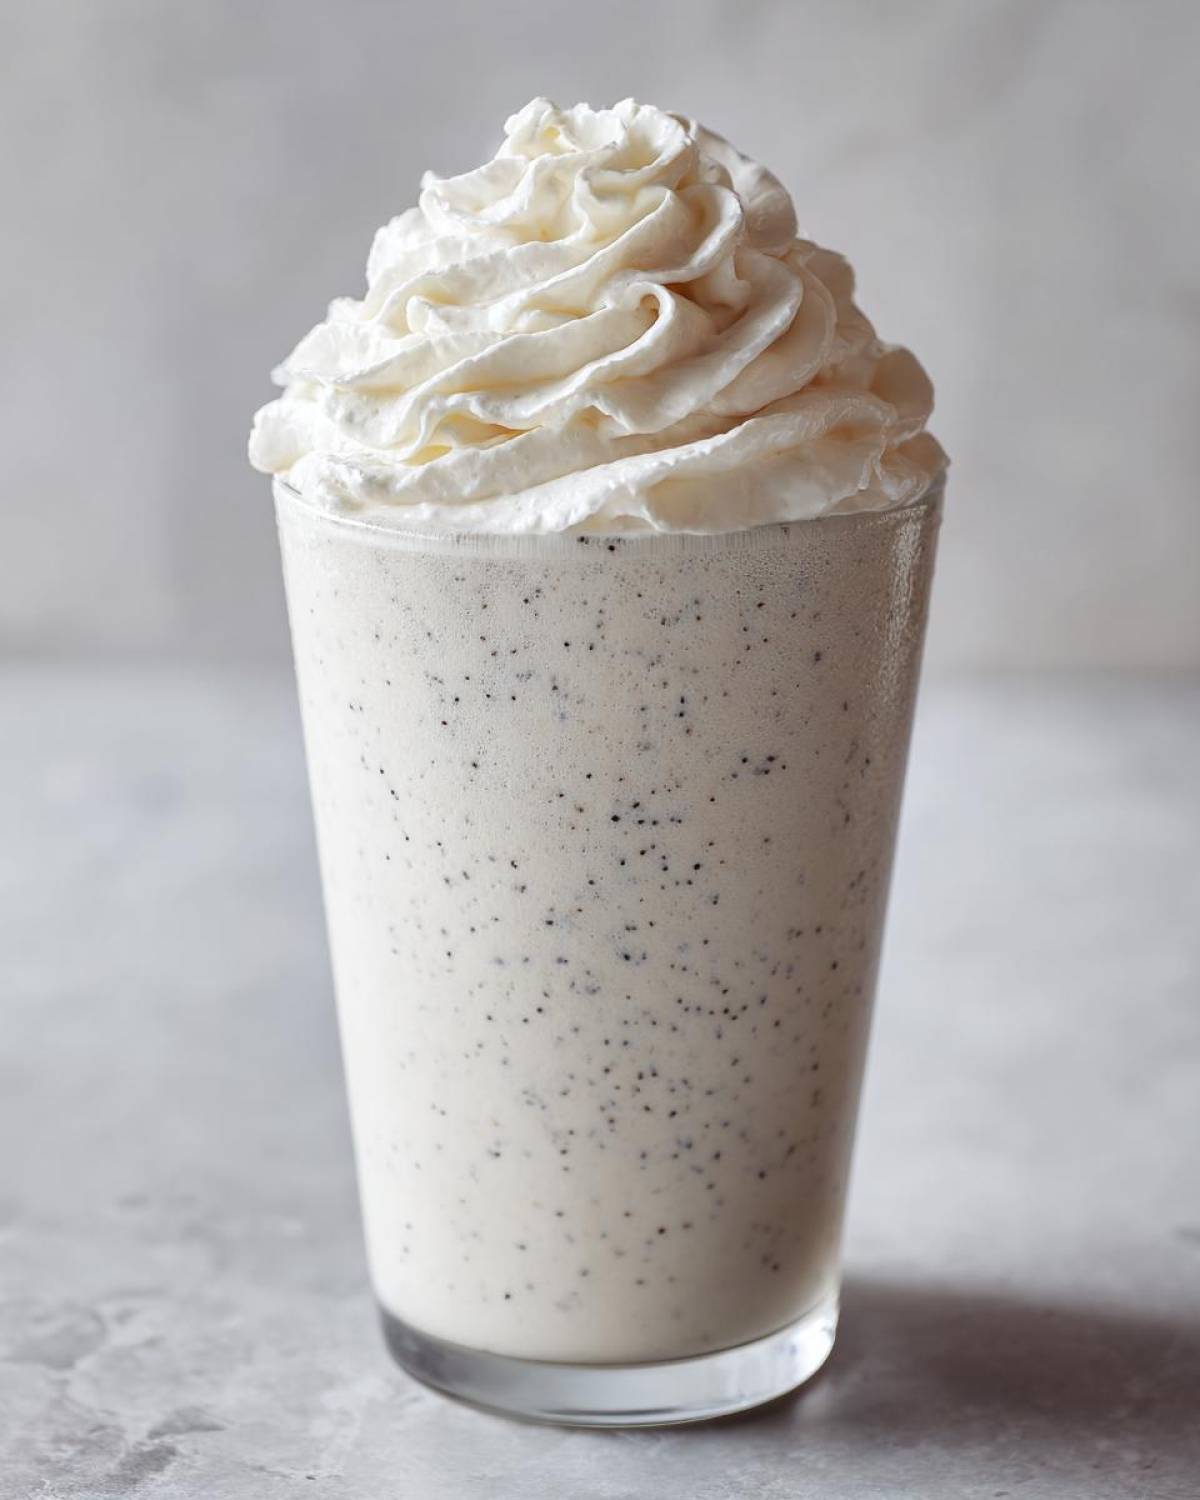
The technique truly separates a good blended drink from an amazing one. Forget just throwing it all in and hitting ‘Liquefy.’ You must start low and build that speed gradually. What you’re aiming for when applying these Perfect Frappuccino consistency tips is to create a vortex in the blender. You want that spinning cone of icy goodness to pull everything down into the blades without the motor struggling constantly. If your blender has a tamper tool (the stick you use while it’s running), use it gently to push the thick mixture down toward the blades as you blend on high. That constant movement is what eliminates the pockets of unblended ice and gives you that amazing, smooth, thick texture you want in a Homemade Frappuccino.
Customizing Your Homemade Vanilla Bean Frappuccino: Coffee vs. No Coffee Options
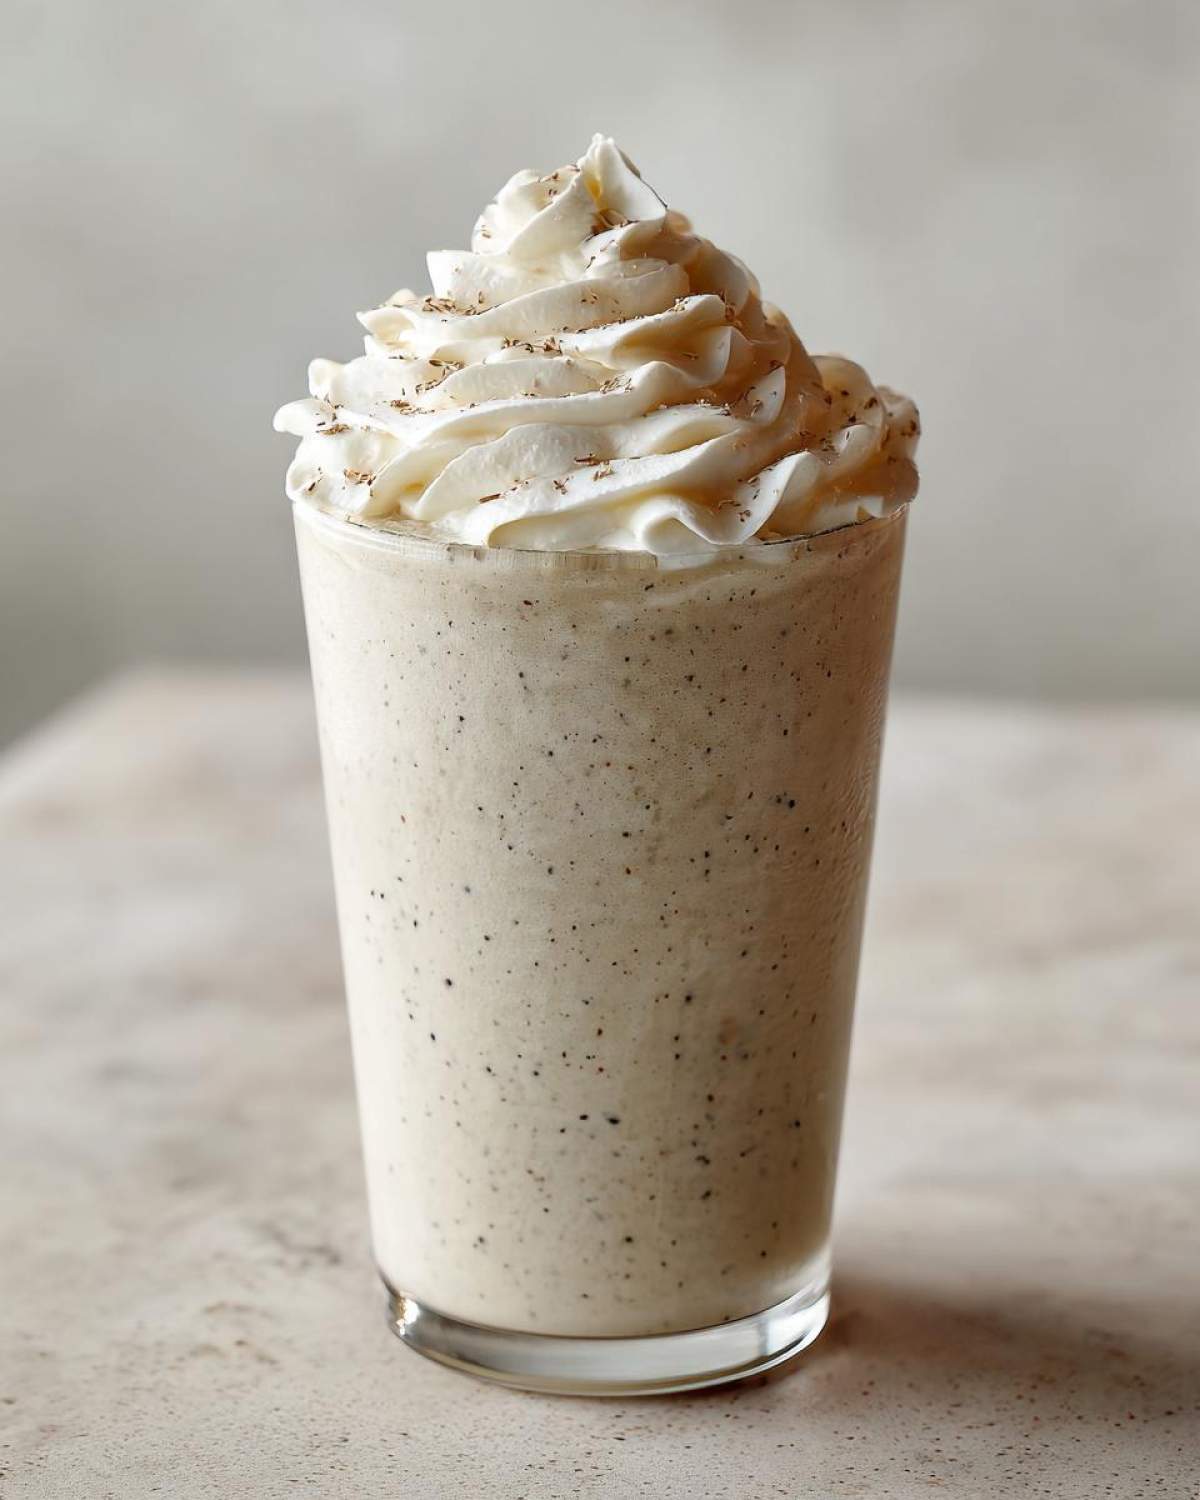
The beauty of mastering the Homemade Vanilla Bean Frappuccino base is that it is completely flexible! For those of you who are strictly here for a caffeine-free treat—maybe an afternoon dessert drink—this recipe already works perfectly as written. You get that sweet, creamy vanilla flavor without any jitters. It’s technically a Blended iced vanilla drink no coffee masterpiece right out of the box!
But, let’s be honest, most of us make these to mimic that coffee shop hit. If you want to transition this into a creamy iced latte, you just need a little boost. The secret is to use something already cold. Don’t use hot coffee, or it will melt all your hard work! You can add about 1/4 cup of strong cold brew concentrate, or if you want that richer shot flavor, use one cooled shot of espresso.
Just toss that cold coffee in with the other ingredients before blending. It mixes right into the icy base beautifully, giving you a stunning coffee-flavored counterpart to the non-coffee version. Feel free to try out this trick, or peek at how I add coffee flavor to my horchata iced latte for more cold caffeine ideas!
Tips for Success When Making Your Homemade Vanilla Bean Frappuccino
Look, even though this Homemade Vanilla Bean Frappuccino is super simple, blending big chunks of ice can cause hiccups. If you follow these little operational secrets, you’ll consistently nail those Perfect Frappuccino consistency tips every single time. Think of this as the finishing touches that move you from an amateur blender operator to a genuine Frappuccino master!
First off, let’s talk about that stabilizer shortcut. If you skip the xanthan gum—and trust me, I usually do when I run out—you need an alternative that thickens without tasting weird. My absolute favorite backup hack is using a tiny bit of cream cheese. It sounds absolutely wild mixing dairy spreadables into a drink, but it melts in perfectly and gives a wonderfully rich body to the entire blend. It’s one of those secrets I learned through sheer desperation!
Alternatively, if you like a little natural sweetness boost, consider grabbing one slice of a frozen banana instead. It works amazingly well to thicken the texture, though it might slightly change the vanilla profile—but hey, fruit is yummy too! If you want to compare my texture secrets here to another recipe, I use similar thickening ideas in my famous chocolate chip cookie dough base when I freeze the dough balls.
Now, let’s talk about your blender struggling. If you hear that motor whining like crazy, stop immediately! Don’t burn it out trying to conquer those ice cubes. The best thing to do is to stop the machine, add a tiny splash more milk—just a teaspoon or two—and then restart, making sure you pulse it before going back to high speed. Loading your liquids first, like I mentioned earlier, helps immensely, but sometimes the ice just fights back. A little patience and a gentle coaxing of the mixture will save your machine and guarantee you get that smooth, beautiful Vanilla Bean Frappuccino result you’re aiming for.
Serving Suggestions and Toppings for Your Starbucks Style Vanilla Drink at Home
Now that you’ve managed to create that perfectly thick, icy base—the hardest part is over! But presentation, honestly, is half the fun when it comes to these fancy frozen drinks. You can’t just pour your incredible creation into a chipped mug and call it a day! We need to make this look exactly like you ordered it perfectly at the counter. This is how you serve up the ultimate Starbucks style vanilla drink at home.
The absolute, non-negotiable topping for any great Frappuccino is whipped cream. Period. You need that big, beautiful swirl right on top. If you’re using store-bought whipped topping, great! Just give the can a good shake and let it rest on the counter for 30 seconds so it’s easy to dispense in those satisfying ribbons.
If you are feeling extra fabulous—and since you just nailed the **Homemade Vanilla Bean Frappuccino** base, you absolutely should be feeling fabulous—you can make your own whipped cream. It’s ridiculously easy and tastes a million times better. Just whip heavy cream with a little powdered sugar and a tiny splash of vanilla extract until stiff peaks form. That homemade version holds its shape so much better against the cold drink underneath, saving you from sad, melting blobs.
The Finishing Touch: Making Those Vanilla Specks Pop
If you used vanilla bean paste in your actual drink base, remember those beautiful little black flecks? Make sure some of them are accessible when you are topping the drink! If you only used extract, here’s a fun trick: take a tiny bit of extra vanilla bean paste (or even just grind up some actual vanilla bean if you have it) and sprinkle it right over the top of the whipped cream mountain.
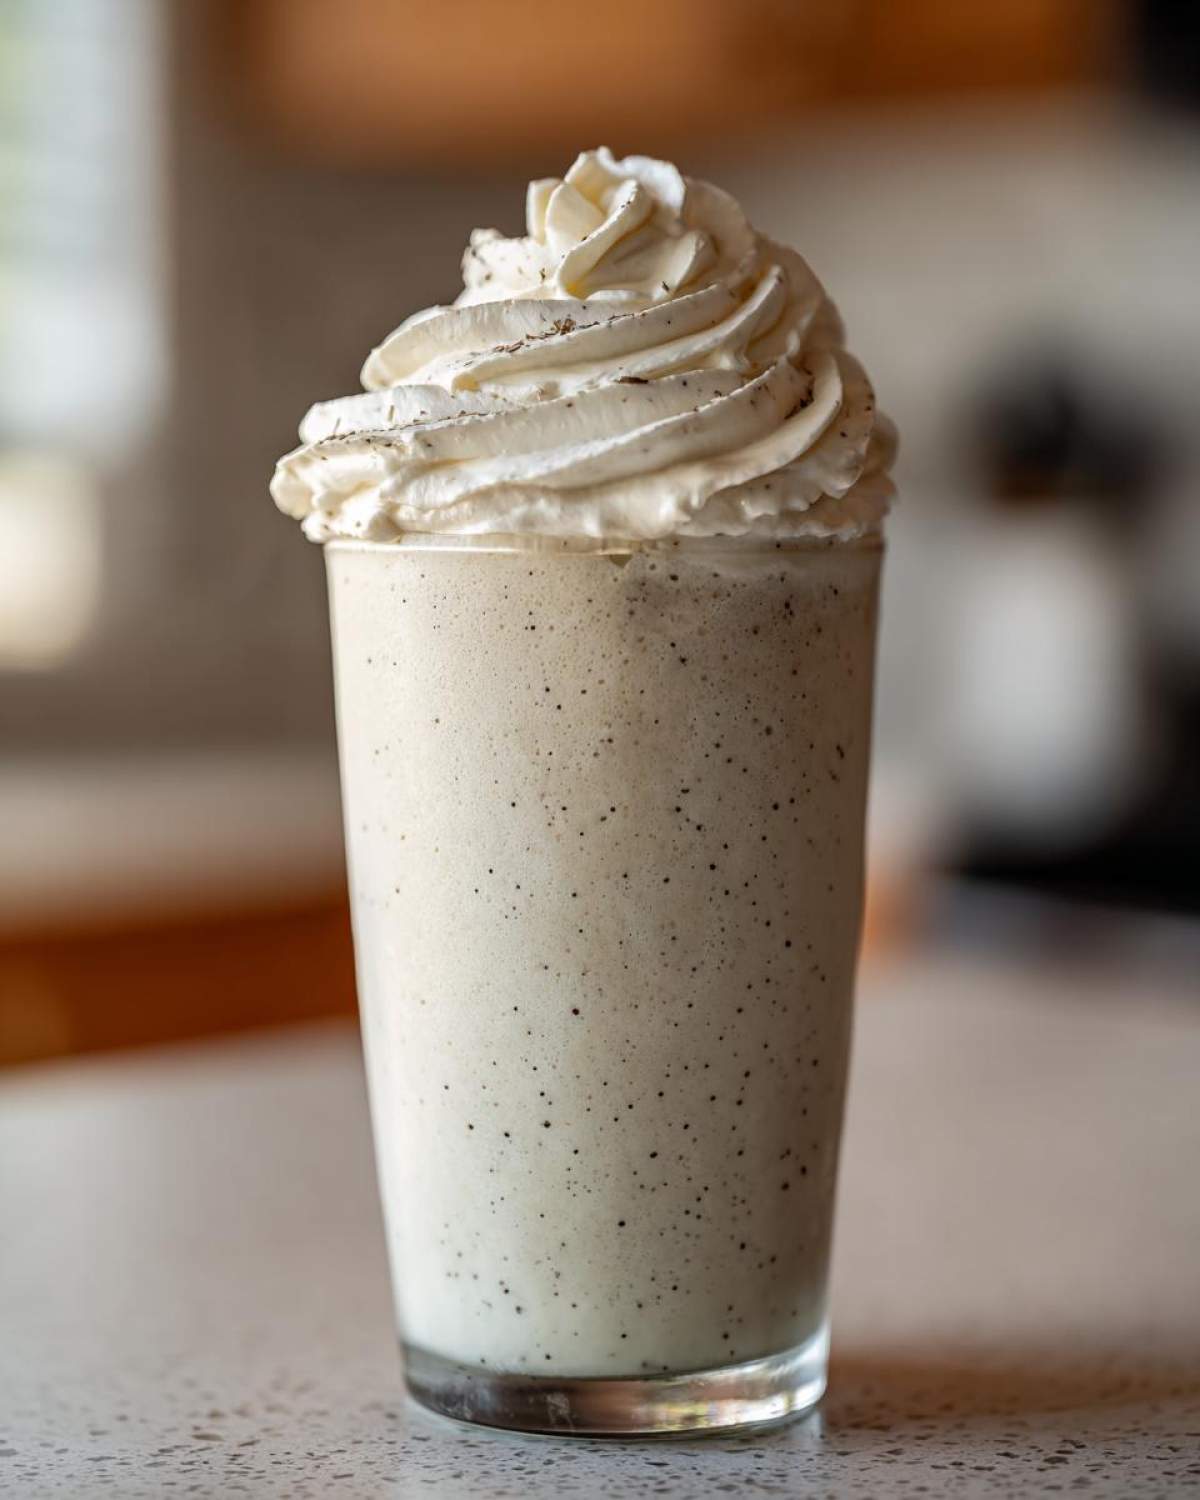
It gives that instant visual cue that this isn’t just *any* vanilla drink; this is the good stuff! It adds zero flavor enhancement at that point, but visually? It makes your Homemade Vanilla Bean Frappuccino look professional. It’s all about those little details. Speaking of small details that elevate everything, I use a similar technique when making my quick aioli—a tiny garnish makes the whole thing feel special!
Finally, you need something to protect your hands from that icy glass! Grab a striped paper straw if you have one, or just wrap the outside of the glass in a nice paper napkin. I love using fun, colorful straws for my summer drinks because it just adds to the fun, festive atmosphere. Enjoy that perfectly crafted, intensely creamy, Homemade Vanilla Bean Frappuccino!
Storage and Reheating Instructions for Leftover Homemade Vanilla Bean Frappuccino
I have a confession: I’ve never, ever had leftovers. Who are these disciplined people who can stop halfway through a perfect Homemade Vanilla Bean Frappuccino? If you are one of those saints, I salute you, but I have to warn you, this isn’t like saving leftover soup!
Because this drink relies entirely on perfectly blended ice crystals, once it starts sitting, it’s going to melt. You can’t just stick it in the fridge and expect it to be the same texture later. That thick, velvety consistency vanishes almost immediately, leaving you with very sweet vanilla milk. Don’t even try microwaving it; that just makes hot milk!
If you know you won’t finish it right away, you have two options, and neither of them will give you the exact same results, but they salvage the flavor. Option one is pure dedication: pour the watery remainder into an ice cube tray. Freeze those lovely vanilla cubes overnight. The next day, when you want another quick treat, pop those cubes out and blend them up with a fresh splash of milk—it helps rejuvenate the texture. It’s a great way to use up leftover flavoring!
Option two is just admitting defeat until the next craving hits. If you want to keep the flavor profile, just pour the leftover liquid into an airtight container and keep it chilled. When you’re ready for another cold hit, dump that mixture back into the blender with a fresh, large handful of ice. You’ll have to add a little more sugar sometimes because the melted ice diluted the sweetness, but blending it fresh again is the only way to recover that signature icy feel of a Homemade Vanilla Bean Frappuccino!
Frequently Asked Questions About Making a Homemade Frappuccino
Can I use regular milk if I don’t have heavy cream?
Absolutely! You can definitely make this an Easy blended vanilla drink using just regular 2% or whole milk instead of adding the heavy cream. The cream just adds that extra richness and helps it mimic the commercial version’s decadence, but milk alone works fine for a lighter texture. If you go this route, you might want to add that little bit of cream cheese for stabilization, since you’re losing some fat content!
How do I make my Homemade Vanilla Bean Frappuccino taste sweeter?
If you tasted the blend and thought, “Nope, I need more,” don’t stress! The beauty of making this at home is that you are the boss of the sugar. Just add one extra teaspoon of granulated sugar at a time and quickly blend for just five seconds to incorporate it. Remember, the icy temperature dulls the sweetness perception a bit, so taste *after* it’s fully blended. If you taste before blending, you’ll accidentally make it way too sugary!
Can I use instant coffee to make this a coffee-flavored blended iced vanilla recipe no coffee alternative?
Yes, you totally can turn this into a coffee treat! If you want a stronger flavor than just the vanilla, simply dissolve about one teaspoon of good quality instant coffee granules into the 1/2 cup of milk *before* you add it to the blender. Make sure the milk is room temperature or only slightly cool when you dissolve it so the coffee fully melts. This is a great way to make a sneaky Blended iced vanilla recipe no coffee base that still gives you that mocha shop vibe!
My blender struggles with the ice; what should I do differently?
I’ve been there, trust me! If your machine sounds like it’s about to quit, you need to help it out. Always put your liquids in first—the milk, cream, and vanilla mixture goes in before the ice cubes. Then, instead of hitting high speed right away, pulse the machine five or six times quickly to break the ice into smaller pieces first. This prevents those big chunks from jamming the blades. A gentle push with a tamper (if you have one) while blending on medium speed is your friend here until you achieve that smooth texture.
Do I really need the vanilla bean paste for the best flavor?
You don’t *need* it, but if you’re aiming for that iconic look, yes! The paste is what gives you those beautiful little black specks, and the flavor is often deeper than extract. However, if you just want amazing flavor without the visual, a high-quality pure vanilla extract is perfectly fine for this Easy blended vanilla drink. Using a good extract is better than using a cheap imitation, whatever you do!
If you have any other pressing recipe questions or need help troubleshooting, feel free to reach out through the contact page!
Nutritional Estimates for This Simple Blended Vanilla Bean Recipe
Okay, so we’ve perfected the dreamy texture and the vanilla flavor, but I always get asked about the macros for these creamy treats. I want to be super upfront: because this is a homemade recipe and you might swap out milk types or adjust the sugar level, these numbers are just my best guess based on standard ingredients. Think of this as a fun guideline, not a guarantee for your exact serving! Always refer to my full disclaimer page if you need hard figures for dietary tracking.
This breakdown is based on making a single serving using whole milk and the optional heavy cream, which is how I test my prototypes. If you use non-fat milk and skip the cream, your numbers will definitely be lower, especially on the fat content!
When I ran the numbers for a standard batch of this Simple blended vanilla bean recipe, here’s what popped out:
- Serving Size: 1 drink
- Calories: Around 250 (Wow, that’s honestly not bad for how decadent it tastes!)
- Total Fat: About 10 grams (Remember, this includes the optional cream!)
- Saturated Fat: Roughly 6 grams
- Carbohydrates: Came in around 38 grams, mostly from the sugar content.
- Sugar: Approximately 35 grams—use less sugar if you want to cut this down!
- Protein: A small boost at about 3 grams.
- Sodium: Very minimal, only about 30mg.
See? It totally satisfies that dessert craving without going completely overboard, especially since you control exactly how much of that yummy sugar goes in there. Enjoy that knowing you made it better than you could buy it!
PrintHomemade Vanilla Bean Frappuccino
Make a smooth, creamy, copycat Vanilla Bean Frappuccino at home using simple ingredients. This recipe focuses on achieving the perfect icy texture.
- Prep Time: 5 min
- Cook Time: 0 min
- Total Time: 5 min
- Yield: 1 serving
- Category: Dessert Drink
- Method: Blending
- Cuisine: American
- Diet: Vegetarian
Ingredients
- 1 cup ice cubes
- 1/2 cup milk (dairy or non-dairy)
- 1/4 cup heavy cream (optional, for extra richness)
- 2 tablespoons granulated sugar
- 1 teaspoon vanilla bean paste or 1/2 teaspoon pure vanilla extract
- 1/4 teaspoon xanthan gum (optional, for thickness)
- Pinch of salt
- Whipped cream for topping (optional)
Instructions
- Place the ice cubes, milk, heavy cream (if using), sugar, vanilla bean paste or extract, xanthan gum (if using), and salt into a high-speed blender.
- Secure the lid tightly. Start blending on a low speed, gradually increasing to high speed.
- Blend until the mixture is completely smooth and has a uniform, thick, icy consistency. Stop and scrape down the sides if necessary.
- Taste the mixture; add more sugar if you prefer it sweeter, then blend for a few more seconds.
- Pour the mixture into a tall glass.
- Top with whipped cream and a sprinkle of vanilla bean specks, if desired. Serve immediately.
Notes
- For a coffee version, add 1/4 cup of cold brewed coffee or 1 shot of cooled espresso before blending.
- If you do not have xanthan gum, you can substitute with 1 tablespoon of cream cheese or 1/2 a frozen banana slice to help stabilize the texture.
- Use high-quality vanilla extract or paste for the best flavor replication.
- If your blender struggles, add liquids first, then the solids, and pulse before blending continuously.
Nutrition
- Serving Size: 1 drink
- Calories: 250
- Sugar: 35
- Sodium: 30
- Fat: 10
- Saturated Fat: 6
- Unsaturated Fat: 4
- Trans Fat: 0
- Carbohydrates: 38
- Fiber: 0
- Protein: 3
- Cholesterol: 35