

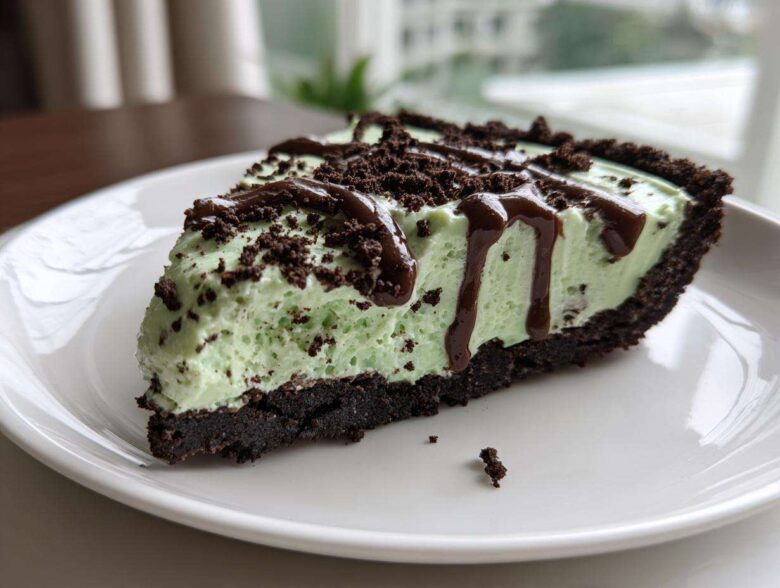
Sometimes, after a week where everything feels like it’s moving too fast—you know, too many deadlines, too much styling and editing—I just need a dessert that says, “I’m done, and I’m not turning on the oven.” That’s when Julian and I fall back on the ultimate stress-free feature: this grasshopper pie. It’s the definition of a Magazine Meal centerpiece when you have zero minutes to clean up! Forget complicated layers; this recipe is all about a rich chocolate cookie crust hugging the creamiest, coolest mint filling you can imagine.
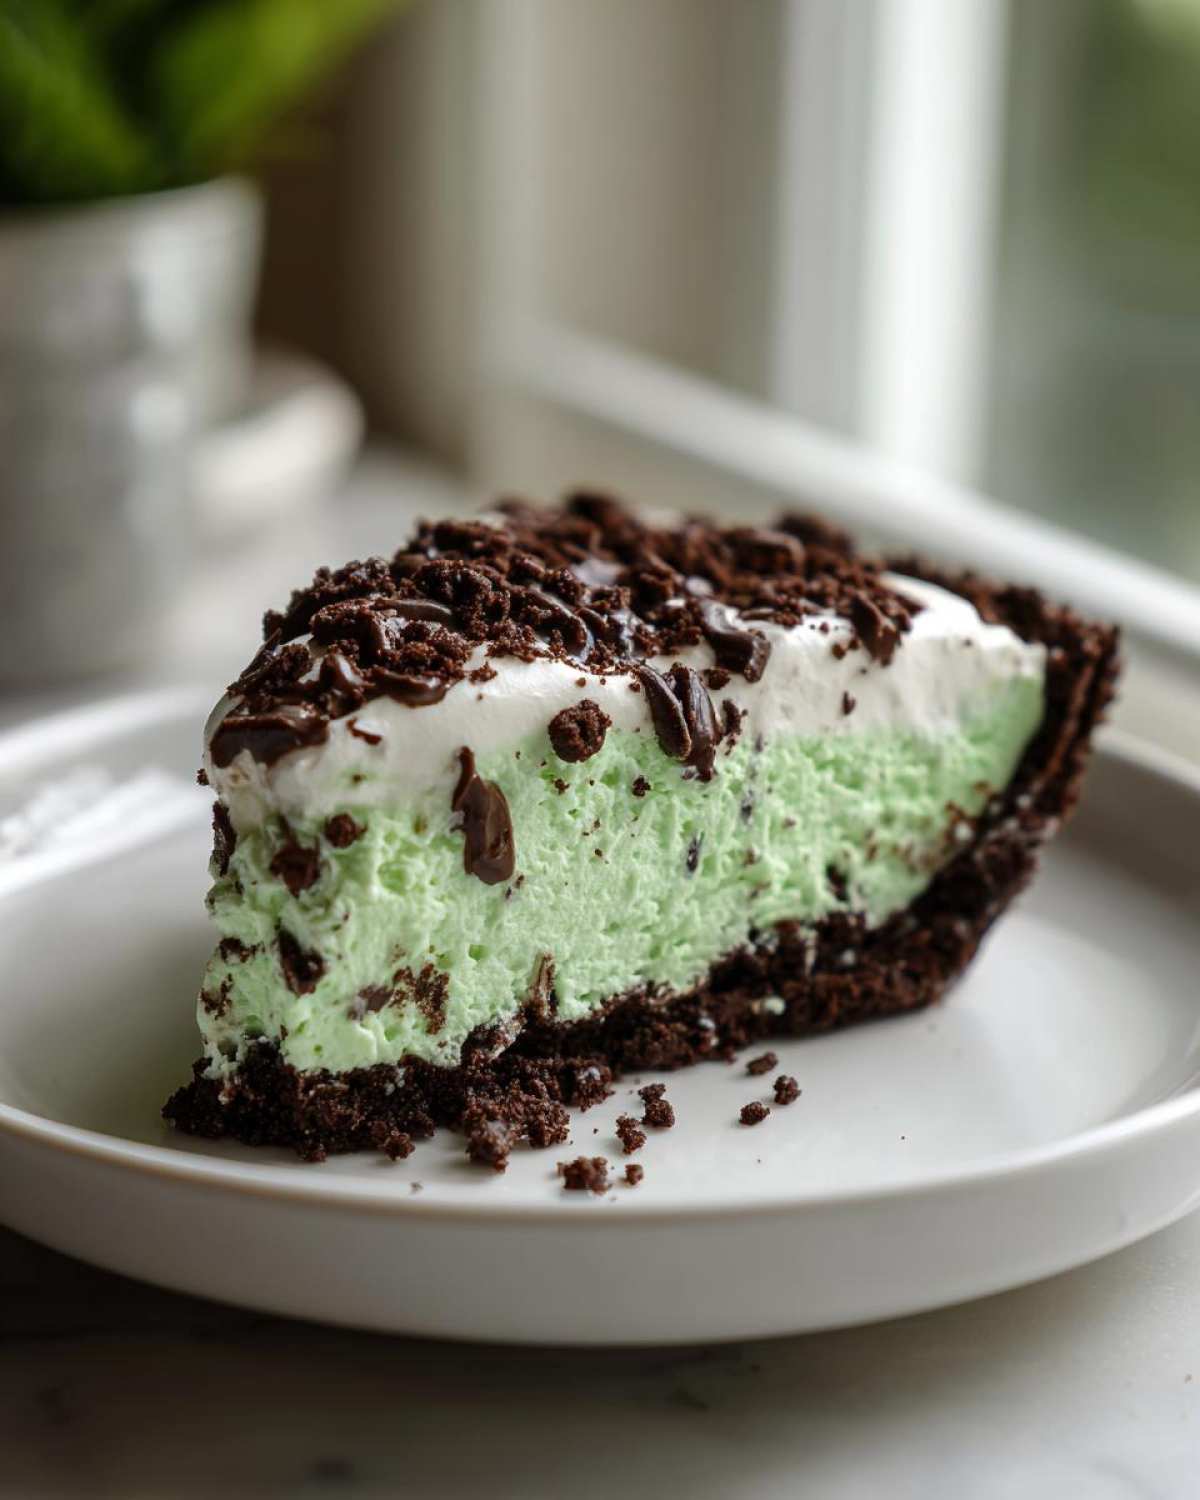
It’s shocking how good this no bake grasshopper pie tastes for how little effort it requires. We both love that we can whip it up one night and it’s perfectly chilled and set for serving the next day. It looks so vibrant and festive, but truly, its secret weapon is its simplicity. If you’ve been looking for that easy, make-ahead showstopper, you’ve found the cover story for your evening!
If you’re curious about our philosophy on making meals the main feature of your day, you can always read more about our story over on our About Us page. But for now, let’s focus on getting this minty magic ready!
Why This No Bake Grasshopper Pie is Your Next Feature Dessert
This isn’t just another dessert; it’s truly an easy grasshopper pie rescue mission when your schedule is packed. For us, this reigns as the perfect refreshing summer dessert because absolutely zero oven time is required. That means no need to heat up the kitchen when it’s already warm outside!
What sets Julian’s version apart is that we stick firmly to the non-alcoholic flavoring—mint extract sings beautifully here! It makes this recipe completely family-friendly. You get all that cool, minty flavor without any fuss.
- Prep takes less than 20 minutes—seriously!
- It’s the ideal make-ahead dessert; it needs time to set, not time to actively bake.
- The flavor is perfectly balanced: rich chocolate meets bright mint.
Key Benefits of Our Creamy Mint Pie
The biggest benefit, honestly, is the assembly! We layer everything cold, press the crust cold, and then let the fridge do the heavy lifting. You get that gorgeously vibrant green look that screams “special occasion,” but you didn’t spend all afternoon fussing over a meringue or a tempered chocolate layer. It’s all about that smooth, fluffy mint filling.
Gathering Ingredients for Your Grasshopper Pie Recipe
Alright, editors, let’s get our props ready! Since this is a no bake grasshopper pie, the quality of what we start with really matters because there’s no oven to hide behind. Julian always jokes that this part is like styling a flat-lay—every piece has to look good on its own. Remember, we’re aiming for that incredible color and a supremely light final texture, so make sure your ingredients aren’t sneaking in any extra moisture!
We need to separate our list into two main areas: the crunchy base and the dreamy filling. Speaking of bases, if you’ve ever struggled with a crumb crust sticking, I have a great tip over on my lemon loaf post about using cake goop, but for this pie, just chilling the crust makes a huge difference. Now, here’s what you need to pull together for this fantastic mint chocolate pie.
For the Chocolate Cookie Crust Dessert
- 1 1/2 cups dark chocolate cookie crumbs (Trust me, those chocolate sandwich cookies are the best foundation here!)
- 1/4 cup unsalted butter, melted
For the Fluffy Mint Filling
This is where the magic happens! Since we are skipping any alcohol base, we are relying totally on flavor extracts, which keeps things super easy.
- 8 ounces cream cheese, softened completely—this is crucial for smoothness!
- 1 cup powdered sugar
- 1 (8 ounce) container frozen whipped topping, thawed (Don’t let it melt completely, just thaw it enough to fold.)
- 1 teaspoon pure mint extract
- 1/4 teaspoon green food coloring (This is optional, but honestly, who wants a pale grasshopper pie? We go bright!)
- 1/2 cup heavy cream, very cold
- 1/4 cup powdered sugar (for whipping with the heavy cream)
Step-by-Step Instructions for the No Bake Grasshopper Pie
Okay, time to put our Art Director Julian’s vision into action! This recipe is pure assembly, which means timing is everything, especially when it comes to keeping things cold and fluffy. Follow these steps closely, and you’ll have a showstopper worthy of any magazine cover. We’re keeping everything super clean and avoiding overmixing at all costs—that’s how we get that wonderful creamy mint pie feeling.
Creating and Chilling the Oreo Crust Pie Base
First up, let’s secure our foundation. Grab that 9-inch pie plate. You’ll combine your chocolate cookie crumbs and the melted butter right in a bowl. Don’t think about measuring spoons; just toss it together until it looks like wet sand. Then, press it firmly into the plate, making sure you build up a nice edge along the sides. This crust needs to get firm before we add the filling, so pop that whole plate into the freezer while you tackle the next section. If you want to shave a few minutes off prep time in the future, check out my trick for easy cookies that use whipped topping!
Assembling the Minty Cream Cheese Filling
Grab your big mixing bowl. Beat that softened cream cheese until it’s totally smooth—no lumps allowed! Now, gradually mix in the first cup of powdered sugar. Once that’s happy, drizzle in your mint extract and, if you’re going for that classic look, your green food coloring. Mix until the color is completely uniform. Here’s the crucial part: In a separate bowl, whip your cold heavy cream with that last little bit of powdered sugar until you have gorgeous stiff peaks. Iris’s tip: Be gentle when folding the heavy cream mixture into the cream cheese base; this is what gives the grasshopper pie its signature light texture. Fold until you see no streaks of white remaining.
Final Assembly and Setting the Grasshopper Pie
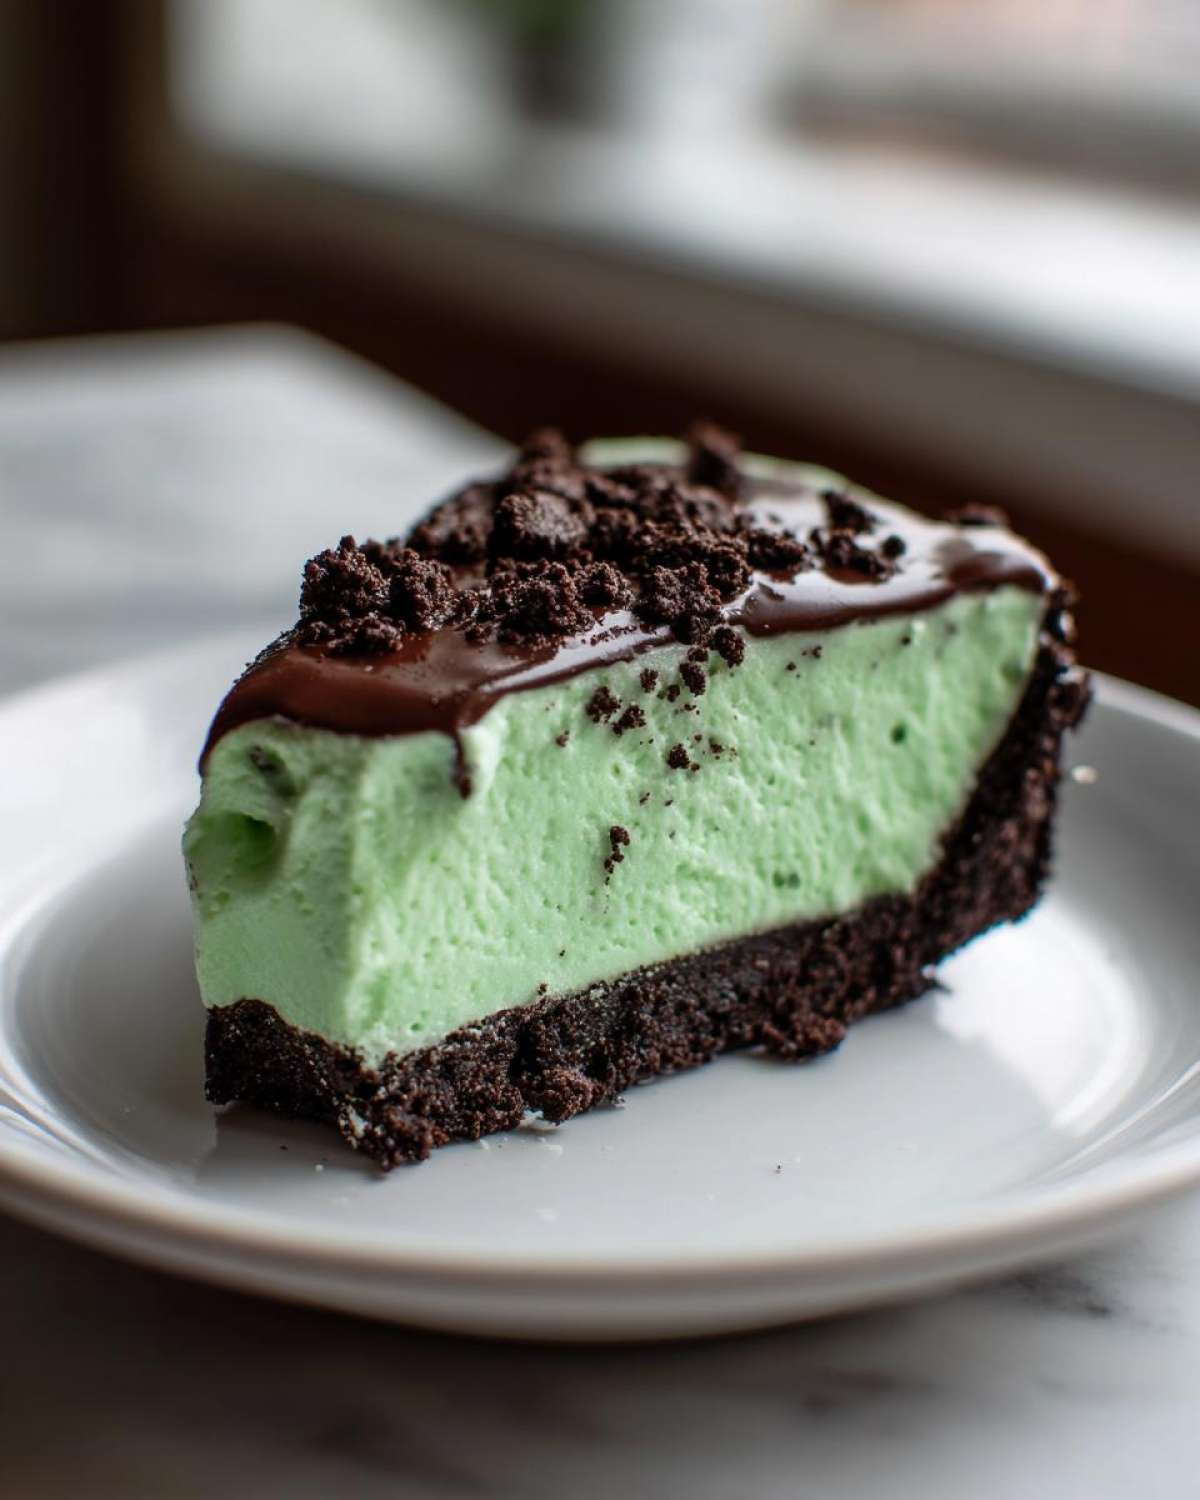
Now that the base is frosty, take it out. Scoop all that airy mint filling right into that chilled chocolate cookie crust. Use your spatula to smooth the top evenly—we want clean lines for the final shot! The final step before serving tomorrow is chilling. Cover it lightly with plastic wrap—just lightly so the filling surface doesn’t stick—and put it in the fridge. You need at least six hours, but honestly? Sleeping on it overnight guarantees the best, firmest set for your no bake grasshopper pie.
Tips for the Perfect Grasshopper Pie Success
We’ve all been there—you pull your beautiful mint chocolate pie out of the fridge and it’s… soft. Soggy! Not sliceable! Don’t let that happen to your gorgeous creation. Since this is a no-bake recipe, we rely completely on the chilling time and the ingredients setting up right. If you’re rushing the chill time, you’re guaranteed a messy slice. Patience here is definitely a virtue, not a suggestion!
If you want to ensure this refreshing summer dessert shines, focus on your fat content. Making sure that cream cheese is truly room temperature before you beat it prevents those little grainy lumps that stick around even after you add the sugar. Also, don’t go light on the chocolate crumbs for the crust! A thicker crust holds up much better to the creamy filling.
Ingredient Notes and Substitutions for Your Mint Chocolate Pie
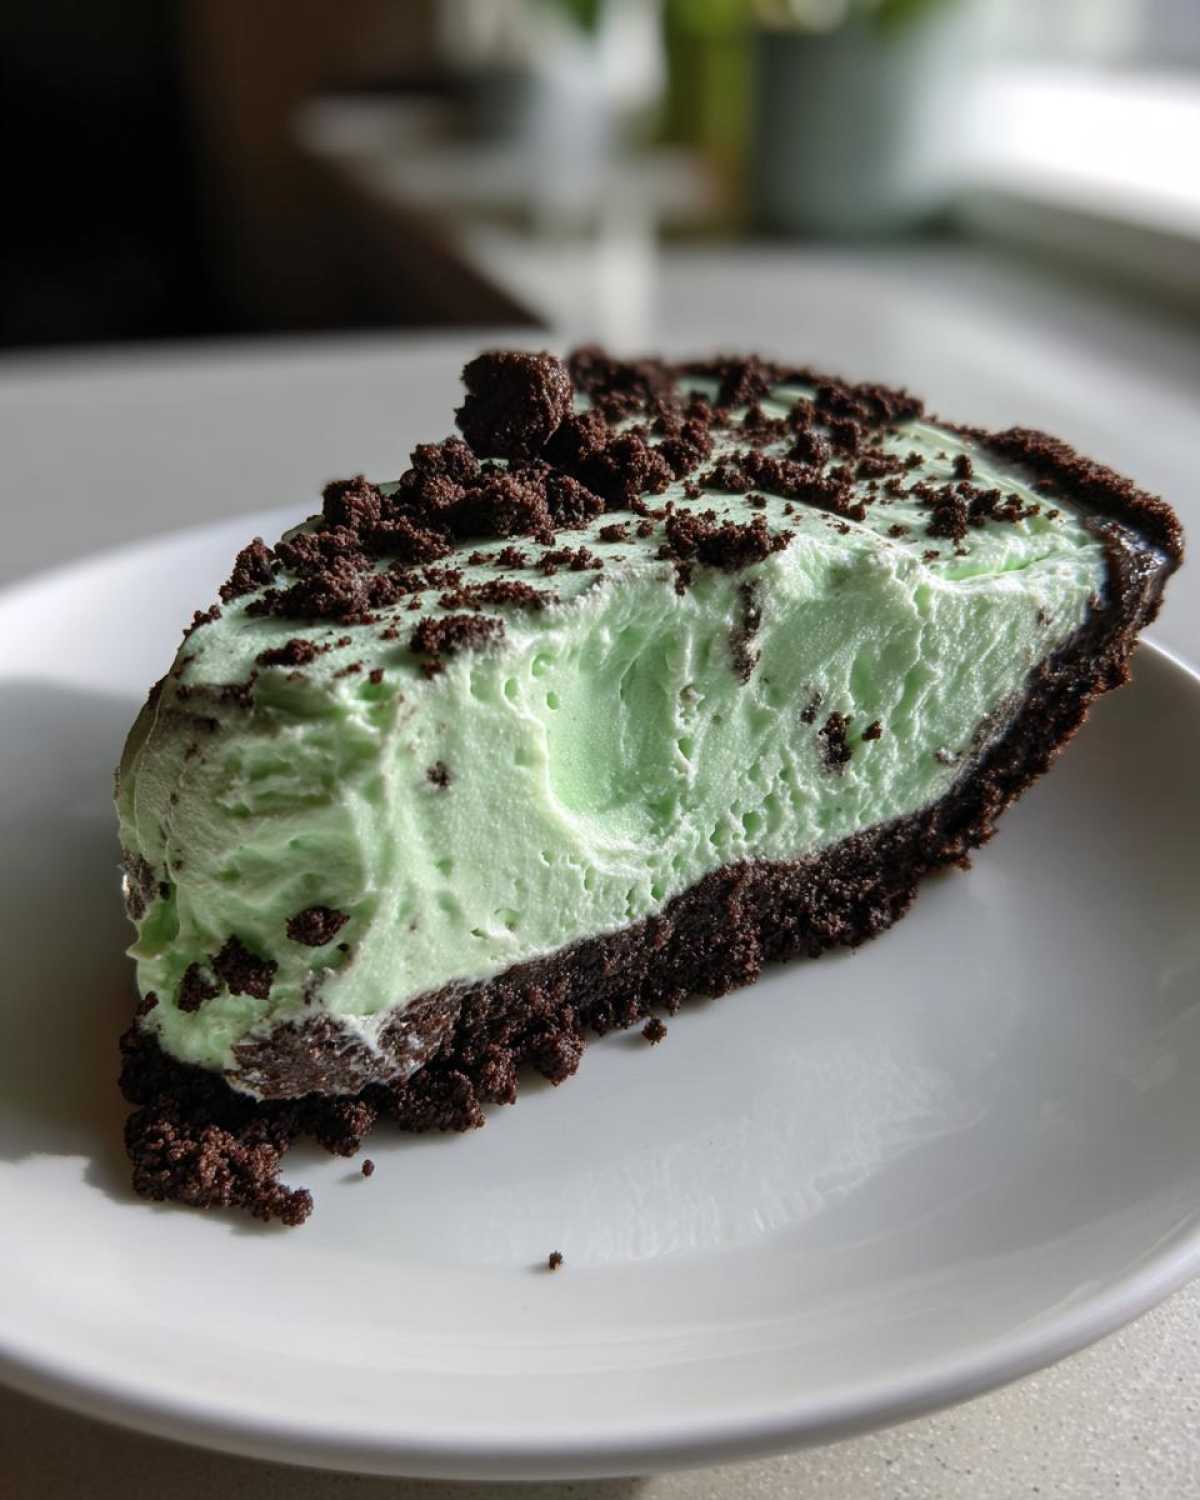
Regarding the crust, you can totally cheat on this sometimes—we certainly do when we’re swamped editing photos! Feel free to grab a pre-made chocolate cookie crust if you need to save 10 minutes. But if you’re making it homemade, try using Mint Oreos instead of the plain ones for an extra layer of flavor!
Because this recipe uses mint extract, it skips the need for those liquor additions like Crème de Menthe. If you *were* doing an adult version, you’d use the extract just like this, but you’d swap out maybe half of that heavy cream for a splash of the liqueur. Since we’re keeping ours clean, just stick to the extract for that lovely, bright minty flavor without any kick!
Storage and Make Ahead Dessert Instructions for Grasshopper Pie
One of the biggest wins for this amazing make ahead dessert is how forgiving it is in storage. Since it’s creamy and has that rich chocolate crust, it keeps beautifully in the fridge. Make sure you cover the pie tightly—plastic wrap works great, but press it down gently over the surface so it doesn’t touch the filling if you don’t want any condensation spots. It’s fantastic kept chilled for up to three days!
Now, if you’re facing a sweltering summer day or you just want something truly icy, this grasshopper pie is perfect for turning into a frozen treat. Just pop that fully set pie into the freezer for about four hours until it’s solid.
- To make a true frozen grasshopper pie, just extend that chill time until it’s firm—no need to change the ingredients at all!
- When serving frozen, let it sit on the counter for about ten minutes so the chocolate cookie crust doesn’t crack when you slice it.
This flexibility is why it always makes our feature list. You can prepare it entirely a day early and forget about dessert until serving time! Check out my thoughts on planning entire menus ahead of time on my Make Ahead Dessert guide!
Serving Suggestions for This Retro Dessert Recipe
Even though this creamy mint pie stands brilliantly on its own—it’s got the crust and the filling covered!—sometimes you just want that little extra flair for your feature presentation. Julian is huge on garnishes; he says they’re like the little accent colors in a design layout. For this minty number, you want to keep the toppings light so they don’t weigh down that gorgeous, fluffy filling.
My go-to topping, hands down, is a few delicate shavings of dark chocolate right over the top before serving. It looks stunning against the bright green. Or, if you’re feeling fancy, a little dollop of fresh, unsweetened whipped cream balances the sweetness so perfectly.
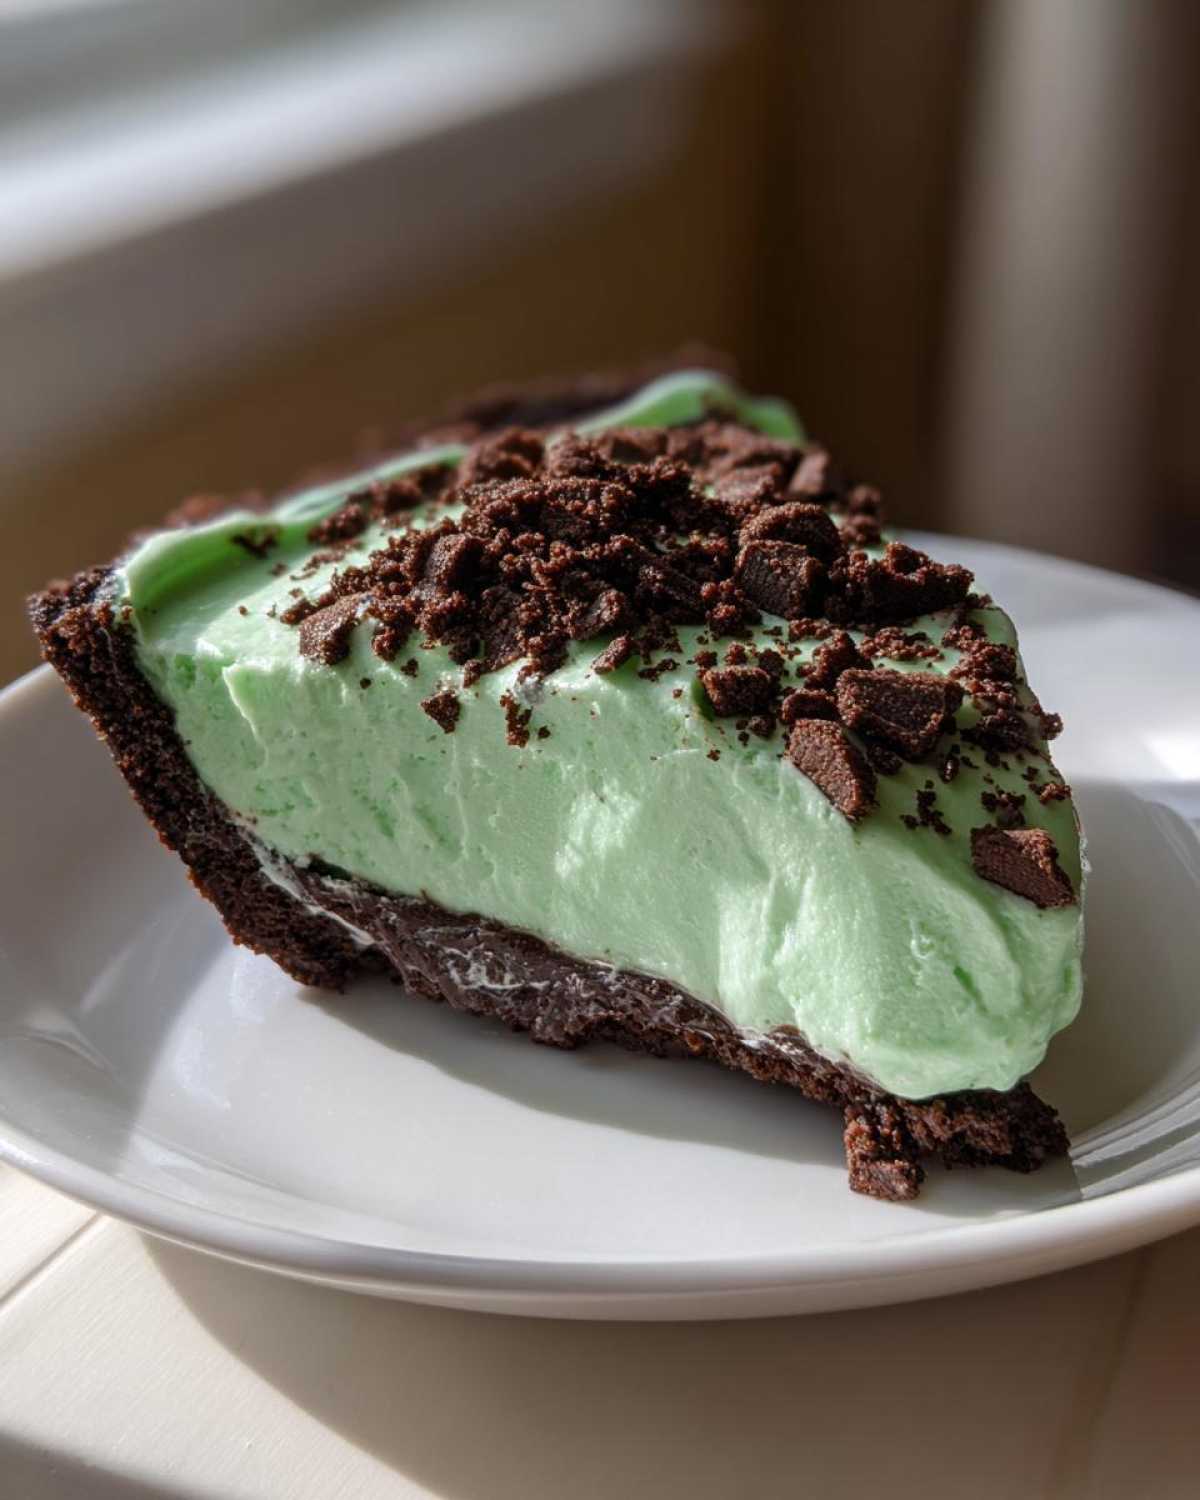
When it comes to drinks, this pie absolutely begs for something warm on the side to cut through the cool mint. A strong, hot coffee is my favorite pairing—it’s the perfect contrast! If you need ideas for pairing a dessert with something simpler, like a fruit-based course earlier in the meal, sometimes I share my thoughts on that over in my post about easy apple cobbler. But for this grasshopper pie, keep it simple, keep it elegant, and let the mint be the star!
Frequently Asked Questions About Making Grasshopper Pie
When we feature a recipe here, we always get a few follow-up questions, especially about making sure it looks and tastes exactly how people remember it! This grasshopper pie recipe is flexible, but a few details make all the difference between good and absolutely show-stopping.
If you’re looking for more general cooking insights or just want to browse past dishes, you can always check out the main Magazine Meal archives. But let’s dig into these frequent queries about getting that perfect refreshing summer dessert.
Can I make this Grasshopper Pie Recipe with alcohol?
That’s a great question! This specific version of the cream-y mint pie is designed to be totally kid-friendly and uses pure mint extract instead of liquor. If you wanted to go retro and add alcohol, you totally could! You would swap out maybe two tablespoons of that heavy cream we whipped for an equal amount of Crème de Menthe. Just beat it in carefully with the rest of the mint flavorings. We’ve found the extract itself gives us that intense mint flavor we need.
How do I get the vibrant green color in my Creamy Mint Pie?
We love that vibrant, almost electric green, right? That comes entirely from food coloring, which is totally optional, but highly recommended for that classic look! We use just a few drops of standard gel-based food coloring—start small, mix it in, and add more until you hit your perfect shade. Don’t rely on the mint extract for color, though; even the nicest extract is usually clear or very pale yellow. A quality extract ensures great flavor, and the coloring gives you the visual pop for your St Patricks Day pie!
For an honest look at how one reader tackled this pie and its color variation, I saw a great post on The First Year Blog that showed off their beautiful result, proving just a little color goes a long way!
Estimating Nutrition for Your Easy Grasshopper Pie
You know how it is when you’re presenting a main feature—you want the visuals, you want the story, and sometimes, you need the specs! Since this no bake mint dessert features cream cheese and heavy cream, we put the ingredients through a virtual layout process to get you estimated nutrition information. Please remember, just like lighting notes on a photoshoot, these numbers are estimates based on the standard ingredient calculations we use for one slice. We aren’t certified nutritionists, so treat this as good background information rather than gospel!
If you are dealing with allergies or need exact figures, we always recommend cross-referencing with the specific brands you use. For every calculation here, we based it on 8 servings, which usually gives us the perfect slice size for dessert photography! You can read more about how we handle disclosures over on our Disclaimer page.
Here is what we’re looking at for one slice of this decadent, yet easy, grasshopper pie:
- Serving Size: 1 slice
- Calories: 350
- Sugar: 30g
- Sodium: 250mg
- Fat: 22g
- Saturated Fat: 12g
- Unsaturated Fat: 10g
- Trans Fat: 0g
- Carbohydrates: 35g
- Fiber: 1g
- Protein: 4g
- Cholesterol: 55mg
It’s relatively high in fat and sugar, which is what makes it taste so wonderfully rich and creamy! You get the full indulgence factor that makes this such a popular choice for holiday entertaining.
Share Your Magazine Meal Masterpiece
And that’s it! You’ve successfully styled and executed the cover story of your evening: the grasshopper pie! Julian and I absolutely live for seeing what you create in your kitchens. We are editors, you know, and we need new content for our feeds!
This is where you step into the spotlight. We’ve given you the blueprint and the direction; now we want to see your final shot. Did you stick with the bright green coloring? Did you go for the plain Oreos or sneak in the mint ones? We want to know!
Please, please, leave a rating down below—five stars if this was the stress-free dessert you needed this week. And if you post a picture of your finished, gorgeous mint chocolate pie on social media, tag us! It truly makes our day when we see our recipes popping up in your lives. You can always reach out directly via our Contact page too, if you have pressing questions!
Thank you for letting us share our quick, cool, and refreshing dessert with you. Happy plating, everyone!
PrintEasy No-Bake Grasshopper Pie with Oreo Crust

Make this cool, creamy, and refreshing No-Bake Grasshopper Pie. It features a bright mint filling and a rich chocolate cookie crust, perfect for a make-ahead dessert that everyone enjoys.
- Prep Time: 20 min
- Cook Time: 0 min
- Total Time: 6 hr 20 min
- Yield: 8 servings
- Category: Dessert
- Method: No-Bake
- Cuisine: American
- Diet: Vegetarian
Ingredients
- 1 1/2 cups chocolate cookie crumbs (about 24 Oreos)
- 1/4 cup unsalted butter, melted
- 1 (8 ounce) package cream cheese, softened
- 1 cup powdered sugar
- 1 (8 ounce) container frozen whipped topping, thawed
- 1 teaspoon mint extract
- 1/4 teaspoon green food coloring (optional, for vibrant color)
- 1/2 cup heavy cream
- 1/4 cup powdered sugar (for whipped cream)
Instructions
- Prepare the crust: Combine the chocolate cookie crumbs and melted butter in a medium bowl. Press the mixture firmly into the bottom and up the sides of a 9-inch pie plate. Place the crust in the freezer while you prepare the filling.
- Make the cream cheese base: In a large bowl, beat the softened cream cheese until smooth. Gradually beat in 1 cup of powdered sugar until fully combined.
- Add the mint flavor: Mix in the mint extract and green food coloring, if using, until the color is uniform.
- Fold in the topping: Gently fold in the thawed whipped topping until just combined. Do not overmix.
- Prepare the fresh whipped cream: In a separate, chilled bowl, beat the heavy cream and remaining 1/4 cup of powdered sugar until stiff peaks form.
- Combine fillings: Gently fold the fresh whipped cream into the mint cream cheese mixture until no white streaks remain. This creates the fluffy mint filling.
- Assemble the pie: Spoon the mint filling evenly into the chilled chocolate cookie crust. Smooth the top with a spatula.
- Chill: Cover the pie loosely with plastic wrap and refrigerate for at least 6 hours, or preferably overnight, until the filling is firm.
- Serve: Slice and serve this refreshing summer dessert cold.
Notes
- For an extra rich crust, use Mint Oreos instead of regular chocolate cookies.
- If you prefer a frozen grasshopper pie, freeze the assembled pie for 4 hours before serving.
- You can use a store-bought chocolate graham cracker crust to save prep time.
Nutrition
- Serving Size: 1 slice
- Calories: 350
- Sugar: 30
- Sodium: 250
- Fat: 22
- Saturated Fat: 12
- Unsaturated Fat: 10
- Trans Fat: 0
- Carbohydrates: 35
- Fiber: 1
- Protein: 4
- Cholesterol: 55