

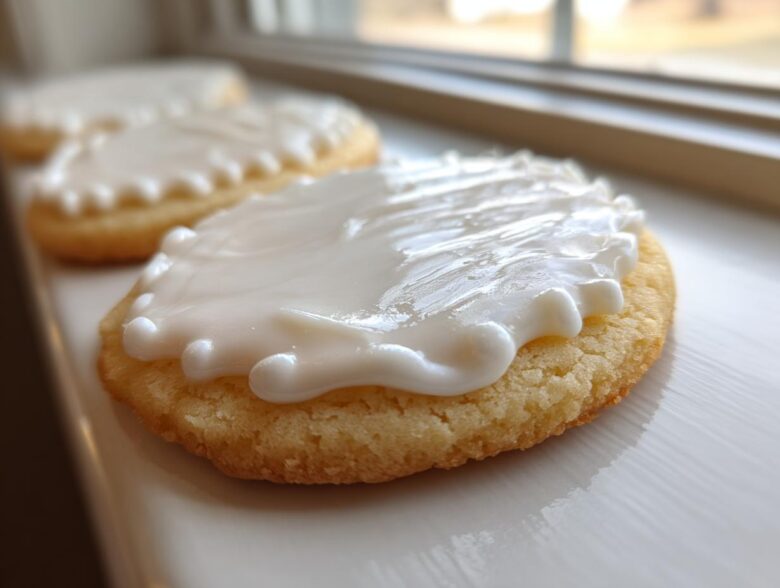
Oh, the sheer frustration of it! You spend hours shaping, baking the perfect sugar cookies, and then the icing—the grand finale—turns into a sticky, runny puddle that refuses to cooperate. Trust me, I’ve been there. My early attempts at holiday cookies looked like abstract art because the frosting would spread right off the edges! But friends, I finally cracked the code. Learning this specific sugar cookie icing recipe changed everything. When Julian and I finally achieved that crisp, sharp-edged, bakery-style finish on our cut-out cookies following the steps outlined in our guide to the best sugar cookie recipe for cutouts, I practically high-fived the mixer. This isn’t just any glaze; this is the royal icing foundation you need for a professional, glossy, and hard-setting finish. You’re going to love how this cut out cookie icing recipe transforms your baked goods.
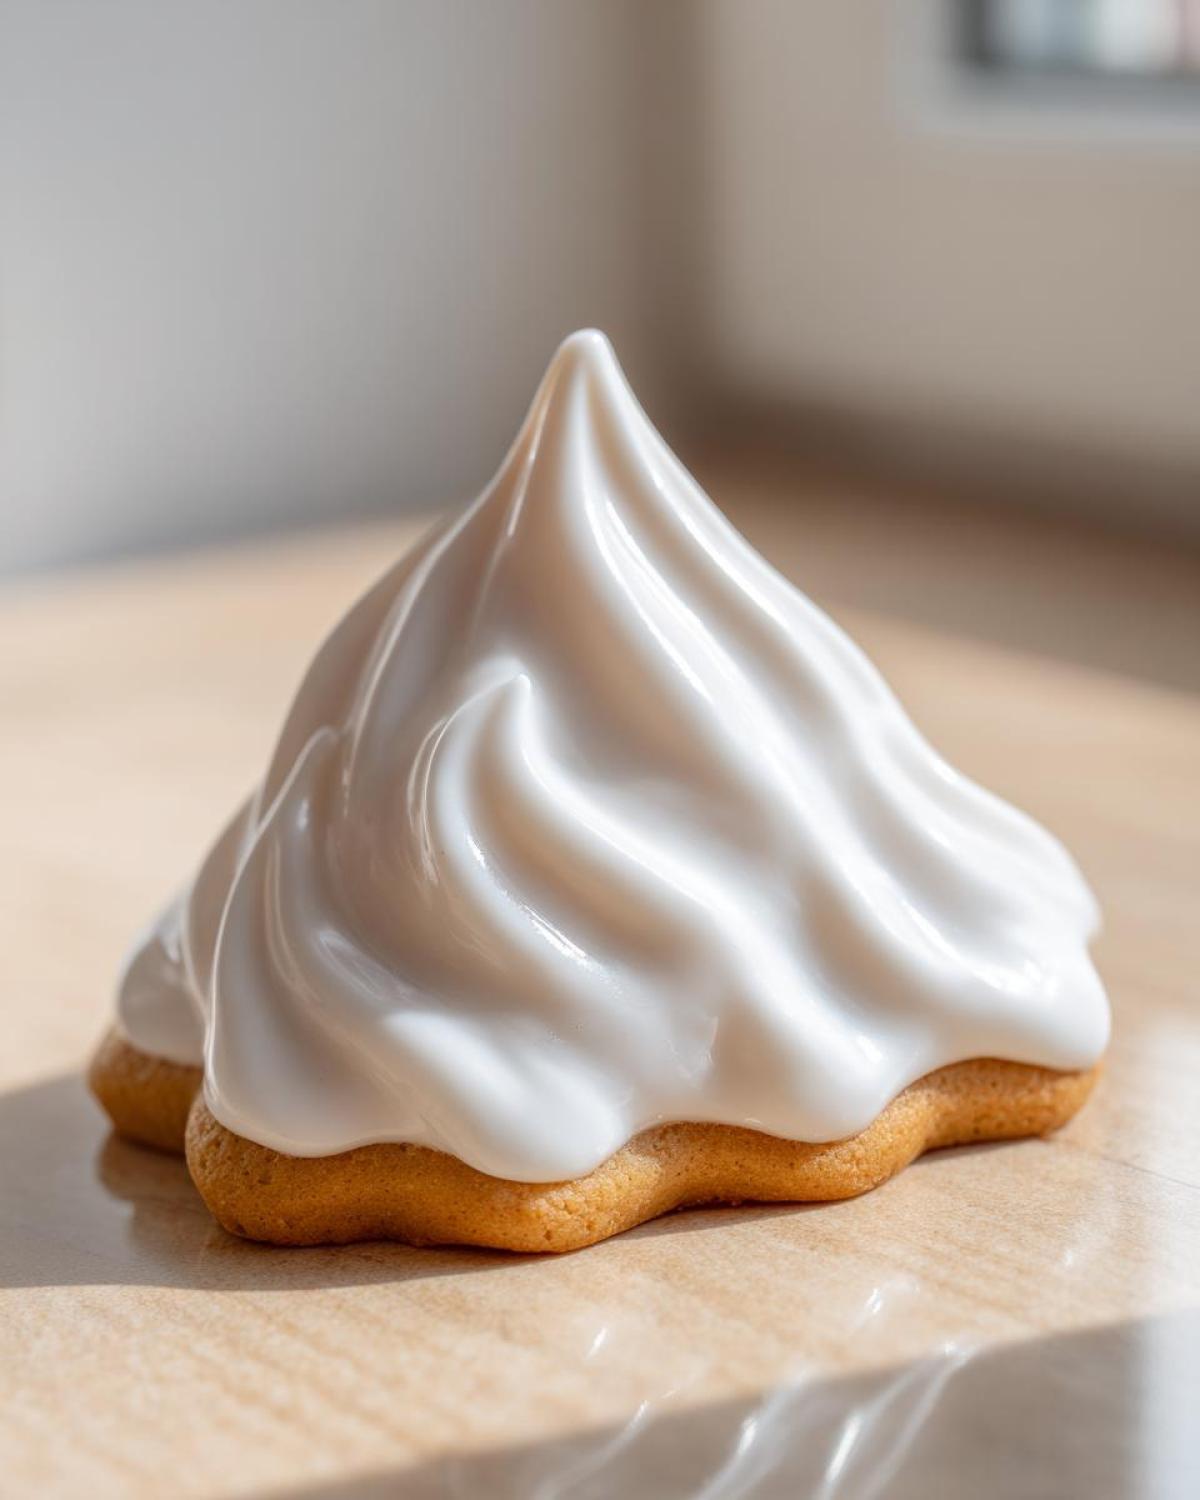
Why This Foolproof sugar cookie icing recipe Sets Perfectly
I know what you’re thinking. I’ve tried dozens of recipes, and they all end up looking dull or staying sticky for days! That’s because most simple glazes just won’t deliver that structural integrity needed for intricate designs. This particular sugar cookie icing recipe, which is essentially a classic royal icing, is engineered to solve those problems. It’s all about using the right dry elements combined with serious whipping time. This is how we guarantee that your cookie icing that hardens reliably, giving you cookies that are stackable and ready for gifting.
The real payoff is that beautiful surface texture. If you want that high-end visual appeal, you need to aim for a glossy cookie icing finish, not a matte, crackly one. We’ll get there by making sure we pay attention to the mixing process.
The Secret to a Professional, Smooth cookie frosting finish
The magic ingredient here is the meringue powder. It replaces raw egg whites, making this recipe safer and more stable. Meringue powder provides the protein structure that sets up hard and shiny as it dries. It’s what turns a simple powdered sugar mixture into a genuinely velvety smooth cookie icing that holds its shape beautifully for sharp outlines. We whip the air into this powder and sugar mix, and that air is what guarantees the crisp, no-fail result you’re after. You can check out more details on getting the perfect texture in our guide on making hard glossy icing.

Gathering Your Ingredients for the Best sugar cookie icing recipe
Okay, let’s talk fuel! This royal icing is shockingly simple, which is why I love it for busy weeks. Honestly, once you have the powdered sugar and the meringue powder, you’re nearly there. It’s a fantastic simple 4 ingredient cookie icing base, assuming you count the water as our main liquid component. We keep things pure here to ensure that rock-hard set later on. No messing around with things like corn syrup when we’re going for that clean, professional look!
The only other mandatory extra is vanilla, but if you plan on coloring your icing heavily—which, let’s be honest, we always do, especially for the holidays—you absolutely must use gel food coloring. Liquid coloring messes up the delicate moisture balance we talked about. Here is exactly what you need to pull together this easy cookie frosting recipe:
- 4 cups powdered sugar, sifted (Make sure you sift it! We don’t want lumps.)
- 3 tablespoons meringue powder (This is non-negotiable for structure!)
- 6 tablespoons warm water (Keep this nearby, but only add what you need.)
- 1 teaspoon vanilla extract
- Optional: Gel food coloring (Go electric with the color, not watery!)
Step-by-Step Instructions for Your sugar cookie icing recipe
Alright, now for the fun part! This is where we turn those simple measured ingredients into powerhouse frosting. Remember how I stressed that whipping time? That’s how you learn exactly how to make sugar cookie icing set hard. Trust me, you can’t rush this part, but the mixing itself is super fast.
- First up, grab your large bowl and whisk together that sifted powdered sugar and the meringue powder really well. You want them totally combined before adding any liquid near them!
- Pour in your vanilla extract and about 5 tablespoons of that warm water. Start slow!
- Put your electric mixer on low speed. We’re just trying to incorporate everything right now without sending a sugar cloud across the kitchen. Scrape down the sides of the bowl toward the end of this gentle mix.
- Now, turn that mixer up to medium-high! You need to beat this beauty for a solid 5 to 7 minutes. I know, it feels long, but this is crucial; it incorporates all that air needed for that perfect, stiff, bright white look.
- Once it’s done whipping, check the stiffness. If it seems too stiff, slowly drizzle in that last tablespoon of water, teaspoon by teaspoon, until it is pipeable for outlining.
- For filling in the cookies, we need the thinner ‘flood’ consistency. This involves adding water very slowly, one teaspoon at a time, until the icing falls off your whisk and disappears back into the bowl after you count one-one-thousand, two-one-thousand… ten.
- Divide your icing up now if you are doing colors, and add your gel colorings sparingly until everything looks vibrant. We always want our outlines to be super stiff.
- Use that stiff icing to outline your cookies first. Then, let those edges dry for about 15 to 30 minutes. Once they are firm, fill the center with your flood icing. After that? Patience! It needs 6 to 12 hours to dry completely hard and glossy. If you need more ideas on the initial cookie base, check out the directions for our best sugar cookie recipe for cutouts.
If you want to read more about getting that hard set, this guide on getting easy cookie icing that hardens perfectly has some great visuals!
Achieving the Right Consistency for Outlining and Flooding
The difference between a disaster and a decorated masterpiece is the consistency. You must have two types for professional decorating. The stiff icing holds sharp lines, but the flood icing must flow smoothly. Stick to the 10-second rule for flooding—if the line smooths out within 10 seconds, it’s perfect! This controlled flow prevents shrinkage and cracking, ensuring you get that gorgeous, seamless, no crack cookie icing look when the cookies are finally dry.
Tips for Success with Your cut out cookie icing recipe
Okay, we’ve mixed it, and we’ve piped it. Now, let’s make sure we don’t sabotage ourselves during the finishing stage! When you are aiming for that professional look—the kind that goes into beautiful boxes for gifting—the drying time is everything. You absolutely must let these cookies sit undisturbed. I mean it! If you try to stack them or even move them too soon, you’ll end up with smudges, and all that hard work gets ruined. Plan your baking schedule around the dry time if you need icing that dries hard for gifting.
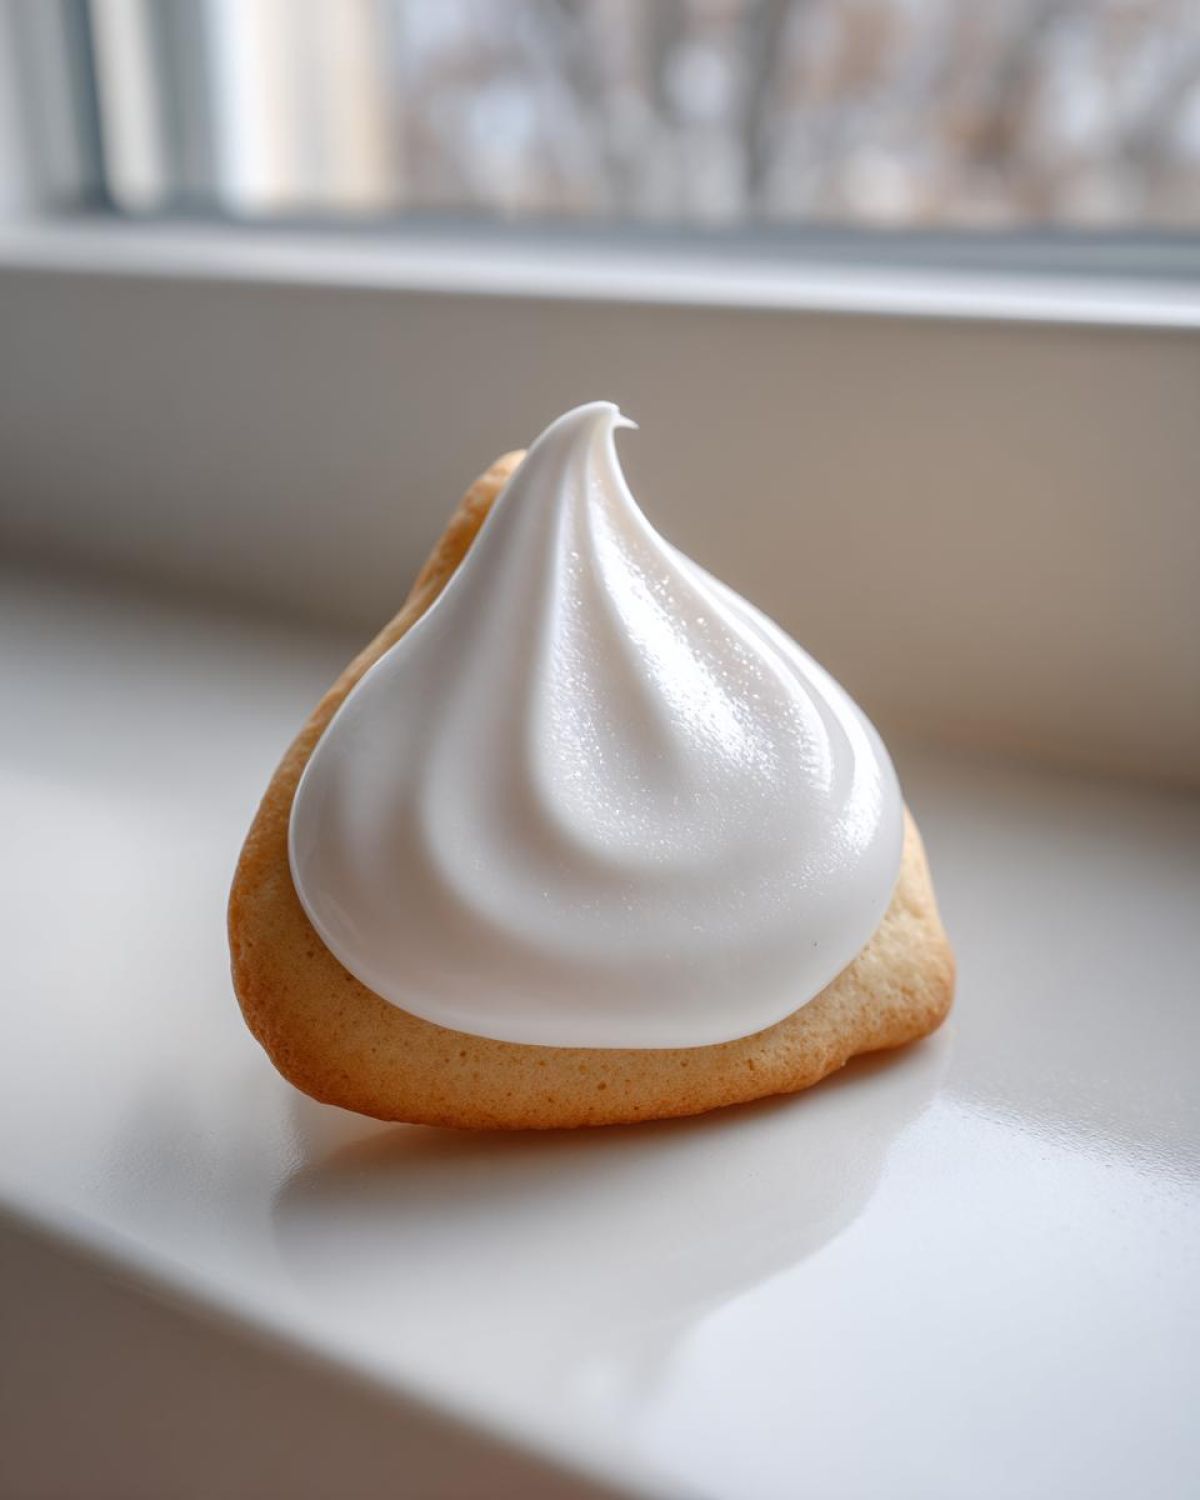
Another huge hurdle beginners face? Air bubbles. They show up right when you are trying to make a graceful line, and they look terrible once the icing sets hard. My trick is simple: once the icing is mixed (especially after that 5-minute whip), give the bowl a good, firm tap or two on the counter. It forces the big bubbles to the surface where you can pop them with a toothpick. It seems minor, but it makes a world of difference for a professional sugar cookie frosting application.
And remember what I mentioned earlier about ingredients? This recipe is fantastic because it delivers that durable structure using the meringue powder instead of the controversial corn syrup. If you were specifically searching for an icing without corn syrup for cookies, you hit the jackpot because this formula relies on pure structure! You can read some great tips on handling the cookies after icing over at Wholefully.
Customizing Your sugar cookie icing recipe for Any Occasion
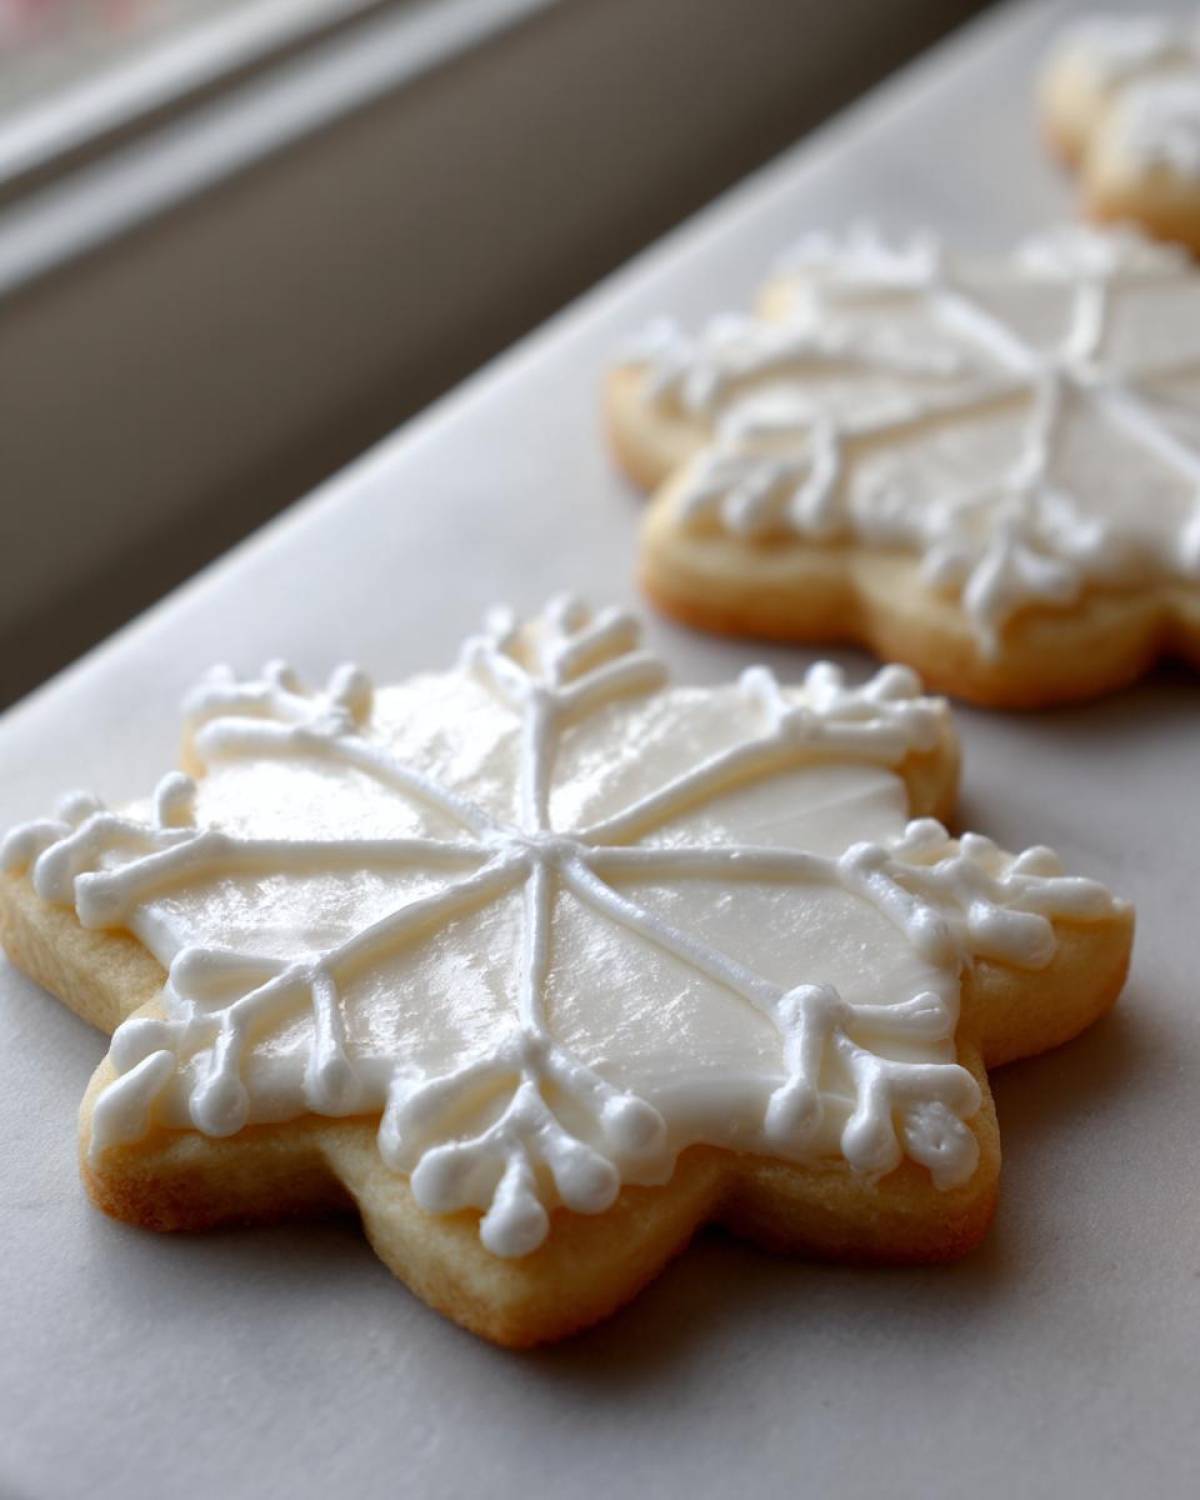
Now that you have the perfect foundation for a sugar cookie icing recipe that hardens beautifully? We can start having fun! The base we made is naturally a lovely, slightly sweet vanilla sugar cookie frosting because of that teaspoon of extract we added. But customizing the look is where the artistry comes in, right? This is where those gel food colorings shine.
I mentioned to use gel colors, and that’s crucial for keeping the texture right. You can dye the icing deep navy blues for Hanukkah or brilliant reds and greens for the holidays without thinning out the batch. Also, don’t feel locked into just vanilla! If you want a hint of something else in that smooth cookie frosting, swap out the vanilla for a half teaspoon of almond extract or even a bit of lemon zest. Just be extremely careful adding anything extra to your flood consistency. You want to keep those customizable cookie icing colors bright and your texture firm!
For more flavor ideas in our baking projects, you should peek at how we flavor our spiced treats over on our favorite spiced cookie post!
Storage and Keeping Your sugar cookie icing recipe Fresh
You made a huge batch because you couldn’t help yourself? Good! That’s the right way to bake. Don’t let the leftovers go to waste. If you have any of this brilliant sugar cookie icing recipe left over, pop it into a container that seals airtight. I usually use small mason jars for my leftover colors.
You can keep it airtight on the counter for just a few hours if you plan to finish soon, but for longer storage, you need the fridge. Remember, even though it sets hard, it’s still mostly sugar, so humidity is the enemy! If you notice it has gotten stiff or crusty when you go to use it next time, don’t panic. Just add a few drops of water—seriously, just a few drops—and whip it with a fork or a small whisk until it returns to that perfect, pipeable consistency again. It’s ready to go!
Frequently Asked Questions About This Royal icing recipe for cookies
I totally get it. Baking questions pop up the second you step away from the mixer! Because we want you to have that perfect finishing touch, here are a few things I hear folks asking most often about this foolproof royal icing recipe.
Troubleshooting Common Issues with Icing That Dries Hard
If your icing remains sticky, it usually means you added too much liquid, or you didn’t whip it long enough to incorporate enough air. For a bakery style cookie icing that sets reliably, always try to add water drop by drop! If your icing gets grainy, it probably means the powdered sugar wasn’t sifted well enough before mixing. If the icing cracks weirdly, it’s almost always because you were too aggressive when flooding the center, or it dried too fast in a drafty room. A little troubleshooting goes a long way towards achieving that professional sugar cookie frosting everyone wants!
Can I use liquid food coloring instead of gel colors?
Oh, honey, please don’t! I tried that once when I ran out of gel, and it was a disaster. Liquid food coloring adds so much extra water content. Remember how we talked about how precise the water measurement is for a true cookie icing that hardens? Liquid coloring throws that entire balance off, resulting in a thin, slow-drying mess. Stick to gel colors; they are concentrated and won’t sabotage your gorgeous final look.
How long exactly does it take for this icing to dry hard?
This is the hardest part: waiting! Drying time feels like forever, especially around the holidays. If you’re doing a decent layer for a standard cookie, plan on at least 6 hours, but overnight is always safest. If your room has high humidity, it might take 12 hours. The key is making sure they are totally dry before you stack or package them. For more general tips on getting things right in the kitchen, you can always browse our general resources over at our site.
Is this considered a true royal icing recipe for cookies?
Yes, absolutely! Because we use meringue powder instead of egg whites, we get all the structural strength and smooth finish of traditional royal icing without the worry. This is exactly the type of royal icing recipe for cookies that bakers use when they need that hard, durable shell for intricate designs.
Serving Suggestions for Your Perfectly Iced Cookies
Now that you have these show-stopping, glossy cookies, you need the perfect stage for them! Don’t just let them sit on a plate—present them like the art they are. For the holidays, I arrange mine closely together on a simple white platter, mixing different shapes so the colors pop against each other. If you are packaging them as gifts, this hard-setting icing means you can stack them safely! If you’re planning ahead, check out my thoughts on holiday cookie decorating icing for themed color ideas.
What’s Next in Your Magazine Meal Kitchen?
I hope this foolproof sugar cookie icing recipe has given you the confidence you need to decorate like a pro! I’m so excited to see what you create—show off those gorgeous hardened swirls and glossed-over surfaces! If this recipe made your baking life easier, please come back, leave a rating, and let me know in the comments below. If you have any final questions about technique, feel free to send us a note through our contact page. Happy decorating, friends!
PrintFoolproof Royal Icing for Sugar Cookies That Hardens Perfectly & Dries Glossy

Stop struggling with sticky or cracked icing! This easy royal icing recipe sets solid, dries smooth, and gives you that professional, glossy finish ideal for detailed cookie decorating. It is perfect for beginners and makes your cookies gift-ready.
- Prep Time: 10 min
- Cook Time: 0 min
- Total Time: 10 min
- Yield: Covers approximately 2 dozen standard-sized cookies
- Category: Dessert
- Method: Mixing
- Cuisine: American
- Diet: Vegetarian
Ingredients
- 4 cups powdered sugar, sifted
- 3 tablespoons meringue powder
- 6 tablespoons warm water (approximate)
- 1 teaspoon vanilla extract
- Optional: Gel food coloring
Instructions
- In a large bowl, whisk together the sifted powdered sugar and meringue powder until fully combined.
- Add the vanilla extract and 5 tablespoons of the warm water to the dry ingredients.
- Using an electric mixer on low speed, mix until the ingredients are just combined. Scrape down the sides of the bowl.
- Increase the mixer speed to medium-high and beat for 5 to 7 minutes until the icing is very smooth, bright white, and holds stiff peaks. This whipping action incorporates air, which helps it dry hard.
- Check the consistency. If the icing is too thick for outlining, add the remaining tablespoon of water, one teaspoon at a time, until you reach a thick, pipeable consistency.
- To achieve a thinner consistency for flooding, add water one teaspoon at a time until the icing flows smoothly off the whisk and disappears back into the bowl after counting to 10.
- Divide the icing into separate bowls for coloring, if desired. Add gel food coloring sparingly and mix until the color is uniform.
- Use the stiff consistency icing for outlining cookies. Let the outline dry for 15 to 30 minutes before filling in the center with the thinner flooding consistency.
- Allow the icing to dry completely at room temperature. This can take 6 to 12 hours depending on humidity and thickness. The icing is ready when it is hard to the touch and has a glossy finish.
Notes
- For a **glossy cookie icing finish**, avoid adding too much liquid. The meringue powder is key to getting that hard, professional set.
- If you need an **icing without corn syrup for cookies**, this recipe works well, relying on meringue powder for structure.
- To make your cookies **stackable and gift-ready**, ensure the icing is completely dry before stacking or packaging.
- If you see air bubbles after mixing, gently tap the bowl on the counter or use a toothpick to pop them before applying the icing.
Nutrition
- Serving Size: 1/4 cup
- Calories: 180
- Sugar: 45
- Sodium: 5
- Fat: 0
- Saturated Fat: 0
- Unsaturated Fat: 0
- Trans Fat: 0
- Carbohydrates: 45
- Fiber: 0
- Protein: 1
- Cholesterol: 0