

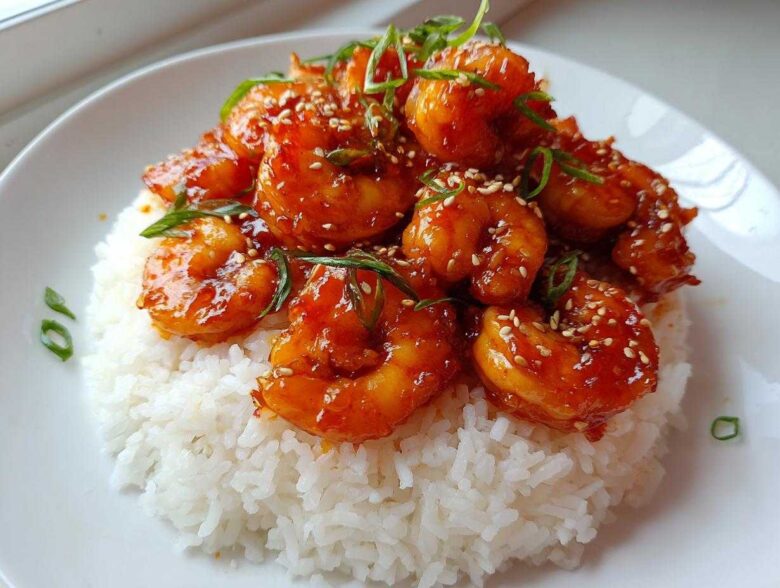
You know that feeling, right? It’s Wednesday, you’re staring into the fridge, and you just can’t stomach another plain chicken breast. We need fireworks, flavor explosions, but we only have thirty minutes! Well, I’ve cracked the code for you. This recipe for Sticky Sweet Chili Shrimp with Rice is seriously the fast flavor superstar of my weeknight rotation. If you love big, bold flavors, you should definitely check out my Shrimp Creole Classic Recipe, but today we’re going sticky!
Seriously, toss out the takeout menus because this is restaurant-quality stuff made right on your stovetop in a flash. This is the Asian Inspired Shrimp Recipe I turn to when I need fast flavor that tastes like I spent hours fussing over a glaze. The shrimp come out plump, coated in that perfect sweet and spicy shell, and served over buttery rice. You absolutely have to try this Sticky Sweet Chili Shrimp with Rice!
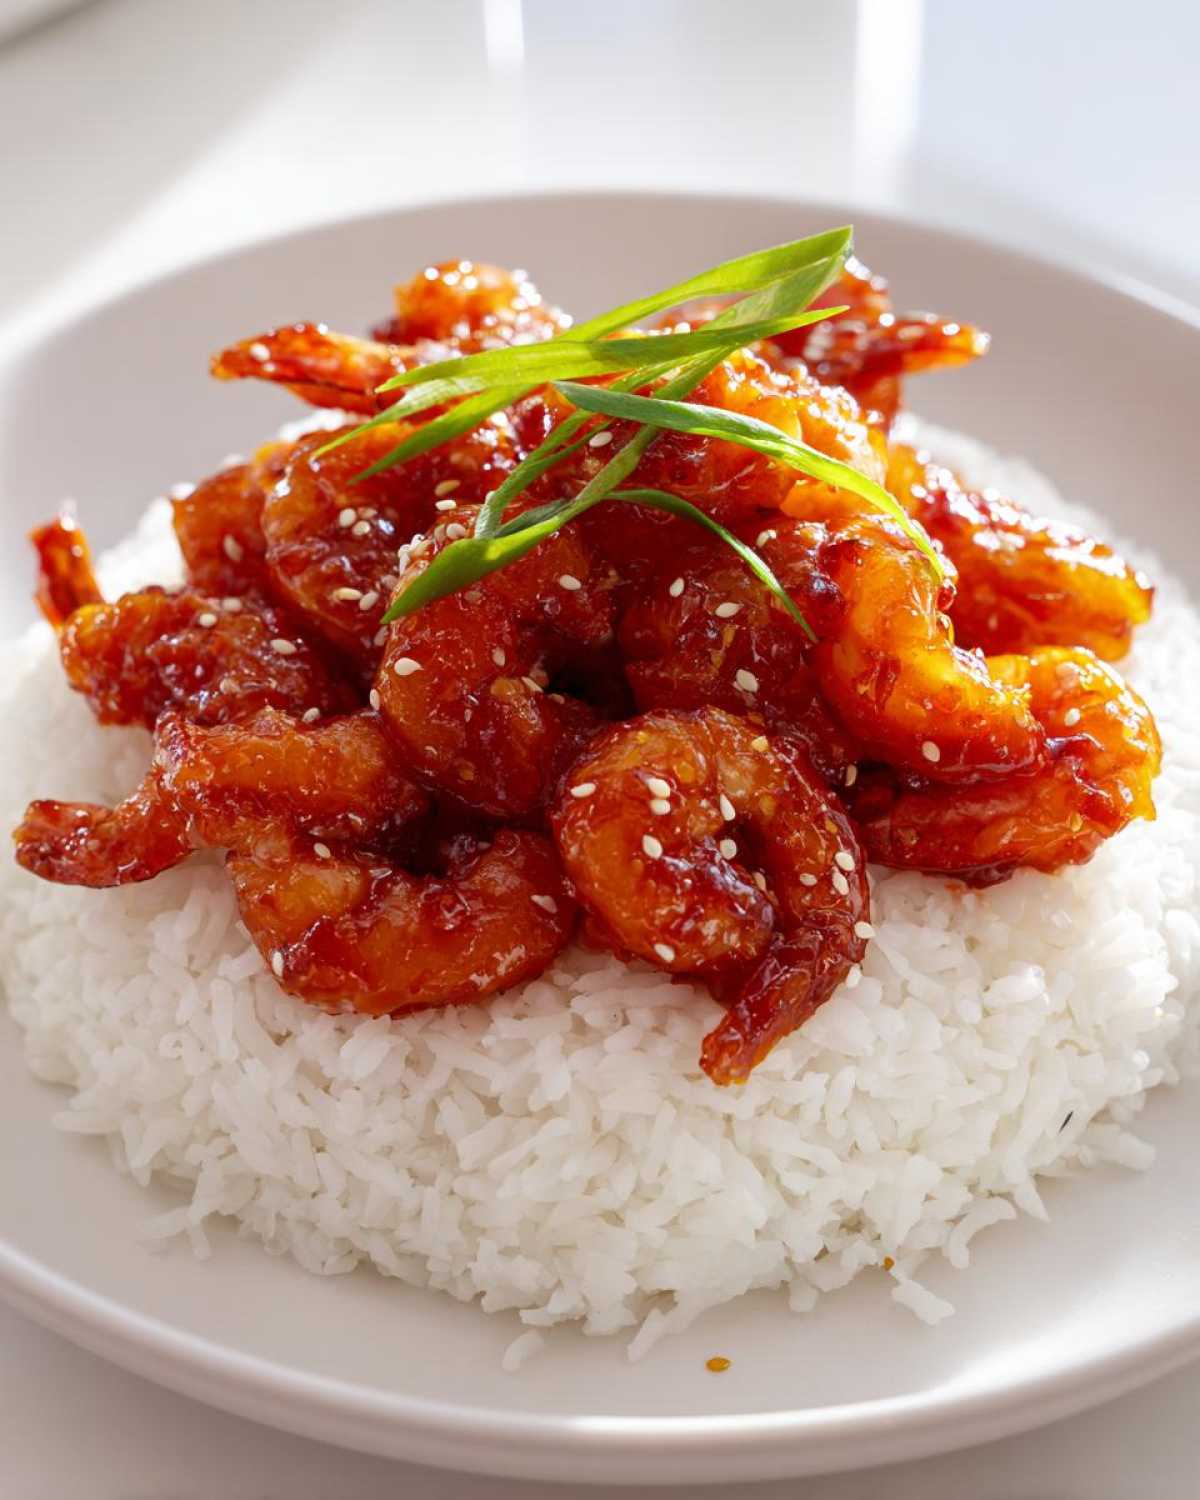
Why This Sticky Sweet Chili Shrimp with Rice Works Every Time
I love this recipe because it’s honest. It doesn’t pretend to be hard, but the flavor payoff is huge, which is exactly what we want for a reliable weeknight meal. You trust this recipe for Sticky Sweet Chili Shrimp with Rice because the technique is simple, yet flawless.
- My Chicken Zucchini Stir Fry takes longer, I swear! This one cuts right to the chase while still tasting gourmet.
Quick Sticky Shrimp Dinner Prep Time Breakdown
Seriously, this is lightning fast. Don’t let the flavor fool you!
- Prep Time: 10 minutes—that’s just chopping your garlic and ginger!
- Cook Time: Just 20 minutes total.
- Total Time: We’re looking at a full meal in 30 minutes flat. That’s the ultimate Quick Sticky Shrimp Dinner!
Achieving the Best Sticky Chili Sauce for Shrimp
The actual secret weapon here, the thing that makes us skip ordering delivery, is that glaze. Getting the right texture is everything for that perfect coating. We rely on a tiny cornstarch slurry mixed with cold water.
When you add that slurry slowly while stirring, BAM! You instantly turn that runny chili liquid into that beautiful, thick, glossy layer. That’s what makes the Best Sticky Chili Sauce for Shrimp; it clings perfectly instead of just running off your rice.
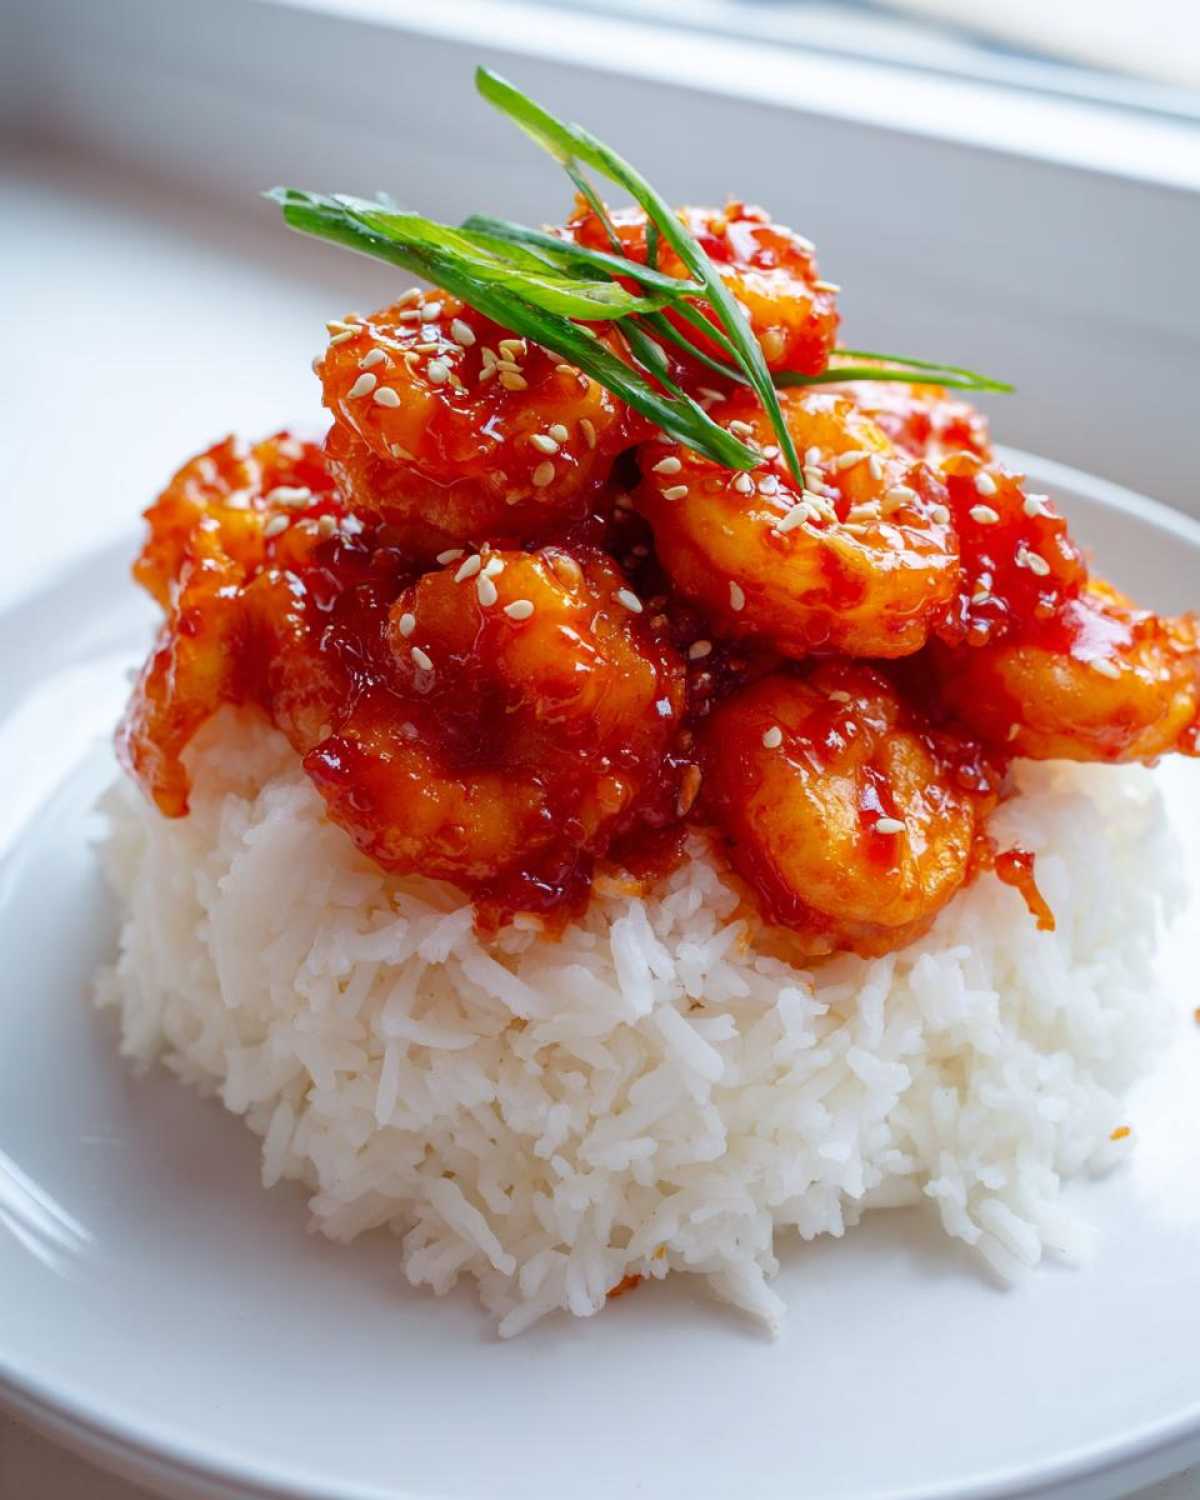
Ingredients for Your Sticky Sweet Chili Shrimp with Rice
Okay, I know lists can feel boring, but trust me on this one—having everything ready makes the cooking process unbelievably smooth. Since this Sticky Sweet Chili Shrimp with Rice comes together so fast, you don’t want to be hunting for the ginger while your shrimp overcook! I like setting out my little bowls of measured-out components first. You can find my recipe for Garlic Noodles here, but for this dinner, we stick to simple rice.
For the Fluffy Jasmine Rice Companion
This is the base for everything yummy! We need soft, separate grains to mop up all that amazing glaze. For the rice, you’ll just need:
- 1 cup of jasmine rice
- 1 1/2 cups of water
If you don’t have jasmine on hand, don’t sweat it! Basmati rice works just as beautifully here, according to my notes.
Components of the Sticky Sweet Chili Shrimp with Rice
Now for the stars of the show! Remember to use fresh garlic and ginger if you can; it makes such a huge flavor difference compared to the jarred stuff. This is where the amazing taste of your Sticky Sweet Chili Shrimp with Rice comes from.
- 1 pound of large shrimp (peeled and deveined—gotta have those tails off!)
- 1 tablespoon of vegetable oil (for searing the shrimp)
- 1/4 cup of sweet chili sauce
- 2 tablespoons of soy sauce
- 1 tablespoon of brown sugar (dark brown is best for richness!)
- 1 tablespoon of rice vinegar
- 1 teaspoon of freshly grated ginger
- 2 cloves of garlic, minced super fine
And here is the crucial bit for that gluey texture:
- 1 teaspoon of cornstarch
- 2 teaspoons of cold water (to mix the slurry)
- 1 tablespoon of sesame oil (this goes in right at the end for aroma)
Don’t forget the garnish! We’ll top it off with 2 thinly sliced scallions and 1 teaspoon of sesame seeds. It makes it look like you actually ordered this!
How to Prepare Sticky Sweet Chili Shrimp with Rice
Okay, friends, this is where the magic happens! If you follow these steps exactly, you will have the most beautiful, clingy glaze you’ve ever seen on Sticky Sweet Chili Shrimp with Rice. I always like to get the rice going first since it just sits there and cooks itself. You can check out my tips for Shrimp Fried Rice if you ever want to jazz it up, but today we keep it simple!
Step 1: Cooking the Asian Sticky Rice Companion
The rice needs about 20 minutes total, so let’s get it started! Grab a small saucepan and toss in your cup of jasmine rice and the 1 1/2 cups of water. Turn the heat up high until it hits a rolling boil—don’t cover it yet, we need those bubbles!
Once it’s boiling hard, immediately clap that lid on tight, drop the heat down to the lowest setting your stove allows, and just let it simmer peacefully for 15 minutes. Don’t peek! After 15 minutes, take it completely off the heat, but leave the lid on for another 5 minutes so it can steam perfectly. When you take the lid off, gently fluff it up with a fork. That’s your perfect base ready to go!
Step 2: Creating the Glaze Base and Slurry
While that rice is resting, let’s mix our flavor components. You need two separate little bowls for this, trust me. In one bowl, you’ll whisk together everything that makes up our sauce: the sweet chili sauce, soy sauce, brown sugar, vinegar, fresh ginger, and minced garlic. Whisk it until that sugar starts dissolving!
In your second, teeny-tiny bowl, prepare your thickener. This is the crucial part for the sticky factor! Mix that 1 teaspoon of cornstarch with the 2 teaspoons of cold water until it looks like thin milk—that’s your slurry. Make sure there are zero dry lumps left in there!
Step 3: Cooking Shrimp and Thickening the Glaze
Heat up your vegetable oil in a large skillet over medium-high heat. That pan needs to be nice and hot! Toss in your prepared shrimp. You only cook them for about 2 to 3 minutes on each side. You want them to turn pink and curl up nicely, but don’t let them get rubbery—once they look opaque, scoop them right out of the pan and set them on a clean plate.
Next, pour that mixed sauce binder you made in Step 2 right into that hot skillet. Let it come to a gentle simmer. Now, whisk that cornstarch slurry *one last time* and pour it in slowly while stirring constantly. Keep stirring! You should see it bubble and thicken almost immediately, becoming noticeably glossy and thick after about 60 seconds. This is precisely where that famous stickiness develops!
Step 4: Finishing the Sticky Sweet Chili Shrimp with Rice Assembly
Once that glaze is looking perfect—nice and thick—toss your cooked shrimp right back into the pan. Gently toss them around until every single piece is beautifully coated in that gorgeous, thick glaze. Let this cook for about 60 seconds just to heat the shrimp through again. Stir in that tablespoon of sesame oil right at the very end; the smell is heavenly!
To plate up your fantastic Sweet and Spicy Shrimp Meal, spoon a nice bed of your fluffy jasmine rice into your serving bowls. Top it generously with the glazed shrimp. Then, sprinkle on your thinly sliced scallions and sesame seeds. Look at that shine! You made this!
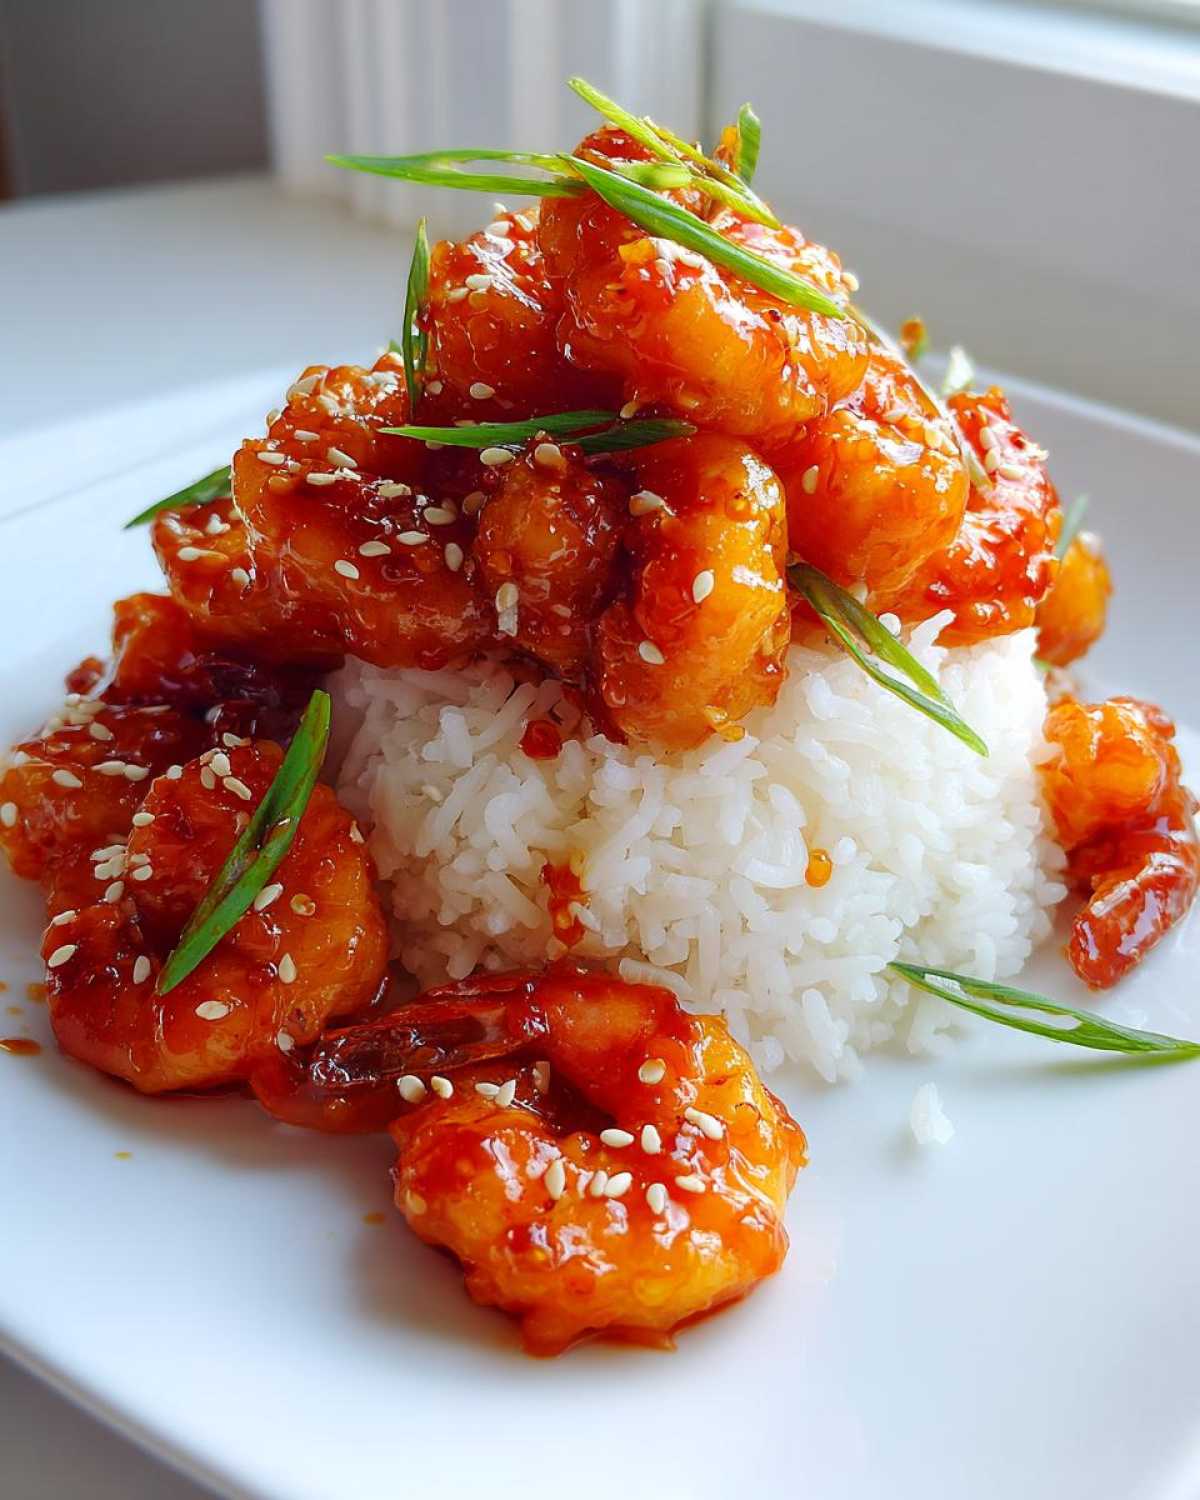
Tips for Success with Your Weeknight Chili Shrimp
Even though this is a super fast recipe, there are a couple of little moves that separate a good plate of shrimp from a *wow* plate of shrimp. We’re aiming for that wow factor for our Weeknight Chili Shrimp, so let’s talk texture and timing! If you need a great dip to go alongside your next meal, you should definitely look at my recipe for the 5-Minute Creamy Garlic Aioli once you’re done eating!
How to Make Glazed Shrimp at Home: Glaze Thickness Check
The biggest complaint I hear about beginner sticky glazes is that they end up thin, running all over the rice instead of actually sticking to the shrimp. That’s a glaze crime, my friends! The key to learning exactly How to Make Glazed Shrimp at Home is paying attention right after you add that little cornstarch slurry.
You absolutely have to let your sauce simmer for a good minute after adding the slurry while stirring continuously. Some people get nervous and pull it off the heat too fast. Nope! You need that little bit of gentle boiling time to “activate” the cornstarch. Once you see that beautiful, glossy shine and it coats the back of a spoon, you know you nailed that perfect sticky texture. If you don’t wait that minute, your amazing shrimp are going to look saucy instead of truly glazed, and that’s a shame!
Also, remember I told you to take the shrimp out before adding the sauce? Do that! If you leave them in while the sauce thickens, they’ll be tough little rubber bands by the time you serve dinner. They only need about 2-3 minutes total cooking time before they go back in for that final coating toss. It’s all about timing!
Ingredient Notes and Substitutions for this Asian Inspired Shrimp Recipe
When you’re making something as reliant on balance as this Asian Inspired Shrimp Recipe, the quality of your ingredients really shines through. Since we are building such a bold flavor profile for our Sweet and Spicy Shrimp Meal, I want to share a few things I always stick to, and a few places where you can totally wing it if you need to!
First off, the shrimp. I used large shrimp in the recipe because they hold up better to that thick glazing process, but medium shrimp are totally fine if that’s what you have. Just watch the cooking time like a hawk! If you only have frozen stock, make sure you thaw them properly—I use a cold water bath because it’s fast—and always pat them super dry before they hit the hot oil. Dry shrimp sear better, preventing steaming!
For the rice, which is the fluffy foundation, I already mentioned jasmine or basmati, but you could even try a quick-cooking brown rice if you want a nutty flavor, though you’ll need to extend that simmer time. Always check your package directions!
Now, let’s talk heat. The sweet chili sauce I use already has some kick, but everyone’s tolerance is different for that five-alarm flavor. If you want it milder, just pull back a tablespoon of the sweet chili sauce and maybe add an extra teaspoon of rice vinegar to replace the missing acidity. If you want it hotter (and who doesn’t sometimes?), add a tiny dash of Sriracha right into that sauce mixture when you whisk it together. It blends seamlessly!
Also, don’t skip the fresh stuff! The grated ginger and minced garlic are non-negotiable for me. If you happen to be making a batch of my Cowboy Butter later in the week, you’ll notice a similar principle: fresh aromatics versus dried powders make the difference between a nice meal and an unforgettable one. For this shrimp, fresh ginger and garlic are how we keep it tasting homemade and amazing!
Serving Suggestions for Your Savory Sweet Shrimp Supper
You’ve got your perfectly sticky shrimp and your fluffy rice base—that’s a fantastic meal right there, but if you’re like me, you want some green on the plate to keep things balanced before you dive into dessert! Since this Savory Sweet Shrimp Supper has such a rich, sweet, and tangy glaze, you need sides that are crisp, clean, and can handle a little bit of that leftover sauce without getting soggy.
Honestly, you keep it simple. No need to muck around with long cooking processes. I usually aim for something fast enough that it cooks while the shrimp are glazing. If you love fresh textures, you have to check out my recipe for the Raw Carrot Salad! It has that same bright, Asian-inspired flavor profile that meshes perfectly with that chili sauce.
Here are my go-to pairings to turn this into a satisfying dinner:
- Snap Peas or Broccoli: Steamed greens are my favorite. Just steam some broccoli florets until they are bright green and crisp-tender. A little squeeze of lemon right before serving is all they need. They are sturdy enough to catch any extra glaze dripping off the shrimp.
- Quick Bok Choy Sauté: If you want something slightly warmer, slice up some baby bok choy. Sauté it quickly in a separate pan with just a tiny bit of garlic over high heat—maybe 2 minutes total. It wilts down beautifully and adds a slightly earthy counterpoint to the heavy sweetness of the chili glaze.
- Cucumber Salad: For a really cool contrast, slice cucumbers thinly and toss them with a splash of rice vinegar and maybe a sprinkle of salt. They are so refreshing next to the spicy shrimp! It’s zero extra cooking time, which is always a win on a busy night.
The goal is contrast! You want texture (the crisp veggies) against the soft shrimp and rice, and you want something slightly tangy or earthy to cut through the richness of that amazing homemade sticky glaze. Enjoy putting your complete dinner plate together!
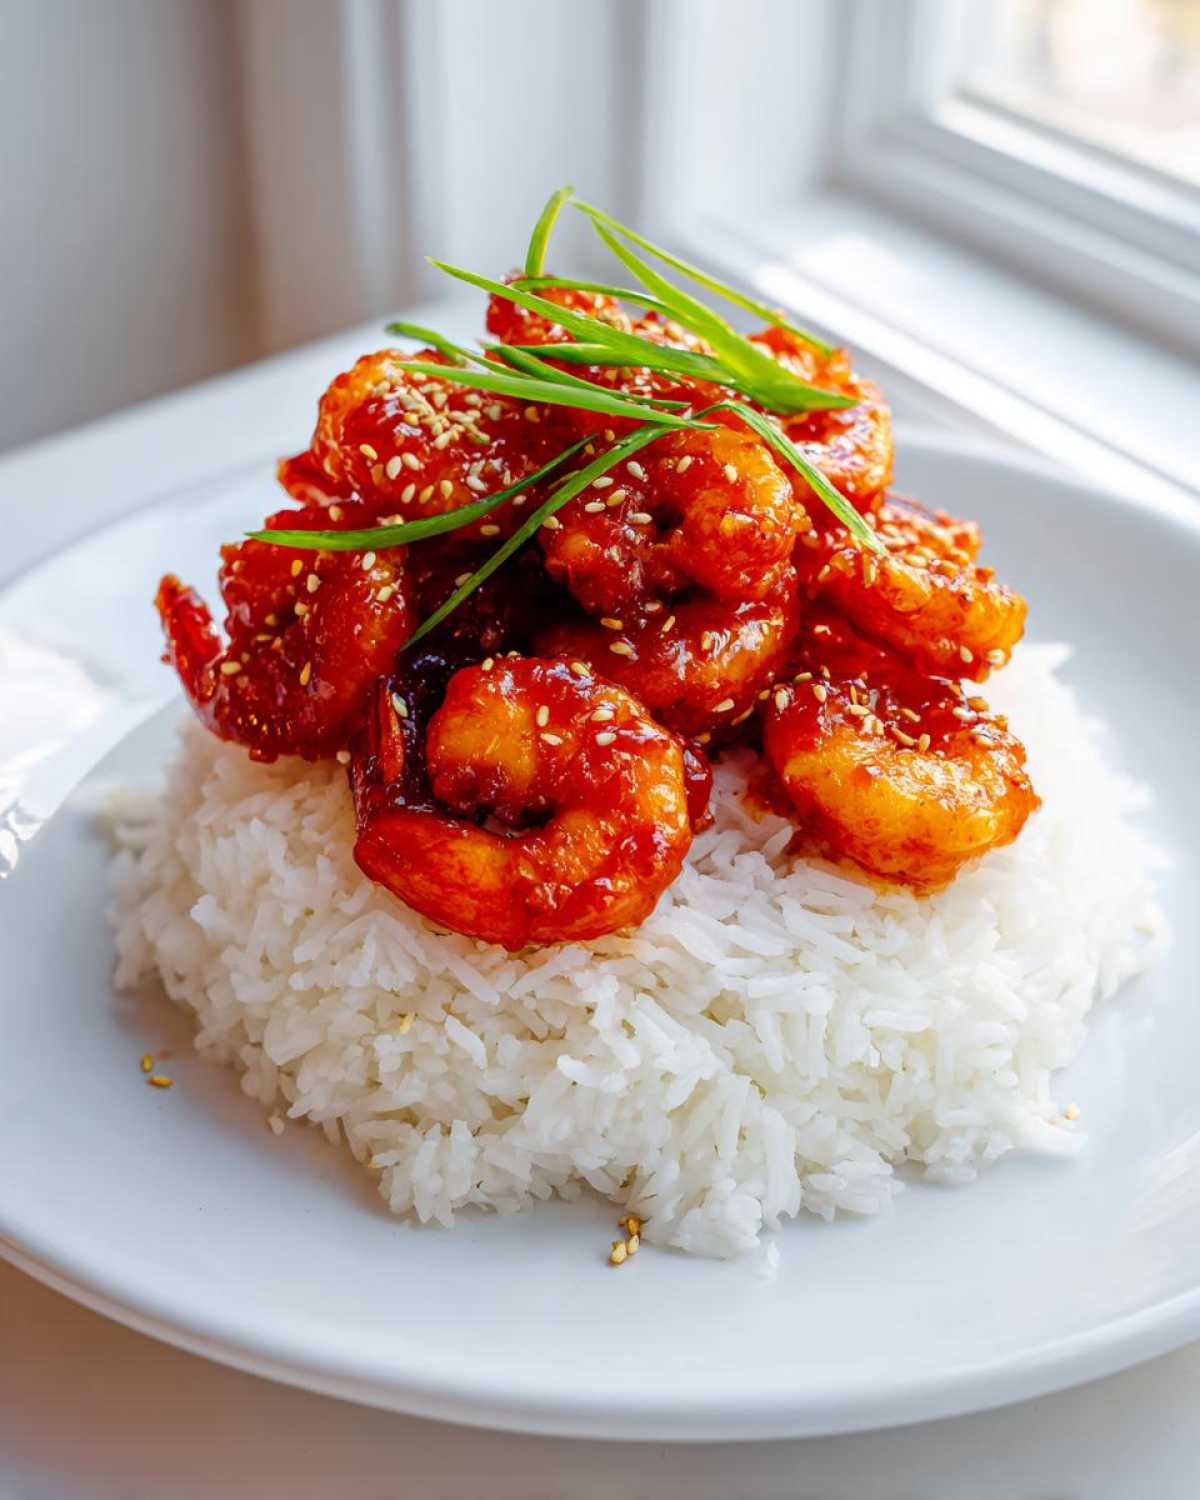
Storage and Reheating Instructions for Leftover Sticky Sweet Chili Shrimp with Rice
Oh, if we’re lucky enough to have leftovers of this Sticky Sweet Chili Shrimp with Rice, we absolutely need to treat them right! That glaze is just too good to have it turn weird when you reheat it the next day. The biggest enemy here is texture, right? We don’t want dried-out shrimp or mushy rice staring back at us!
When I pack mine up (usually just before I even sit down to eat, if I’m honest), I try my absolute best to separate the elements. Keep the rice in one airtight container and the beautiful, glazed shrimp in another. Why separate them? Because the rice steams itself silly, and the shrimp glaze tends to get extra goopy and absorb into the rice if they sit together overnight. It’s a small extra step, but trust me, it makes for a much better lunch tomorrow!
Now, for reheating—this is where you save the day. You have two options, and neither involves blasting it on high heat in the microwave because that just guarantees tough shrimp.
The Gentle Microwave Reheat
If you’re in a hurry, the microwave is fine, but you need to add back a little life. Place your portion of shrimp and rice in a microwave-safe dish. Before you cover it loosely (you need a little steam to escape!), drizzle just a tiny splash—maybe half a teaspoon—of water or even plain chicken broth right over the shrimp. That little bit of liquid creates steam in the microwave, which keeps the shrimp from seizing up and getting rubbery.
Heat it in short bursts—maybe 45 seconds at a time—stirring gently between bursts. You want it just warm enough, not boiling hot. The goal is to gently wake up the flavors!
Low and Slow Pan Reheat (My Favorite Method)
If you have an extra five minutes, use a skillet again! This brings back that freshness. Reheat your rice in a non-stick pan over low heat, fluffing it as it warms up. You might need another splash of water if it looks dry.
In a completely separate small pan (or use the microwave for the shrimp part if you’re lazy like me sometimes!), toss the shrimp back in over *very* low heat. You aren’t *cooking* them again, just warming that gorgeous sticky glaze through. If the glaze looks like it’s getting too thick while it warms, add a tiny drop of water or vinegar to loosen it back up.
Once both components are warm, layer them back in your bowl and garnish with fresh scallions if you have them. It tastes almost as good as the first night!
For more tips on salvaging leftovers and keeping good food fresh, you can always check out my thoughts on baking basics, like in my Easy Moist Lemon Loaf Recipe, where texture preservation is key!
Frequently Asked Questions About This Quick Shrimp Dinner
It’s totally normal to have a few questions pop up when you’re trying a new favorite recipe! I put this together hoping it would be an amazing go-to, and I figured since you’re making this Quick Shrimp Dinner, you might be wondering about the details. I’ve put my experience with hundreds of batches of this glaze into answering these!
Can I use frozen shrimp for this Sticky Sweet Chili Shrimp with Rice?
Oh, absolutely you can! Sometimes that’s all you have on hand, and that’s fine by me. The biggest thing to remember when you use frozen shrimp is how you thaw them. Do not sit them out on the counter—we want to keep the texture firm!
The best way to handle frozen shrimp is the cold water bath method. Put the frozen shrimp (still in their bag, or a sealed container if they aren’t bagged) into a large bowl and just cover them completely with cold tap water. You might need to change that water every 15 minutes if it gets too cold, but usually, in about 30 minutes, they’ll be perfectly pliable and ready to go. Make sure you pat them completely dry before they hit the hot oil, or they will steam instead of searing!
What is the best rice to serve with this Glazed Seafood Dinner?
For this specific dish—especially since the glaze is so sweet, savory, and sticky—I highly recommend sticking to the fluffy stuff. Jasmine rice, which is what I used in the recipe, is king here because its fragrance is subtle but lovely, and it cooks up light enough to separate easily beneath that heavy glaze. It’s exactly what you dream about when you think of a Glazed Seafood Dinner!
However, Basmati rice is a fantastic, slightly firmer alternative. If you’re looking for a lighter touch, plain long-grain white rice works too. I listed it in the notes: if you wanted to turn this into a whole different beast, you could certainly make a simple garlic fried rice instead, but be warned, that adds about 10 extra minutes and a separate pan! For a true 30-minute promise, just stick to the quick-cook method for the rice.
How can I make this recipe spicier or milder?
That’s the fun part of customizing your own flavors! We use the sweet chili sauce as our main heat source, but you can absolutely adjust the dial. If you are leaning into the heat for your Sweet and Spicy Shrimp Meal, I recommend adding an extra teaspoon of chili garlic sauce right in with the other sauce ingredients, or even tossing in a tiny pinch of cayenne pepper with your soy sauce and ginger mixture before the heat hits it.
If you want it milder—maybe the kids are eating—handle it this way: reduce the initial amount of sweet chili sauce by one tablespoon, and then, to make up for the lost liquid tang, add an extra teaspoon of rice vinegar. That keeps the balance right between sweet, salty, and sour, just with less chile heat overall. You just need to taste and adjust before you add that slurry!
If you ever decide to make my Easy Pizza Casserole, you’ll find similar tricks for adjusting the spice level, just swapping out Italian herbs for Asian heat!
Estimated Nutrition Facts for Sticky Sweet Chili Shrimp with Rice
Now, I’m no nutritionist—I’m just a home cook who loves making food taste good! But I’ve run the numbers based on the ingredients for this fantastic Sticky Sweet Chili Shrimp with Rice so you have a general idea of what you’re digging into. Remember, this is just an estimate, and these numbers are based on the recipe yielding exactly two large servings.
I feel pretty good about these numbers, especially since we are getting a huge helping of protein from the shrimp! If you want to see how other meals stack up, check out my notes on the Best Bread Pudding; the differences in carbs are wild!
Here is the breakdown for one serving:
- Calories: 450
- Protein: 40 grams (That’s a solid helping!)
- Total Fat: 10 grams (Pretty low, honestly, considering the glaze!)
- Saturated Fat: 1.5 grams
- Carbohydrates: 45 grams
- Fiber: 1 gram
- Sugar: 18 grams (This is where the sweet chili sauce comes in, making it satisfying!)
- Sodium: 750 mg (Soy sauce adds up, so if you’re watching sodium, maybe use low-sodium soy sauce!)
This is a wonderfully balanced meal when you look at it—great protein and carbs to keep you full, but not overly heavy for a weeknight dinner. Enjoy knowing you made this incredibly flavorful Glazed Seafood Dinner yourself!
PrintSticky Sweet Chili Shrimp with Jasmine Rice
Prepare a flavorful meal featuring shrimp coated in a thick, sweet, and spicy chili glaze served over fluffy jasmine rice.
- Prep Time: 10 min
- Cook Time: 20 min
- Total Time: 30 min
- Yield: 2 servings
- Category: Dinner
- Method: Stovetop
- Cuisine: Asian Inspired
- Diet: Low Fat
Ingredients
- 1 lb large shrimp, peeled and deveined
- 1 tablespoon vegetable oil
- 1 cup jasmine rice
- 1 1/2 cups water (for rice)
- 1/4 cup sweet chili sauce
- 2 tablespoons soy sauce
- 1 tablespoon brown sugar
- 1 tablespoon rice vinegar
- 1 teaspoon grated fresh ginger
- 2 cloves garlic, minced
- 1 teaspoon cornstarch
- 2 teaspoons cold water (for slurry)
- 1 tablespoon sesame oil
- 2 scallions, thinly sliced (for garnish)
- 1 teaspoon sesame seeds (for garnish)
Instructions
- Cook the rice: Combine jasmine rice and 1 1/2 cups water in a saucepan. Bring to a boil, then cover, reduce heat to low, and simmer for 15 minutes. Remove from heat and let stand, covered, for 5 minutes. Fluff with a fork.
- Prepare the sauce: In a small bowl, whisk together the sweet chili sauce, soy sauce, brown sugar, rice vinegar, ginger, and garlic. Set aside.
- Make the slurry: In a separate very small bowl, mix the cornstarch and 2 teaspoons of cold water until smooth. Set aside.
- Cook the shrimp: Heat the vegetable oil in a large skillet or wok over medium-high heat. Add the shrimp and cook for 2 to 3 minutes per side until pink and opaque. Remove the shrimp from the skillet and set aside.
- Thicken the sauce: Pour the prepared sauce mixture into the same skillet. Bring to a gentle simmer. Whisk the cornstarch slurry again and pour it slowly into the simmering sauce while stirring constantly. Cook for about 1 minute until the sauce thickens and becomes glossy.
- Glaze the shrimp: Return the cooked shrimp to the skillet. Toss gently to coat every piece evenly with the sticky glaze. Cook for 1 minute to heat through. Stir in the sesame oil.
- Serve: Divide the cooked jasmine rice among serving bowls. Top with the sticky sweet chili shrimp. Garnish with sliced scallions and sesame seeds.
Notes
- To achieve a very thick glaze, ensure your sauce simmers for at least one minute after adding the cornstarch slurry.
- If you prefer less heat, reduce the amount of sweet chili sauce slightly.
- You can substitute basmati rice for jasmine rice.
Nutrition
- Serving Size: 1 serving
- Calories: 450
- Sugar: 18
- Sodium: 750
- Fat: 10
- Saturated Fat: 1.5
- Unsaturated Fat: 8.5
- Trans Fat: 0
- Carbohydrates: 45
- Fiber: 1
- Protein: 40
- Cholesterol: 250