

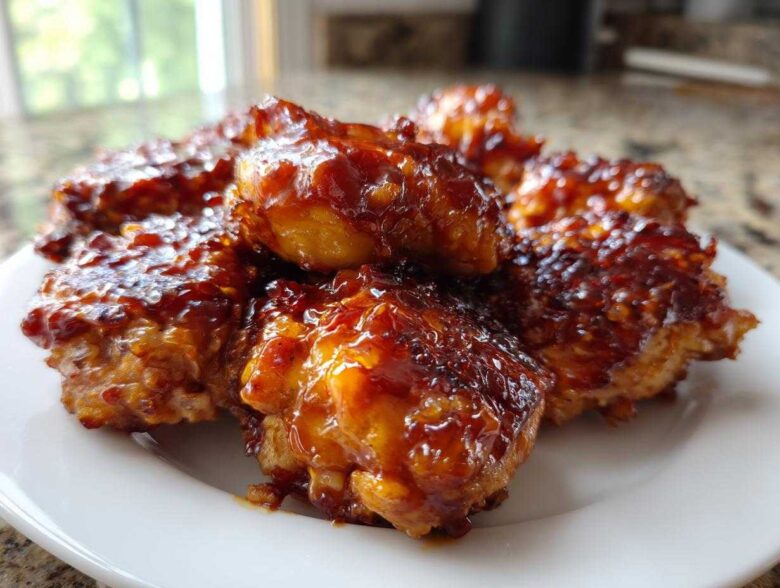
Oh my gosh, you know those nights, right? You’re staring into the fridge, you’re tired, and all you can think about is that takeout chicken—that perfect balance of sweet, spicy, and clingy that requires way too much effort to make at home. Well, stop dreaming! Seriously, I spent ages messing around with pans and splattering oil trying to get that takeout texture without the mess. I finally cracked the code so you don’t have to stand over a stove tossing chicken. This Sticky Sweet Chili Chicken Easy Recipe is my weeknight secret weapon because we use the oven! It lets the glaze build up beautifully on the chicken pieces, making it genuinely sticky without burning everything. Trust me, after testing this glaze about twenty times until I got that perfect, thick consistency, I knew I had to share this simple oven magic with you. If you need more ideas for fast meals, check out my guide on easy weeknight chicken dinner ideas. Let’s get dinner done fast!
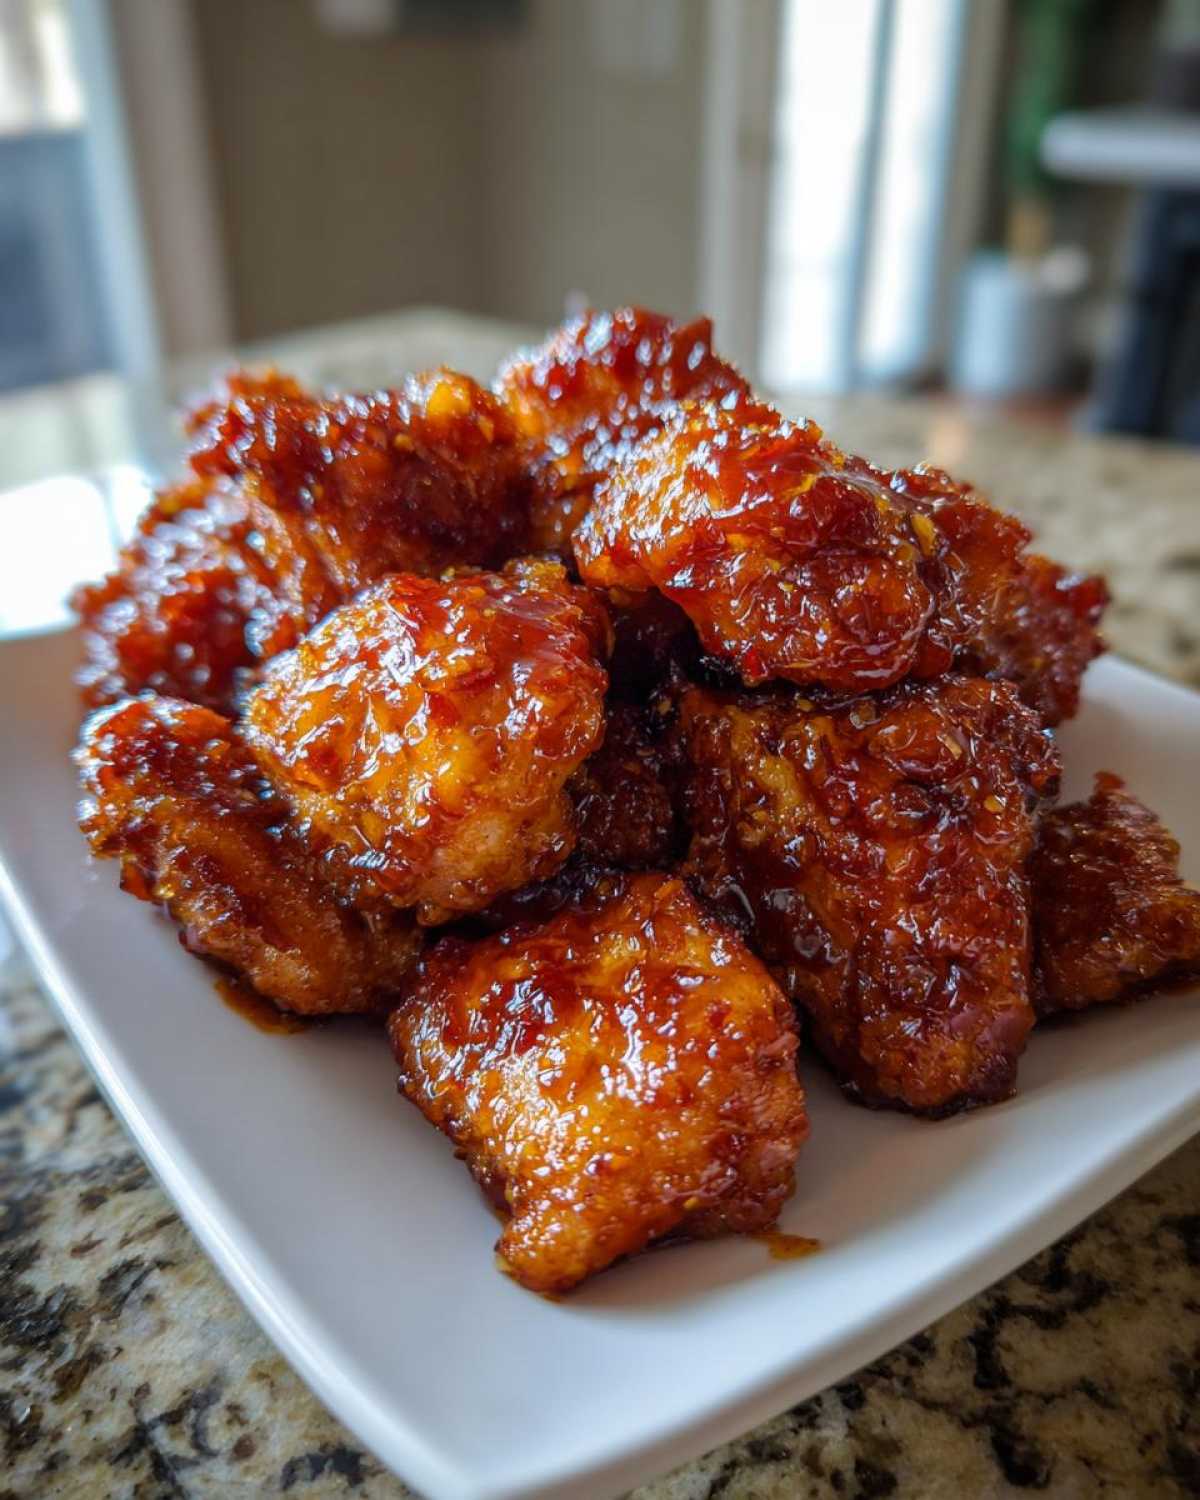
Why This Sticky Sweet Chili Chicken Easy Recipe Works So Well
Look, the whole point of an easy recipe is, well, *easy*! I know you’ve scrolled past those gorgeous chicken pictures only to find seven different steps involving deep-fry thermometers or complicated wok techniques. Forget all that noise. This is your new go-to because we’re turning to the oven. It makes cleanup a dream, which is a huge win for any beginner friendly Asian chicken recipe adventure.
This method guarantees you get that crave-worthy texture every single time. It’s the ultimate quick sticky chicken dinner solution.
Oven Baking for Maximum Ease and Minimal Mess
Baking is the key to keeping this fuss-free. We skip the oil splatter and the constant stirring you get when pan-frying. You spread the chicken pieces out on one sheet, pop them in, and you’re free to start on rice or chop some scallions while it cooks. When it’s done, you just slide that parchment paper right into the trash. That’s my definition of simple!
Achieving the Perfect Sticky Sweet Chili Chicken Easy Recipe Glaze
The real secret to hitting that ‘sticky’ part of the Sticky Sweet Chili Chicken Easy Recipe is definitely the very last step in the sauce. We use a cornstarch slurry, which is just a fancy way of saying we thicken the sauce using a little starch mixed with cold water. That, combined with the honey or brown sugar, creates that beautiful, glossy coat that clings perfectly to the chicken. It totally sets this glaze apart from watery sauces!
Gathering Ingredients for Your Sticky Sweet Chili Chicken Easy Recipe
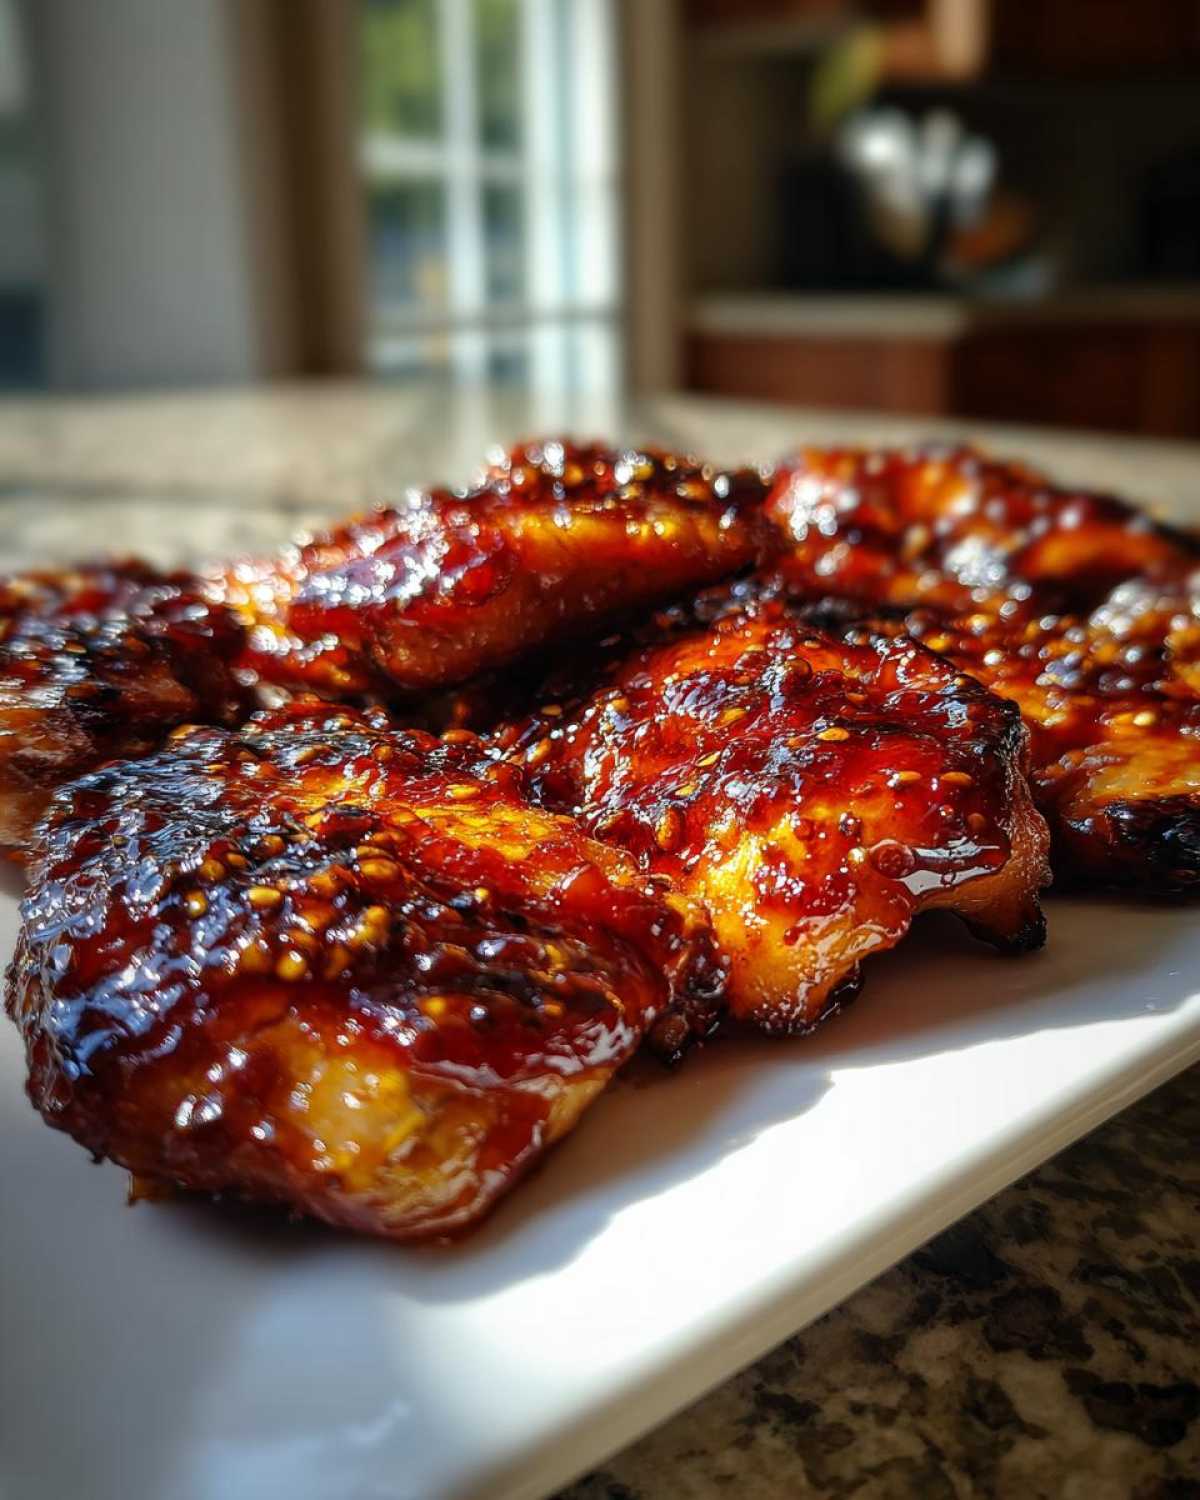
Okay, the best part about keeping things easy? A short ingredient list! I hate pulling out ten bottles just for one Sticky Sweet Chili Chicken Easy Recipe. This one is thankfully super straightforward. We’re focusing on quality flavor builders here, not complicated filler items. You’ll notice we toss the chicken with just a little oil and seasoning before baking, which helps the final glaze just melt right onto it.
Chicken Preparation Details
For this recipe, I really, really recommend using boneless, skinless chicken thighs if you can find them. They stay juicy no matter what I do to them! If you only have breasts, that’s totally fine, but thighs just give you a little more forgiveness. No matter which you pick, you need to cut them into roughly one-inch pieces.
Why this size? Because it cooks fast for a quick sticky chicken dinner, AND it maximizes the surface area for that beautiful, sticky coating when we toss it at the end. Just salt and pepper, simple seasoning for now!
Crafting the Sweet and Spicy Glaze Components
This is where the magic lives! For the sweet and spicy flavor, the star, obviously, is the sweet chili sauce—use a brand you like! We balance that out with low-sodium soy sauce for depth, a splash of rice vinegar to cut the sweetness, and a bit of honey or brown sugar for extra richness. Don’t forget the aromatics: fresh ginger and minced garlic. Seriously, use fresh garlic; it makes a huge difference!
Now, pay close attention here for the thickness needed for that ‘sticky’ factor. We are making a slurry with one teaspoon of cornstarch mixed thoroughly with exactly one tablespoon of cold water. Keep that water cold! We mix this right before we need it in the saucepan, and that’s what gives us that thick, restaurant-quality glaze without resorting to deep-frying.
Step-by-Step Instructions for the Sticky Sweet Chili Chicken Easy Recipe
Okay, now we put the pieces together! The beauty of this Sticky Sweet Chili Chicken Easy Recipe is that the oven does most of the hard work while you handle the sauce. Don’t worry about getting overwhelmed; everything happens in timed steps so you don’t miss a thing. We are using parchment paper on our baking sheet, which means cleanup is virtually zero—yes, even for the glaze!
Initial Chicken Prep and First Bake
First things first: crank that oven up to 400°F (200°C). Toss your seasoned chicken pieces with that tiny bit of olive oil, salt, and pepper. You have to spread them out in a single layer on your baking sheet. If they’re piled up, they steam instead of bake! We bake for just 15 minutes to get them mostly cooked through, which is perfect timing for us to whip up that glaze.
How to Make Sticky Chicken Sauce While Baking
While those chicken pieces are getting cozy in the oven, grab a little saucepan. We combine the sweet chili sauce, soy sauce, honey, vinegar, ginger, and garlic. Get that simmering over medium heat, stirring gently. Once it’s bubbling, get your cornstarch slurry ready—whisk that cornstarch and cold water mix in really well. Keep stirring until the sauce thickens up and gets super glossy. That gloss is your visual cue that you’ve made the right start for a sensational Sticky Sweet Chili Chicken Easy Recipe!
Glazing and Finalizing Your Easy Recipe
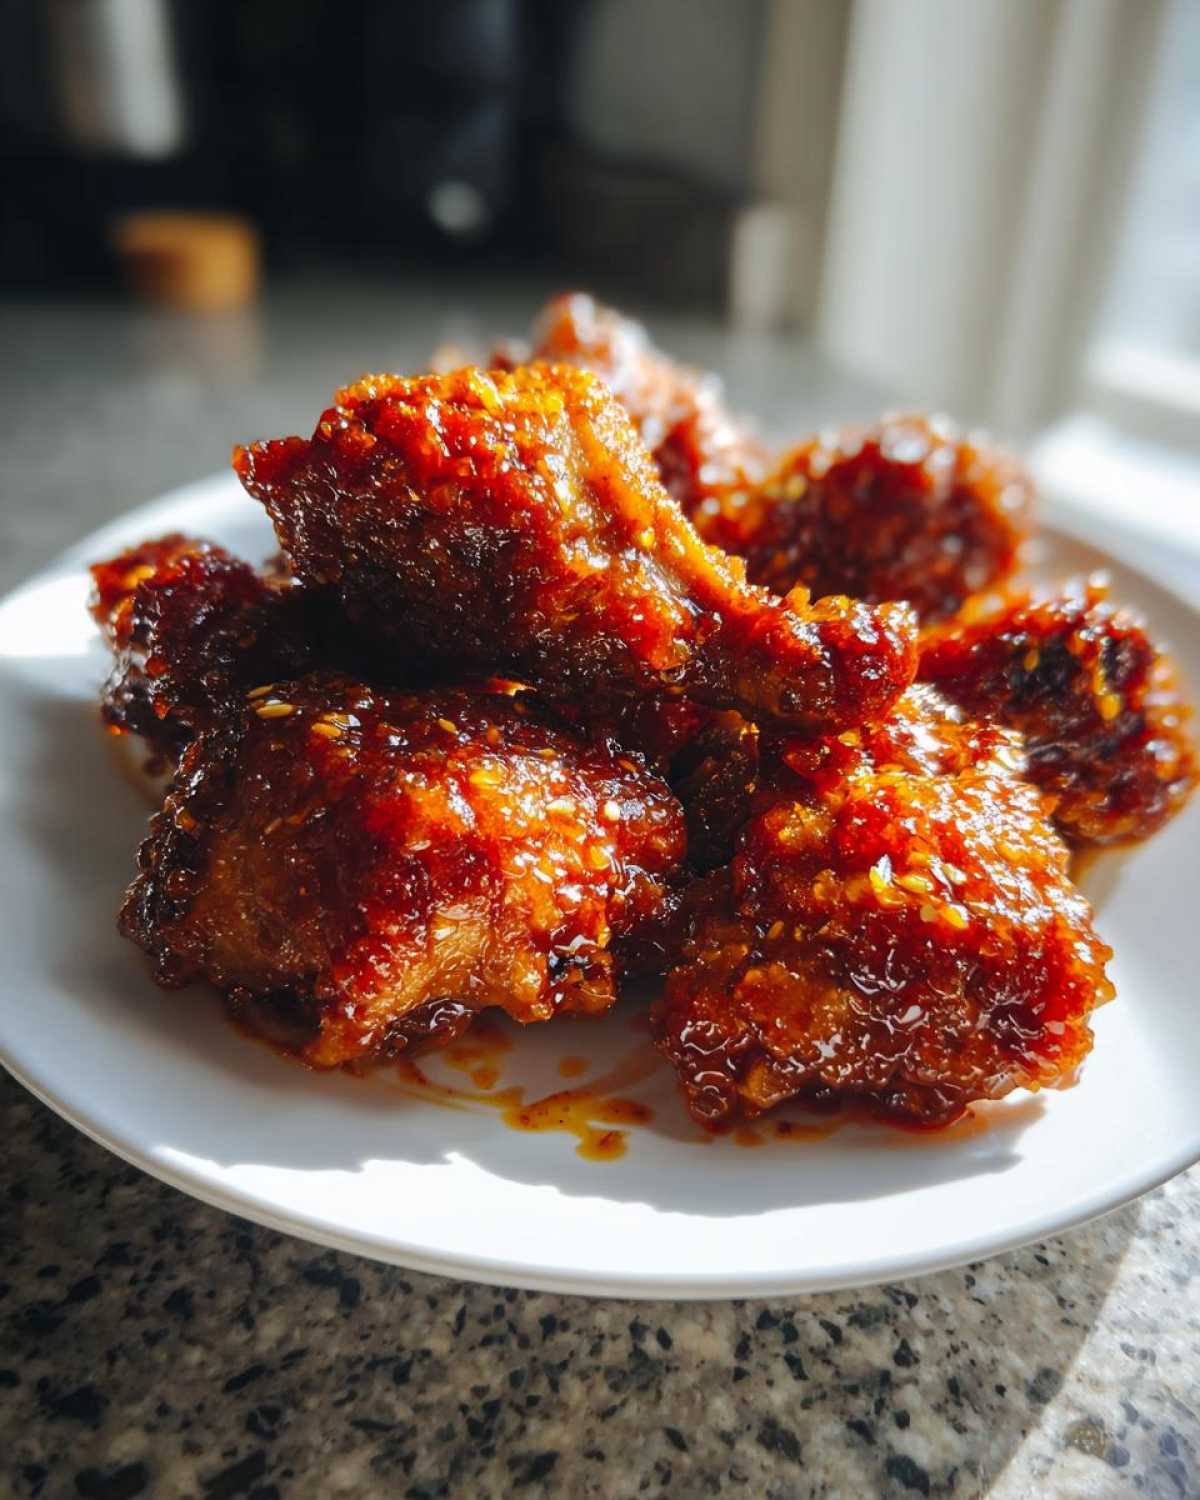
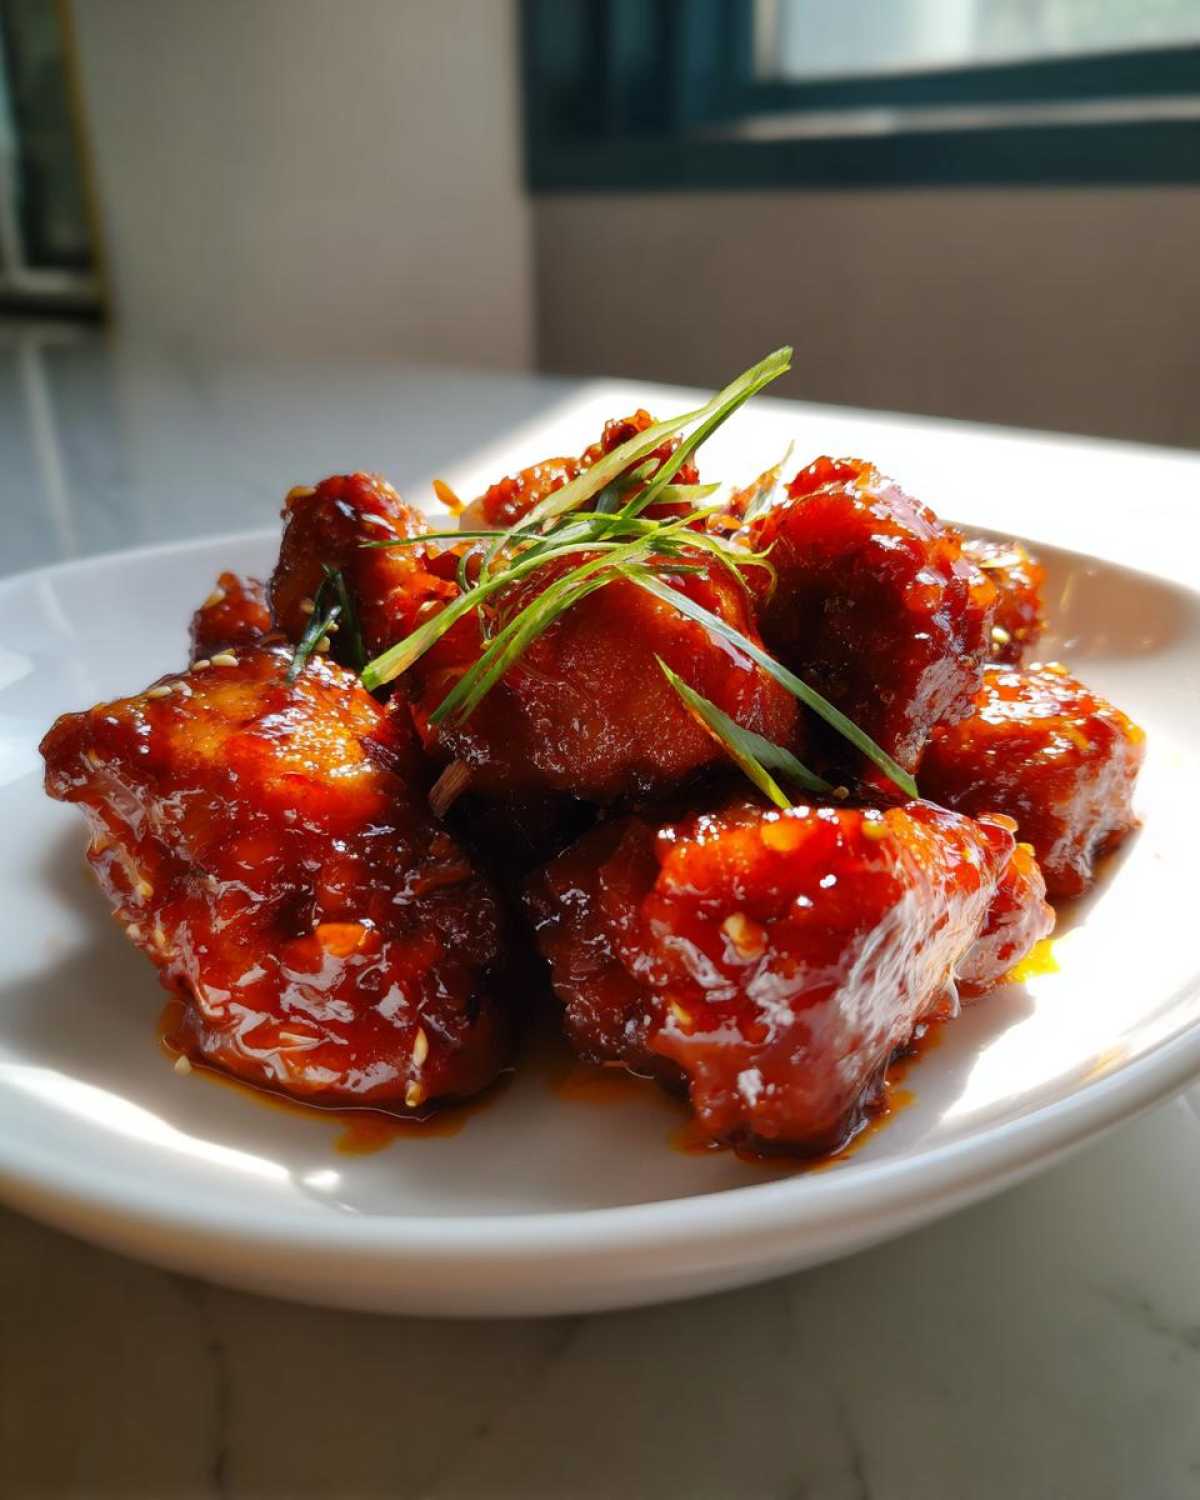
Pull the baking sheet out after 15 minutes. Now, pour about half of your amazing, thick sauce over the chicken and give it a good toss right on the pan! Slide it back into the hot oven for another 5 to 7 minutes. This second bake is crucial because it lets that sugary glaze cook onto the chicken and really set that satisfying sticky texture we love. Before serving, take it out one last time and toss it with the remaining fresh glaze! That double coat is what seals the deal for a fantastic finish.
If you want even more one-pan perfection ideas, you should definitely look at my one-pan honey garlic chicken and broccoli recipe for tomorrow night.
Tips for Success with Your Sticky Sweet Chili Chicken
Even though this is a super approachable and easy recipe, there are always little tricks I picked up over the years that make a world of difference—especially when we’re aiming for that professional-level sticky coating. Cooking this way is all about temperature control, even when you’re just using your oven! Remember, we want that perfect, caramelized, restaurant-style exterior on our easy homemade chili glaze chicken.
My biggest, number one tip for achieving serious stickiness? We use the broiler, but you have to be alert! After you toss the chicken with that last bit of fresh glaze (after the second bake), if you feel like it still needs one last layer of super-clingy texture, slide the tray under the broiler for just 1 to 2 minutes. Set your timer and stand right there! It goes from sticky to burnt in about three seconds flat, but that quick blast of high heat really sets the sugars and makes the glaze truly shine.
Another thing I swear by is using chicken thighs cut into uniform chunks. Breasts can dry out if you look at them funny, but thighs have that little bit of extra fat that keeps the meat tender while the outside gets that glorious, sticky brown glaze. If you want to skip the initial seasoning step and dive straight into flavor, you have to try my marinade guide; you can find tips for making the juiciest chicken ever in my best chicken marinade recipe post!
Finally, serving temperature matters. This chicken is the stickiest when served immediately, right out of the oven. If you’re meal-prepping, it’s better to store the chicken and the remaining glaze separately and toss them together right before you reheat your portion in the microwave or a quick toss in a hot pan. Don’t let that amazing sticky coating sit submerged in the extra sauce!
Storage and Reheating for This Quick Sticky Chicken Dinner
Even though this quick sticky chicken dinner is so fast to make that you’ll want to eat it all on day one, sometimes you just have leftovers! And that’s totally okay. We want to make sure that amazing sticky texture survives the chill in the fridge, right? The key here is minimizing how much moisture the meat soaks up overnight.
For storage, make sure the chicken has completely cooled down before you put it anywhere. Warm food creates condensation in the container, which is basically the enemy of stickiness. Pop the pieces into an airtight container. If you held back any of that fresh glaze we tossed it with at the very end—the extra sauce that didn’t fully coat the chicken—save that separately! Don’t pour it over the leftovers because the chicken will get soggy sitting in it.
When it comes to reheating this quick sticky chicken dinner, you have two paths, depending on how much time you have.
If you’ve got about fifteen minutes and want to revive that original texture, use the oven. Lay the chicken pieces out on a small baking sheet (you can skip the parchment if you’re careful!) and heat them at about 350°F (175°C). That low heat warms everything gently and helps any residual sauce firm back up a little bit.
For the absolute fastest way—because sometimes we are starving!—the microwave works, but you need to be clever. Microwave it in short 30-second bursts. And here’s my pro-tip: right before the last 15 seconds, flick a tiny tablespoon of water or chicken broth into the microwave-safe bowl with the chicken, cover it loosely, and then finish heating. That steam protects the meat from drying out while it warms the sauce back up. It won’t be as perfectly sticky as when it first came out, but it’s still delicious!
If you are planning ahead and want to make this a staple, you should look at how I pair chicken with veggies, like in my chicken zucchini stir-fry post. Meal prepping doesn’t have to be boring!
Variations on the Sticky Sweet Chili Chicken Easy Recipe
One thing I absolutely love about this Sticky Sweet Chili Chicken Easy Recipe is how easily it adapts to whatever I have kicking around in the kitchen that week. Since the basics of the glaze—sweet, spicy, thick, and tangy—are solid, we can swap out the protein or throw in some partners for the chicken without really changing the instructions at all. It stays super easy, promise!
If you’re hosting a game day or just really craving that bone-in satisfaction, you can definitely turn this into an amazing batch of baked sticky wings! The instruction change is minimal, which keeps the ease factor high. You just need to adjust your initial baking time. Instead of 15 minutes, wings need a bit longer to render their fat and get crispy underneath, so plan for about 25 minutes before you start glazing them.
Adding Veggies for a Complete Meal
If I’m trying to turn this into a one-dish meal—because who wants extra pots and pans on a Tuesday?—throwing in some vegetables is the perfect solution. Bell peppers are my favorite for this! They cook relatively quickly and stand up well to the glaze.
Here’s how I do it easily: during that second bake (the 5-7 minutes *after* you’ve tossed the chicken with the first half of the sauce), toss some sliced bell peppers or maybe some thick-cut onion chunks right onto the baking sheet among the chicken pieces. They’ll absorb some of that sticky goodness and get slightly charred, which is delicious. You’re already baking, so you might as well fill that space! For more easy dinner ideas that mix protein and veggies, check out my chicken broccoli rice casserole recipe.
Experimenting with Different Protein Cuts
While I sing the praises of boneless thighs for speed and moisture, you can swap them out without issue. Pork tenderloin cut into cubes follows the exact same process! It takes just as long in the oven and holds that sweet chili glaze beautifully. Cube it up, season it, bake 15 minutes, glaze, bake again. Done!
Turkey works too, especially if you’re watching fat content. Just remember that turkey breast can dry out slightly faster than dark meat, so really pay attention during that final 5-minute bake. Getting that delicious, sticky finish is all about hitting that sweet spot before it overcooks!
Serving Suggestions for Your Easy Weeknight Chicken Dinner Ideas
Now that you’ve mastered the technique for this incredibly easy, sticky chicken, the next question is: what do I eat it with? Honestly, because the glaze is so rich and flavorful—that mix of sweet and spicy—you don’t need a lot of complicated sides. You just need something plain and fluffy underneath to soak up any extra sauce that drips off. That’s the golden rule for any powerfully flavored Asian-inspired dish like this one!
My go-to, hands-down favorite base for this chicken is simple, perfectly cooked white rice. It’s neutral, fluffy, and acts like a sponge for that delicious leftover glaze that falls onto the plate. If you want to jazz up your rice just a little bit without making a whole new recipe, I highly recommend trying my French onion butter rice recipe once in a while. It’s still easy, but that little hint of savory onion flavor adds another layer of depth that complements the chili perfectly.
If you’re trying to keep things lighter or maybe doing a low-carb thing one night, steamed vegetables are your best friend here. You steamed them while the chicken was doing its second bake, so they’re ready at the same time! I toss broccoli or some crisp green beans with just a tiny pinch of salt and maybe a quick drizzle of sesame oil right before serving. The vibrant green color looks beautiful next to that dark, sticky glaze, and the crunch is a fantastic contrast to the tender chicken.
For a bit more substance, I sometimes make a very quick slaw. You don’t need fancy dressing; just thinly sliced cabbage and carrots tossed with rice vinegar and maybe a tiny bit of honey. It gives you a fresh, cool crunch that really cuts through the sweetness of the chili sauce on the chicken. It’s so refreshing when you’re eating something rich!
Frequently Asked Questions About the Sticky Sweet Chili Chicken Easy Recipe
I totally get it; sometimes you just need a quick confirmation on a detail before you dive in! Since this is my favorite Sticky Sweet Chili Chicken Easy Recipe, I’ve answered the questions I get most often. Hopefully, this clears up anything standing between you and sticky, saucy chicken perfection!
Can I make this Sticky Sweet Chili Chicken Easy Recipe in an Air Fryer?
Oh, absolutely! The air fryer is fantastic for this type of recipe. It’s even faster, honestly. Instead of the 15-minute initial bake, you’ll air fry the seasoned chicken at 390°F (about 200°C) for around 10 to 12 minutes until it’s nearly done. Then, you toss it with half the glaze and air fry for another 3 to 5 minutes. It gets incredibly crispy! If you’re looking for more genius ways to cook fast, you should check out my contact page for recipe requests!
How do I adjust the spice level in this simple sweet chili chicken recipe?
This is entirely up to your taste buds! The standard sweet chili sauce gives you a nice background warmth, but if you want a real kick, you have two easy options. To boost the heat without losing the overall flavor profile, stir in about a teaspoon of Sriracha or another favorite chili paste into your sauce mixture before you simmer it. That gives you a sharp heat.
If you want less heat—maybe the kids are eating it too—just look for a ‘mild’ sweet chili sauce at the store, or slightly increase your honey/brown sugar measurement by a teaspoon. A little more sweet balances out what heat is already there in the sauce. It keeps this simple sweet chili chicken recipe totally versatile!
What is the best way to get a truly sticky coating?
If ‘sticky’ is what you crave, you must, must, *must* follow the cornstarch slurry step! That’s the real secret sauce activator. You need that slurry mixed with cold water whisked into the simmering sauce to properly thicken it up. But the *final* texture payoff comes from that second, short bake in the oven. Heating the chicken again with the glaze on it allows that sugary coating to caramelize just a bit and stick right to the meat. If you’re feeling daring, use the broiler trick I mentioned earlier—that sets the stickiness flawlessly!
Nutritional Estimates for This Easy Baked Sweet Chili Chicken
So, let’s talk fuel! I always try to snap a quick picture of the nutrition label before I start cooking, but honestly, I’m terrible at keeping track of exact brand specifics, so take these numbers with a grain of salt—or rather, a grain of soy sauce!
These estimates are based on using chicken thighs, a standard store-brand sweet chili sauce, and low-sodium soy sauce. If you use honey instead of brown sugar, or if you load up on extra sesame oil for serving, you know the counts will shift a bit. I always recommend checking your specific ingredients if you are counting macros closely!
This recipe is surprisingly protein-packed, which is great for keeping you full, and it’s relatively low in fat compared to our takeout alternatives. Plus, the sodium is decent due to the soy sauce, but using low-sodium helps keep that down significantly!
- Serving Size: 1 serving (approx. 5 oz)
- Calories: 320
- Sugar: 18g
- Sodium: 650mg
- Fat: 10g
- Saturated Fat: 3g
- Unsaturated Fat: 7g
- Trans Fat: 0g
- Carbohydrates: 19g
- Fiber: 0g
- Protein: 38g
- Cholesterol: 110mg
Remember, this is just a starting point for this easy baked sweet chili chicken! If you load it up with rice or extra veggies, you’ll need to adjust your final tally. If you want more background on why I share these numbers and how I calculate them, you can read my full disclaimer here: disclaimer. Happy cooking!
PrintEasy Baked Sticky Sweet Chili Chicken
Follow these simple steps to make tender chicken coated in a thick, sticky sweet chili glaze. This oven-baked recipe is quick and perfect for a weeknight meal.
- Prep Time: 10 min
- Cook Time: 25 min
- Total Time: 35 min
- Yield: 4 servings
- Category: Dinner
- Method: Baking
- Cuisine: Asian-Inspired
- Diet: Low Fat
Ingredients
- 1.5 lbs boneless, skinless chicken thighs or breasts, cut into 1-inch pieces
- 1 tablespoon olive oil
- 1/2 teaspoon salt
- 1/4 teaspoon black pepper
- 1/2 cup sweet chili sauce
- 1/4 cup soy sauce (low sodium preferred)
- 2 tablespoons honey or brown sugar
- 1 tablespoon rice vinegar
- 1 teaspoon grated fresh ginger
- 2 cloves garlic, minced
- 1 teaspoon cornstarch mixed with 1 tablespoon cold water (slurry)
Instructions
- Preheat your oven to 400°F (200°C). Line a baking sheet with parchment paper for easy cleanup.
- Place the cut chicken pieces in a bowl. Toss them with olive oil, salt, and pepper. Spread the chicken in a single layer on the prepared baking sheet.
- Bake the chicken for 15 minutes until it is mostly cooked through.
- While the chicken bakes, prepare the glaze. In a small saucepan, combine the sweet chili sauce, soy sauce, honey (or brown sugar), rice vinegar, ginger, and garlic.
- Bring the sauce mixture to a simmer over medium heat, stirring constantly.
- Once simmering, whisk in the cornstarch slurry. Continue to cook for 1-2 minutes, stirring until the sauce thickens noticeably and becomes glossy. Remove from heat.
- Remove the chicken from the oven. Pour half of the thickened glaze over the chicken pieces and toss gently to coat.
- Return the coated chicken to the oven and bake for another 5-7 minutes, allowing the glaze to set and become sticky.
- Remove the chicken from the oven. Toss the pieces with the remaining half of the fresh glaze just before serving.
Notes
- For extra stickiness, you can briefly broil the chicken for the last 1-2 minutes, watching carefully to prevent burning.
- Serve this chicken over rice or with steamed broccoli.
- If using chicken wings, increase the initial baking time to 25 minutes before glazing.
Nutrition
- Serving Size: 1 serving (approx. 5 oz)
- Calories: 320
- Sugar: 18
- Sodium: 650
- Fat: 10
- Saturated Fat: 3
- Unsaturated Fat: 7
- Trans Fat: 0
- Carbohydrates: 19
- Fiber: 0
- Protein: 38
- Cholesterol: 110