

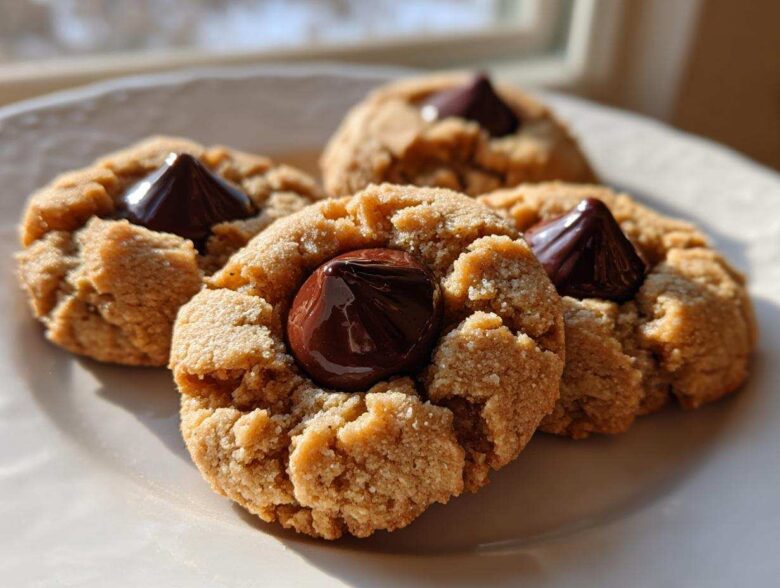
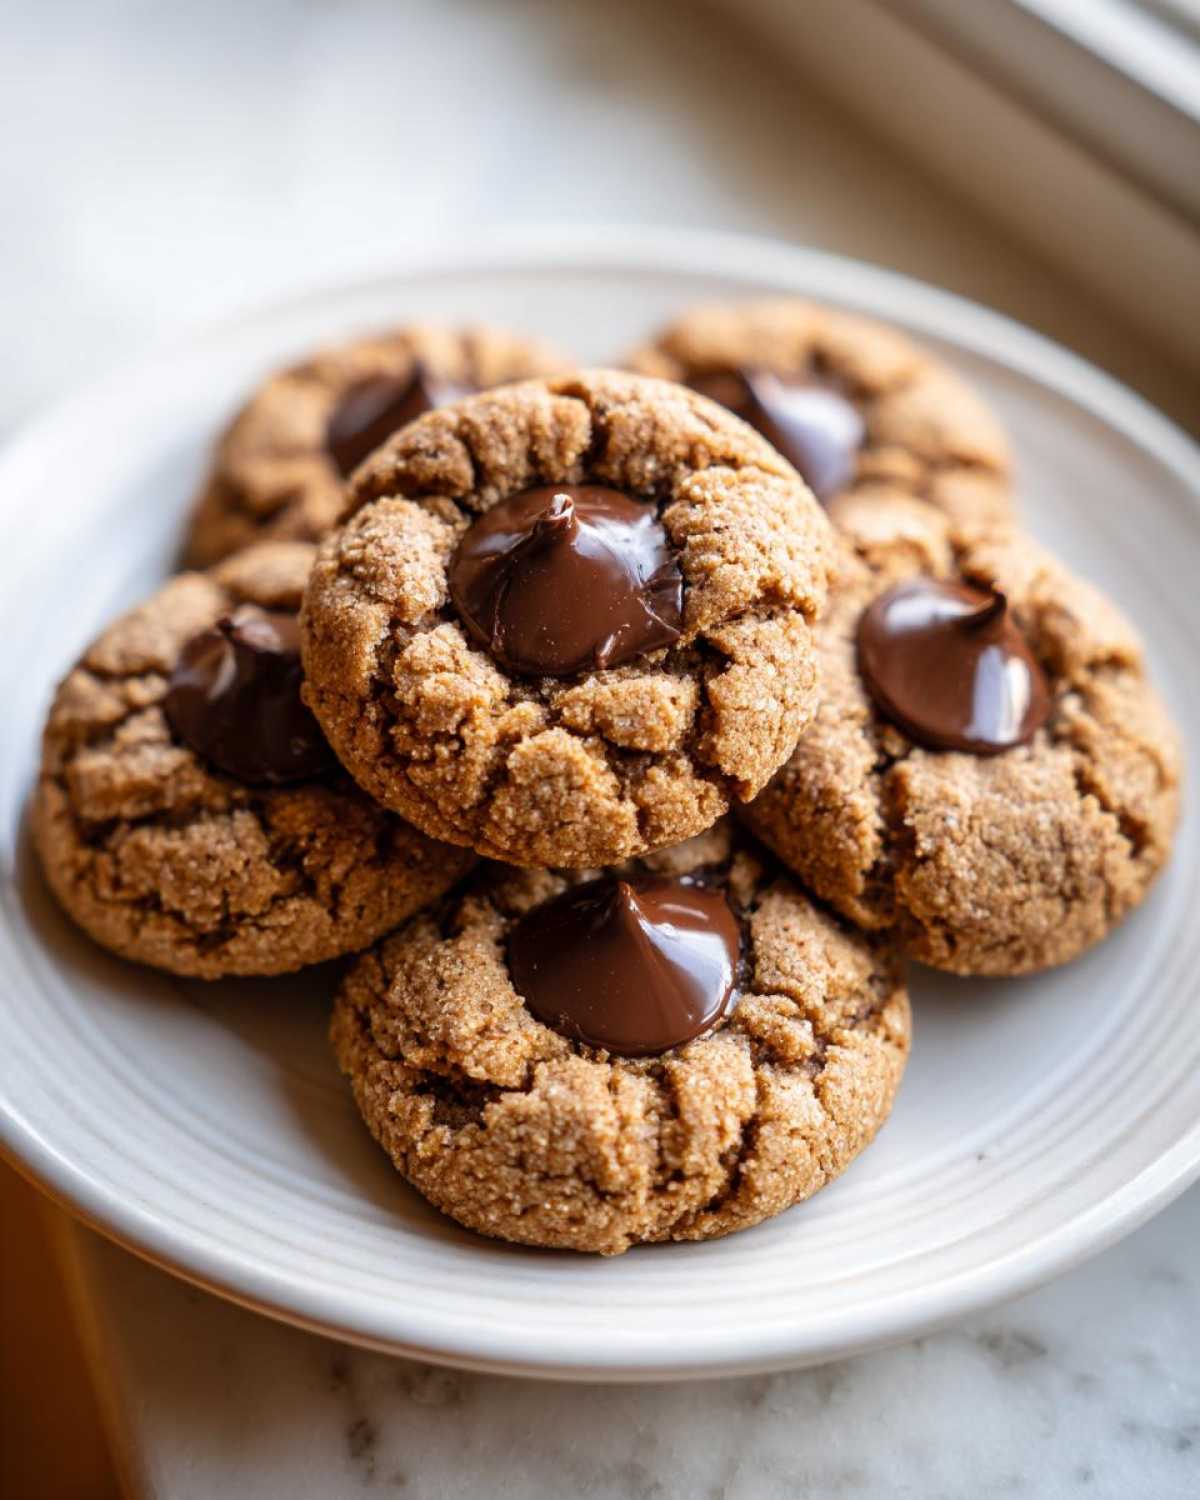
There’s just something about cookies that taste like a memory, right? Maybe it’s the smell of sugar mixing with warm chocolate that instantly drags you back to holiday baking sessions. For us, those are the peanut butter blossom cookies. Everyone loves them, but honestly, half the time they come out baked too thin, or the tops crack off before you can even press in the chocolate. Not here! Julian, my Art Director husband, obsessively tweaked this recipe until we nailed the texture. We wanted the *ultimate soft and chewy classic peanut butter blossom* that stays tender for days. This version, which we’ve treated like a top-secret magazine cover shoot, is finally ready for its debut on the main feature page. If you loved the texture secrets in our brown butter chocolate chip cookies, get ready, because this one is even better!
Why This is the Best Recipe for Classic Peanut Butter Blossoms
We’ve tested dozens of recipes for these iconic treats, and most of them lead to cookies that are either too crunchy or that spread out into flat disks the second they hit the hot baking sheet. We absolutely forbid flat cookies here! Our goal was to create Chewy Peanut Butter Cookies that bake up thick but still give you that beautiful, signature Crackle Top Cookies look. Julian focused intensely on the chemical reactions happening during baking to ensure the perfect finish.
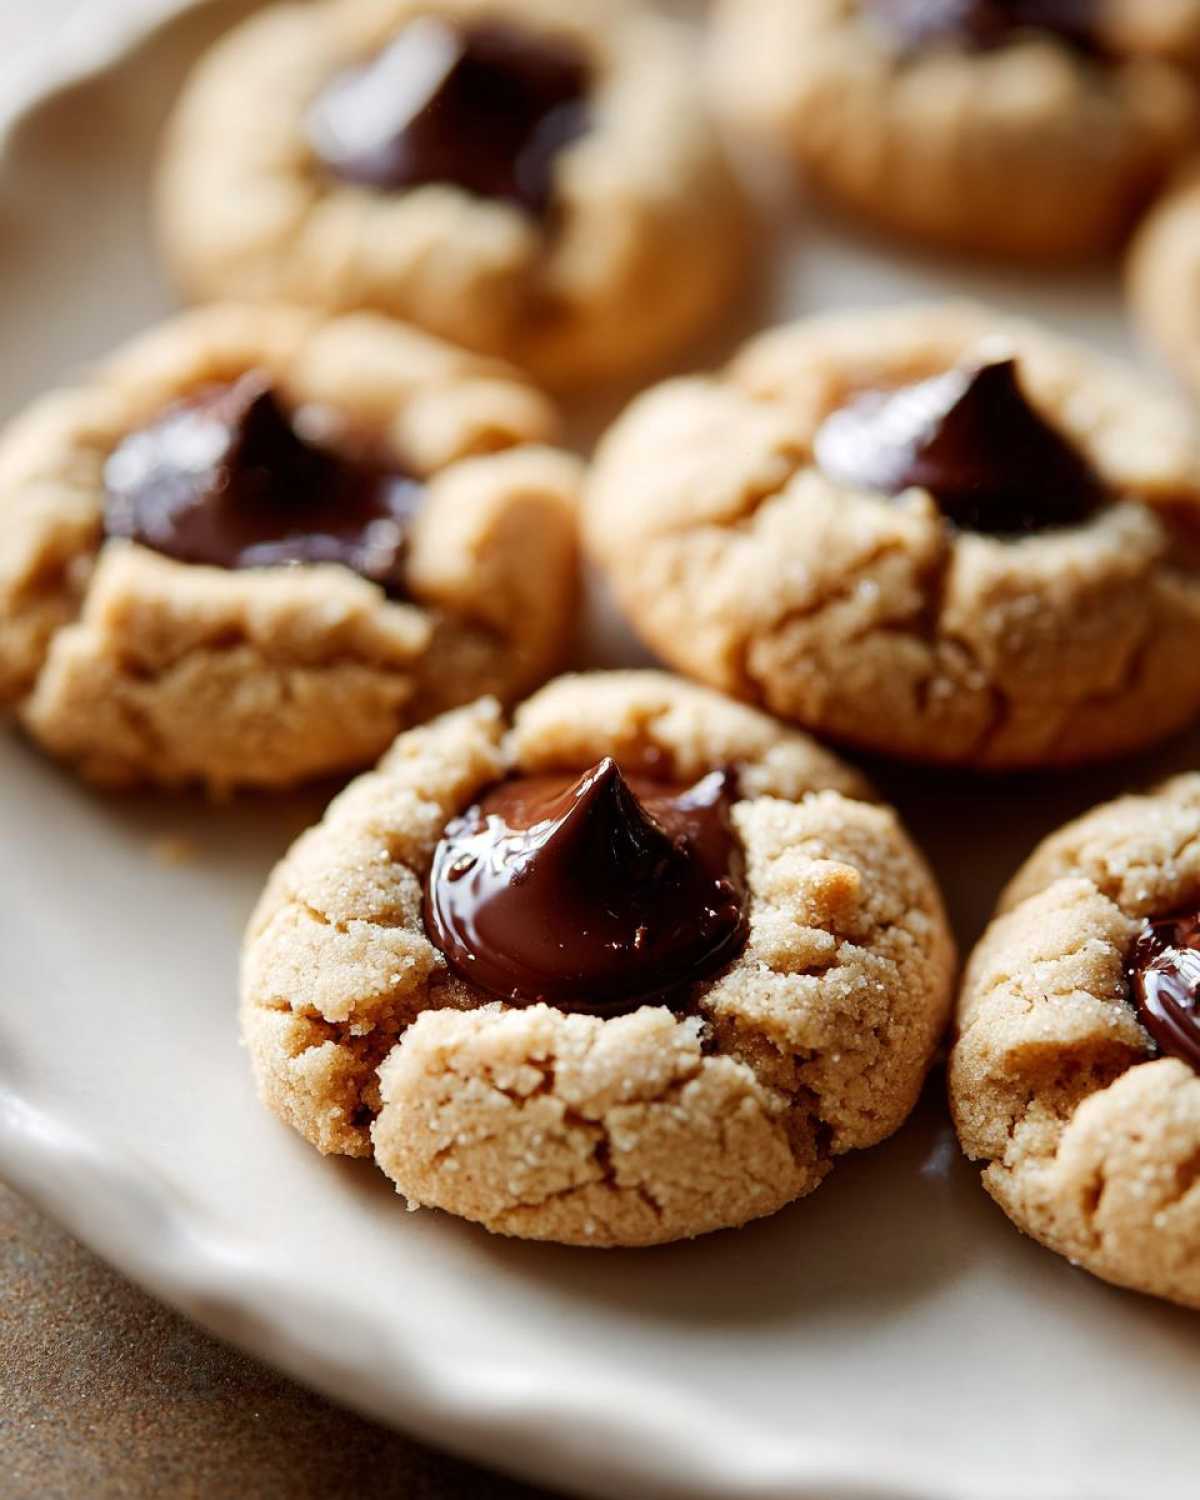
The real magic isn’t in the Kiss, surprisingly—it’s in that sweet, salty peanut butter base holding everything together. We want a soft center that melts slightly under the chocolate, not a cookie that snaps when you bite it. If you’re looking for tips on texture that we also applied to our snickerdoodles, you’re in the right place, because texture is everything!
Achieving the Perfect Soft Peanut Butter Cookies Texture
It all comes down to how you handle the sugars and the flour. Step two, where we beat the butter and both sugars until it looks light and fluffy? Don’t rush that! That creaming action traps the air that keeps the final cookie soft. Then, in step five, you must stop mixing the second the flour streaks disappear. Overmixing develops gluten, and gluten gives you tough cookies, which is the opposite of what we want for these Soft Peanut Butter Cookies. We definitely looked outside the box on this one, even checking out how other bakers handle their doughs, like the advice you can find here.
Gathering Ingredients for Your Peanut Butter Blossom
Okay, time to talk about what you need to pull off these incredible Peanut Butter Blossom Cookies. Getting the right ingredients is like setting the stage before the big photo shoot—everything needs to be prepped and ready to go! I’ve laid out the exact list below, but make sure you pay close attention to the details because these small choices make a huge difference in getting that classic look and texture we’re aiming for.
For the full breakdown of quantities, you’ll want to check the full recipe card, but here are the key things you need for our base cookie dough and the finishing touches:
- Unsalted Butter (must be softened, please, don’t cheat this step!)
- Creamy Peanut Butter (this is important for the dough smoothness!)
- Granulated Sugar
- Packed Light Brown Sugar (the moisture here is key!)
- Large Eggs
- Vanilla Extract
- All-Purpose Flour, Baking Soda, and Salt (your dry team)
- Extra Granulated Sugar (reserved just for coating the balls)
- A full bag of Hershey’s Kisses (unwrapped and ready to go!)
We also have a linked recipe for an easy moist lemon loaf recipe if you feel like baking something bright alongside these fall/winter favorites!
Ingredient Notes and Substitutions for Peanut Butter Blossom Cookies
Let’s talk specifics, because this is where home bakers often get steered wrong! For the dough, I really, really push creamy peanut butter. Crunchy is fine if you’re making a standard cookie, but for the smooth base required in a Classic Peanut Butter Blossom, creamy is the way to get that melt-in-your-mouth feel. And about the chocolate? If you’re making *the* classic cookie, you absolutely have to use unwrapped Hershey’s Kisses. They are shaped specifically to sink perfectly and create that iconic look when they melt just right. Using regular chocolate chips just changes the whole game!
Step-by-Step Instructions for Perfect Peanut Butter Blossom Cookies
Alright, let’s get down to the fun part. Baking these Peanut Butter Blossom Cookies is really quick, which is why they are such a fast favorite around here! Julian often says that making a recipe look good on paper is a lot like directing a shoot—every step has to be in the correct order for the final image (or cookie!) to come out right. This whole process, from bowl to cooling rack, takes less than 40 minutes, which is incredible for such an iconic dessert. Don’t worry about the steps being too complex; we walk you through everything, especially where timing is critical. If you’re looking for other quick baking wins, check out how we handle our simple butter cookies recipe!
Preparing the Dough and Shaping Classic Peanut Butter Blossoms
First things first, you have to get that base creamy. Remember what I said about creaming the butter and sugars? Do that until it’s light! That’s your foundation for a soft cookie. Once the flour mix goes in, slow your mixer down right away, and stop mixing the second you can’t see any dry streaks left. Seriously, go slow. Then, you’ll scoop out one-inch balls—try to keep them all the same size so they bake evenly. Roll each one generously in that reserved sugar. That coating is what gives these cookies their beautiful, sugary crackle top when they bake, so make sure they’re fully covered before heading to the sheet!
Baking and Adding the Chocolate Kiss to Your Peanut Butter Blossom
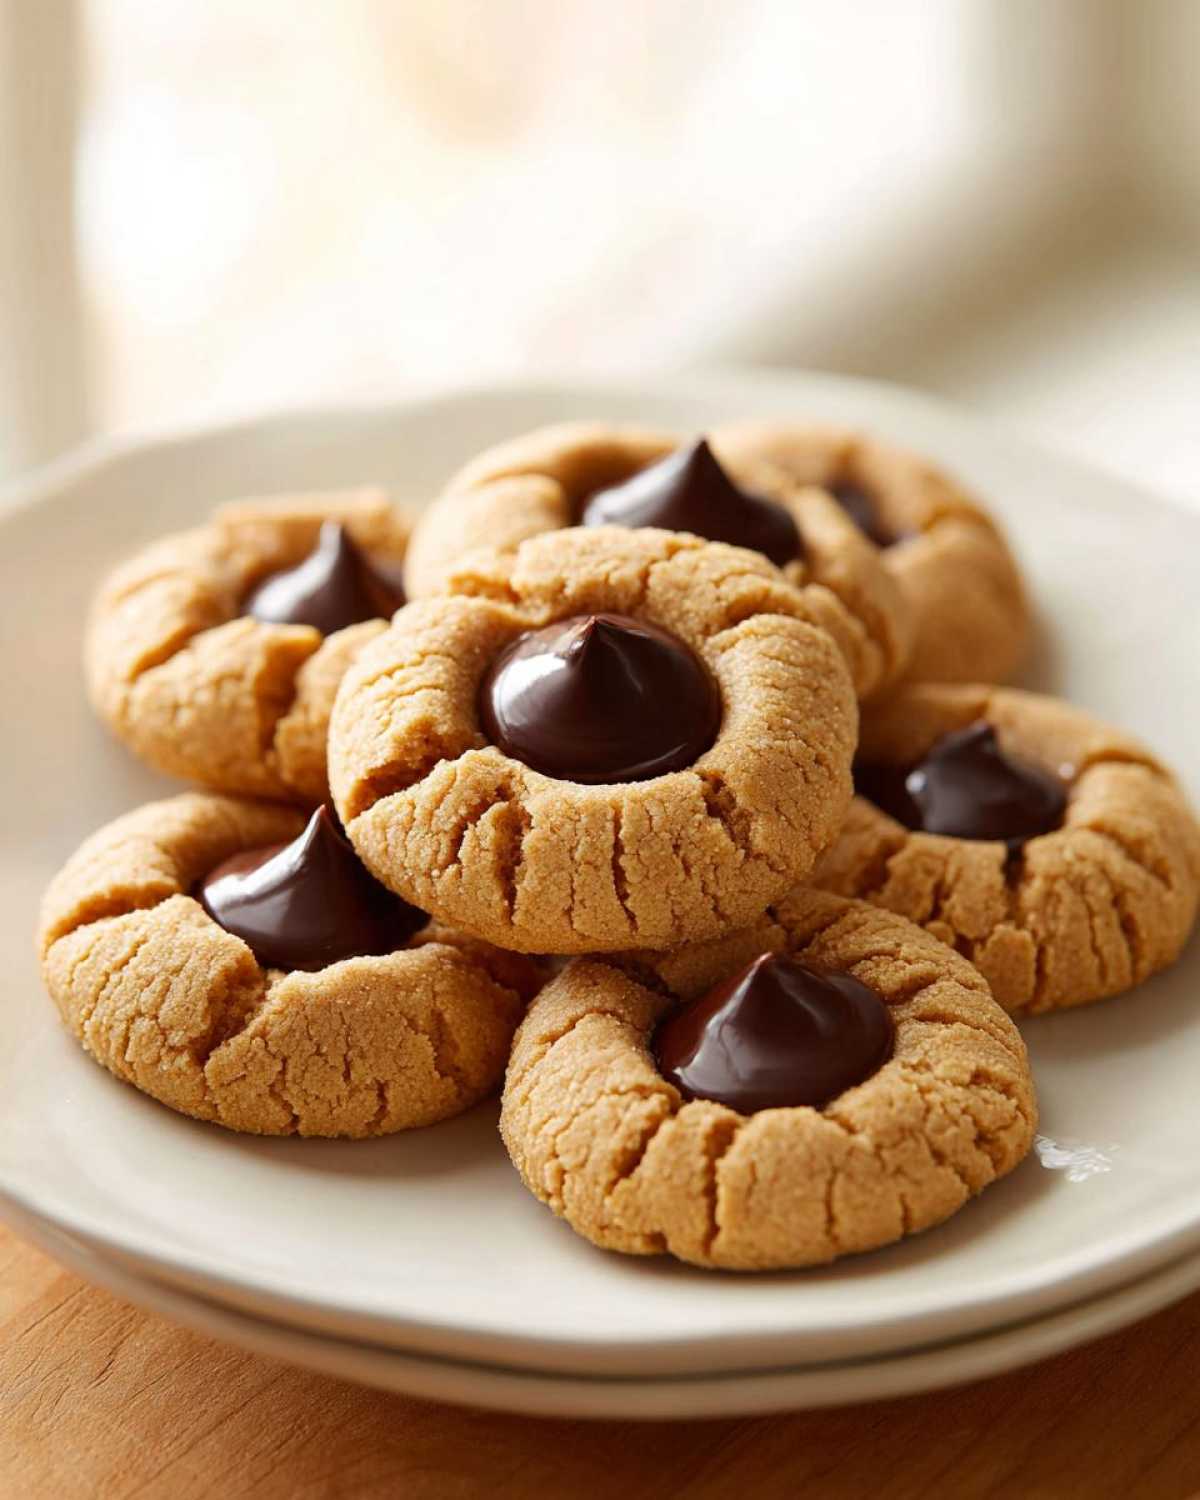
This is the move that separates the good blossoms from the amazing ones! You bake these for just 8 to 10 minutes. You want the edges set, but the center should still look just a *little* soft, almost underbaked. That residual heat is your best friend! As soon as those sheets come out of the oven, you have to work fast. Gently press one unwrapped Hershey’s Kiss right into the center of each warm cookie. If you wait even two minutes, the cookie firms up and it just smashes the whole thing, or it cracks when you press down. You need that gentle heat so the chocolate nestles in beautifully. For more inspiration on how to make these classic treats shine, take a peek at this detailed guide on classic peanut butter blossoms.
Tips for Success When Making Peanut Butter Blossom Treats
Even with the perfect directions, sometimes things just don’t behave the way we expect in the oven! If you find your dough is spreading too much, that usually means your butter was too warm when you started mixing. Julian’s golden rule for any drop cookie is that the butter should be soft enough to indent, but still slightly cool to the touch—never greasy! If that happens, just scoop the dough onto a plate and chill it for about fifteen minutes before rolling. Please, no matter what, don’t skip rolling the dough balls in that extra granulated sugar, okay? That exterior coat doesn’t just add sweetness; it’s what helps create those lovely, signature cracks on top while protecting the inside from drying out. If you’re looking for another soft winner, you have to try our chocolate chip cheesecake cookies next!
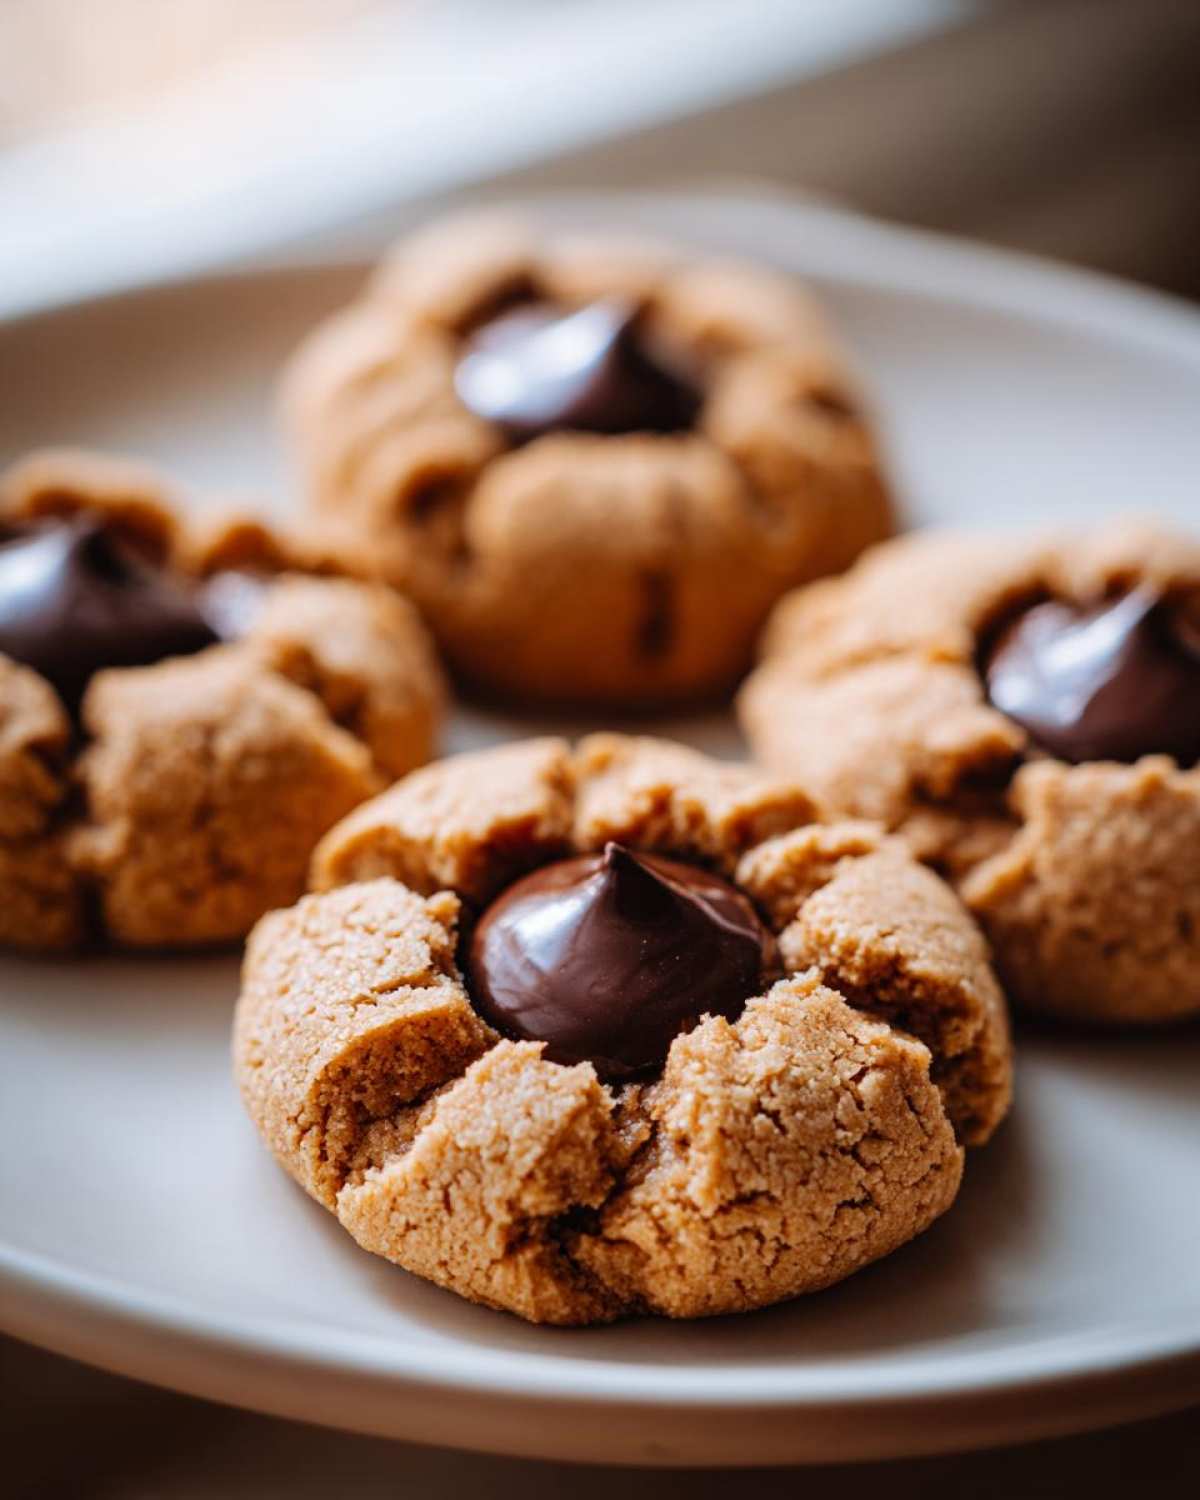
A couple of other points from my testing notes: if you want the absolute softest result, remember that we are purposely slightly underbaking these. Pull them when the center still looks damp! Also, if you’re planning ahead, chilling the dough for thirty minutes before scooping is a great way to prevent any unwelcome spreading, just like the genius tip found at this source suggests for extra soft cookies.
Variations on the Peanut Butter Blossom Theme
I love watching Julian experiment with flavor palettes, and while the classic peanut butter blossom is sacred, sometimes we need to mix things up! If you’re looking for simple Peanut Butter Cookie Variations that still feel nostalgic, this recipe holds up beautifully to small changes. Don’t feel like you have to stick just to creamy peanut butter and milk chocolate Kisses every time.
For a nuttier flavor, try substituting creamy peanut butter with almond butter or even cashew butter—the texture might change slightly, but the flavor is amazing! If you can’t find Kisses, or just want a different chocolate experience, you have options. You can press in a small piece of high-quality dark chocolate, or sometimes I’ll even use a miniature peanut butter cup instead of the plain Kiss. It’s fun mixing up the chocolate element!
If you want to see another unique take on seasonal baking, check out the complex spices we use in our spiced persimmon cookies. It proves that sometimes the smallest ingredient swaps lead to the best new features in your meal magazine!
Storing and Keeping Your Peanut Butter Blossom Cookies Fresh
Because these are my favorite Homemade Peanut Butter Treats, the last thing I want is for them to turn hard the next day! Luckily, keeping these Classic Peanut Butter Blossoms soft is super easy. You just need to make sure they are completely cool—like, room temperature cool—before putting them away, otherwise the Kiss will sweat. Then, slip them into a truly airtight container.
I find that if I seal them up right away, they stay perfectly chewy for about four days. If you’ve made a huge batch for your holiday parties—because who doesn’t need more Festive Christmas Treats?—they freeze beautifully! Just skip the Kiss until they’re thawed and slightly warm again. If you need more tips on keeping things soft, you absolutely have to read about our method for zucchini banana bread; same principle applies!
Frequently Asked Questions About Peanut Butter Blossoms
I know when I’m deep in a recipe, I always have a million little nagging questions! Dealing with the perfect texture for these famously nostalgic cookies can leave you wondering about the little details. Don’t worry, I’ve pulled together the most common queries that pop up when we try to achieve those perfect, soft centers. We want to make sure your Peanut Butter Blossom Cookies are a total win! If you are looking for more quick baking wins, check out all our easy cookie recipes.
Can I skip rolling the dough balls in sugar?
Oh, please don’t skip this step! If you skip rolling them in the extra granulated sugar, you lose that signature, slightly crunchy crust and that beautiful crackle pattern on top. Plus, the sugar helps keep the outside from spreading too much. For my money, skip it and you risk losing the classic look of these Iconic American Cookies.
Why did my peanut butter blossoms turn out flat?
Flat cookies usually mean trouble with temperature! Either your butter was way too warm—remember, it should be soft but not greasy—or you might have overmixed the dough after adding the flour. Overmixing develops gluten, which makes the cookie spread instead of puff up slightly. If yours are spreading, chill the dough for twenty minutes next time before you roll them!
Can I make these without Hershey’s Kisses?
You absolutely can, but I have to give you fair warning that it changes what makes it a traditional Peanut Butter Blossom! If you are in a pinch, you can press in a small square of your favorite chocolate right after they come out of the oven, or even use those small peanut butter cups. Just know that if you don’t use the Kiss, it becomes a great Chewy Peanut Butter Cookie, but it loses a bit of its iconic status! You can see another fun variation here.
Are these considered good Holiday Cookie Recipes?
Yes! Absolutely, these are a cornerstone of almost every holiday baking tray! They are classic, they travel well, and they look instantly festive. They are a main feature in our collection of Christmas Baking Essentials every single year. They mix perfectly with anything else you’re making!
Do I need to chill the dough before baking?
The recipe as written doesn’t require chilling—it’s one of the major perks of this quick recipe! However, if your kitchen is really warm, or if you notice your dough is very sticky and hard to handle, chilling it for just 15 minutes lets the fats firm up, providing extra security against spreading.
Nutritional Estimate for Classic Peanut Butter Blossom Cookies
So, we talked all about flavor, texture, and how to get that perfect little chocolate dip, but I know some of you are curious about the numbers, too! Since this recipe is officially the main feature of our kitchen when the holidays roll around, Julian always tracks what goes into the dough. Here is the estimated nutritional breakdown for one of these incredible Peanut Butter Blossom Cookies based on the ingredients listed in our recipe.
Now, you know how I feel about perfection—it’s the *process* that matters, not the flawless photo! Similarly, these numbers are just an estimate. They assume you’re using standard measurements and that you’ve divided the batch into about 3 dozen cookies, like we suggest. If you use a different kind of peanut butter or add a different chocolate, your numbers will shift a bit, so take this as your general guide!
- Serving Size: 1 cookie
- Calories: Around 170
- Total Fat: About 9g
- Saturated Fat: 4g
- Carbohydrates: 21g
- Sugar: 15g (Yes, it’s a treat!)
- Protein: 3g
If you’re looking for ways to cut down on the sugar without losing the festive feel, you should definitely peek at how we managed the sweets in our sugar-free banana bread. It’s amazing what you can achieve when you start editing the ingredients!
Share Your Homemade Peanut Butter Treats
Now that you have the blueprint for what we feel is the absolute best Peanut Butter Blossom recipe out there, I really hope you get into the kitchen and make these! Seriously, Julian and I live for seeing your results. We put so much care into perfecting the texture for this classic, and knowing you get to enjoy that chewy, chocolate-topped result makes all the testing worth it.
We treat this blog like our own personal magazine, and the readers—that’s you!—are the most important part of the editorial team. So, when you bring these festive treats to life, please don’t keep them secret!
I want to see how your blossoms turned out! Use that comment box below to let us know what you thought—did you stick to the classic? Did you try one of the variations we talked about? Leave us a star rating so other bakers can see this recipe shining on the main feature page!
If you snap a picture of your beautiful, crackled Peanut Butter Blossom Cookies, tag us on social media! Seeing your photos adds such a lovely, vibrant layer to our own stories. Your creation becomes part of our community gallery. We look forward to seeing your festive additions to the baking world!
If you’re still looking for more ways to fill up your cookie plates, hop back over to the main blog page! Happy baking, friends!
PrintThe Ultimate Soft and Chewy Classic Peanut Butter Blossom Cookies
Make the best peanut butter blossom cookies that stay soft and chewy long after baking. This recipe gives you the perfect sweet and salty combination topped with a chocolate kiss.
- Prep Time: 15 min
- Cook Time: 10 min
- Total Time: 25 min
- Yield: About 3 dozen cookies
- Category: Dessert
- Method: Baking
- Cuisine: American
- Diet: Vegetarian
Ingredients
- 1 cup unsalted butter, softened
- 3/4 cup creamy peanut butter
- 3/4 cup granulated sugar
- 3/4 cup packed light brown sugar
- 2 large eggs
- 1 teaspoon vanilla extract
- 2 1/4 cups all-purpose flour
- 1 teaspoon baking soda
- 1/2 teaspoon salt
- 1/4 cup granulated sugar, for rolling
- 1 bag (12 ounces) Hershey’s Kisses, unwrapped
Instructions
- Preheat your oven to 375 degrees F. Line baking sheets with parchment paper.
- In a large bowl, beat the softened butter, peanut butter, 3/4 cup granulated sugar, and brown sugar with an electric mixer until the mixture is light and fluffy. This step helps create a soft texture.
- Beat in the eggs one at a time, mixing well after each addition. Stir in the vanilla extract.
- In a separate medium bowl, whisk together the flour, baking soda, and salt.
- Gradually add the dry ingredients to the wet ingredients, mixing on low speed until just combined. Do not overmix the dough.
- Place the remaining 1/4 cup of granulated sugar in a shallow dish.
- Roll the dough into 1-inch balls. Roll each ball in the sugar until coated.
- Place the sugared dough balls about 2 inches apart on the prepared baking sheets.
- Bake for 8 to 10 minutes, or until the edges are set and the cookies have a slight crackle on top. They should still look slightly underbaked in the center for maximum chewiness.
- Immediately upon removing the cookies from the oven, gently press one unwrapped Hershey’s Kiss into the center of each warm cookie. The heat from the cookie will melt the chocolate slightly.
- Let the cookies cool on the baking sheet for 5 minutes before transferring them to a wire rack to cool completely.
Notes
- For the softest cookies, do not overbake. Remove them when the edges look set but the centers are still soft.
- Use creamy peanut butter for the best texture in the dough base.
- If your dough is too soft to roll, chill it for 15 minutes before shaping.
- These cookies are excellent for holiday cookie swaps and gift-giving.
Nutrition
- Serving Size: 1 cookie
- Calories: 170
- Sugar: 15
- Sodium: 95
- Fat: 9
- Saturated Fat: 4
- Unsaturated Fat: 5
- Trans Fat: 0
- Carbohydrates: 21
- Fiber: 1
- Protein: 3
- Cholesterol: 25