

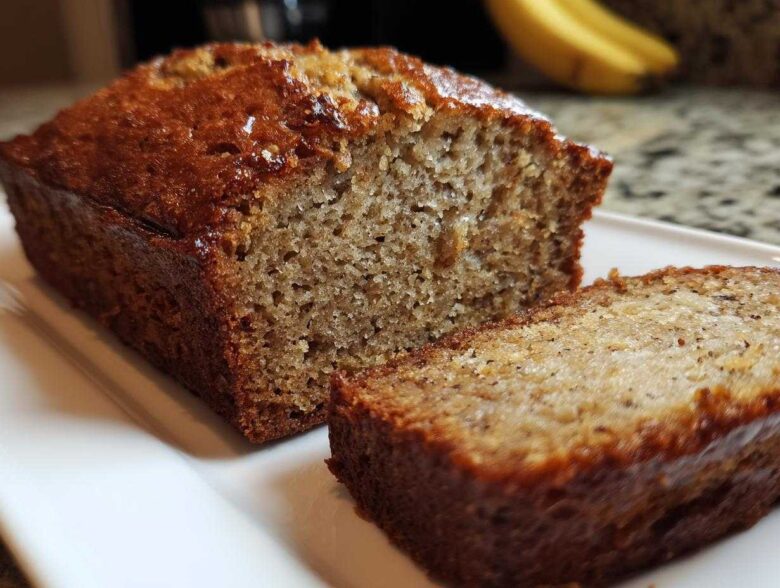
You know those moments when you just need the kitchen to smell like pure, unadulterated comfort? For Julian and me, that aroma is always the baking of a perfect loaf of banana bread. Honestly, for years after we started Magazine Meal, chasing that flawless-on-paper look left us exhausted. But this recipe? This is the total opposite of chasing untouchable perfection. We developed this as our ultimate, no-fuss, Ultimate Moist, Easy One-Bowl Banana Bread. It’s the recipe we turn to when we just want real connection and truly delicious results without spending an hour scrubbing bowls. If you want a bread that never, ever dries out, stick with us. That’s what we’re all about here.
Why This is the Best Banana Bread Recipe You Will Make
We get asked all the time how we manage to get such rich moisture in our loaves. The truth is, we cut out all the complicated steps that usually cause trouble! This recipe is truly designed for real life. Don’t worry about a mixer getting dirty or ending up with overworked batter. We’ve streamlined this for maximum flavor and minimum clean-up. If you need alternatives later, check out our sugar-free banana bread recipe for a different approach!
Here’s why we know you’ll keep coming back to this recipe:
- It delivers supremely moist banana bread, every single time.
- It’s hands-down the easiest banana bread recipe you’ll find.
- You only need one bowl—seriously!
Guaranteed Tender Crumb Banana Bread
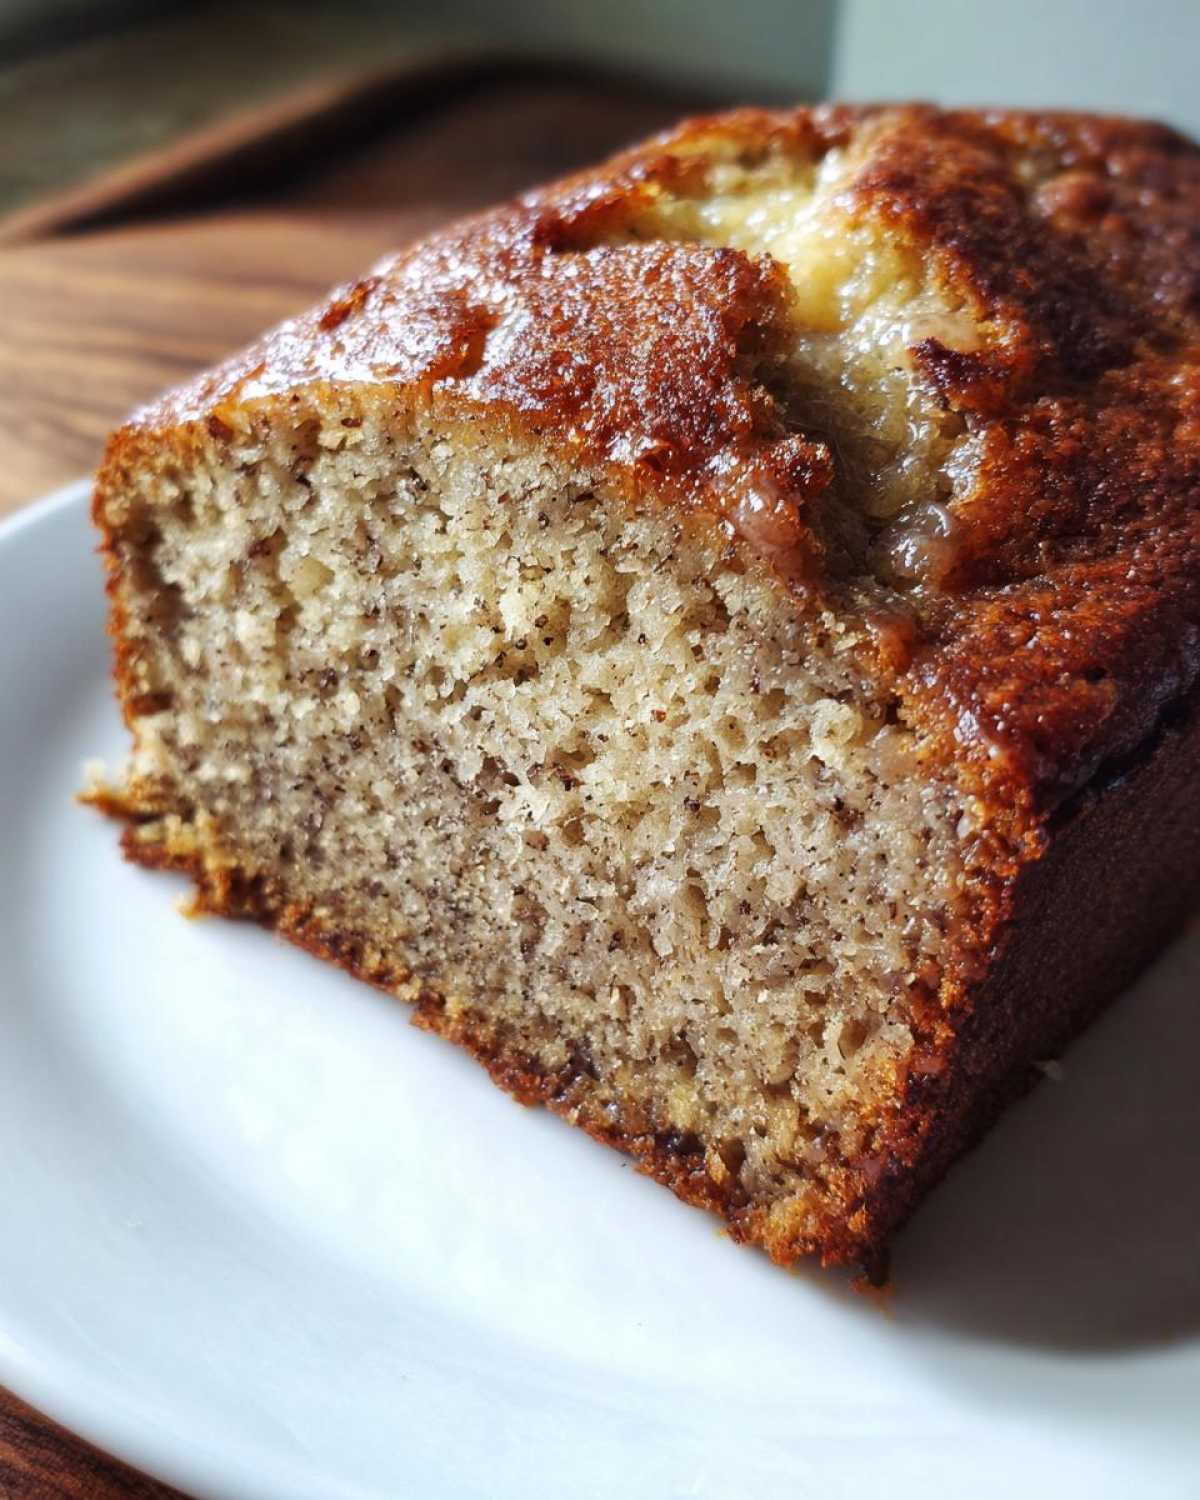
The secret to that tender crumb in our banana bread comes down to two humble things: melted butter instead of creamed butter, and bananas that are so ripe they are practically giving up on life! That melted fat sneaks into the flour mixture beautifully, ensuring you get that soft, almost cake-like texture instead of a dense brick. It’s pure comfort in every slice.
The Simple Quick Bread Method
If you’re a beginner or just tired of dishes after dinner, listen up. This is total **no-fuss baking**. We mix the wet ingredients right into the mashed bananas, then dump the dry ingredients straight on top. That’s it! You mix until *just* combined. This **simple quick bread** method means you are usually cleaned up before the bread even goes into the oven. It’s perfect for busy weeknights.
Ingredients for Your Moist Banana Bread
It’s so important that you have everything right here before you start, because once you get going with this one-bowl method, you want to keep the momentum! Because we are leaning on the bananas for so much of the flavor and moisture here, make sure you grab the ones that look almost like they should be tossed out—the blacker and spottier, the better. That deep sweetness carries the whole loaf.
Julian always lays all the necessary items out on the counter—we call it mise en place, even though it’s just a quick bread! This ensures we have no stops or starts. If you’re looking for ways to sneak in some veggies, you should definitely check out our zucchini banana bread recipe later on!
- 3 very ripe large bananas, mashed
- 1/2 cup (1 stick) unsalted butter, melted
- 3/4 cup granulated sugar
- 1 large egg, lightly beaten
- 1 teaspoon vanilla extract
- 1 1/2 cups all-purpose flour
- 1 teaspoon baking soda
- 1/2 teaspoon salt
- 1/2 teaspoon ground cinnamon
Step-by-Step Instructions for Easy Banana Bread Recipe
Follow these simple steps, and I promise you this will be the easiest, most satisfying banana bread you’ve ever pulled out of the oven! Because we are only using one bowl, the process moves really quickly, so make sure your oven is ready to go when your batter is mixed. If you want to try baking these flavors in a different form, check out our banana bread brownies recipe!
Preparing the Pan and Oven
First thing’s first: preheat your oven to 350°F (175°C). Nobody likes putting a delicate batter into a cold oven! You’ll need a standard 9×5 inch loaf pan. Grab some butter or cooking spray and generously grease the inside surface, then dust it lightly with flour. This extra step helps us guarantee a clean release later on.
Mixing the Wet and Dry Components for Banana Bread
In your big bowl, mash those bananas until they look sad and liquidy. Then, stir in the melted butter, sugar, the single beaten egg, and vanilla. Once that’s combined, gently sprinkle in all your dry ingredients—flour, baking soda, salt, and cinnamon—right on top. You are just combining them! Use a spatula and mix only until you see no more big streaks of dry flour. Seriously, do not overmix this part if you want your banana bread to be tender! A few lumps are your best friends here.
Baking and Cooling This Classic Banana Bread
Pour that beautiful batter evenly into your prepared pan. It’s going to bake for about 50 to 60 minutes. You’ll know it’s done when you stick a wooden skewer right into the middle and it comes out clean. Now, resist the urge to dump it out immediately! Let your classic banana bread cool right in the pan for a full 10 minutes. This short break helps it firm up enough so you can flip it out onto a wire rack to cool completely. Trust me, cutting it hot is a disaster!
Tips for Perfect Homemade Banana Bread Success
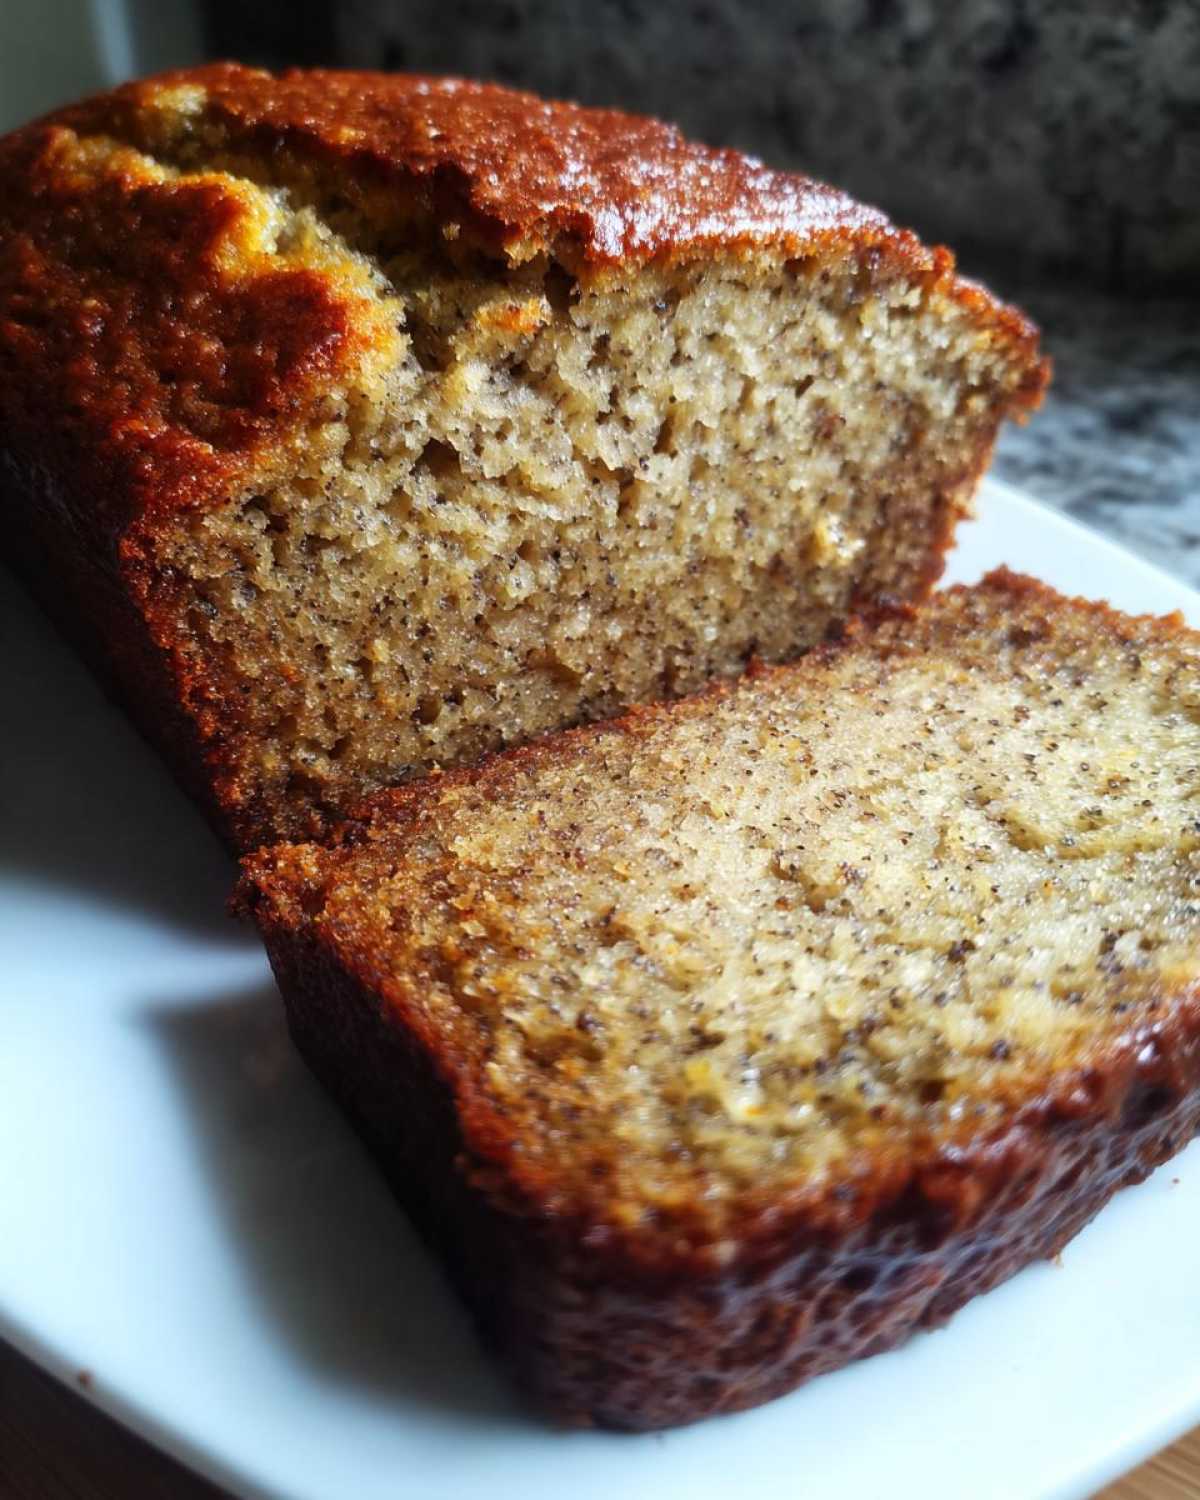
I’ve learned the hard way that with quick breads, it’s all about tiny details. When we first started making this at home, Julian kept getting loaves that were dense, and I was frustrated because mine sometimes sank slightly in the middle. After testing batch after batch, we figured out exactly where we were going wrong. Sharing these tips is part of building that trust with you because we want your kitchen to smell amazing without any baking drama!
If you want the best experience, remember that your ingredients are speaking to you! You can learn more about other great, sturdy bakes like our old-fashioned bread pudding here, but for now, let’s focus on making this banana bread foolproof.
Selecting Ripe Banana Recipes Ingredients
This is my absolute non-negotiable rule for truly flavorful banana bread: you must use bananas that are heavily spotted, brown, or even practically black. I know, I know, we usually toss those out! But here’s the beautiful chemical process happening: as bananas turn dark, their starches convert entirely into sugar. This means you get incredibly intense banana flavor and moisture straight from the source, meaning you don’t have to rely on extra scoops of sugar or oil.
If your bananas are still mostly yellow, they won’t give you that rich, deep sweetness this recipe is famous for. Remember: brown bananas make the best homemade banana bread!
Troubleshooting Common Issues
Let’s talk about common pitfalls so you can avoid them. If your bread comes out gummy or tough, I can almost guarantee you overmixed the batter. When you add the dry ingredients to the wet, stop stirring the second you don’t see loose flour anymore. Seriously! That mixing develops gluten, and gluten turns soft bread into chewable work gloves. That’s the most common reason for dense results.
If your loaf sinks right in the center after you pull it out, it usually means it wasn’t quite done—it needed another five minutes of baking time. The skewer test is good, but sometimes the very center lags behind. Don’t pull it out until that skewer is genuinely dry. A little sinking sometimes happens if the oven temperature fluctuates, so make sure you’ve preheated thoroughly before introducing your batter!
Variations on the Classic Banana Bread
Okay, so you’ve mastered the basic loaf—congratulations! That means you’ve unlocked the amazing foundation for turning this famous banana bread into whatever your heart desires. We love keeping the base recipe the same because it’s so reliable, but adding mix-ins is where the real fun begins. This is your chance to personalize your banana bread! Maybe you want something decadent, or maybe you want that warm, spicy kick.
If you’re looking for new inspiration after this one, you might enjoy our persimmon cookies! But for now, let’s talk about adding chunks of joy to your next quick bread.
Making Chocolate Chip Banana Bread
When Julian is craving something extra indulgent, we always pivot to chocolate chip. This is so easy to do; you don’t even need to change any measurements for the wet or dry stuff! Once you have added the dry ingredients to the wet ingredients in that one big bowl—that moment right before you mix them—gently fold in about 1 cup of your favorite chocolate chips.
My favorite tip here is to use semi-sweet or dark chocolate chips. They hold their shape better than milk chocolate, and the richness cuts through the sweetness of the overripe bananas perfectly. If you toss the chips with a tiny bit of flour before adding them, it keeps them from all sinking to the bottom of your banana bread loaf while it bakes. Nobody wants a soggy, chip-free bottom slice!
Creating a Cinnamon Swirl Bread
This one makes your kitchen smell unbelievably good, like a bakery exploded in the best way possible. If you want that beautiful ribbon of spice, you need to be prepared right before you pour the batter into the pan. Reserve about 1/4 cup of the main batter right before you put it in the loaf pan.
In a separate small cup, take that reserved 1/4 cup of batter and quickly fold in 1 tablespoon of brown sugar and about 1/2 teaspoon of extra cinnamon. Once your main batter is in the pan, drop spoonfuls of this brown sugar mixture over the top. Then, take a knife—a butter knife works great—and gently pull the knife through the batter a couple of times to create those lovely swirls. You aren’t mixing it in; you are just creating ribbons on the surface. It looks so impressive when sliced!
Serving Suggestions for Your Banana Snack
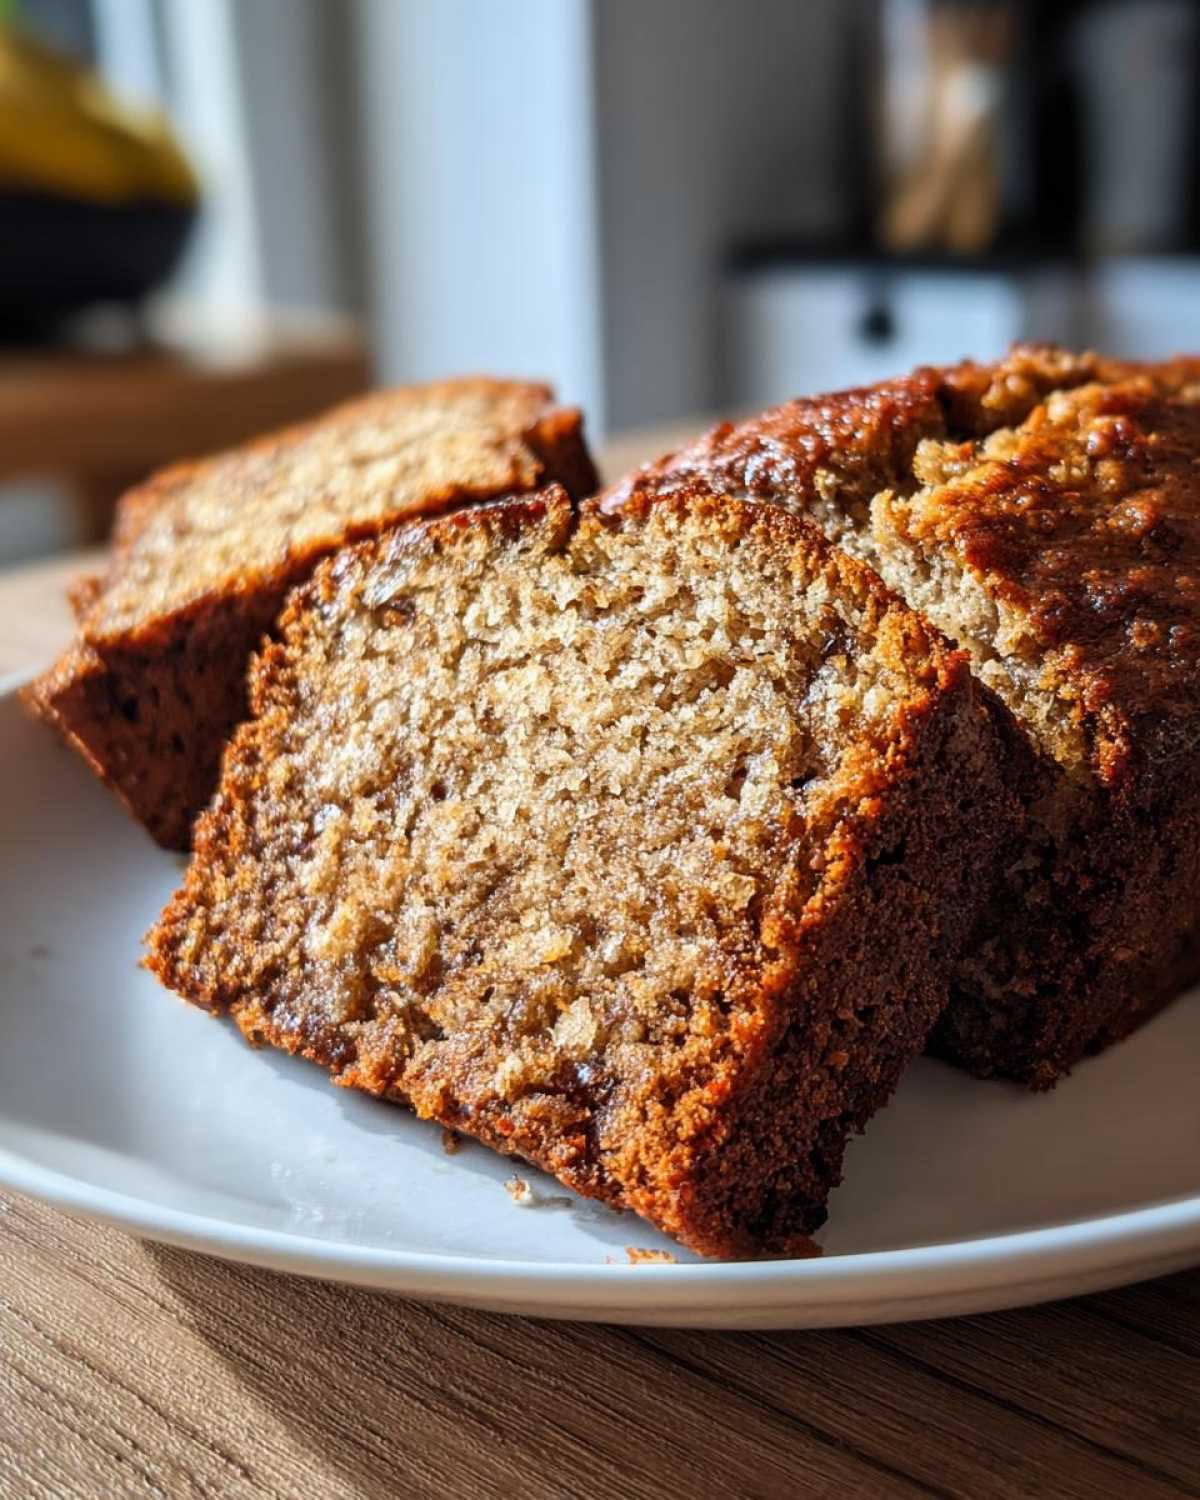
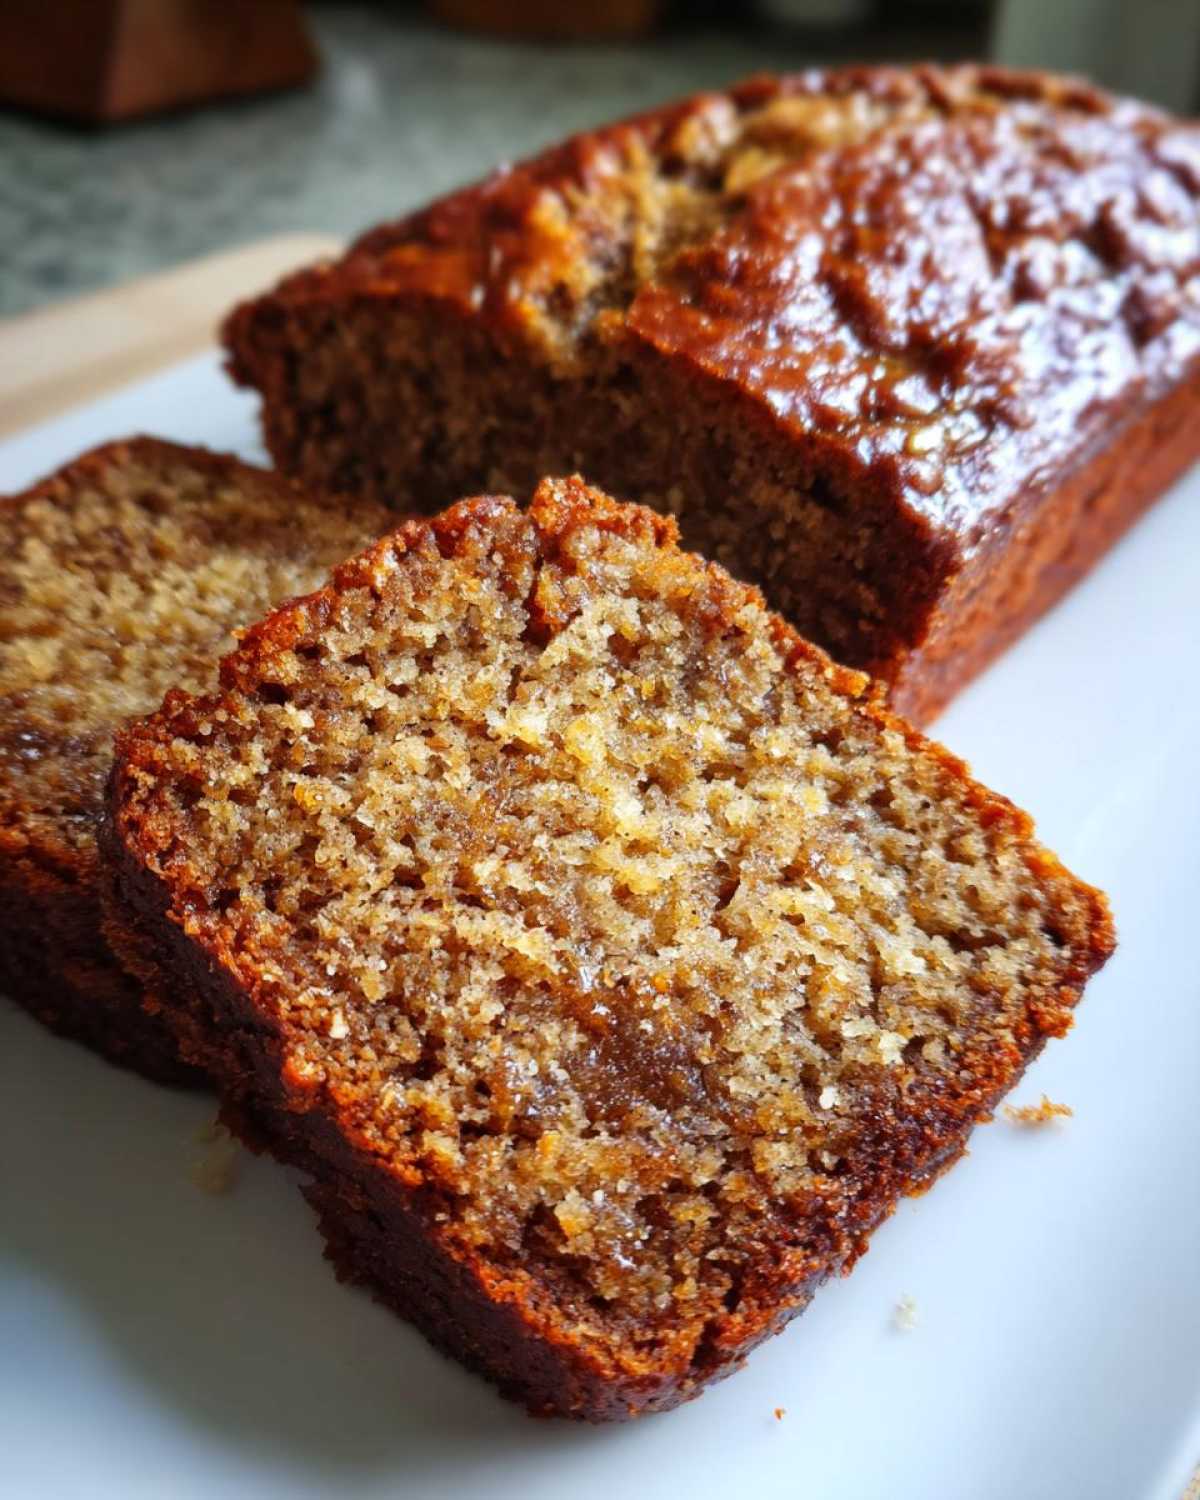
Alright, the hardest part is over—it’s baked, it’s cooled, and it smells absolutely heavenly! Now comes the best part: eating it! We try to keep things simple here because a loaf this flavorful really doesn’t need much dressing up. Julian insists that the first slice is always best eaten plain while it’s still slightly warm, just to appreciate the texture we worked so hard for. But if you want to elevate your morning treat or brunch spread, I have a few ideas.
Since this loaf cake is so perfectly moist on its own, we usually avoid heavy frostings. If you want something tangy and bright, try spreading a thin layer of softened cream cheese on a slice. It provides a wonderful contrast to the sweet banana. We had a big brunch last month, and I whipped up a super simple glaze that everyone loved—it’s just powdered sugar, a dash of milk, and a tiny squirt of lemon juice. It sets up beautifully!
Another favorite, especially if you are making this as a simple banana snack for an after-school treat, is just a small pat of good quality salted butter that melts right into the pores of the bread. Honestly, that’s pure magic. If you enjoyed these ideas, you might also like our recipe for morning glory muffins, which are great for adding texture to your breakfast rotation!
Storage and Reheating Instructions for Banana Bread
So, you managed not to eat the entire loaf in one sitting? Good job! Now comes the crucial part: keeping your beautiful, moist banana bread tasting like it just came out of the oven tomorrow, and the day after that. Moisture retention is everything with quick breads, so we treat storage very seriously around here.
If you plan on eating the loaf within two or three days, keeping it on the counter is absolutely fine. You must use an airtight container or wrap it very tightly in plastic wrap or foil. The goal is to keep the air *out* so the bread doesn’t dry up. We usually use a large Ziploc bag and squeeze every last bit of air out before sealing. Store this on the counter away from any direct sun or heat.
If you are making a huge batch and need this banana bread to last longer, freezing is your best bet. Slice the loaf first! This is key because you can thaw exactly what you want to eat later. Wrap each individual slice tightly in plastic wrap, and then place all the wrapped slices into a heavy-duty freezer bag. Label it with the date—because trust me, you’ll forget what’s in there after a month!
When you are ready for a slice, just pull it out of the freezer. You can let it thaw on the counter for about 20 minutes, or for a warm treat, pop that frozen slice into the microwave for about 15-20 seconds. It comes out perfectly soft every time. Easy, right? This method makes sure we always have a little slice of comfort ready to go.
Quick Answers About This Easy Banana Bread Recipe
I always have questions pop into my head right after I finish a recipe review, so I figured you might too! Since this is designed to be your go-to easy banana bread recipe, this section is just a quick hit list to clear up anything that might pop up before you even bust out your bowl. We want you to have the confidence of a seasoned baker, even if this is just your first time making a **simple quick bread**!
If you’re looking for more straightforward baking that tastes amazing, you should definitely bookmark our guide on the easy moist lemon loaf recipe. But for now, let’s get you sorted on this banana goodness.
Can I make this banana bread without a mixer?
Oh, absolutely you can! Please don’t even pull out the electric mixer for this one. That’s part of the beauty of the **one bowl banana bread** method we use here. This recipe is specifically designed to be mixed by hand with just a sturdy whisk for the wet ingredients and a spatula for the final fold. Any electric mixing will only encourage you to overmix, and we already talked about how that ruins the wonderfully tender crumb!
What kind of bananas are best for moist banana bread?
This is the most important flavor question! For the absolute **best banana bread**, you want bananas that look like they’ve had a terrible, terrible day. I mean it! They should be heavily spotted—mostly brown or even black. These super-ripe bananas have all their starch converted into natural sugars. This deepens the flavor so intensely and gives you that rich, gorgeous moisture you’re looking for in your moist banana bread. Yellow bananas just won’t give you the same punch!
How long does this simple quick bread stay fresh?
Because we use melted butter and plenty of moisture from the bananas, this bread is pretty resilient! If you store it properly in an airtight container at room temperature (out of the sun, of course), this **simple quick bread** will stay perfectly fresh and soft for about three to four days. Seriously, it often tastes even better on day two! If you need it to last longer, wrap it tight and pop it in the freezer—it freezes beautifully!
Nutritional Estimates for One Slice of Banana Bread
Now, I know some of you are tracking things, or maybe you’re just curious about what’s in that lovely loaf! Here are the general estimates for one serving of this delicious bread. Julian and I always look at these numbers with a grain of salt—literally and figuratively! Since we are making this from scratch, the exact amounts can shift depending on the size of your bananas or what brand of flour you use.
Think of this information as a general guide for that breakfast loaf cake moment more than a strict dietary blueprint. If you want to see our comparison recipes, you can always check out our notes on the easy moist lemon loaf recipe, which tends to have a slightly different profile!
- Serving Size: 1 slice
- Calories: 250
- Sugar: 15g
- Sodium: 210mg
- Fat: 11g
- Saturated Fat: 7g
- Unsaturated Fat: 4g
- Trans Fat: 0g
- Carbohydrates: 38g
- Fiber: 2g
- Protein: 4g
- Cholesterol: 45mg
This is all based on 10 servings per loaf, which is generally how we slice it for sharing! Remember, if you add chocolate chips or use a bigger banana, those numbers will tweak just a tiny bit. Enjoy the fact that you made this with real ingredients!
PrintThe Ultimate Moist, Easy One-Bowl Banana Bread
Bake this truly moist banana bread recipe bursting with sweet banana flavor. This simple, no-fuss recipe is perfect for beginners and guarantees a tender crumb every time you bake.
- Prep Time: 10 min
- Cook Time: 55 min
- Total Time: 65 min
- Yield: 1 loaf (about 10 servings)
- Category: Breakfast Loaf Cake
- Method: Baking
- Cuisine: American
- Diet: Vegetarian
Ingredients
- 3 very ripe large bananas, mashed
- 1/2 cup (1 stick) unsalted butter, melted
- 3/4 cup granulated sugar
- 1 large egg, lightly beaten
- 1 teaspoon vanilla extract
- 1 1/2 cups all-purpose flour
- 1 teaspoon baking soda
- 1/2 teaspoon salt
- 1/2 teaspoon ground cinnamon
Instructions
- Preheat your oven to 350°F (175°C). Grease and flour a standard 9×5 inch loaf pan.
- In a large bowl, mash the ripe bananas thoroughly with a fork until mostly smooth.
- Pour the melted butter into the mashed bananas and stir to combine.
- Add the sugar, beaten egg, and vanilla extract to the banana mixture. Mix well until everything is incorporated.
- In a separate small bowl, whisk together the flour, baking soda, salt, and cinnamon.
- Add the dry ingredients to the wet ingredients. Mix gently with a spatula until just combined. Do not overmix; a few streaks of flour are fine. This is your one-bowl step!
- Pour the batter evenly into the prepared loaf pan.
- Bake for 50 to 60 minutes, or until a wooden skewer inserted into the center comes out clean.
- Let the banana bread cool in the pan for 10 minutes before carefully turning it out onto a wire rack to cool completely before slicing.
Notes
- Use bananas that are heavily spotted or almost black for the best, sweetest flavor in your homemade banana bread.
- If you want a chocolate chip banana bread variation, fold in 1 cup of chocolate chips after combining the wet and dry ingredients.
- For a cinnamon swirl bread effect, reserve 1/4 cup of the batter, mix it with 1 tablespoon of brown sugar and 1/2 teaspoon of cinnamon, then gently swirl it over the top of the main batter before baking.
Nutrition
- Serving Size: 1 slice
- Calories: 250
- Sugar: 15
- Sodium: 210
- Fat: 11
- Saturated Fat: 7
- Unsaturated Fat: 4
- Trans Fat: 0
- Carbohydrates: 38
- Fiber: 2
- Protein: 4
- Cholesterol: 45