

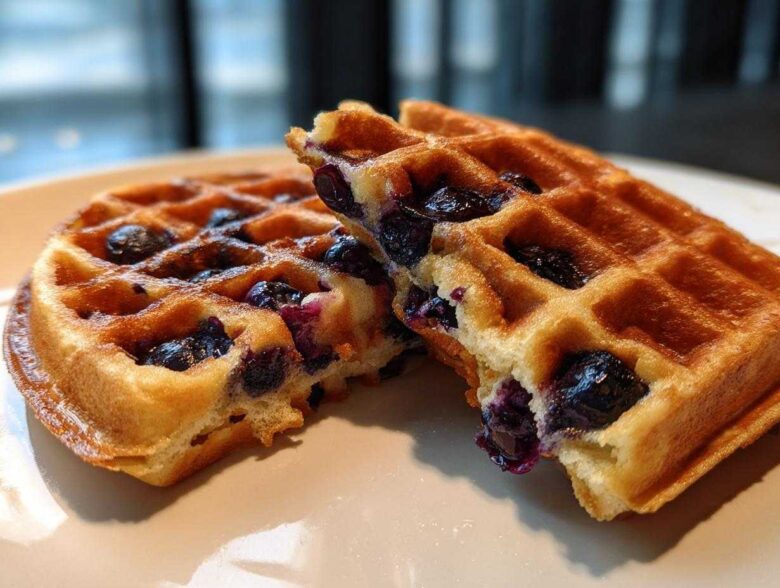
Oh, friends, if you’ve ever battled the dreaded gluten-free waffle iron—the one that spits out dense, sandy hockey pucks—you know the struggle is real. For years, I thought achieving that perfect light, crispy exterior without any crumbling was just a pipe dream when avoiding traditional flour. It felt like every recipe promised heaven but delivered dry disappointment. Well, I’m here to tell you to toss out those sad experiments! After years of dense, crumbly failures, I finally perfected this recipe for the ultimate **Gluten-Free Blueberry Waffles**. Trust me, these are fluffy, beautifully browned, and they actually hold together!
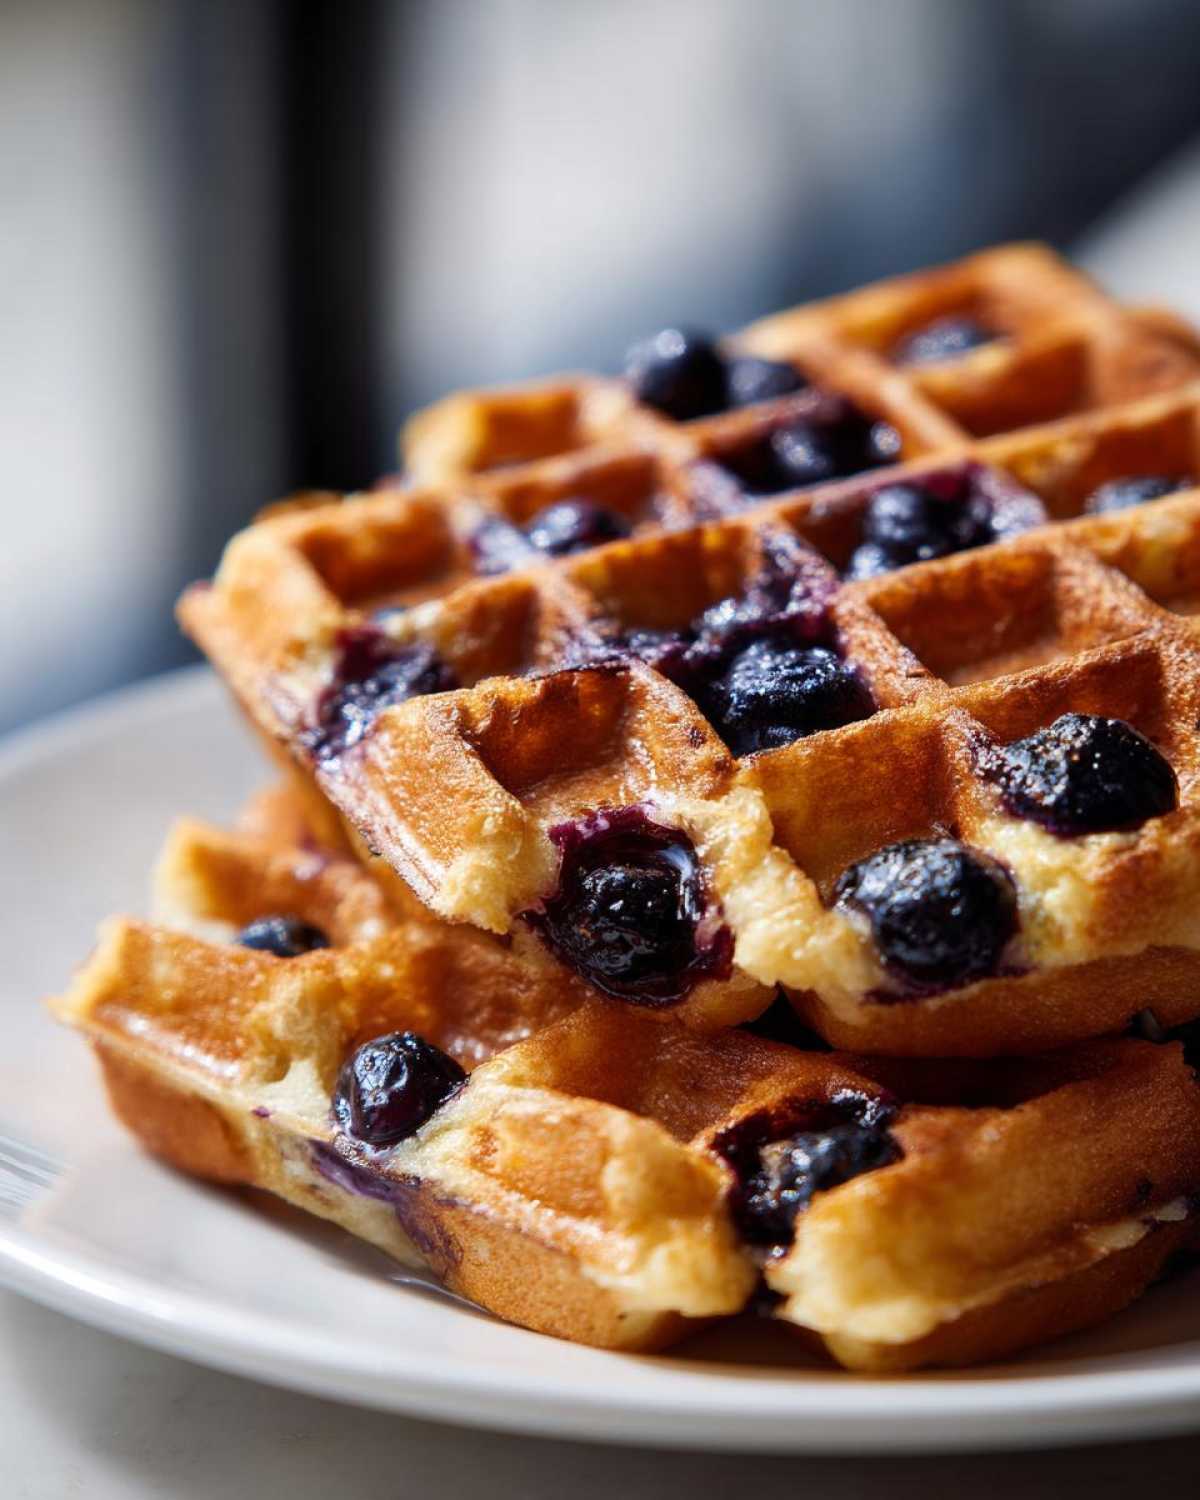
We’re talking about truly spectacular breakfast magic here. The secret isn’t just swapping flour; it’s in the balance of wet ingredients and how gently we treat this batter. If you’re ready for a genuinely fluffy gluten free breakfast that even the kids will ask for again and again, you’ve come to the right place. Be sure to check out some of my other favorite easy breakfast ideas while you’re here!
Why This Gluten-Free Blueberry Waffles Recipe Works (E-E-A-T)
The biggest hurdle with gluten-free baking is often texture, right? Traditional recipes end up tough or they just fall apart the second they leave the waffler. That happens because almond flour or even oat flour alone doesn’t provide the structure wheat does.
What changed everything for me was switching to a high-quality gluten-free all-purpose blend that contains xanthan gum already. That tiny bit of gum acts like the glue, holding everything together perfectly. This simple adjustment is why these are truly the best gluten free waffles you’ll ever make. No more sad, dry crumbles!
Plus, the right ratio of melted butter to eggs creates a richer crumb that mimics that wonderful chewiness you crave. It’s all about structure and moisture protection!
Gathering Ingredients for Your Gluten-Free Blueberry Waffles
Okay, let’s talk about the most important part: getting the right stuff into the bowl. Because we aren’t using regular flour, every measurement counts! Getting these components right is what moves us away from dense bricks and into the realm of crispy perfection. This list keeps things wonderfully simple, so you aren’t hunting down twelve specialty flours.
The key, and I can’t stress this enough, is the flour blend. You must use a good quality, all-purpose gluten-free blend, and it absolutely needs to contain xanthan gum. If yours doesn’t have it, don’t worry—we’ll add it separately! The binder is everything when we swap out wheat. If you haven’t tried my gluten-free blueberry muffins yet, you can see how just a small change in flour makes such a difference!
Don’t substitute the sugar for something like stevia here, either; we need that classic granulated sweetness for structure and that golden-brown crisping effect!
Essential Components for Perfect Gluten-Free Blueberry Waffles
Here is exactly what you’ll need for four huge, fluffy waffles:
1 3/4 cups gluten-free all-purpose flour blend (with xanthan gum)
2 tablespoons granulated sugar
1 tablespoon baking powder
1/2 teaspoon salt
1 1/2 cups milk (dairy or non-dairy)
2 large eggs
1/2 cup unsalted butter, melted
1 teaspoon vanilla extract
1 cup fresh or frozen blueberries
Mastering the Easy Gluten Free Waffle Batter
When it comes to making this easy gluten free waffle batter, my number one rule is: be gentle! I know, I know, we usually want to beat everything until it’s perfectly smooth, but that’s the trick that leads to gummy, heavy pancakes or waffles.
Gluten-free starches, especially when wet, tend to get sticky and dense if you agitate them too much. So, mix your wet ingredients until they look happy in one bowl, and your dry ingredients in another. Then, pour the wet into the dry and mix everything with a spatula until you just barely see streaks of flour remaining. Seriously, that’s it! Stop right there. A few lumps are actually your friends now.
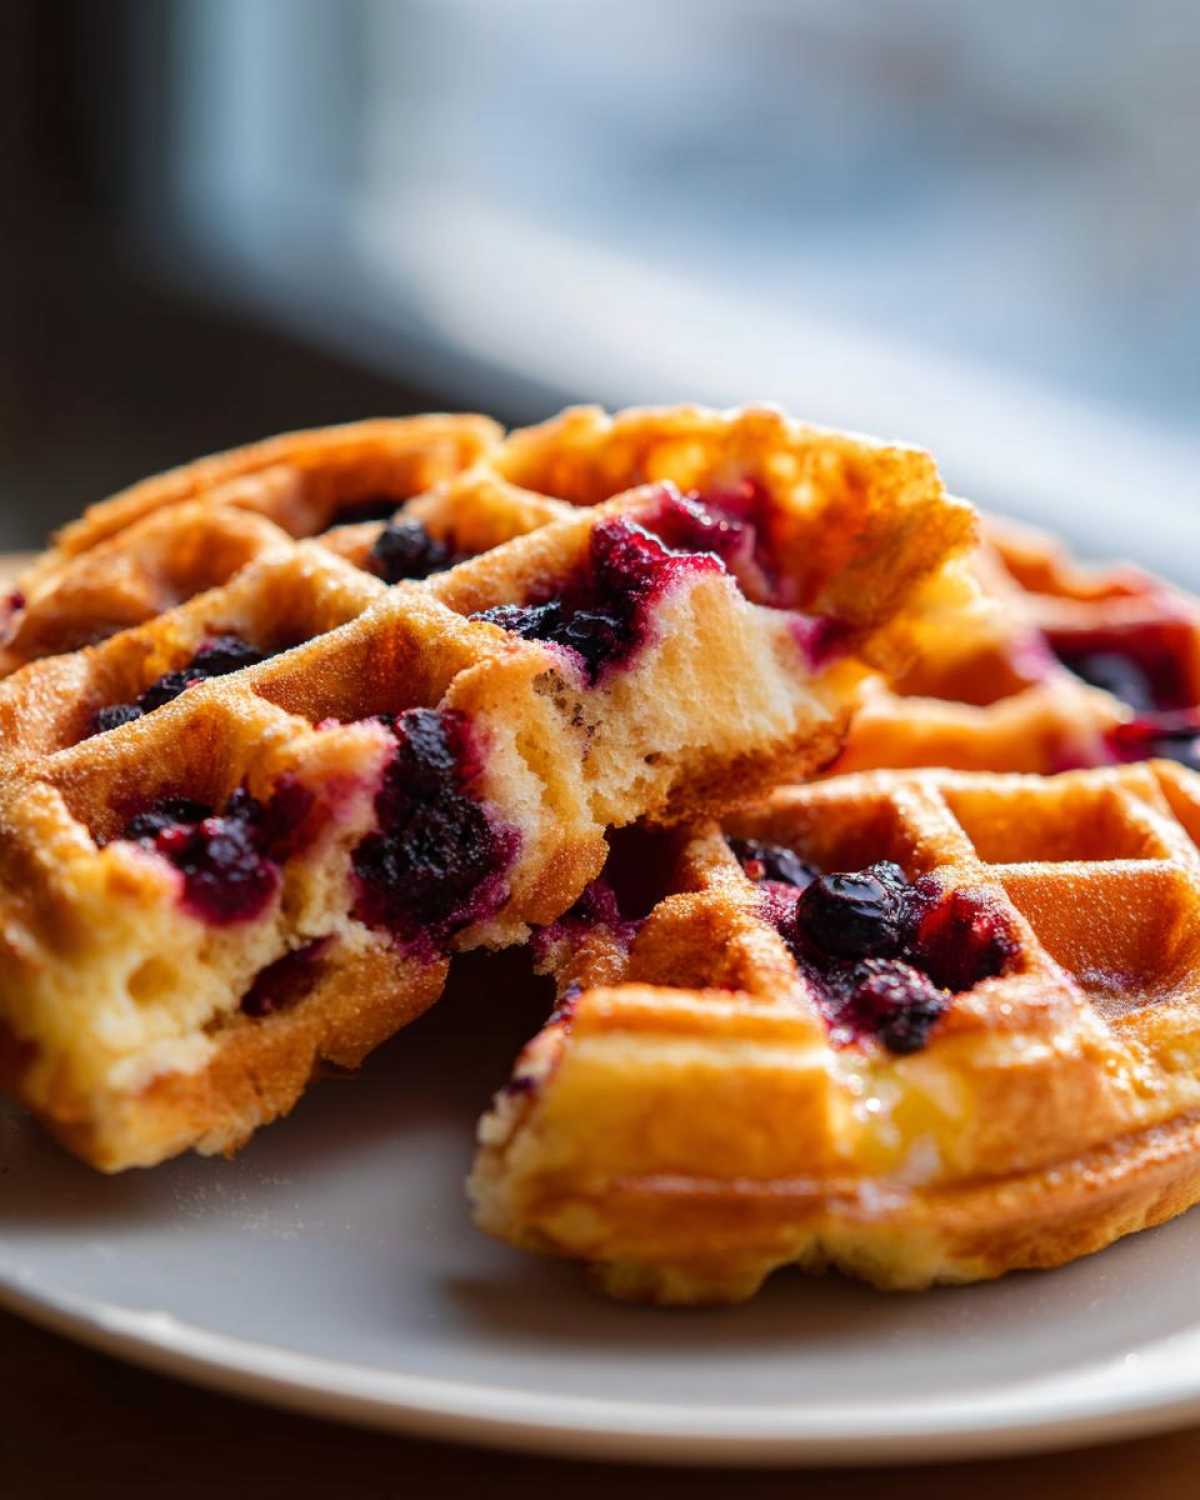
Before you even think about pouring, here’s a little trick to stop those gorgeous berries from sinking straight to the bottom: toss your cup of blueberries (frozen or fresh—it doesn’t matter!) with about one teaspoon of your dry flour mixture. This tiny coating helps them grip onto the batter as it cooks. It’s a game-changer for making sure every bite is perfectly blue! If you want to know more about building structure, check out my post on building height in biscuits; the principles are surprisingly similar.
Step-by-Step: How to Make Blueberry Waffles Without Gluten
Now that we have our perfectly lumpy, berry-coated batter, it’s time to get the iron hot! This is the moment where all that careful mixing pays off. First things first: you *have* to preheat your waffle iron completely according to whatever it says in its manual. A cold or even just warm iron is the enemy of crispy texture, especially when we’re dealing with gluten free blueberry waffles recipe.
Once it’s screaming hot, measure out your batter—I usually go for about 1 to 1 1/4 cups for my large square iron, but you know your machine best. Pour it in and shut the lid! The cooking time surprised me when I switched to gluten-free recipes. Don’t peek too soon! It usually takes a solid 4 to 6 minutes to develop that beautiful golden-brown color and the crisp exterior we want from a waffle iron recipes gluten free.
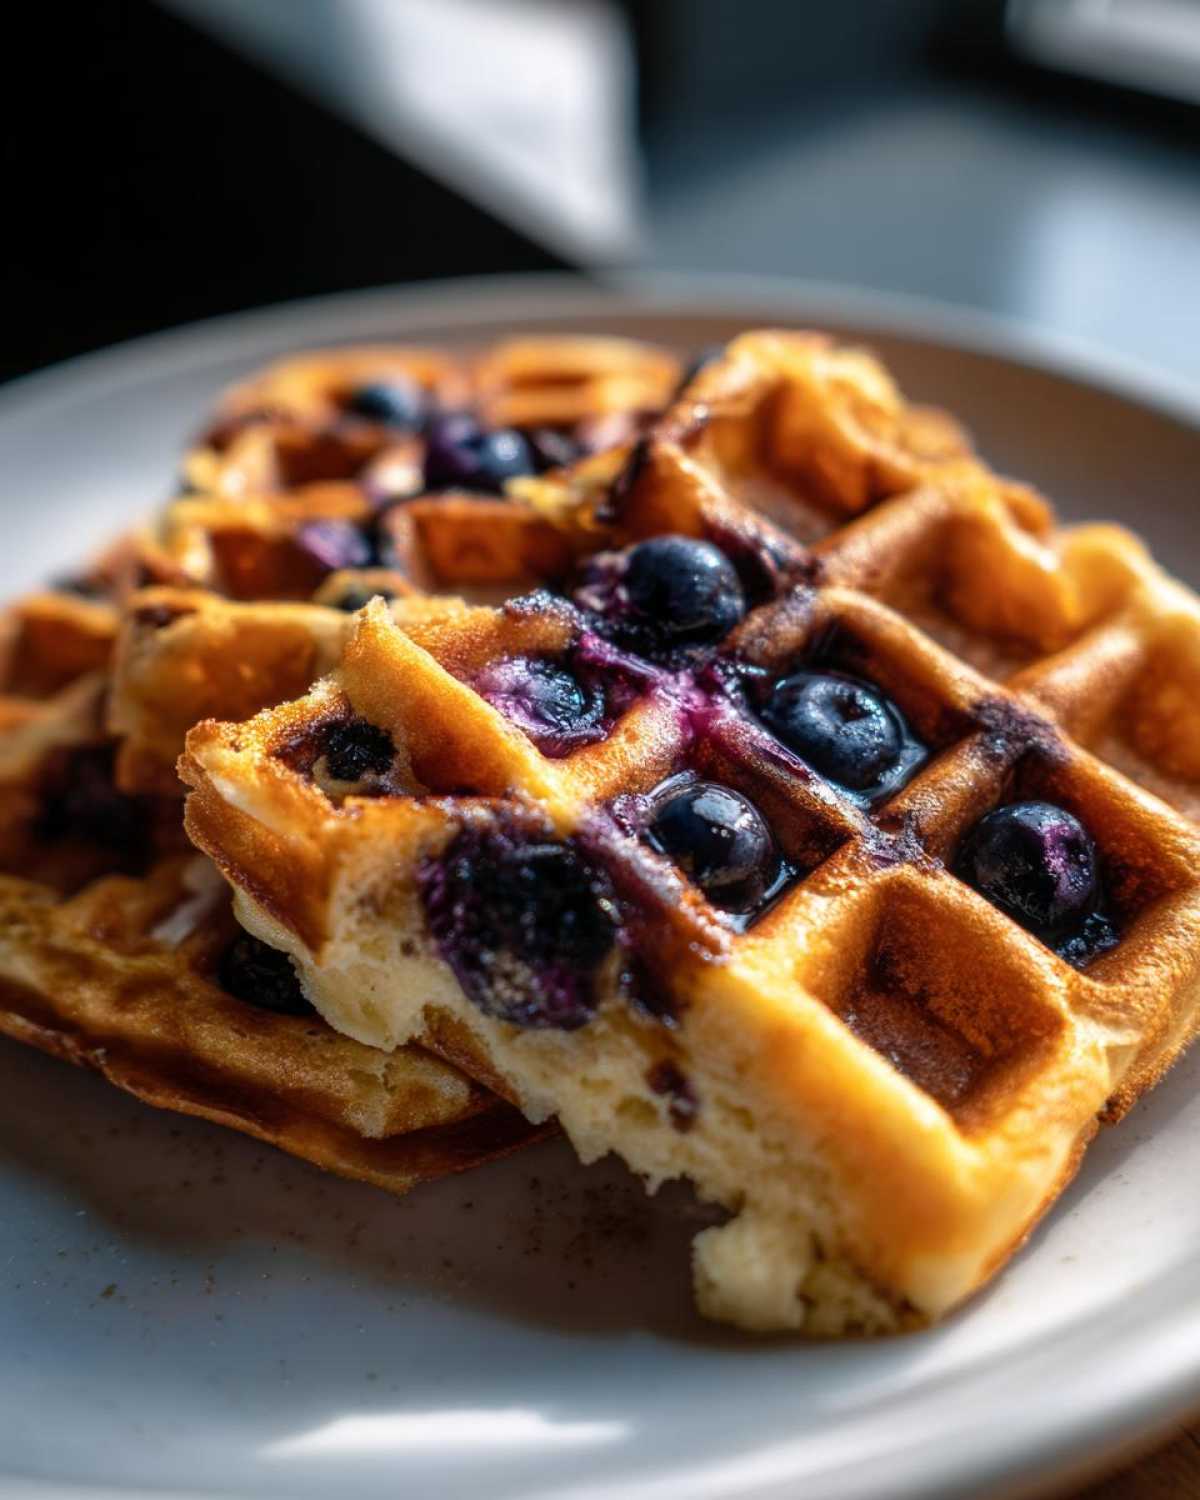
When the steam lessens and the light usually signals done, gently pull that beauty out. If you want to see more of my iron adventures, check out my tips on waffle iron recipes gluten free. Getting the timing right is the key to knowing exactly how to make blueberry waffles without gluten that taste absolutely amazing!
Crucial Timing: Resting the Batter for Fluffy Gluten Free Breakfast
If you have an extra five minutes before you start heating the iron, I highly recommend it! Letting your gently mixed batter rest for about five minutes is a huge boost for that fluffy gluten free breakfast texture. Why? Because gluten-free flours need a little extra time to fully soak up the liquid and the fat.
This resting step hydrates all those starches properly. It means you get a more stable structure and a lighter final product. If you skip this, your waffles might feel a little bit wet in the middle.
Tips for Crispy Gluten Free Waffles Texture
Okay, this is where we turn a good gluten-free waffle into a legendary one. Nobody wants a waffle that feels soft and doughy, especially not something that’s supposed to be the best gluten free waffles!
The secret to those beautiful, crispy gluten free waffles is twofold: heat and fat. First, make absolutely sure your iron is smoking hot before that batter hits the plates. If you’re worried about the first batch sticking (which can happen!), take a small amount of neutral oil—I sometimes use avocado oil—and very lightly brush the iron plates before pouring. This little boost usually does the trick!
Second, don’t skimp on that melted butter in the recipe. Fat is what ensures a crunchy exterior and keeps the inside from drying out too much. Also, avoid overcrowding! If you overload the iron, the excess batter spills or steams instead of crisping up. Cook them fully until they look deeply golden brown rather than pale yellow. For more tips on getting that crunch factor, you can look at how I make my crispy baked avocado fries—it’s the same heat principle!
Ingredient Substitutions for Your Gluten-Free Blueberry Waffles
I love telling people they can play around with this recipe, but because we are dealing with tricky gluten-free formulas, you have to know what you’re swapping! Remember, this recipe is dialed in for that great all-purpose blend that has the starch mix and the xanthan gum already doing the heavy lifting.
If you are out of your usual blend and want to try waffles with almond flour, you absolutely can, but you need to treat it more like a pancake. Almond flour is heavier and won’t give you that same light springiness unless you add a little extra baking powder. Results will vary, so consider that your first test run!
For using something like oat flour, you’ll find results closer to the original texture, but remember to check out my whole guide on waffles with oat flour for the best measuring tips. Also, switching the milk is a total breeze—any non-dairy milk works beautifully here; I use almond or oat milk most often and honestly, you can’t taste the difference!
Serving Suggestions for a Perfect Gluten Free Breakfast
Once you pull these beauties off the iron, you need toppings that honor their perfect texture! Since these are already so flavorful with the blueberries, we don’t need a ton of complicated extras to make them exciting. This is your opportunity to build the perfect gluten free breakfast!
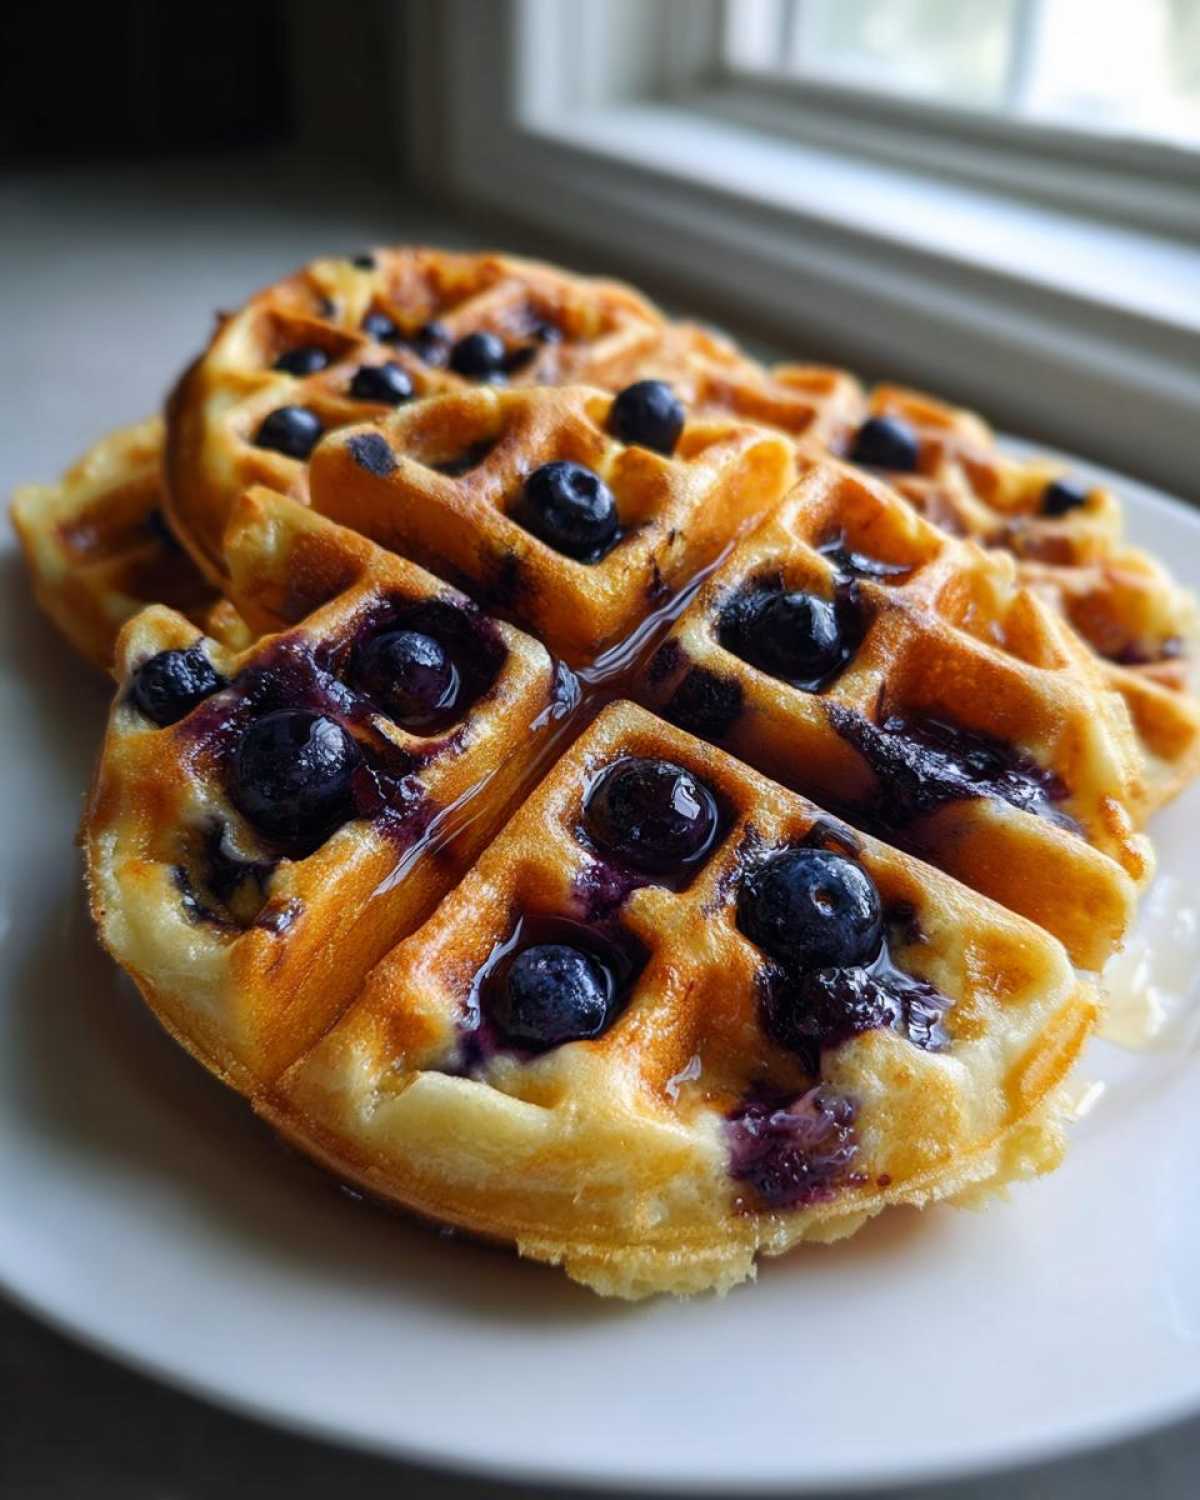
Maple syrup is non-negotiable, of course, but I love warming our pure maple syrup just a little bit before pouring. A dollop of fresh whipped cream or a scoop of vanilla Greek yogurt adds a wonderful tanginess that cuts through the sweetness of the berries.
For an extra special brunch, try a light dusting of powdered sugar and a side of fresh, sliced peaches or maybe even whip up my maple apple cider fizz to wash it all down. It makes the whole morning feel like a celebration!
Storage and Reheating Gluten-Free Blueberry Waffles
If you happen to have any leftovers—which is rare in my house, trust me—storing them properly is essential so you get that amazing texture again later. You can keep them refrigerated in an airtight (but not completely sealed) container for about two days. For longer storage, freezing is your friend!
When freezing, make sure each waffle is completely cooled first, and then slip a small square of parchment paper between them before bagging them up. This stops them from sticking together. You can see how I organize my freezer meals for easy access in my post on freezer breakfast burritos; the concept is identical!
The secret to reheating is avoiding the microwave entirely. Microwaves make everything soft again. Instead, pop them straight from the freezer into a toaster oven or a regular oven set to 350°F for about six to eight minutes. They come out perfectly crisp again!
Frequently Asked Questions About Gluten-Free Blueberry Waffles
Can I use a homemade gluten-free mix instead of a store-bought blend?
You totally can! If you love mixing your own flour blends containing things like rice or potato starch, go for it! However, the single most important thing to remember when moving to a homemade mix for your Gluten-Free Blueberry Waffles is the binder. Store-bought blends almost always include xanthan gum, which is what gives them structure.
If your homemade mix is missing it, you MUST add about one teaspoon of xanthan gum to your dry ingredients list. Without that binder, your beautiful waffles will just crumble into a pile of expensive flour dust the second you lift them from the iron! Want to try making your own mixes? I have a whole guide on homemade granola bars that touches on the binder concept, too.
Why are my **Gluten-Free Blueberry Waffles** turning out dense?
Oh, the dreaded density! That usually comes down to two easy-to-fix mistakes. First, and most common, is overmixing the batter. I know it sounds counterintuitive when you’re trying to incorporate everything, but you need to stop mixing as soon as those main four ingredients are just hugging each other. Overbeating the batter activates the starches in the GF flour, and they turn gummy.
The other culprit can be old baking powder that’s lost its fizz. Make sure yours is fresh! If you followed my instructions and stopped mixing as soon as it looked *barely* combined, you should have a lovely, light texture.
What is the best way to make this a **healthy gluten free brunch idea**?
That is a great question for making this your regular weekend staple! The recipe is actually pretty solid as is, especially since we are using fresh fruit. To make it even healthier, the easiest swap is using an unsweetened non-dairy milk, like unsweetened almond or cashew milk.
Also, try cutting back on the granulated sugar by about a teaspoon or so—you’ll lose almost no flavor because the blueberries are sweetening things up. And for serving, skip the high-fructose syrup; using plain Greek yogurt or cottage cheese blended smooth instead of butter and cream on top really ramps up the protein and makes this the ultimate healthy gluten free brunch idea!
Your Next Simple Gluten Free Morning Meal Awaits
Whew! Now that you have this incredible recipe for perfect **Gluten-Free Blueberry Waffles**, I just can’t wait to hear how they turn out for you. Baking without gluten can feel intimidating, but mastering this batter sets you up for such a fantastic, easy morning meal!
When you make your first batch, please come back and tell me all about it! Did you go with the crispy exterior or lean into that fluffy middle? What were your absolute favorite toppings? Did you use fresh or frozen berries? Let me know everything in the comments below!
If you had success and want to share your five-star rating so others know this recipe works miracles for a simple gluten free morning meal, that would make my day! If you run into any snags or have questions about ingredients down the road, my contact page is always open, and I love sorting out kitchen mysteries!
Happy Waffling!
PrintFluffy Gluten-Free Blueberry Waffles

A straightforward recipe for making light and crispy blueberry waffles using a gluten-free flour blend.
- Prep Time: 10 min
- Cook Time: 15 min
- Total Time: 25 min
- Yield: 4 large waffles
- Category: Breakfast
- Method: Waffle Iron
- Cuisine: American
- Diet: Gluten Free
Ingredients
- 1 3/4 cups gluten-free all-purpose flour blend (with xanthan gum)
- 2 tablespoons granulated sugar
- 1 tablespoon baking powder
- 1/2 teaspoon salt
- 1 1/2 cups milk (dairy or non-dairy)
- 2 large eggs
- 1/2 cup unsalted butter, melted
- 1 teaspoon vanilla extract
- 1 cup fresh or frozen blueberries
Instructions
- Preheat your waffle iron according to the manufacturer’s directions.
- In a large bowl, whisk together the gluten-free flour blend, sugar, baking powder, and salt.
- In a separate medium bowl, whisk the milk, eggs, melted butter, and vanilla extract until combined.
- Pour the wet ingredients into the dry ingredients. Mix gently until just combined. Do not overmix; a few lumps are acceptable.
- Gently fold in the blueberries.
- Pour the batter onto the hot waffle iron, filling it according to its size. Cook until golden brown and crisp, usually 4 to 6 minutes, depending on your iron.
- Remove the waffles carefully and serve immediately.
Notes
- If your gluten-free flour blend does not contain xanthan gum, add 1 teaspoon to the dry ingredients.
- For crispier waffles, let the batter rest for 5 minutes before cooking.
- If using frozen blueberries, do not thaw them first; add them directly to the batter.
- To prevent sinking, gently toss the blueberries with 1 teaspoon of the dry flour mixture before folding them into the batter.
Nutrition
- Serving Size: 1 waffle
- Calories: 350
- Sugar: 12
- Sodium: 300
- Fat: 16
- Saturated Fat: 9
- Unsaturated Fat: 7
- Trans Fat: 0
- Carbohydrates: 45
- Fiber: 2
- Protein: 10
- Cholesterol: 95