

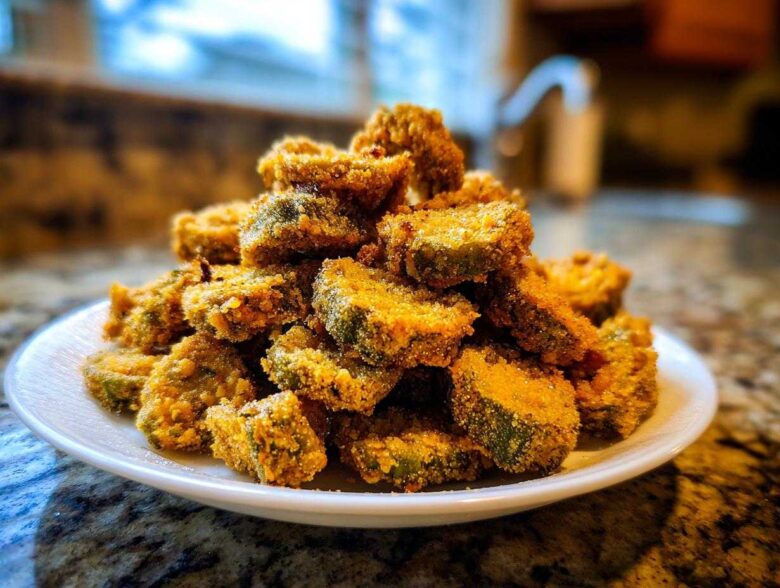
Oh, friends, when that summer heat hits and the okra starts flowing from the garden or the market stand, there is only one way to celebrate: it has to be the ultimate, glorious, Southern-style fried okra. Julian and I spend so much time talking about composition and lighting in our design work, but honestly, the best compositions are often found right here in our kitchen—especially when they taste this good! We used to stare at food photography and think perfection was the goal, but achieving a truly spectacular no slime okra recipe is where the real art lies. If you want an introduction to who we are and why we started sharing these ‘feature story’ meals, you can read all about our journey over at the About Us page. Trust me when I say this coating method delivers absolutely stunning, golden, Crispy Fried Okra every single time. It’s our go-to comfort side!
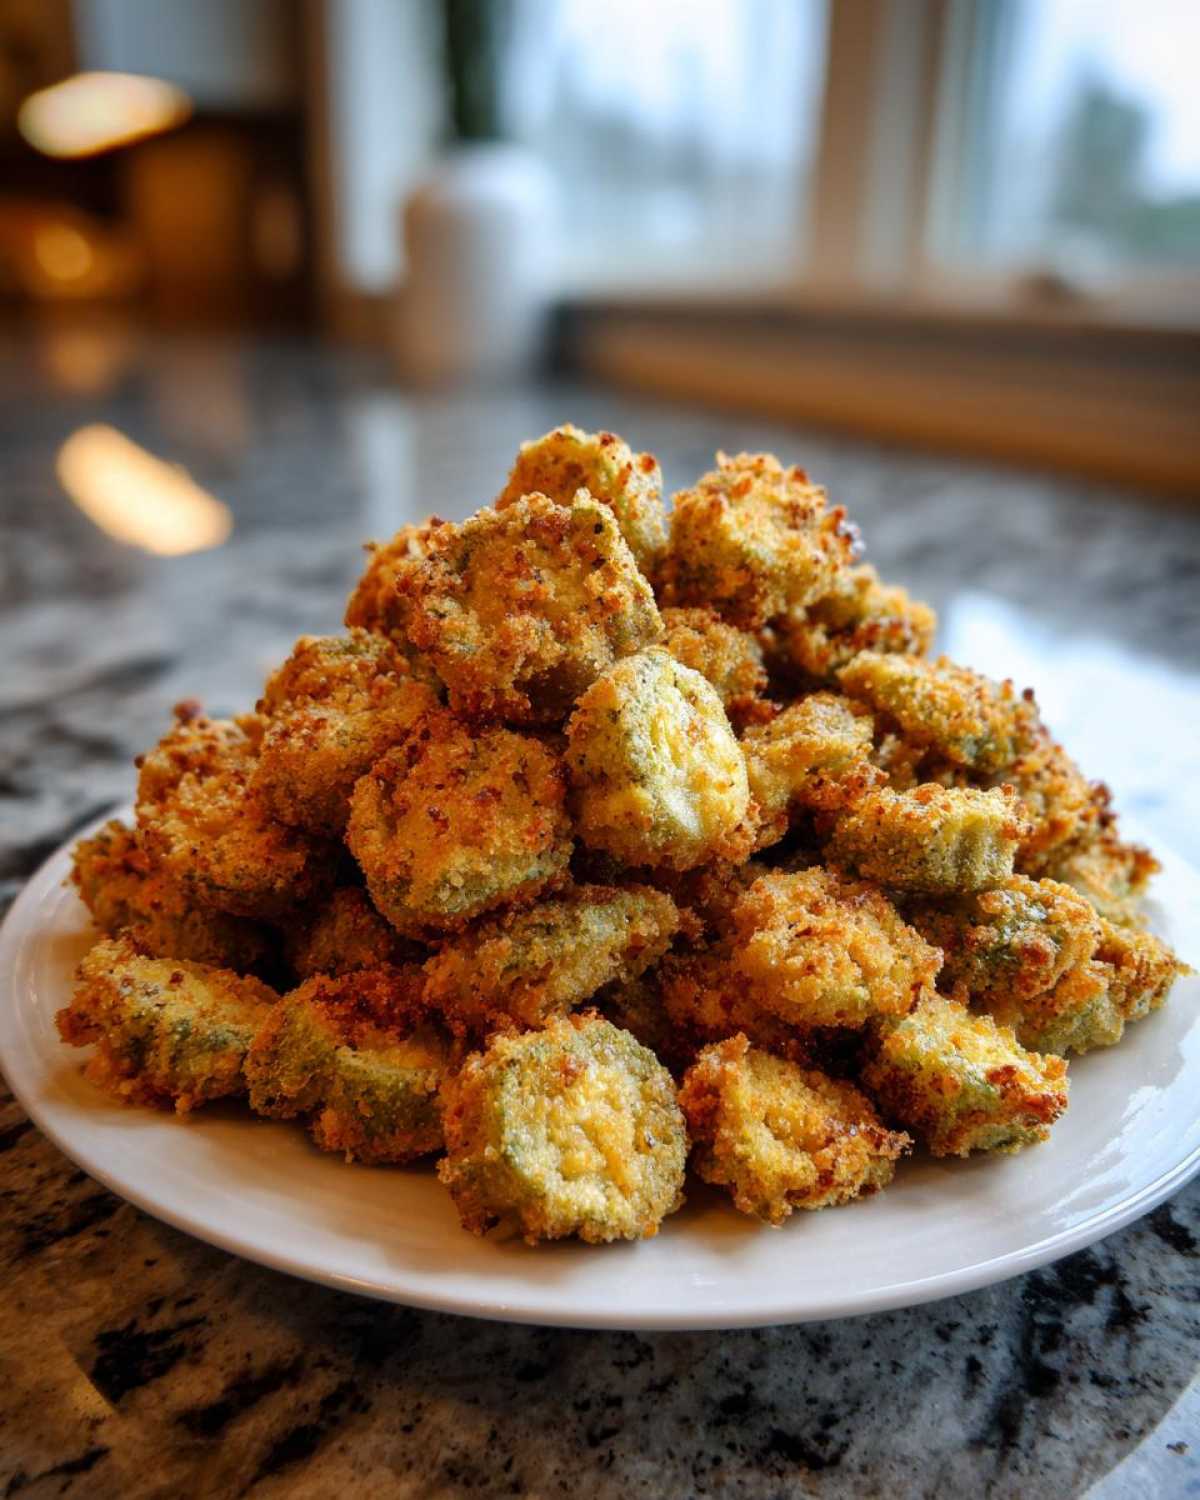
Why This is the Best Fried Okra Ever: The No-Slime Secret
Okay, let’s talk defense strategy because okra has a bad reputation, right? That infamous sliminess! I spent years messing this up until Julian insisted we treat the prep like a formal client brief—detailed, methodical, and non-negotiable. This recipe is touted as the Best Fried Okra Ever because we tackle the slime head-on before the oil even gets hot. The real magic isn’t just in the final fry; it’s in the soak. We soak every slice in buttermilk for at least 30 minutes. That acid helps break down whatever makes it gooey, and it also gives the coating something fantastic to cling to. If you’re searching for a foolproof No Slime Okra Recipe, this buttermilk bath is your absolute secret weapon! We check everything thoroughly before we publish a recipe, making sure we cover our bases legally, which you can read more about in our disclaimer.
Achieving Ultimate Crispy Fried Okra Texture
Once the okra is prepped, we move onto the crunch factor. We use a specific blend of flour and cornmeal. The flour gives it structure, but the fine yellow cornmeal? That’s where the unmistakable golden, crunchy texture comes from. You need a healthy coating! If you try to skimp, you end up with sad, barely-there breading. We use the double dredge—a quick dip back into the buttermilk after the first coat—to really build up that crust. Then, everything hits 375°F oil. That high heat seals the deal fast. If your oil isn’t hot enough, the coating soaks up grease instead of crisping, and then we’re back to square one!
Gathering Ingredients for Your Southern Fried Okra Recipe
Alright, let’s get our mise en place ready, because when you’re deep-frying, things move fast! When I photograph this dish, I want everything perfectly aligned—and that starts with having exactly what you need nearby. Don’t try to substitute anything major here, especially if you want that classic, savory, Southern Fried Okra taste. We are aiming for rich, golden perfection, not sadness in a bowl!
For this batch, which feeds about six people as a fantastic Okra Side Dish, you’ll want to make sure you’ve got the following items ready to go:
- 2 lbs fresh okra. This is key! Wash them well and slice them about 1/2 inch thick. Do not use frozen okra; it’s already too watery for our no-slime goals.
- 1 cup buttermilk. This is non-negotiable for tenderizing and de-sliming!
- 1 cup all-purpose flour. Keeps things light when mixed with the crunchier component.
- 1 cup fine yellow cornmeal. This lends that signature Southern texture we are all craving.
- 1 teaspoon salt, 1/2 teaspoon black pepper, 1/2 teaspoon garlic powder, and 1/4 teaspoon paprika. These are for seasoning the dry coating mix.
- Vegetable oil, enough to fill your skillet about 1 to 1.5 inches deep for frying.
Once all this is laid out, you are ready for the fun—the actual cooking process we’ll walk through next!
Step-by-Step Instructions for Perfect Fried Okra
This is where our styling turns into actual cooking! Because this process moves quickly once the oil is hot, having everything prepped according to our ingredient list is crucial. I remember the very first time Julian and I tried commercial deep frying—we waited too long to heat the oil, and the first batch of okra came out pale and floppy. Total disaster! Now, we are maniacs about the temperature. Once you see those first flakes of coating start to brown instantly when they hit the oil, you know you’ve nailed the visual cue for perfect seasoning and heat. We put together a deeper dive on general cooking heat management that might help you out if you feel nervous about frying, which you can check out here.
Prepping the Okra: The Buttermilk Soak
First things first: we need to neutralize the slime potential. Take your sliced okra and make sure it’s completely submerged in that cup of buttermilk. Don’t skimp on the contact time here! You want it to sit for a solid 30 minutes minimum. Seriously, fight the urge to rush this step. This soak isn’t just for texture; the buttermilk introduces a subtle tanginess that really elevates the final flavor of your fried okra. When the 30 minutes are up, pull the okra out, letting the extra buttermilk drip off naturally. Don’t rinse it! We need that wet surface for the coating to grab onto.
Mastering the Double Dredge for Homemade Fried Okra
While the okra is soaking, whisk together all your dry ingredients—the flour, cornmeal, salt, pepper, garlic powder, and paprika—in a wide, shallow dish. Now for the technique that guarantees amazing crunch: we double dredge. Toss the buttermilk-wet okra lightly in the dry mix until it has a thin coat. Shake off the excess. Then, give it a quick *second* dip back into the buttermilk—just a quick splash! Immediately put it back into the dry mix and really press that coating on. You want a thick, slightly craggy layer of Cornmeal Crusted Okra. This layering builds up the crust that prevents sliminess and delivers that satisfying crunch we are aiming for.
Frying Technique for Crunchy Vegetable Appetizer Results
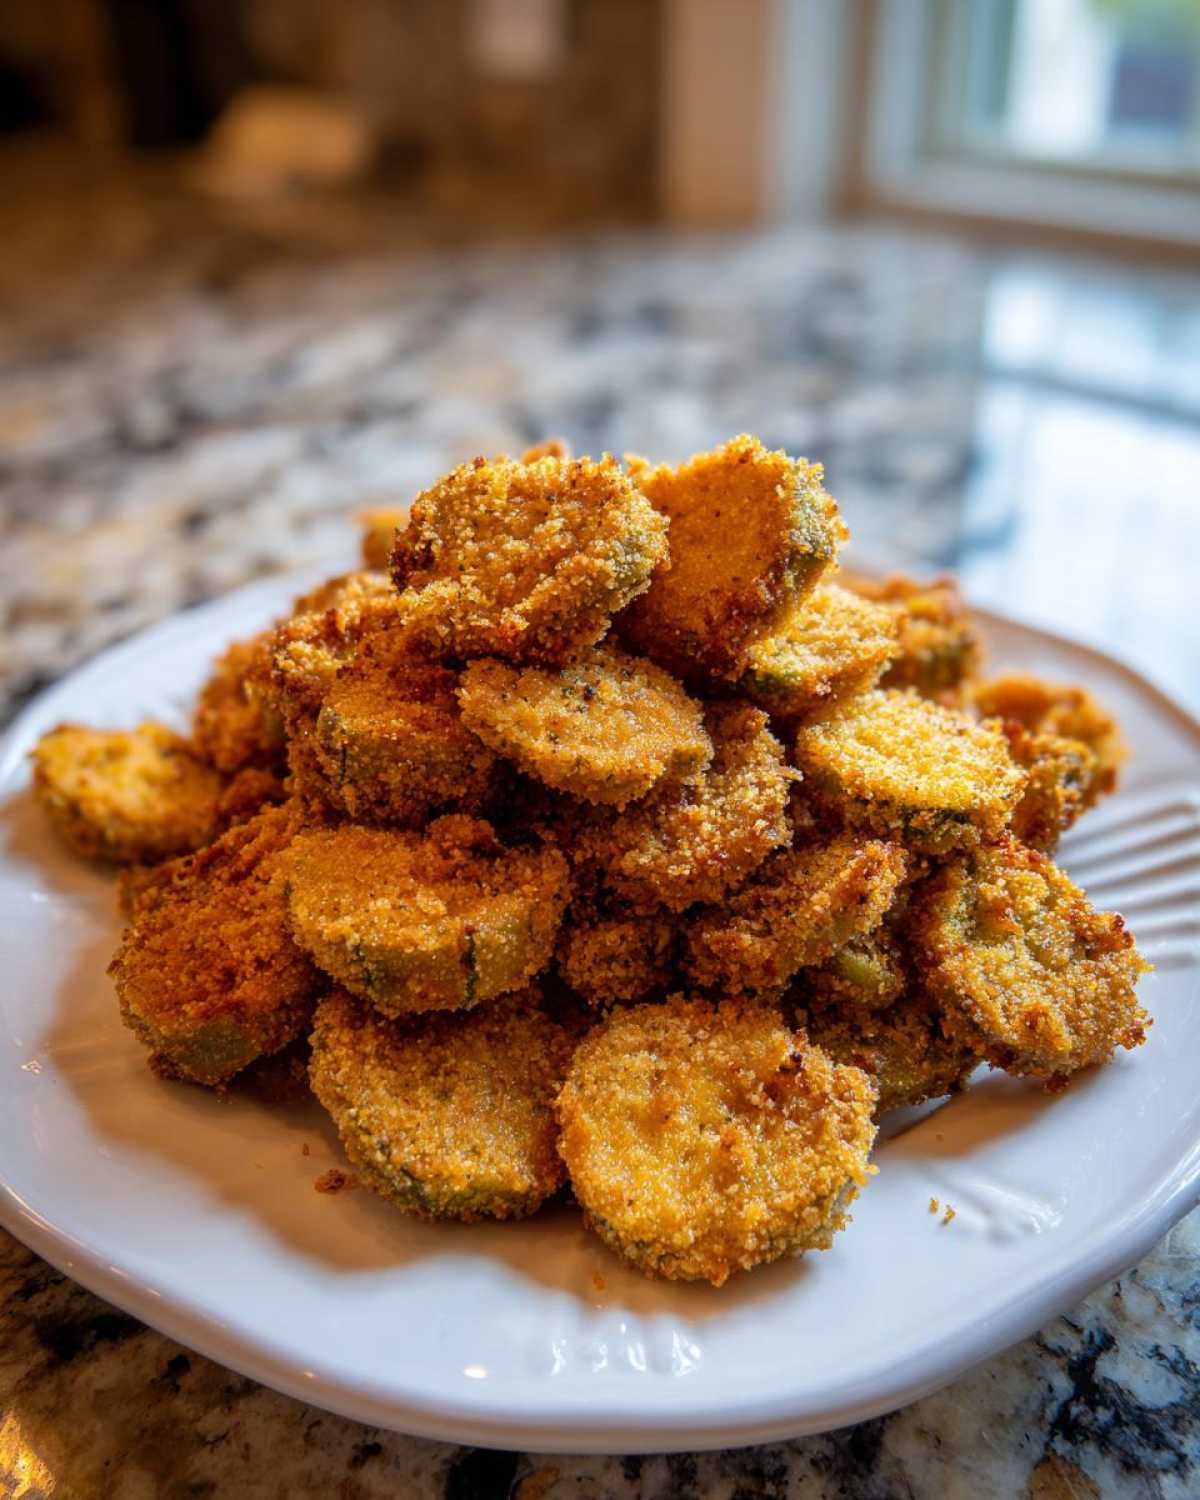
Heat your vegetable oil in a heavy skillet until it hits 375°F. If you drop a tiny pinch of the dry mix in and it sizzles immediately and floats, you’re close enough! Carefully introduce the coated okra, but don’t overload the pan! Work in small batches so the oil temperature stays high. Fry them for about three to five minutes, turning them gently so they brown evenly on all sides into that beautiful golden color. Once they are deep golden brown, pull them out immediately with a slotted spoon. Instead of dabbing them on paper towels, place them on a metal wire rack set over paper towels. The rack allows air to circulate underneath, which keeps the bottom from getting soggy. Salt them lightly right when they come out!
Alternative Cooking Methods: Air Fryer Fried Okra and Oven Baked Okra Crispy
Look, I adore deep frying; it delivers that unmatched Southern classic flavor. But sometimes, especially when I’m testing out recipes but don’t want to commit a full bottle of oil, or if we’re just craving a slightly lighter side dish, we need other options. That’s why I’m so happy to report that our double-dredge technique works beautifully for oven and air fryer versions too! You get almost all the crunch without all the oil, which is just great for everyday cooking.
For Air Fryer Fried Okra, you want to treat the coating like a delicate piece of art. After you finish that second dredge—the one where you press the cornmeal on really well—toss the okra gently in just about one tablespoon of oil. Just enough to help everything brown up nicely in your air fryer basket. Set the temperature around 380°F (195°C) for maybe 12 to 15 minutes total. Remember to give that basket a good shake halfway through so every side gets bronzed!
Now, if you’re looking for Oven Baked Okra Crispy results, we go higher heat. You’ll spread that coated okra in a single layer on a baking sheet lined with parchment paper. Seriously, don’t skip the parchment! Bake it at a hot 425°F (220°C) for about 20 to 25 minutes, flipping them halfway through the process. Head over and see how we apply this same precision to our favorite air fryer gnocchi—the concept of using the convection heat is similar!
Tips for Success Making Fried Okra
Julian used to joke that trying to salvage soggy fried okra was like trying to rescue a poorly exposed photo—you can edit a little, but you can’t fix the fundamental mistake! To make sure you master How to Make Perfect Fried Okra, I have a few final notes that go beyond the recipe steps. These are the little things that really elevate this from a standard side dish to a star feature on your table.
First, I can’t stress this enough: only use fresh okra if you can manage it. Frozen okra has been prepped with blanching or freezing agents that mean its internal structure is compromised before you even start. It just releases way too much water, and no amount of buttermilk can fully defeat that! Stick to fresh for that fantastic, crunchy vegetable appetizer texture.
Second tip is about the oil. You want a high smoke-point oil, like canola, peanut, or vegetable oil. Don’t try to use olive oil here; it has too low a smoke point, and you’ll burn your delicious cornmeal coating before the okra cooks through. Once you’re done frying, never pour that oil down the sink! Let it cool completely, strain it through cheesecloth, and keep it in a sealed container in the fridge for a few more batches. That’s just being smart cooks.
Finally, here’s my editor’s note, as a photographer: presentation matters! Even a simple Okra Side Dish deserves good lighting. When you pull that crispy batch out, set them high up on that wire rack—the light catches the texture better when it hits the ridges of the crust. If you’re staging this for a photo (or just want to impress your family!), a little dusting of smoked paprika right after salting adds a pop of color we absolutely love. Check out some of our best visual experiments over on the main blog page!
Serving Suggestions for Your Okra Side Dish
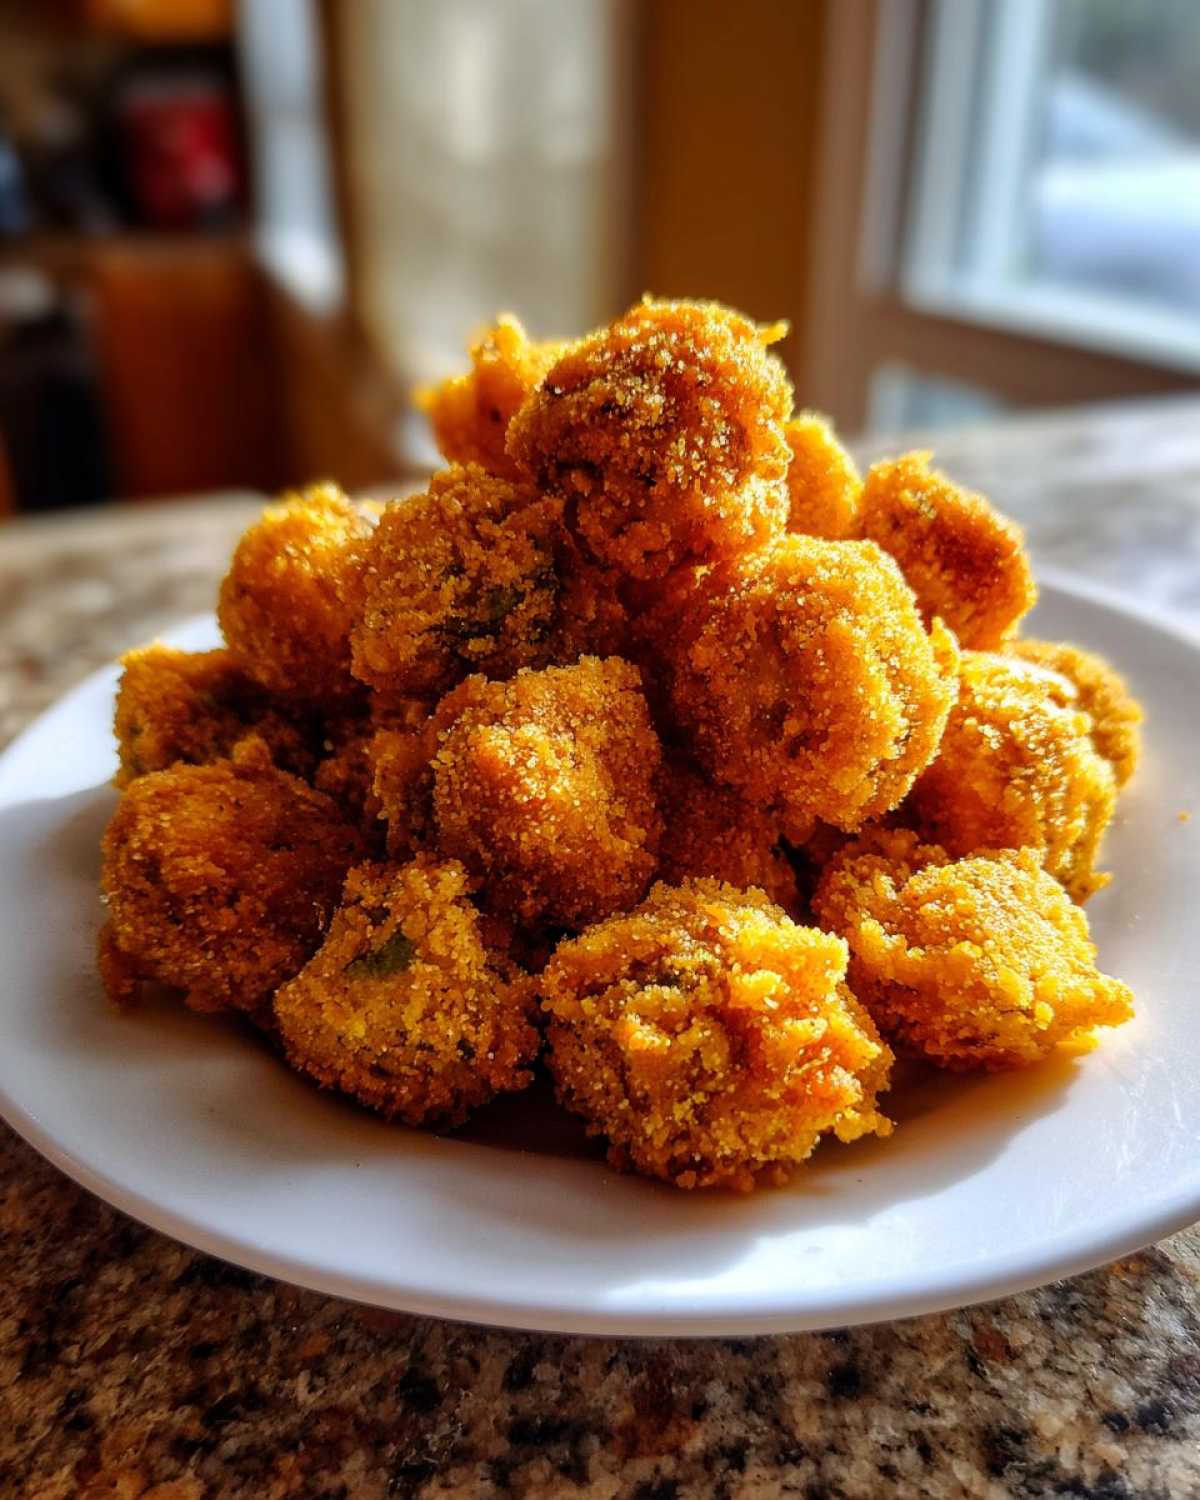
Now that you’ve achieved crispy-fried perfection, the big question is: what do we serve it with? Honestly, this Okra Side Dish is so flavorful, it can stand alone as a snack, but we Southerners know that everything is better with a little dip! Forget ketchup for a minute—we need texture and zing to counter that warm, crunchy cornmeal crust.
The absolute best pairing we’ve found—and it works for everything from onion rings to roasted potatoes—is a creamy, slightly spiced dipping sauce. I make a batch of Cowboy Butter Dipping Sauce whenever we make this. The cool, herby tang cuts right through the richness of the fried coating. It transforms those crispy little bites into the absolute star of the meal!
Storage and Reheating Instructions for Fried Okra
Here’s where the hard truth comes out: like almost all fantastic fried things, this okra is absolutely, one-hundred-percent best when eaten the second it comes off that wire rack. When we photograph our Magazine Meals, we eat it right there, grease and all, before the light changes! That initial crunch is the entire point of our pursuit, remember? So, plan your timing!
But, okay, life happens. If you have leftovers of this glorious fried okra (which surprises me, because we usually don’t!), you need to store them correctly. Put any remaining pieces in an airtight container. I mean *truly* airtight. Try not to store them for more than a day or two, though. That beautiful cornmeal crust starts absorbing residual moisture almost immediately, and even sealed up, they won’t maintain that perfect crispiness forever.
Now, for the crucial part: reheating. Do not, under any circumstances, even think about putting this in the microwave! I know it’s fast, but the microwave will steam whatever tiny bit of crispness is left, turning your beautiful crust into a soggy, mushy disappointment. We can’t feature that in our magazine!
To bring back the crunch? You have two excellent options, both utilizing dry heat. The oven works well—spread them in a single layer on a baking sheet and heat at about 375°F for about six to eight minutes. If you still have your air fryer out from making the healthier batches, that’s even better! Pop the leftovers in the basket at 350°F for just four minutes. That blast of hot, dry air works wonders to crisp everything up just enough so you get that satisfying snap back!
Frequently Asked Questions About Fried Okra
Can I use frozen okra instead of fresh?
Oh, I really wish I could tell you yes! But honestly, if you want that top-tier, truly Crispy Fried Okra result, you need fresh okra. Frozen okra often contains ice crystals and has been pre-processed in a way that makes it inherently wetter. No matter how well we buttermilk soak it, that moisture fights against our cornmeal crust, and you end up with soupier insides and a sad coating. Stick to fresh okra for this recipe if you want the Best Fried Okra Ever!
What is the best type of oil to use for deep frying?
When frying anything, especially a delicate, seasoned coating like this, Julian and I always recommend using an oil with a high smoke point. We use plain old vegetable oil because it’s economical and reliable. Canola or peanut oil are fantastic alternatives too! Just make absolutely sure your oil is heated properly to 375°F before anything goes in. If the temperature drops too low while frying, that’s the fastest route to soggy, oil-logged okra instead of a beautiful Southern Fried Okra Recipe!
How can I adapt this for a Gluten-Free Fried Okra option?
That’s a really common question, and yes, you absolutely can adapt this! We actually have a dedicated post on mastering gluten-free recipes, which you might find useful as you look at modifying things like our blueberry muffins. For the okra, you simply need to swap the all-purpose flour for a good quality 1-to-1 gluten-free baking blend. Keep the cornmeal as-is, since corn is naturally gluten-free! The technique—the buttermilk soak and the double dredge—remains exactly the same to prevent slime. You can also check out specific gluten-free guides online for reference, like this one on fried okra for inspiration!
My okra keeps coming out slimy even after the buttermilk soak! What am I doing wrong?
Don’t panic! If you’re still getting slime after the soak, the issue is almost always one of two things. Either you didn’t soak it long enough—shoot for that full 30 minutes—or you are rinsing the buttermilk off before coating, which you shouldn’t do! The buttermilk needs to stay on there to help the dry ingredients adhere. If you suspect your okra pods themselves are just extra slimy today, try tossing them lightly in just the flour mixture first, shaking off the very loose excess, and *then* going into the buttermilk for the second round of dredging. That extra layer of protection usually ensures you get that lovely, crackly crust instead of stringiness.
Can I make this crunchy okra ahead of time?
If you mean preparing the coating ahead of time, yes, you can mix the dry ingredients and keep them in an airtight container. But for the best quality, you should slice and soak your okra right before you plan to fry it. Ideally, you want to fry this almost immediately. If you absolutely must prepare it early, use the Air Fryer Fried Okra or Oven Baked method, as those tend to hold up slightly better than the deep-fried version if they sit for an hour or so before eating.
Reader Feedback and Next Steps for Your Magazine Meal
Well, you’ve made it to the end of the line, and hopefully, not just the end of the article, but the beginning of one of the best side dishes you’ve ever cooked! Remember what we talked about? We want your life to be the feature story, and that means documenting your successes—and even your learning curves! We put so much passion into making sure this fried okra recipe delivered that perfect, crave-worthy crunch, and now it’s your turn to take the spotlight.
When you pull that beautiful, golden basket of okra out of the oil, I want you to pause for just a second before diving in. Look at that color! That texture! That’s the cover shot of your evening’s meal right there. Please, please tell us how it went for you. Did the buttermilk soak banish the slime completely? Did your double dredge give you that amazing, sturdy coating? We rely on your feedback to keep sharpening our own process!
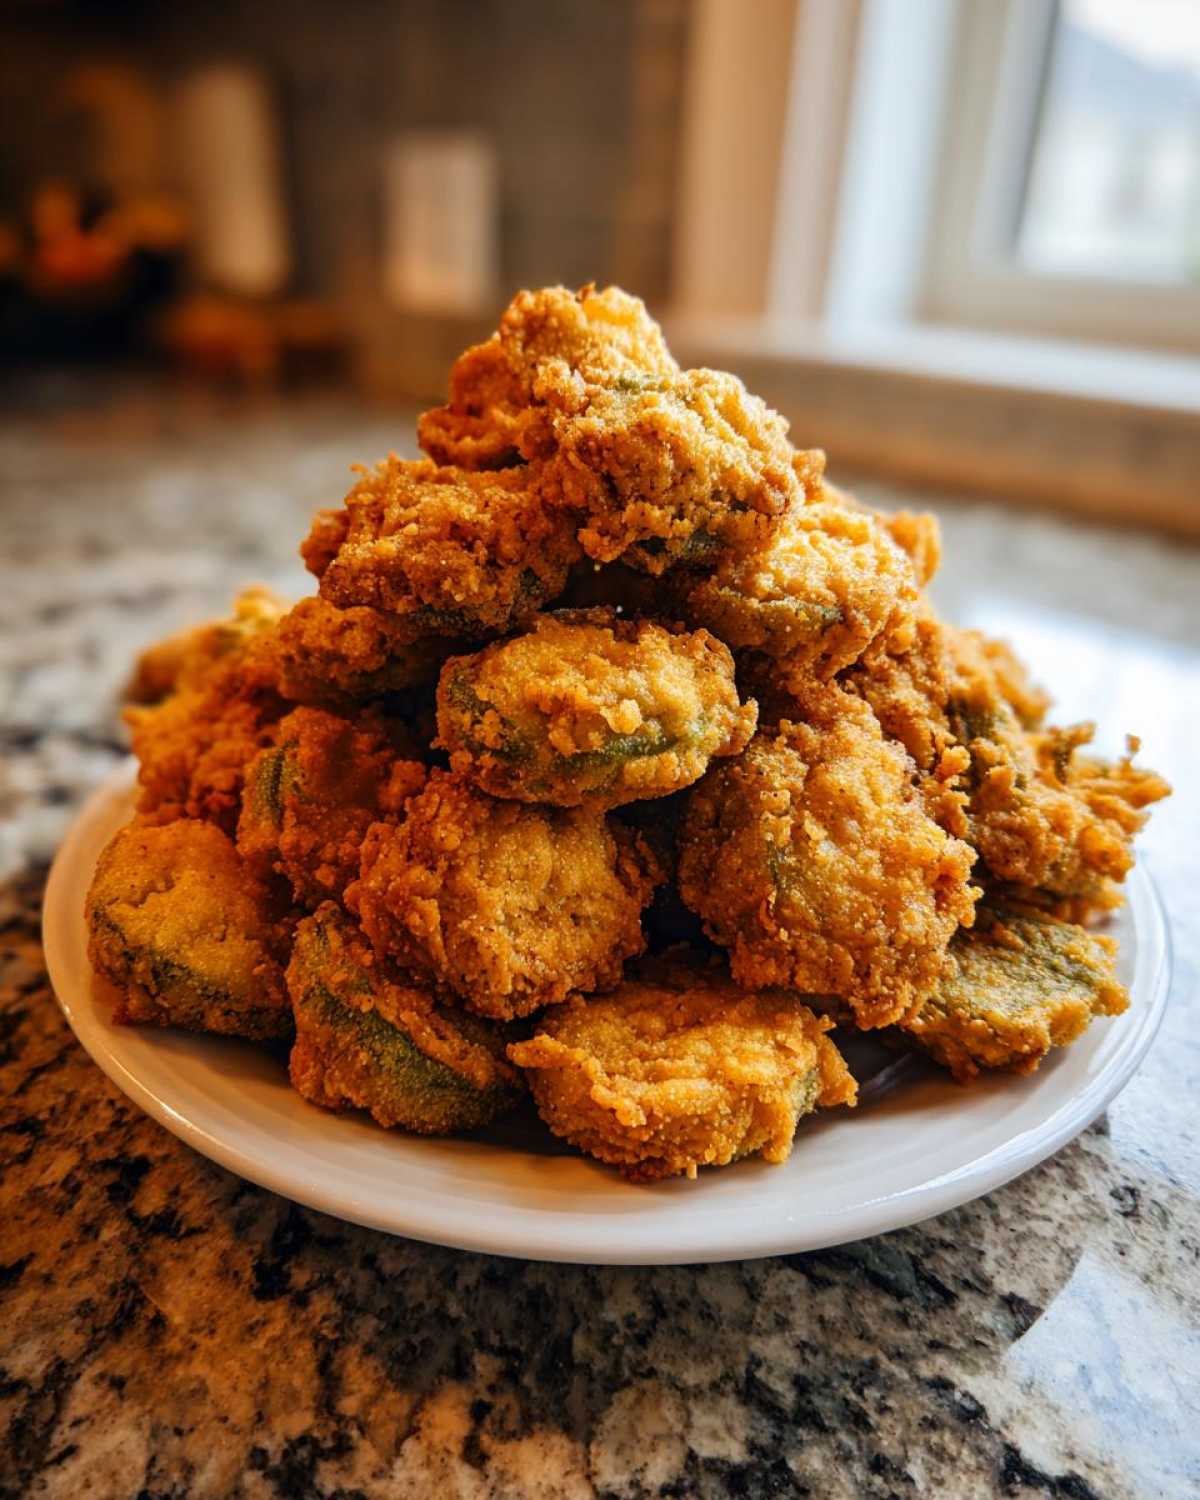
Drop a rating below—five stars if you think this earns the title of the Best Fried Okra Ever—and leave a comment telling us about your experience. If you had to adjust the temperature or if you tried serving it with a specific creamy dip, share those details! We love hearing about how you’re styling your own Magazine Meals. If you have questions about the process, or even just want to say hello, you can always get in touch with us directly through our Contact page.
Thanks so much for cooking with Julian and me today. Now go enjoy that crunch!
PrintUltimate Crispy Southern Fried Okra: A No-Slime Recipe
Learn how to make the best homemade fried okra with a perfectly crispy, golden cornmeal crust. This Southern favorite eliminates sliminess using a simple buttermilk and double-dredge technique.
- Prep Time: 35 min
- Cook Time: 15 min
- Total Time: 50 min
- Yield: 6 servings
- Category: Side Dish
- Method: Deep Frying
- Cuisine: Southern
- Diet: Vegetarian
Ingredients
- 2 lbs fresh okra, washed and sliced 1/2 inch thick
- 1 cup buttermilk
- 1 cup all-purpose flour
- 1 cup fine yellow cornmeal
- 1 teaspoon salt
- 1/2 teaspoon black pepper
- 1/2 teaspoon garlic powder
- 1/4 teaspoon paprika
- Vegetable oil, for frying
Instructions
- Prepare the okra: Slice the okra pods into 1/2-inch thick pieces. Place the sliced okra in a bowl and cover completely with buttermilk. Let it soak for at least 30 minutes. This step helps prevent sliminess.
- Prepare the dredging mixture: In a separate shallow dish, whisk together the flour, cornmeal, salt, pepper, garlic powder, and paprika.
- Drain the okra: Remove the okra from the buttermilk, letting excess drip off, but do not rinse.
- First dredge: Toss the buttermilk-coated okra lightly in the dry flour mixture until just coated. Shake off any excess.
- Second dredge (for extra crunch): Return the lightly coated okra to the buttermilk bath for a quick dip (just a few seconds). Immediately transfer the okra back to the dry mixture and press gently to create a thick, even coating. This double-dredge method ensures maximum crispiness.
- Heat the oil: Pour vegetable oil into a deep skillet or Dutch oven until it reaches about 1 to 1.5 inches deep. Heat the oil to 375°F (190°C). Use a thermometer to maintain this temperature for best results.
- Fry in batches: Carefully add the coated okra to the hot oil, ensuring you do not overcrowd the pan. Overcrowding lowers the oil temperature and results in soggy okra.
- Cook until golden: Fry for 3 to 5 minutes, turning occasionally, until the okra is deep golden brown and crunchy.
- Drain: Remove the fried okra with a slotted spoon and place it on a wire rack set over paper towels to drain excess oil. Season immediately with a pinch of extra salt, if desired.
- Serve immediately for the best texture.
Notes
- For an Air Fryer Fried Okra variation, toss the double-dredged okra with 1 tablespoon of oil. Air fry at 380°F (195°C) for 12 to 15 minutes, shaking the basket halfway through, until golden and crisp.
- If you prefer Oven Baked Okra Crispy, spread the coated okra in a single layer on a baking sheet lined with parchment paper. Bake at 425°F (220°C) for 20 to 25 minutes, flipping halfway, until crisp.
- Serve this Southern Fried Okra with a creamy dipping sauce or as a classic side dish for barbecue.
Nutrition
- Serving Size: 1 cup
- Calories: 280
- Sugar: 4
- Sodium: 450
- Fat: 18
- Saturated Fat: 3
- Unsaturated Fat: 15
- Trans Fat: 0
- Carbohydrates: 28
- Fiber: 6
- Protein: 5
- Cholesterol: 10