

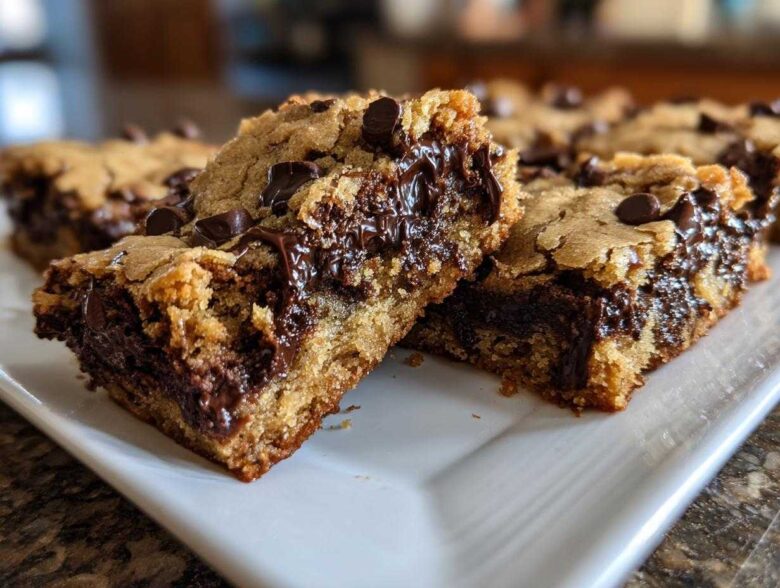
Oh, that craving hits hard, doesn’t it? You just want that moment where you bite into something that’s slightly dense, super rich, and just wonderfully chewy. Forget those thin, crispy edges or those crumbly tops—we are after pure, unadulterated chewiness in bar form! This recipe for Chewy Chocolate Chip Cookie Bars is my absolute gold standard because it uses a few tricks to lock in that perfect texture. After years of testing, I perfected the ratio that guarantees chewiness every time. Trust me, once you try these pan cookies, you won’t look back. If you love a good classic, check out my main chocolate chip cookie recipe too!
Why This is the Best Chewy Chocolate Chip Cookie Bars Recipe
So many recipes promise chewy results but deliver something closer to a soft brownie or a crunchy square. Not this one! I promise you, these are the Best Chewy Chocolate Chip Cookie Bars Recipe you will ever make. The magic really lies in maximizing moisture and fat content. We want those Thick and Chewy Cookie Bars that practically sigh when you bite them, right?
The key is leaning heavily on that rich, gooey moisture! If you’re curious about playing with flavor, you might enjoy seeing how I use brown butter for depth, but for pure chewiness, we stick to the fundamentals here.
The Science Behind Perfectly Chewy Cookie Bars
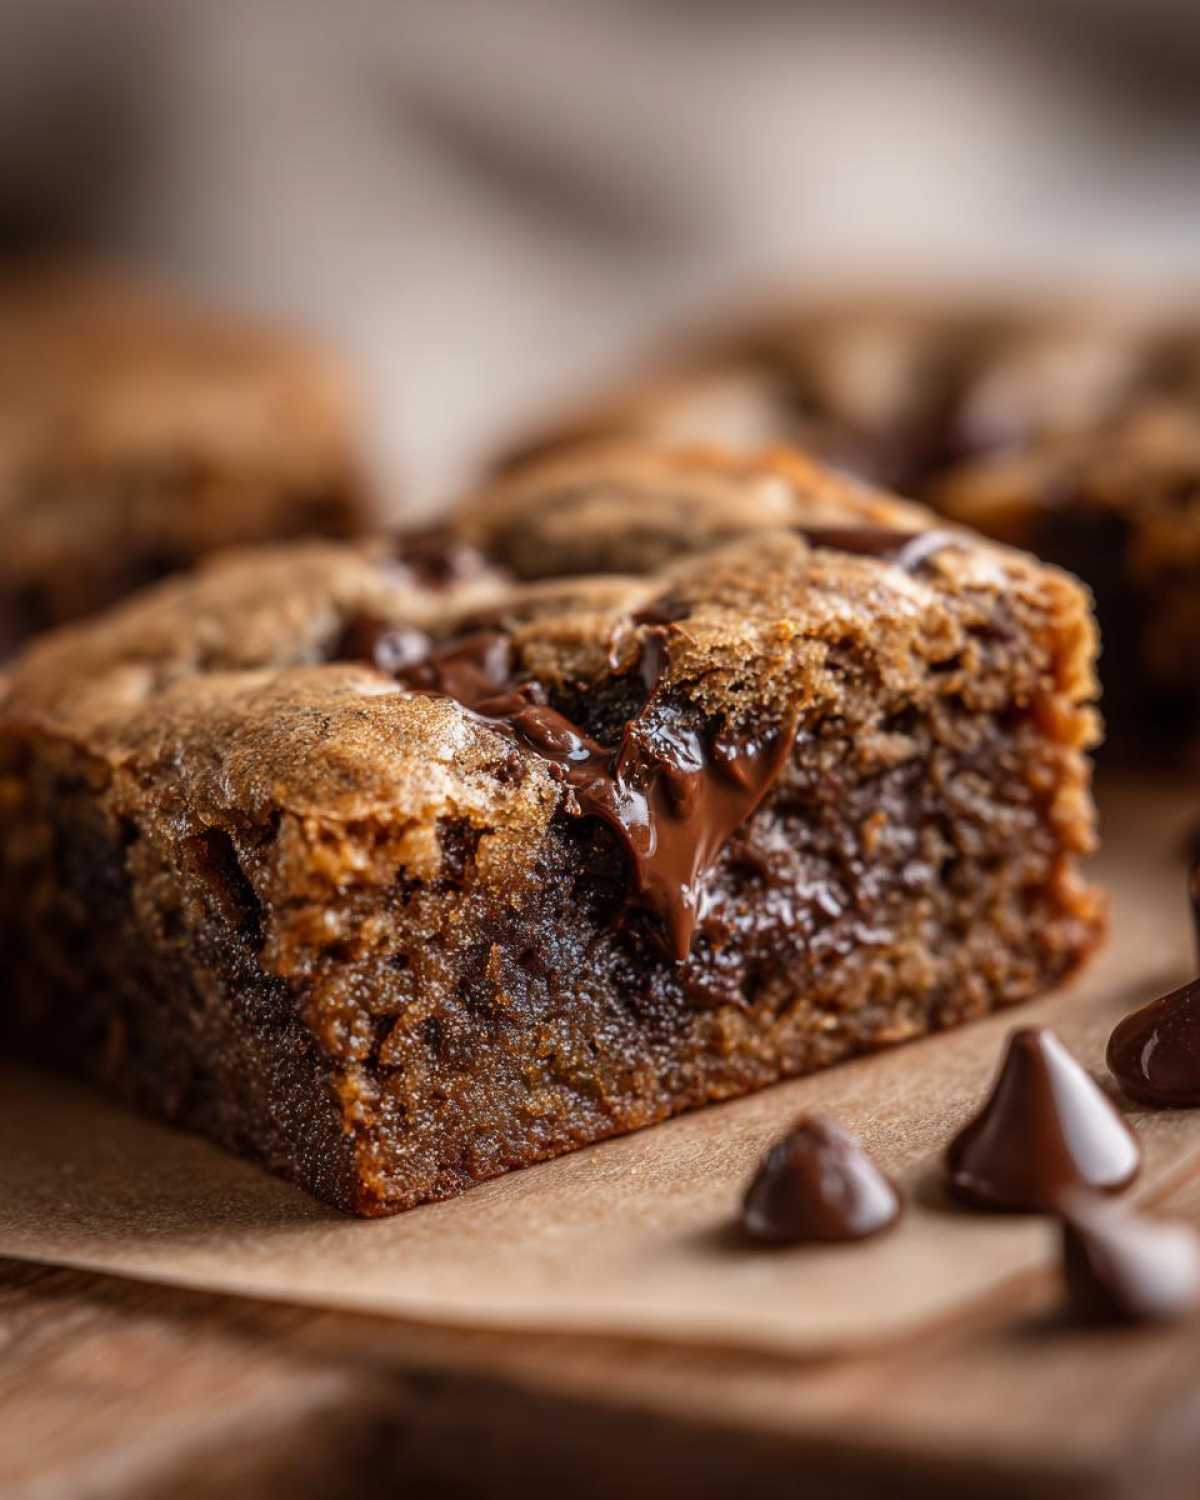
It all comes down to ingredients chemistry, honestly. Crispness happens when butter is creamed and you introduce structure. For chewiness, we want the opposite—we want moisture locked in tight! Melted butter creates a flatter, denser layer in the final product, which is exactly what we need for these Delicious Homemade Chocolate Chip Bars.
Plus, the brown sugar has molasses, which hangs onto water. That means more moisture stays in the bar when it bakes. That higher molasses content is the secret weapon to getting that fantastic, almost fudgy texture we all love in Perfectly Chewy Pan Cookies.
Gathering Ingredients for Your Chewy Chocolate Chip Cookie Bars
Okay, let’s get our station set up! Ingredients are critical when the goal is true chewiness. You can look through the list and think, “Standard cookies,” but the ratios here are everything for success in these Chocolate Chip Cookie Bar Recipe squares.
We need two cups of chocolate chips—don’t skimp! But the real stars are the sugars and the butter. I always keep room temperature eggs ready, but the butter must be melted, which is a big departure from classic cookie making.
Ingredient Clarity: Achieving the Right Ratios
Pay close attention here, because this is non-negotiable for that dense, chewy pull. You need a full cup of packed light brown sugar, but only half a cup of white sugar. That brown sugar is your moisture binder! The fat also needs to come from melted butter, softened butter just won’t do it for these Melted Butter Chewy Bars.
So, to summarize what goes in the bowl (but don’t mix it yet!):
- 1 cup melted unsalted butter
- 1 cup packed light brown sugar
- 1/2 cup granulated white sugar
- 2 large eggs and vanilla
- Flour, baking soda, and salt (whisked separately!)
- 2 cups of your favorite chocolate chips
Keep every measurement accurate, and you are halfway to perfect Rich Chocolate Chip Squares!
Essential Equipment for Thick and Chewy Cookie Bars
You don’t need a fancy stand mixer or six specialized spatulas for this batch of Desserts Baked in a Pan. Seriously, this is one of the easiest things you’ll make all week! Since we aren’t doing the creaming method, your arms will thank you. But you do need to make sure you have the right vessel for baking this goodness.
Having the right gear makes baking these Simple One Pan Cookie Desserts a breeze, and more importantly, finishing them neatly so you don’t end up with one giant sticky sheet when trying to serve.
Here’s what you absolutely must have ready on your counter before we start whipping up that melted butter magic:
- A sturdy 9×13 inch baking pan. This is non-negotiable for getting the right thickness!
- Parchment paper. I cannot stress this enough—this is your non-stick MVP. Save yourself the headache!
- A large mixing bowl. You need space for whisking that melted butter and sugar together without making a huge mess.
- A separate, medium-sized bowl for your dry ingredients. Keep those layers separate until the last minute.
- A reliable oven! Since these bake flatter (that’s the point!), temperature accuracy really matters for that perfect center.
That’s it! It’s wonderfully straightforward, making this another great option when you need a quick Homemade Brownie Alternative that satisfies that same deep chocolate craving.
How to Make Chewy Chocolate Chip Cookie Bars Step-by-Step
Alright, now for the fun part—mixing! Since we aren’t creaming butter, this comes together so fast. Remember, we are moving quickly to get that amazing texture for our Chewy Chocolate Chip Cookie Bars. First thing, get that oven screaming hot at 350 degrees Fahrenheit. Don’t rush this initial step; oven temperature is hugely important for structure in these pan cookies.
Next, whisk your dry stuff (flour, baking soda, salt) in that smaller bowl. In your big bowl, take your melted butter and whisk in both the brown sugar and the white sugar until it looks smooth—no lumps allowed! Beat in those two eggs, one at a time, followed by that lovely vanilla. You’re basically creating the ultimate moisture bath for those chips!
When you introduce the dry to the wet, be gentle! Add the flour mixture gradually, mixing only until you see the last flour streak disappear. Overmixing develops gluten, and gluten means cakey, not chewy! Nobody wants a cakey bar here! Once combined, fold in those two cups of chocolate chips. You can even check out my post on simple layered casseroles for comparison on how different mixing styles change a final product.
Pan Preparation: Preventing Sticking in Your Chewy Chocolate Chip Cookie Bars
This is where you safeguard your beautiful creation! Take that 9×13 pan and line it with parchment paper. Now, here’s the trick: make sure the paper hangs over the short sides of the pan—maybe an inch or two on each side. These overhangs become handles! When it’s time to lift the bars out later, you just grab those parchment handles, and the whole slab comes out perfectly intact. This is the easiest way to serve beautiful, clean squares from your Thick Bakery Style Cookie Bars.
Baking Time and Temperature for Gooey Center Cookie Bars
We bake at 350°F for about 25 to 30 minutes. Now, this is the most critical minute of the whole process to get that Gooey Center Cookie Bars finish. You want the edges to look set—maybe just slightly golden—but when you look at the very center, it should look slightly soft, maybe even a tiny bit wet. Don’t panic! This slight underbaking is necessary because the bars keep cooking as they sit on the cooling rack using residual heat.
If you wait until the center looks totally solid, you will end up with dry, brittle bars, and that’s the opposite of what we are trying to achieve with these How to Make Chewy Cookie Bars instructions. Trust the process, take them out right when you see that slight wiggle, and let them cool completely on a wire rack before you even think about cutting them!
Tips for Success with Your Perfectly Chewy Pan Cookies
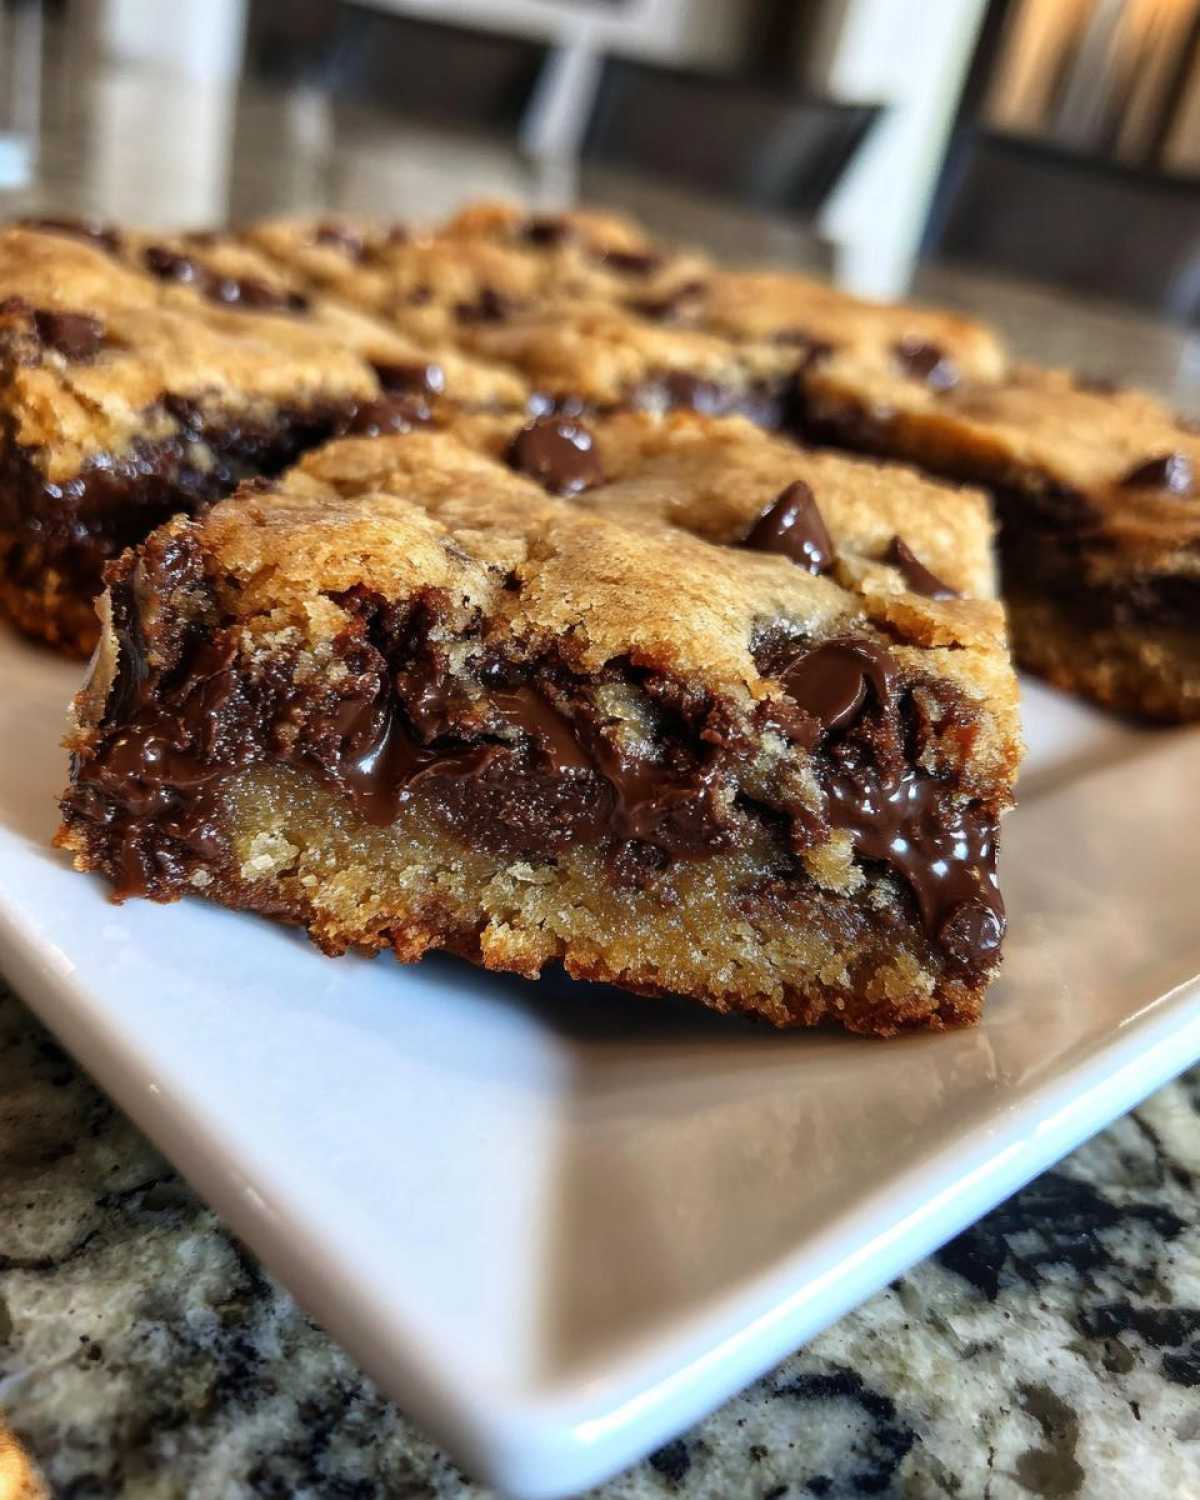
We’ve mixed, we’ve baked, and now we wait. Cooling is actually just as important as mixing when trying to achieve that legendary chewiness in your Thick and Chewy Cookie Bars. My very first batch? I cut them hot because I just couldn’t wait! Wow, what a sticky, messy disaster that was. They looked great coming out of the oven, but cutting them too soon means they completely lose their structure and you end up with gooey puddles instead of neat squares.
You must let them cool completely in that pan, using those parchment handles you created to lift the entire slab out once they are firm enough to handle. Then, let them rest on the rack for at least an hour before slicing. This allows the structure to set properly after baking!
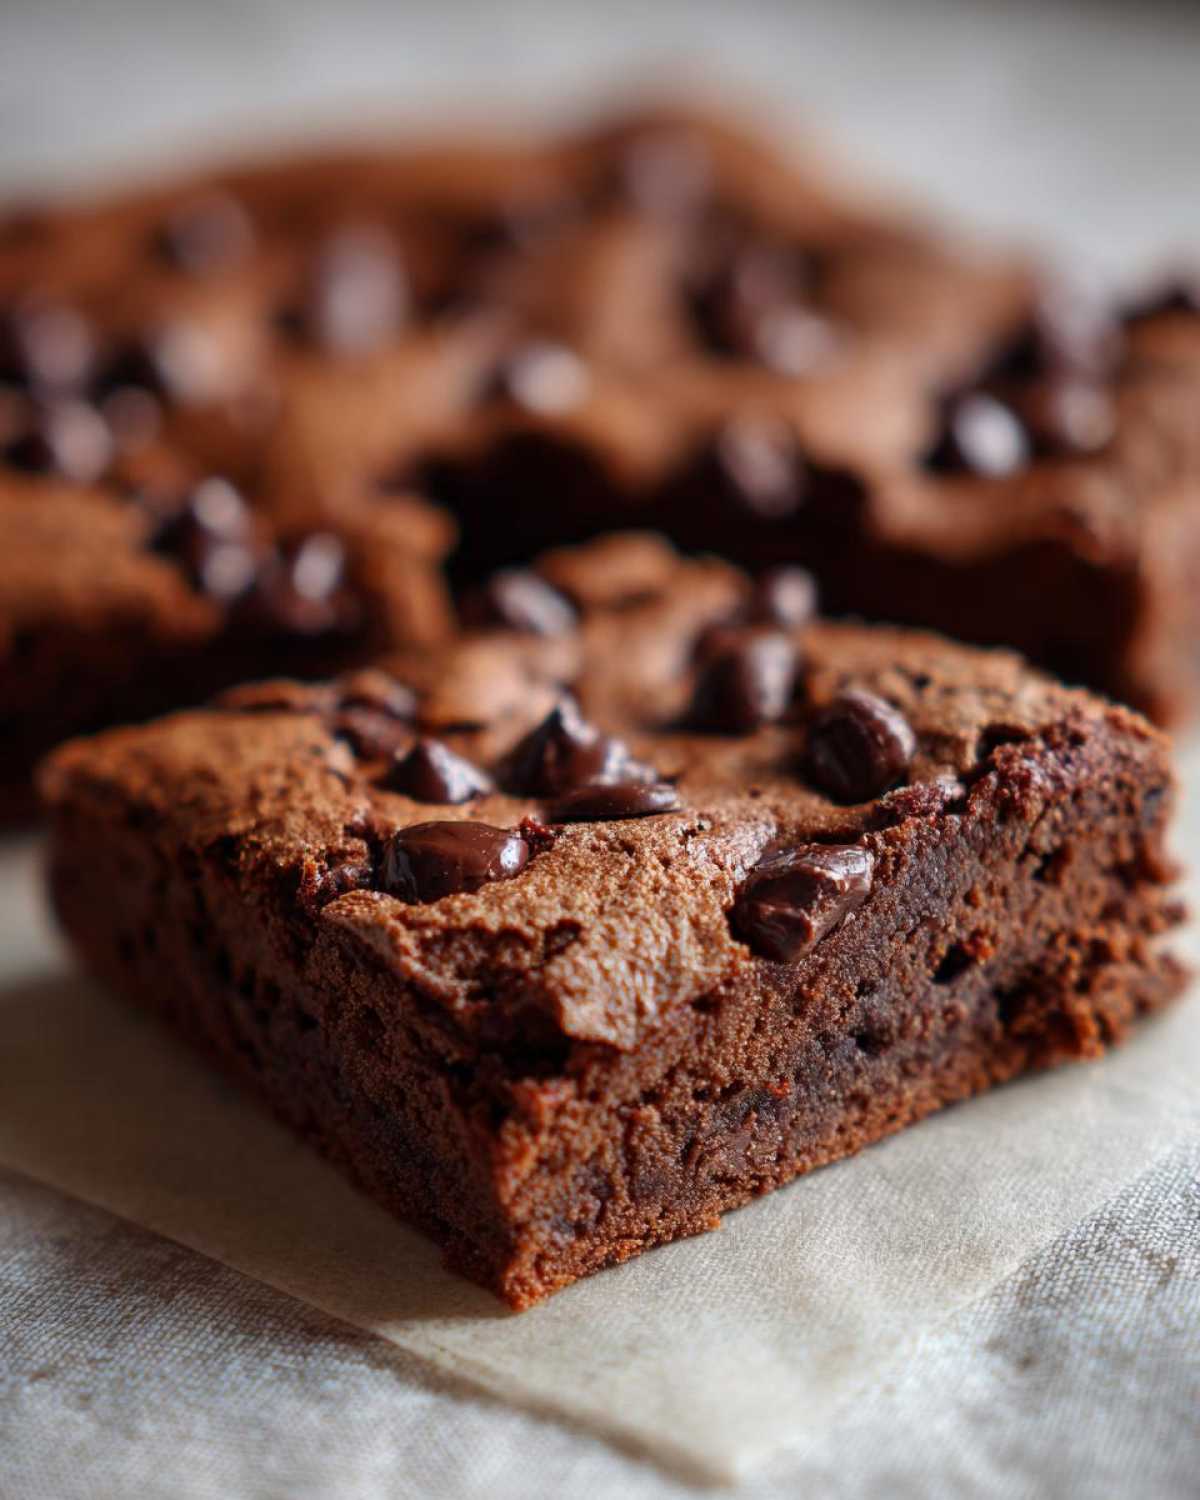
Also, remember what I said about not overmixing? That’s a massive tip for success, but here’s another one: don’t settle for just whatever salt is in your shaker. Since these are so rich and chocolatey, a little bit of contrast goes a long way. If you want to elevate these bars instantly, try sprinkling a little bit of flaky sea salt right over the top of the dough before it goes into the oven.
It looks gorgeous and that pop of salt cuts through the sweetness beautifully. It’s one of those little finishes that makes people ask where you bought them! The combination of the melted butter texture and the salt finish truly makes these some of the best Perfectly Chewy Pan Cookies around. If you’re interested in other chewy delights, I’ve got a fantastic recipe for soft and chewy snickerdoodles too!
Variations for Your Chocolate Chip Cookie Bar Recipe
Even though this Chocolate Chip Cookie Bar Recipe is perfect just as it is—truly—sometimes you just need a little something extra, right? The great thing about using this melted butter base is that it’s incredibly stable. You can throw in extra goodies, and because we aren’t relying on creaming for structure, you won’t accidentally make them cakey! That dense foundation holds up beautifully to mix-ins.
I always try to limit myself to just one extra addition per batch, or I find the texture gets too busy. We want richness, not chaos. Think about throwing in some toasted pecans or walnuts if you like texture, or maybe even tossing in a handful of milk chocolate chips alongside the semi-sweet for a really complex melt.
Adding Brown Butter for Rich Chocolate Chip Bars
If you want to take your Rich Chocolate Chip Squares to the next level while keeping that amazing chew, try swapping out the regular melted butter for brown butter! Now, I know that sounds like extra work, but hear me out. You just melt the butter gently over medium heat, swirling until it foams and then brown bits start forming at the bottom and you get that nutty, caramel smell—it smells divine!
You let it cool for just a second so it’s not scorching hot, and then you use it exactly as you would the regular melted butter. Browning the butter adds this ridiculously deep, toffee-like background flavor that pairs perfectly with the chocolate. It deepens the overall flavor profile without doing anything that interferes with the sugar ratio or fat structure, so you keep that wonderfully Chewy Chocolate Chip Cookie Bars texture we worked so hard to achieve!
If you haven’t tried browning butter yet, you should definitely check out my tips on how to do it best, perhaps when you try my brown butter cookie recipe sometime!
Storage and Reheating Chewy Chocolate Chip Cookie Bars
Okay, the hardest part is over, but now we have to be disciplined about storage if we want to keep them chewy tomorrow! As much as I love eating the whole pan in one sitting, these things keep beautifully, provided you treat them right.
Since these bars are so rich in brown sugar and fat, they actually stay soft at room temperature longer than regular cookies do. The real enemy here is dry air. You must keep them sealed up tight! Find a good container—one with a tight-fitting lid—and stack them up inside. I try to put a piece of wax paper or parchment between the layers, just to make sure they don’t fuse together into one giant, delicious brick overnight.
Keep it on the counter, out of direct sunlight. They’ll stay perfectly soft and dense for about three or maybe even four days this way. Seriously, these bars are better the next day, I swear!
What if they get a little stiff? Don’t panic and don’t throw them out! If you want to bring back that just-baked, slightly gooey texture, just pop a square in the microwave for literally 10 seconds. That quick burst of heat melts the butter and chocolate just enough to make them feel fresh again. I usually do this when I’m having one with my afternoon coffee!
Frequently Asked Questions About Chewy Chocolate Chip Cookie Bars
I know you have questions, because making the perfect bar is serious business! We want texture perfection every single time we pull out that 9×13 pan of goodness. Here are the things folks ask me most often about nailing these Chewy Chocolate Chip Cookie Bars.
I always try to answer honestly, especially when it comes to texture! You can also check out my full site disclaimer if you have policy questions, but right now, let’s talk sugar and butter!
Can I substitute softened butter instead of melted butter in this Chewy Chocolate Chip Cookie Bars Recipe?
Oh, you absolutely *can*, but let me warn you—you’ll change the result completely! If you use softened butter and cream it with the sugars, you introduce a lot of air bubbles, and that’s what makes things light, fluffy, and ultimately, more cakey or crispy around the edges. For these Chewy Chocolate Chip Cookie Bars Recipe, we *need* the melted butter because it packs the final product down and sets into that dense, almost fudgy structure when it cools. So, if you want the chewiness promised here, stick to melted, please!
How do I ensure my bars have a Gooey Center Cookie Bars finish?
This is my favorite question! Getting that Gooey Center Cookie Bars vibe means trusting your instincts more than the timer sometimes. Remember when I talked about taking them out when the center still looked a little soft? That’s the ticket! You need to slightly underbake them. Too long, and all that wonderful moisture cooks out, making them firm like shortbread. Once they are out of the oven, leave them alone! They have to cool completely in the pan, on that wire rack. That hour or so of residual heat doing its work is what firms up the outer edge while keeping the very heart of the bar beautifully, sensuously gooey.
Also, cutting them warm is the fastest way to destroy that gooey hope, so patience is a virtue here!
Can I freeze these Chocolate Chip Cookie Bars?
Yes, you totally can! These freeze really well, which is handy if you make a giant batch. I always wait until they are completely cool and I’ve cut them into squares. Then, I wrap each individual bar tightly in plastic wrap, and then I’ll usually put a few wrapped bars into a freezer-safe zip-top bag. They keep their texture amazingly well for up to three months.
When you want one, just pull it out of the freezer and let it thaw on the counter for about 30 minutes. It thaws back to that perfect, slightly dense chewiness without needing to microwave it at all!
Why are my bars turning out crunchy instead of thick?
Crunchy usually means one of two things has happened. First, double-check your sugar ratio! If you added too much white sugar compared to the brown sugar, you get crispness. Second, and this is the big one, you likely overbaked them. If you leave them in until they look fully set and golden brown, you’ve baked the softness right out of them. Remember what I said: edges set, center looks slightly soft when they go in—that is the magic formula for Thick and Chewy Cookie Bars that don’t shrink down into cracker territory.
Can I use different types of chocolate in this recipe?
Absolutely! Feel free to mix things up. I often use half semi-sweet chips and half dark chocolate chunks; the chunks seem to melt into those awesome pockets of rich flavor that make these bars so decadent. If you want something sweeter, milk chocolate works too, but I find that using a mix really complements the molasses flavor coming from the brown sugar. Just make sure you still hit that two-cup total measurement of chocolate!
Serving Suggestions for Rich Chocolate Chip Squares
Now your kitchen smells incredible, and those Rich Chocolate Chip Squares are perfectly cooled and cut. The toughest decision you have left is what to eat them with! Since these bars are so intensely flavored and chewy, they pair beautifully with something cold and creamy to cut through that richness.
Honestly, nothing beats a warm (or room temperature) square of this dessert alongside a tall glass of ice-cold milk. It just transports you right back to childhood, dunking the edge until it’s perfectly saturated. That’s my go-to comfort move right there.
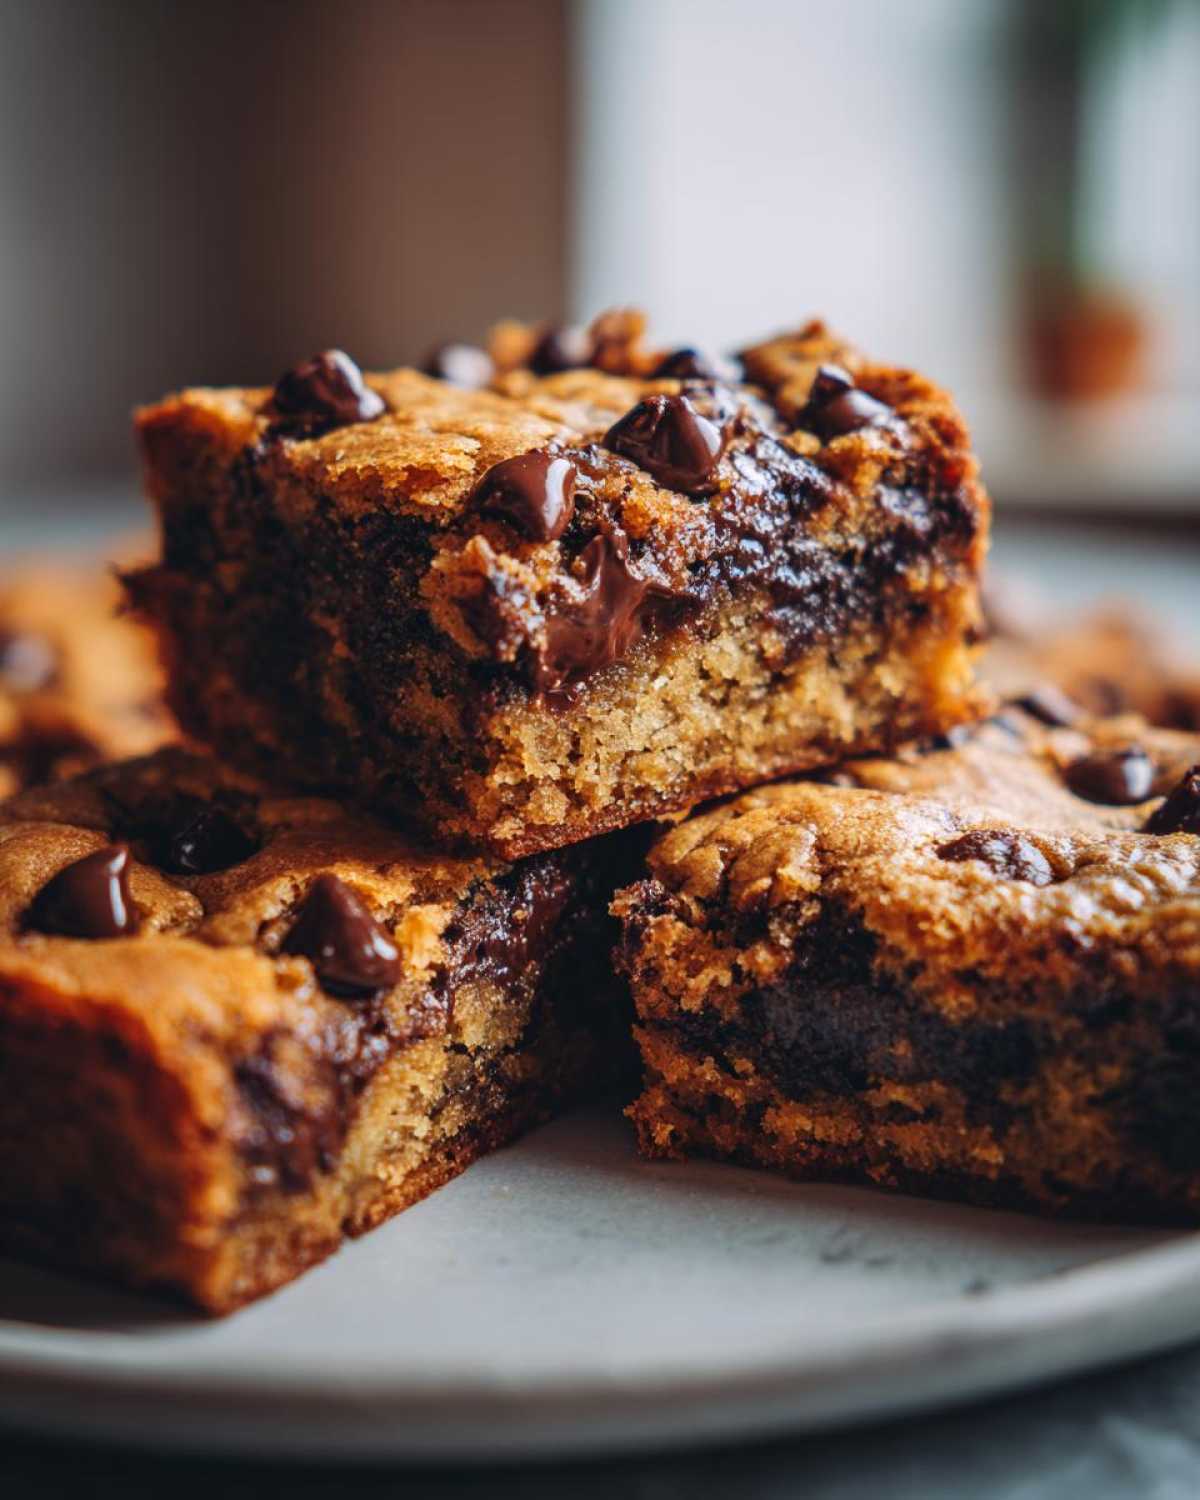
If you’re feeling fancy, or if you want to serve these up after dinner, you absolutely have to try them with ice cream. I often make a batch when I know I’ll be having company, and there’s nothing better than a scoop of really good vanilla bean melting just slightly over the top of a dense bar. It makes it feel like a restaurant-style plated dessert!
If you are looking for a fun, homemade ice cream to go with it, check out my guide on making nice cream—it’s super simple and pairs surprisingly well.
For the adults, a hot cup of black coffee or an espresso is the perfect companion to balance out the sweetness these Simple One Pan Cookie Desserts deliver. They are so satisfying that they honestly don’t need anything else, but a little something to sip on just rounds out the experience perfectly!
PrintChewy Chocolate Chip Cookie Bars
A straightforward recipe for thick, chewy chocolate chip cookie bars using melted butter for a rich texture.
- Prep Time: 15 min
- Cook Time: 30 min
- Total Time: 45 min
- Yield: 24 servings
- Category: Dessert
- Method: Baking
- Cuisine: American
- Diet: Vegetarian
Ingredients
- 1 cup (2 sticks) unsalted butter, melted
- 1 cup packed light brown sugar
- 1/2 cup granulated white sugar
- 2 large eggs
- 1 tablespoon vanilla extract
- 2 1/4 cups all-purpose flour
- 1 teaspoon baking soda
- 1/2 teaspoon salt
- 2 cups semi-sweet chocolate chips
Instructions
- Preheat your oven to 350 degrees Fahrenheit. Line a 9×13 inch baking pan with parchment paper, leaving an overhang on the sides for easy removal.
- In a large bowl, whisk together the melted butter, brown sugar, and white sugar until smooth.
- Beat in the eggs one at a time, then stir in the vanilla extract.
- In a separate bowl, whisk together the flour, baking soda, and salt.
- Gradually add the dry ingredients to the wet ingredients, mixing until just combined. Do not overmix.
- Fold in the chocolate chips.
- Press the dough evenly into the prepared baking pan.
- Bake for 25 to 30 minutes, or until the edges are set and the center looks mostly set but still slightly soft.
- Let the bars cool completely in the pan on a wire rack before lifting them out using the parchment paper overhang.
- Cut into squares.
Notes
- Using melted butter and a higher ratio of brown sugar to white sugar helps create the chewy texture you want.
- For easy removal, make sure the parchment paper overhangs the short sides of the pan.
- If you prefer a saltier finish, sprinkle a pinch of flaky sea salt over the top of the dough before baking.
Nutrition
- Serving Size: 1 bar
- Calories: 250
- Sugar: 22
- Sodium: 150
- Fat: 14
- Saturated Fat: 8
- Unsaturated Fat: 6
- Trans Fat: 0
- Carbohydrates: 30
- Fiber: 1
- Protein: 3
- Cholesterol: 45