

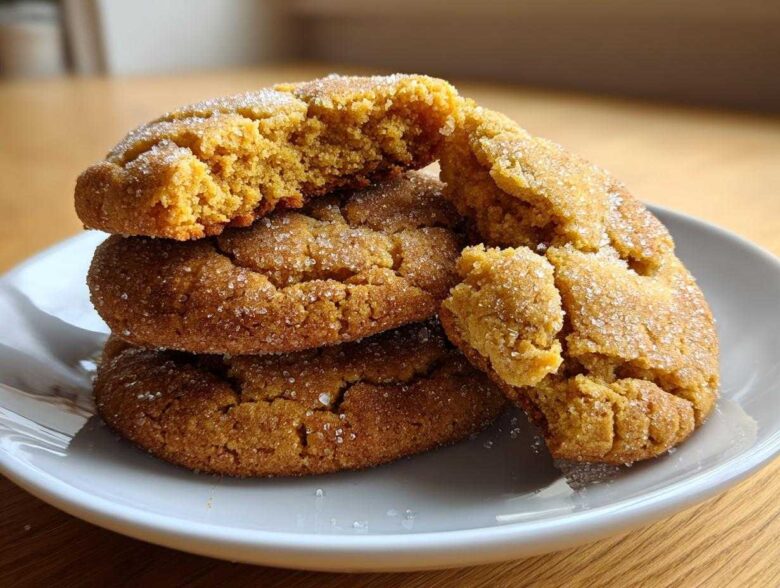
If you think the classic sugar cookie is just fine, well, I’m here to gently challenge that assumption! Julian and I love stripping down a classic recipe and seeing where we can inject some real, surprising flavor, and that’s exactly what we did with these cutout cookies. We’re taking that basic structure and giving it a total glow-up with brown butter. We’re talking about deeply nutty, toasty notes that you just can’t get from regular softened butter. Trust me, achieving perfectly brown butter sugar cookies that manage to be irresistibly crispy on the edge while keeping that glorious, soft center? That took a few batches of testing on my part. But honestly, the payoff is worth every single swirl!
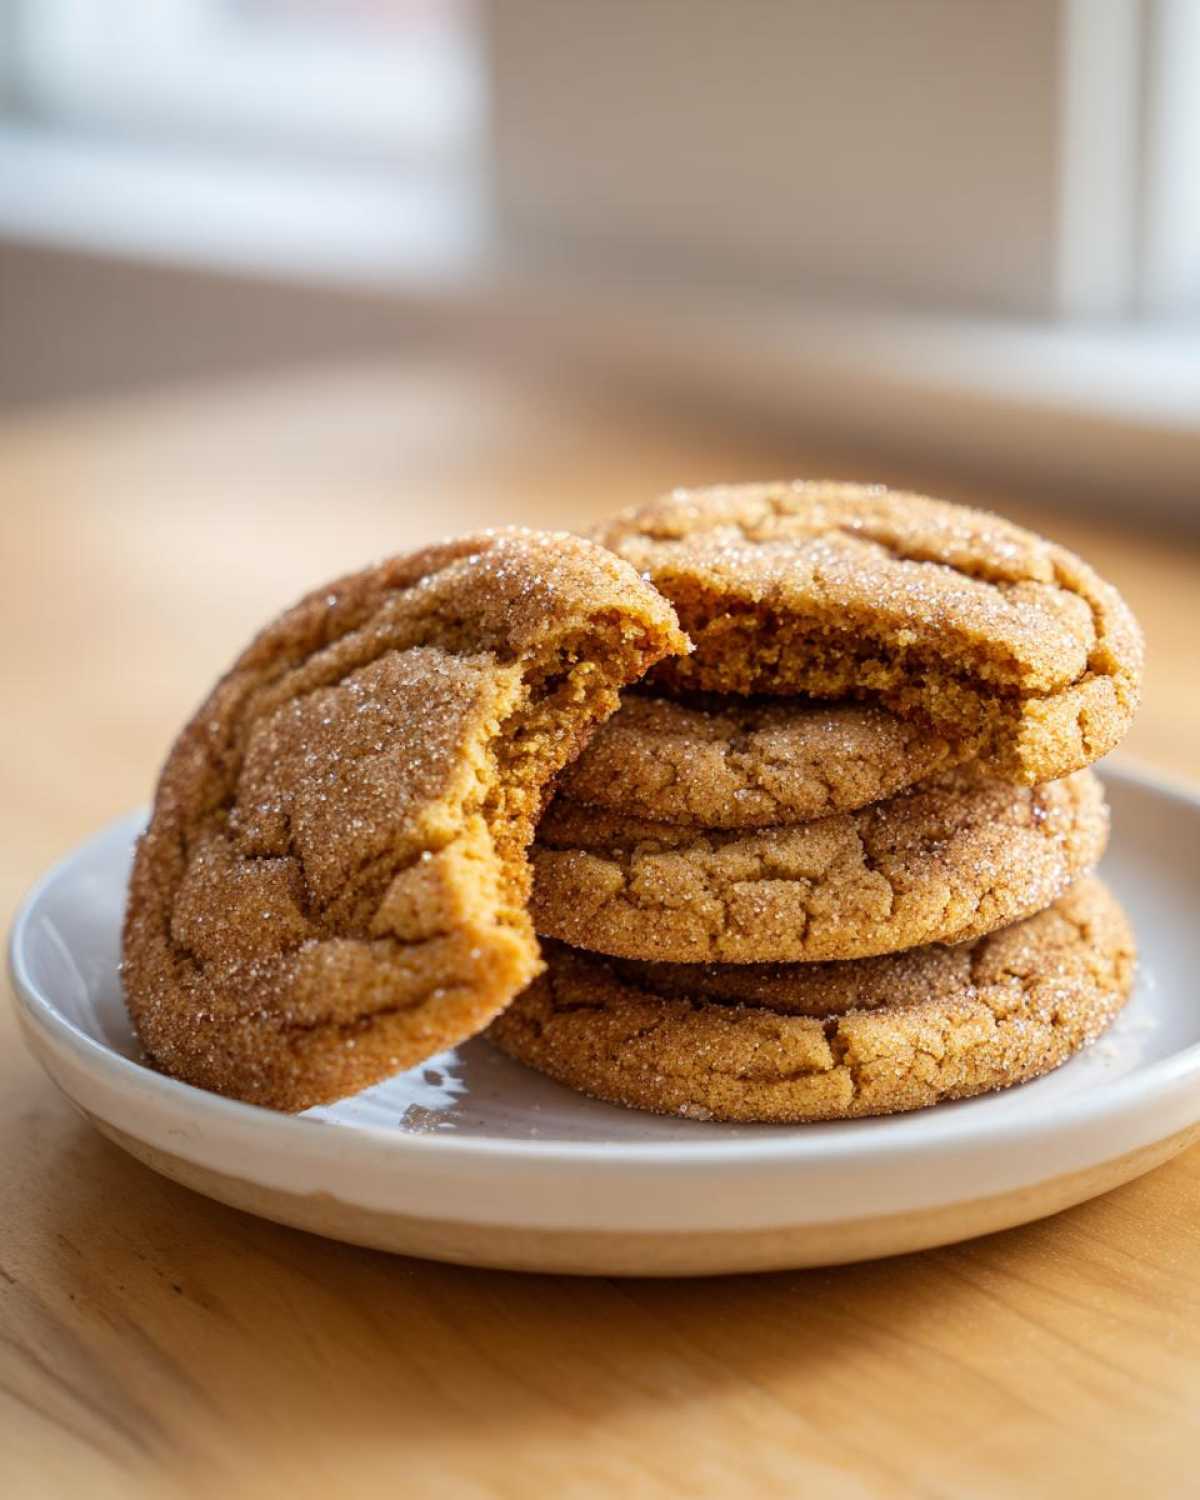
Why These Brown Butter Sugar Cookies Are Your New Favorite (Simple Cookie Upgrades)
Honestly, these aren’t just sugar cookies; they are the *elevated sugar cookies* you make when you want that little bit of extra magic without adding a ton of extra steps. Julian always says they taste like they came from a high-end bakery, and the best part is they come together so easily!
Here’s what makes baking these a total win for us:
- They nail that perfect texture combo: beautifully chewy sugar cookies centers that practically melt in your mouth.
- The edges get delightfully crisp—that’s the sugar coating doing its job—giving you amazing contrast.
- The brown butter creates such a rich, nutty depth, making them feel like true gourmet cookie recipes, every single time.
- You get all that huge flavor payoff just by taking an extra five minutes to manage the butter!
The Secret to Perfect Brown Butter Sugar Cookies: Ingredient Clarity
Okay, when we elevate something simple, the ingredients have to be spot-on. I treat this recipe like Julian treats color grading on a shoot—everything needs to be deliberate! For these brown butter sugar cookies to shine, you really need to use quality staples. Don’t worry about fancy additives here; the flavor comes from properly preparing the butter itself!
I’ve broken down the components below, but pay special attention to that butter situation—we use one cup (that’s two full sticks!) for the main dough, and that’s what gets browned. It’s non-negotiable for that nutty finish!
Here’s what you need to pull together this perfect batch:
- 1 cup (2 sticks) unsalted butter, divided for browning and chilling.
- 1 1/2 cups granulated sugar, plus extra for rolling (that coating is key!).
- 1 large egg – make sure it’s room temperature if you can!
- 1 teaspoon vanilla extract.
- 2 3/4 cups all-purpose flour.
- 1 teaspoon baking powder.
- 1/2 teaspoon salt (we use fine salt in the dough).
Essential Equipment for Bakery Style Brown Butter Sugar Cookies
Even though this cookie feels luxurious, the equipment list isn’t intimidating, which I love! It meets my need for *easy brown butter desserts* without requiring specialized gadgets. Julian always jokes that the best tool is patience, but practically speaking, a few items really make the process smoother, especially when dealing with that hot brown butter.
If you’re aiming for those professional, bakery style results, you absolutely need the right things for the butter step. Don’t try to brown butter in a dark, heavy skillet—you won’t be able to see the color change, and you’ll end up with burnt solids instead of perfectly toasted ones!
Here are the absolute must-haves for this batch of cookies:
- Light-Colored Saucepan: This is crucial! A stainless steel or light enamel pan lets you monitor the milk solids sinking to the bottom and turning from white to amber brown. You need to see that color change clearly.
- Heatproof Bowl: You have to pour the brown butter out immediately once it hits that nutty stage, so having a medium-sized glass or ceramic bowl ready is step one.
- Electric Mixer (Handheld or Stand): While you *could* cream butter and sugar by hand, once the brown butter cools and solidifies a bit, you need the power of a mixer to get that light and fluffy base.
- Parchment Paper: This is key for preventing stick, especially once we flatten the dough balls. It helps you get those perfect, slightly crispy edge cookies without a fuss.
- A Standard Glass or Measuring Cup: You’ll need a flat bottom to gently press the dough balls down just before baking. Be gentle here!
Step-by-Step Instructions for Amazing Brown Butter Sugar Cookies
This is where the magic truly happens, and honestly, this is the part I look forward to the most! Browning the butter isn’t just an extra step; it’s literally the flavor foundation for these cookies. I’ve tested this process so many times to make sure you get that perfect nutty aroma without any burnt disappointments. Achieving these from scratch cookie recipes perfectly means controlling the heat! Once that butter is ready, we move fast on mixing, and we need to be gentle when shaping to keep that signature texture we’re after—those soft center cookies depend on it!
Remember, the goal here is bakery style sugar cookies, which means we need slightly underbaked centers when they come out of the oven. Don’t panic when you see them looking a little soft; they set up perfectly during that initial cool-down period on the pan.
How to Brown Butter for Cookies: The Flavor Foundation
This technique is everything for a gourmet result! Take your cup of butter (yes, a whole cup!) and melt it slowly over medium heat in that light pan we talked about. It’s going to sizzle and foam up, which is totally normal. Keep swirling. Once the foaming dies down, watch the milk solids at the bottom—they start turning golden, then amber. You’ll actually smell it—that rich, nutty perfume means it’s done! Immediately pour it all into a heatproof bowl to stop the cooking process. Now, you let this cool until it’s firm enough to scoop, which usually takes about 30 minutes on the counter, or less in the fridge. Don’t rush this part of learning how to brown butter for cookies!
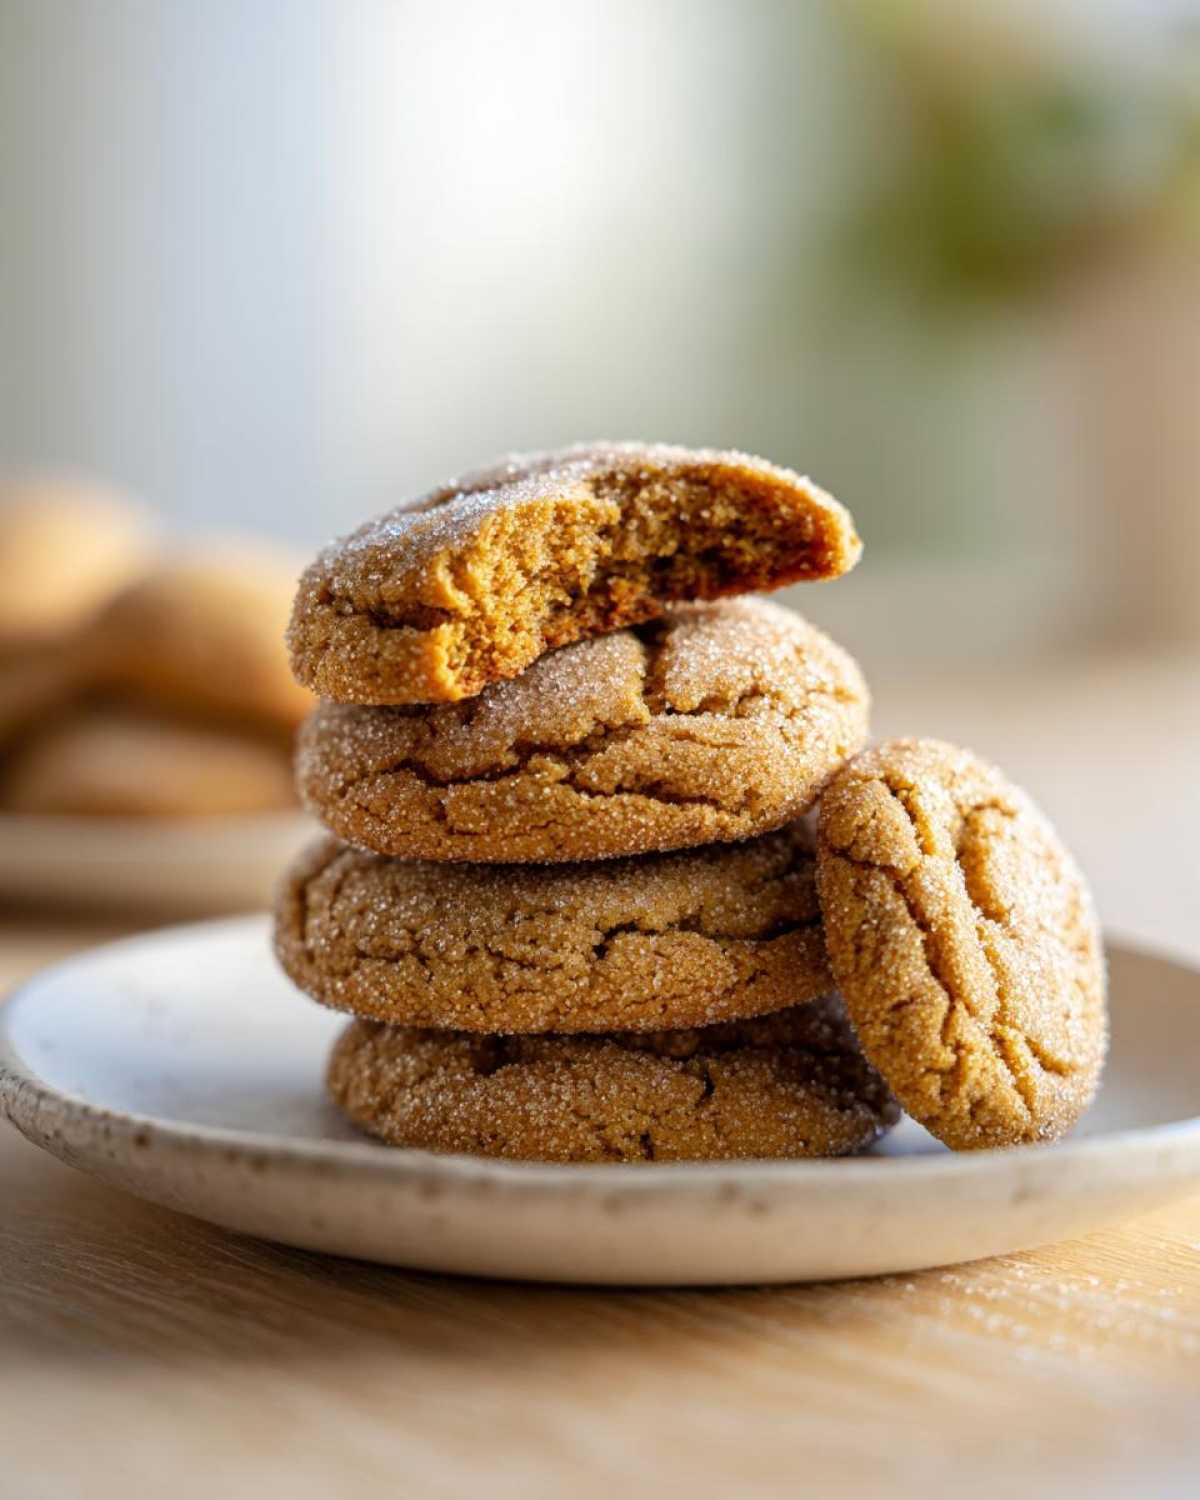
Mixing and Shaping Your Brown Butter Sugar Cookies Dough
Once your brown butter is cool and slightly firm, beat it fiercely with the 1 1/2 cups of sugar until it’s light and creamy. Trust me, you need that airiness! Next, drop in your egg and vanilla and mix just until combined—we need to respect the air we just incorporated. In a separate bowl, whisk your dry bits—flour, baking powder, and salt—just to make sure everything’s married up. Now, introduce the dry to the wet gradually, mixing on low speed just until you see the last streaks of flour disappear. Seriously, stop the mixer! Scoop out balls of dough, roll them generously in that extra sugar for that sparkly crunch, and then gently flatten them with a glass tip before they hit the oven. We’re almost there!
If you want to see a great visual demonstration of this technique, check out this helpful guide on brown butter sugar cookies that really breaks down the heat control!
Tips for Success: Achieving Crispy Edge Cookies Every Time
Getting that perfect texture contrast—the crunch on the outside, the chew on the inside—is where we seal the deal on these brown butter sugar cookies. It really comes down to temperature and timing, right at the very end. Julian always notes that the cooling stage is just as important as the baking stage when we’re shooting our food; you have to let the structure set up!
My biggest piece of advice for you when aiming for those crispy edge cookies is to pull the pan out when the centers look just a hair too doughy. If they look perfectly done in the oven, they turn into crisp discs on the cooling rack, and we don’t want that cookie tragedy!
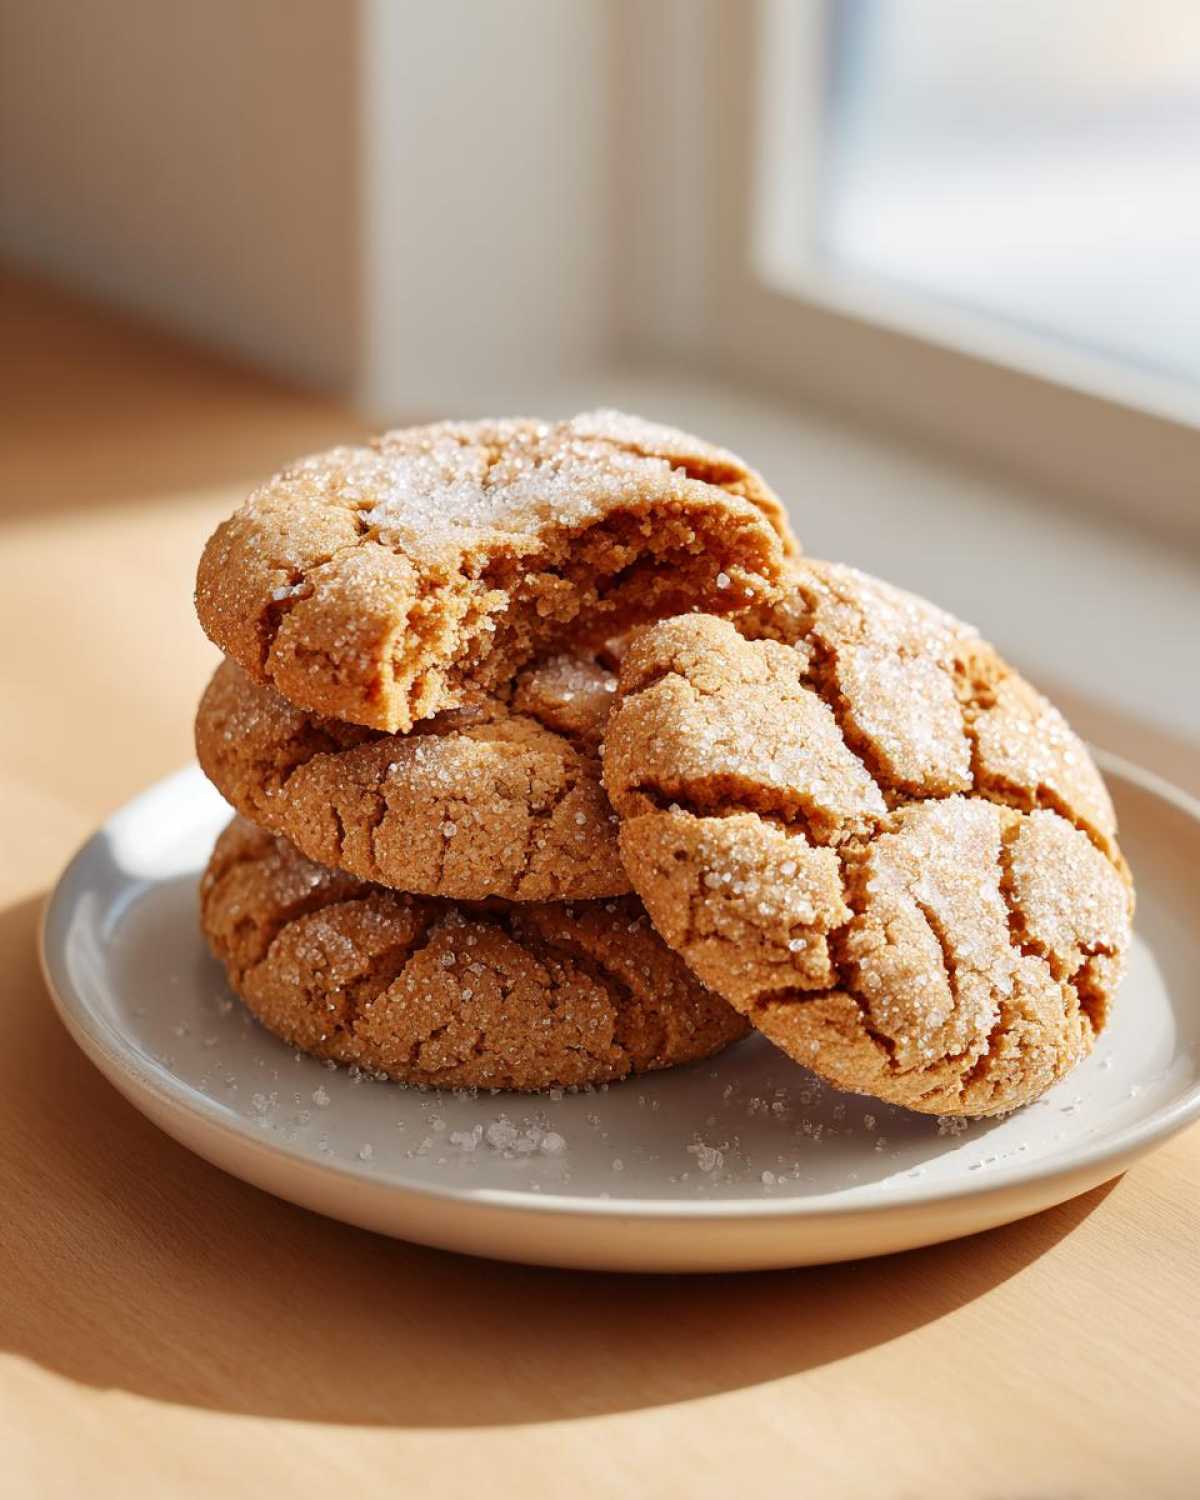
Here are the final pro moves:
- Let them sit! Seriously, leave those slightly underbaked brown butter sugar cookies on the hot baking sheet for a full five minutes. This retained heat finishes cooking the center just enough while hardening those edges perfectly.
- If you’re ever testing a recipe and find them spreading too thin (maybe your brown butter wasn’t cooled down quite enough when you creamed it), pop the whole sheet in the fridge for 10 minutes before baking. A cold cookie spreads less. For more general baking wisdom, I found some great tips over at Barley & Sage!
- For extra zing that cuts the richness, try sprinkling a tiny whisper of flaky sea salt right on top immediately after they come out of the oven. It just makes everything pop. If you want to see another fantastic recipe that uses this chewy technique, check out my approach to lemon loaf—it’s all about the finishing texture!
Variations for Your Brown Butter Sugar Cookies Recipe
While I truly believe these brown butter sugar cookies are perfect just as the recipe reads—nutty, simple, and deeply satisfying—I also know that we all love to play around a little bit, right? Baking should be fun, not rigid! Julian is always pushing me to add a little ‘pop’ to our staples, and I’ve found a few little additions that work beautifully with that rich brown butter undertone without ruining the texture we worked so hard for.
You don’t need a full overhaul to make these feel new. Sometimes, just a pinch of something extra sends them straight into holiday territory or gives them a lovely brightness for summer. Think of these as your canvas for your own creative direction!
If you’re feeling adventurous, try adding any of these right before you mix in the flour (or sprinkle on top):
- A Touch of Citrus: The nutty flavor balances beautifully with bright notes. Add the zest of one small orange or lemon to the creamed butter and sugar mixture. It just wakes everything up!
- Warm Spice Uplift: This is my absolute favorite flavor shift, especially around the cooler months. Try adding just 1/2 teaspoon of freshly ground cardamom or a tiny half-teaspoon of cinnamon when you whisk your dry ingredients. It pairs so well with the toasted flavor. If you love spice in your baking, you must check out my recipe for persimmon cookies for more ideas!
- Chocolate Chip Addition: Okay, I know this technically turns it into a different cookie, but hear me out: add half a cup of mini dark chocolate chips to the final dough. Because the brown butter is already so complex, the dark chocolate flavor deepens beautifully, making these an incredible, rich treat.
- Salted Caramel Drizzle: Once the cookies are completely cool, drizzle them very lightly with a high-quality salted caramel sauce. It’s extra effort, but it turns these into dessert showstoppers!
See? It’s so easy to generate new gourmet cookie recipes right from one solid base. Keep that brown butter technique down, and you can conquer any cookie variation!
Serving Suggestions for These Nutty Butter Cookies
Now that you have this incredible batch of nutty butter cookies cooling on the rack, the actual main feature of the evening is deciding how you’re going to enjoy them! Honestly, I could eat three of these standing over the sink while Julian cleans up, but they are definitely better when paired intentionally.
Since the brown butter adds such a rich, almost toffee-like complexity, you want pairings that cut through that sweetness or complement that warm, roasted flavor. We aren’t fancy people around here, but we do like intention!
Here are a few ways we like to feature these amazing cookies:
- The Classic Morning Upgrade: Forget boring coffee. These cookies beg for a strong, dark roast black coffee. The bitterness of the coffee is the perfect foil to the sweet, nutty cookie. If you add cream, use whole milk—we need that richness to stand up to the butter flavor!
- Milk for the Soul: This sounds too simple, but seriously, a cold glass of whole milk after dinner is almost mandatory. The cookie gets slightly softer when dunked, and it just tastes like childhood nostalgia, elevated just a touch.
- A Grown-Up Sip: If you’re having friends over or just need an evening wind-down, I highly recommend serving these alongside something warm but slightly tart. Sometimes I make a small pitcher of sparkling apple cider with a cinnamon stick garnish—the brightness of the cider is amazing with the deep butter notes. Bourbon milk punch is definitely Julian’s favorite pairing, though!
- With Tea: If you aren’t a coffee drinker, go for a robust black tea, maybe an Earl Grey or an English Breakfast. The bergamot oils in the Earl Grey contrast really nicely with the caramelized sugar flavor in the cookie.
Whatever you pair them with, make sure you sit down and actually enjoy them. Treat your cookie break like the cover story of your evening!
Storage and Reheating Instructions for Brown Butter Sugar Cookies
One of the best parts about successfully making these brown butter sugar cookies is knowing that, unlike some delicate shortbreads, they actually taste better the next day—assuming you store them right, of course! The goal, as always, is protecting that sublime contrast: we need those edges to stay slightly crisp while the middle stays perfectly soft and chewy.
Since this recipe is designed to bake up fast (we even skip chilling for faster results!), chilling the dough *will* change the texture slightly. If you chill the dough for an hour or two, the cookies will spread less, resulting in thicker, even softer center cookies. This is great if you prefer a thicker cookie, but be warned: the intense sugar coating might not adhere as well after chilling. It’s a trade-off for these easy brown butter desserts!
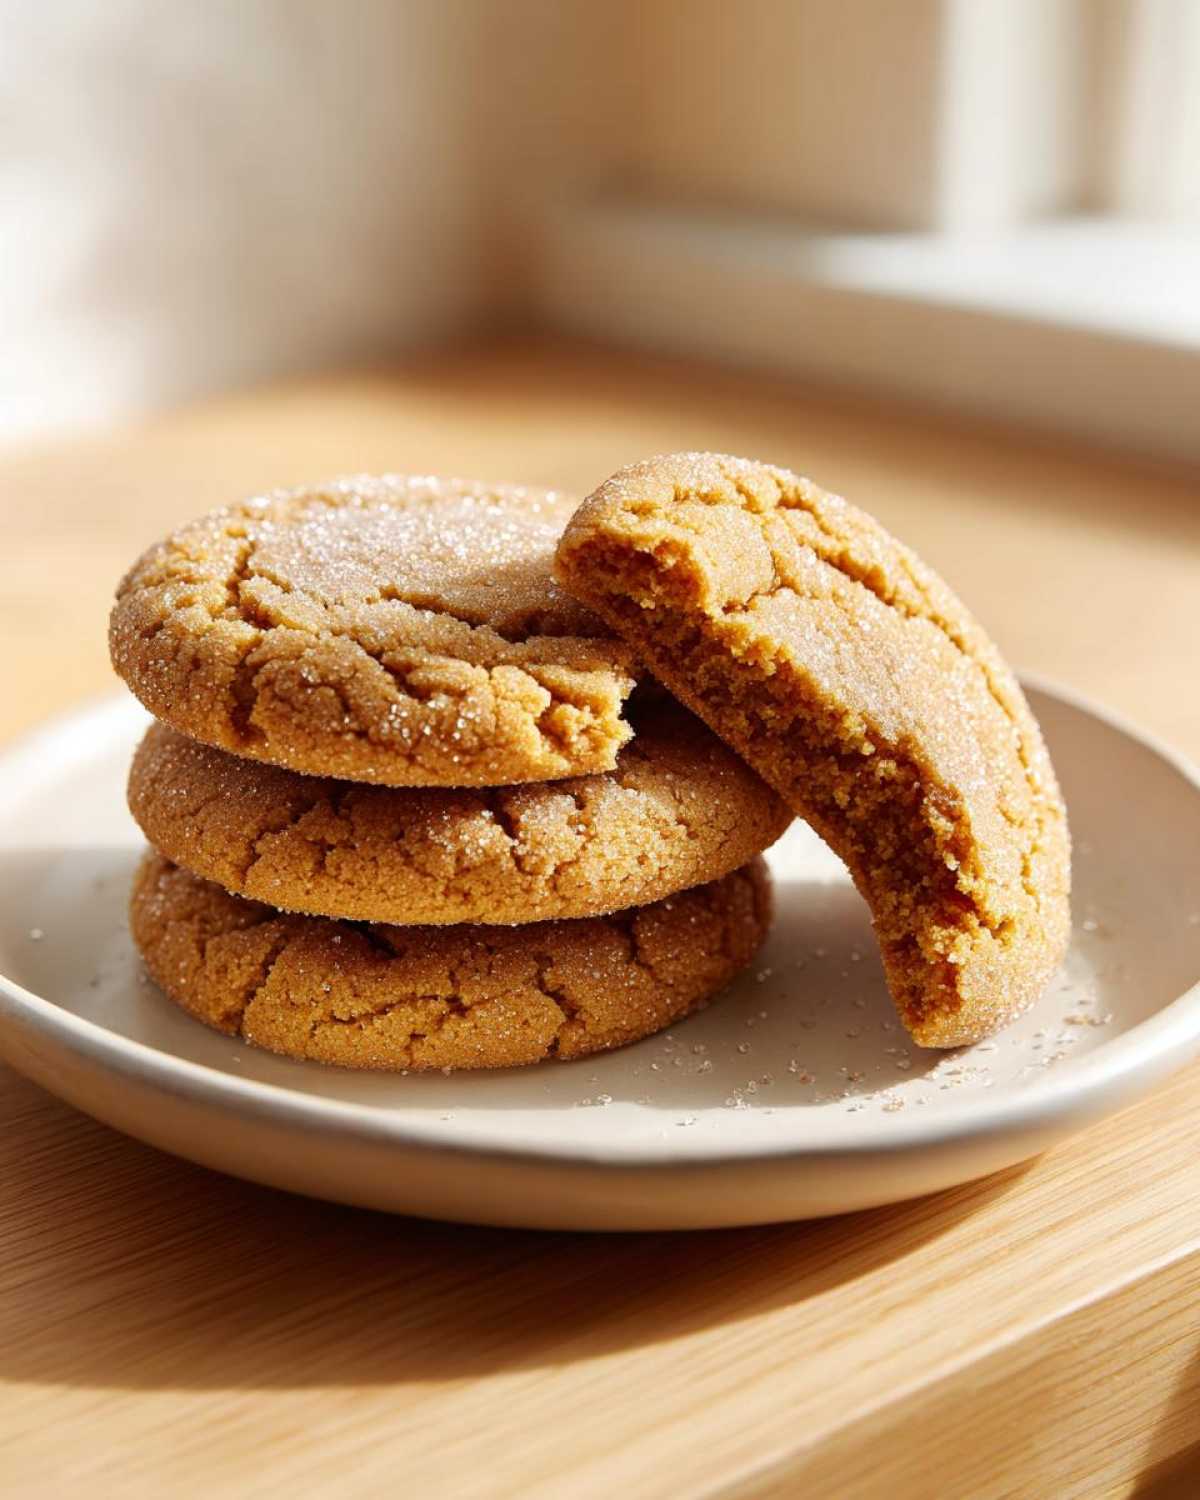
Here’s my tried-and-true method for keeping these nutty butter cookies fresh for a week or more:
- Room Temperature is Key: Never put these in the fridge! I know that sounds counterintuitive, but the cold temperature pulls moisture out of the sugars and dries out the center faster, turning our soft cookie into a hard disk.
- Airtight Container Only: Find a good container with a tight seal. Layering them is fine, but place a small piece of parchment paper between the layers so the sugary tops don’t stick to the bottoms of the cookies above them. This keeps the sugar coat intact. I often keep them boxed up like this for about five days on the counter.
- Freezing for the Long Haul: If you need them to last longer—say, for holiday baking prep—freeze them! Lay the cooled cookies flat on a baking sheet and stick them in the freezer until solid, maybe an hour. Then, transfer them to a heavy-duty zip-top bag, squeezing out as much air as you can. They freeze beautifully for up to three months.
- Reheating for the ‘Fresh-Baked’ Feel: If they’ve been sitting out for a few days and you want that just-out-of-the-oven moment, this is the trick! Pop one cookie on a microwave-safe plate and heat it for only 8 to 10 seconds. It softens the center beautifully. If you want that fresh crunch back on the edges, follow the microwave zap with about two minutes on a baking sheet in a toaster oven set to 300°F (150°C). It’s like instant restoration!
I always make sure to read my cookie policy before freezing large batches—just kidding, I don’t have one! But honestly, storing these correctly ensures every single one of these brown butter sugar cookies tastes like the first one you ever pulled off the baking sheet.
Frequently Asked Questions About Brown Butter Sugar Cookies
I know the world of baking can bring up a million little questions, especially when you’re introducing a technique like browning butter! My goal is always to make sure you feel completely supported, just like when Julian edits my first drafts—he finds all the little weak spots before they go public. These questions pop up a lot when people are first trying to master this recipe, so let’s just clear them up right now!
I pulled the best answers about making your brown butter cookies recipe the absolute best it can be. If you have more questions after trying these, don’t hesitate to reach out on our contact page!
Can I skip browning the butter in this brown butter sugar cookies recipe?
Oh, darling, you technically *can*, but please don’t! If you just use regular softened butter, you’ll end up with a standard, good sugar cookie, but it will completely lose the signature depth and nutty flavor that makes these cookies special. Skipping this step is like ordering a black and white photo when you could have had full color. The flavor will be flat, and you’ll miss out on why this recipe is so highly rated.
How do I prevent my chewy sugar cookies from spreading too much?
Spreading is usually related to temperature or having too much flour, which throws off the balance. My biggest trick for keeping these chewy sugar cookies nicely mounded is making sure the brown butter is cooled until it’s actually firm, but still pliable, before you cream it with the sugar. If your butter is too warm when you mix it with the sugar, the cookies spread wide before they even hit the oven. Too much liquid fat equals sad, flat cookies!
Can I chill the dough for these easy brown butter desserts?
This is interesting! Because this recipe is designed to bake up fast (we even skip chilling for faster results!), chilling the dough *will* change the texture slightly. If you chill the dough for an hour or two, the cookies will spread less, resulting in thicker, even softer center cookies. This is great if you prefer a thicker cookie, but be warned: the intense sugar coating might not adhere as well after chilling. It’s a trade-off for these easy brown butter desserts!
PrintThe Ultimate Brown Butter Sugar Cookies (Crispy Edges & Chewy Centers)
These brown butter sugar cookies deliver the rich, nutty flavor you crave. We guide you to achieve bakery-style results with crispy edges and soft, chewy centers. This is an elevated sugar cookie recipe perfect for any occasion.
- Prep Time: 20 min
- Cook Time: 15 min
- Total Time: 65 min
- Yield: 24 cookies
- Category: Dessert
- Method: Baking
- Cuisine: American
- Diet: Vegetarian
Ingredients
- 1 cup (2 sticks) unsalted butter, plus more for browning
- 1 1/2 cups granulated sugar, plus more for rolling
- 1 large egg
- 1 teaspoon vanilla extract
- 2 3/4 cups all-purpose flour
- 1 teaspoon baking powder
- 1/2 teaspoon salt
Instructions
- Brown the butter: Place the 1 cup of butter in a light-colored saucepan over medium heat. Melt the butter completely, then continue cooking, swirling often. The butter will foam, then the milk solids will sink and turn golden brown, releasing a nutty aroma. Immediately pour the brown butter into a heatproof bowl, scraping in all the browned bits. Let it cool until it is firm but still slightly soft, about 30 minutes at room temperature, or 15 minutes in the refrigerator.
- In a large bowl, beat the cooled brown butter and 1 1/2 cups granulated sugar together with an electric mixer until light and fluffy, about 2 minutes.
- Beat in the egg and vanilla extract until just combined.
- In a separate bowl, whisk together the flour, baking powder, and salt. Gradually add the dry ingredients to the wet ingredients, mixing on low speed until just combined. Do not overmix.
- Place about 1/2 cup of extra granulated sugar in a shallow dish. Scoop the dough into balls (about 1.5 tablespoons each) and roll each ball in the sugar to coat completely.
- Place the dough balls on baking sheets lined with parchment paper, spacing them about 2 inches apart. Gently press down on the top of each ball with the bottom of a glass or measuring cup to flatten slightly.
- Bake at 375°F (190°C) for 9 to 11 minutes. The edges should look set and golden, but the centers should still look slightly underbaked for a chewy texture.
- Let the cookies cool on the baking sheet for 5 minutes before transferring them to a wire rack to cool completely. This helps achieve those desired crispy edges.
Notes
- Browning butter is key: Watch the milk solids carefully; once they turn amber brown, remove the pan from the heat immediately to prevent burning.
- For extra chewy cookies, slightly underbake them; they will continue to set as they cool on the hot pan.
- If you want a saltier flavor profile, add 1/4 teaspoon of flaky sea salt to the dough mixture.
Nutrition
- Serving Size: 1 cookie
- Calories: 185
- Sugar: 15
- Sodium: 95
- Fat: 10
- Saturated Fat: 6
- Unsaturated Fat: 4
- Trans Fat: 0
- Carbohydrates: 23
- Fiber: 0
- Protein: 2
- Cholesterol: 35