

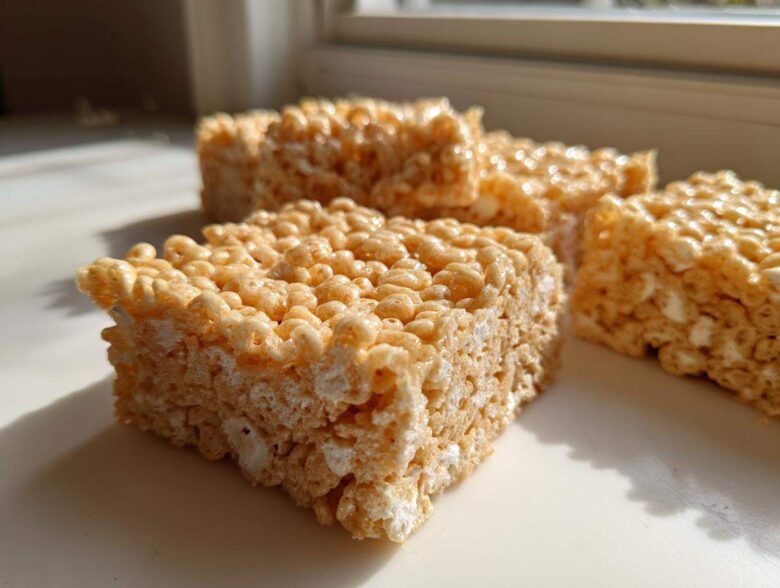
You think you know the classic marshmallow cereal treat, right? Just butter, marshmallows, and crispy cereal? Well, stop right there! We’re kicking these bars up about a million notches, and it all comes down to one simple kitchen trick. Seriously, forget plain butter; we are going straight for the good stuff in these **Brown Butter Rice Krispie Treat Bars**.
Browning the butter is my absolute favorite way to inject serious depth into any sweet treat. It’s not just melting—it’s magic! When you toast those butter solids just right, you get this incredible, deep, nutty caramel note that you simply cannot get any other way. Trust me, once you taste this richer flavor profile, you’ll never go back to the standard version. It elevates this nostalgic bake into something truly gourmet.
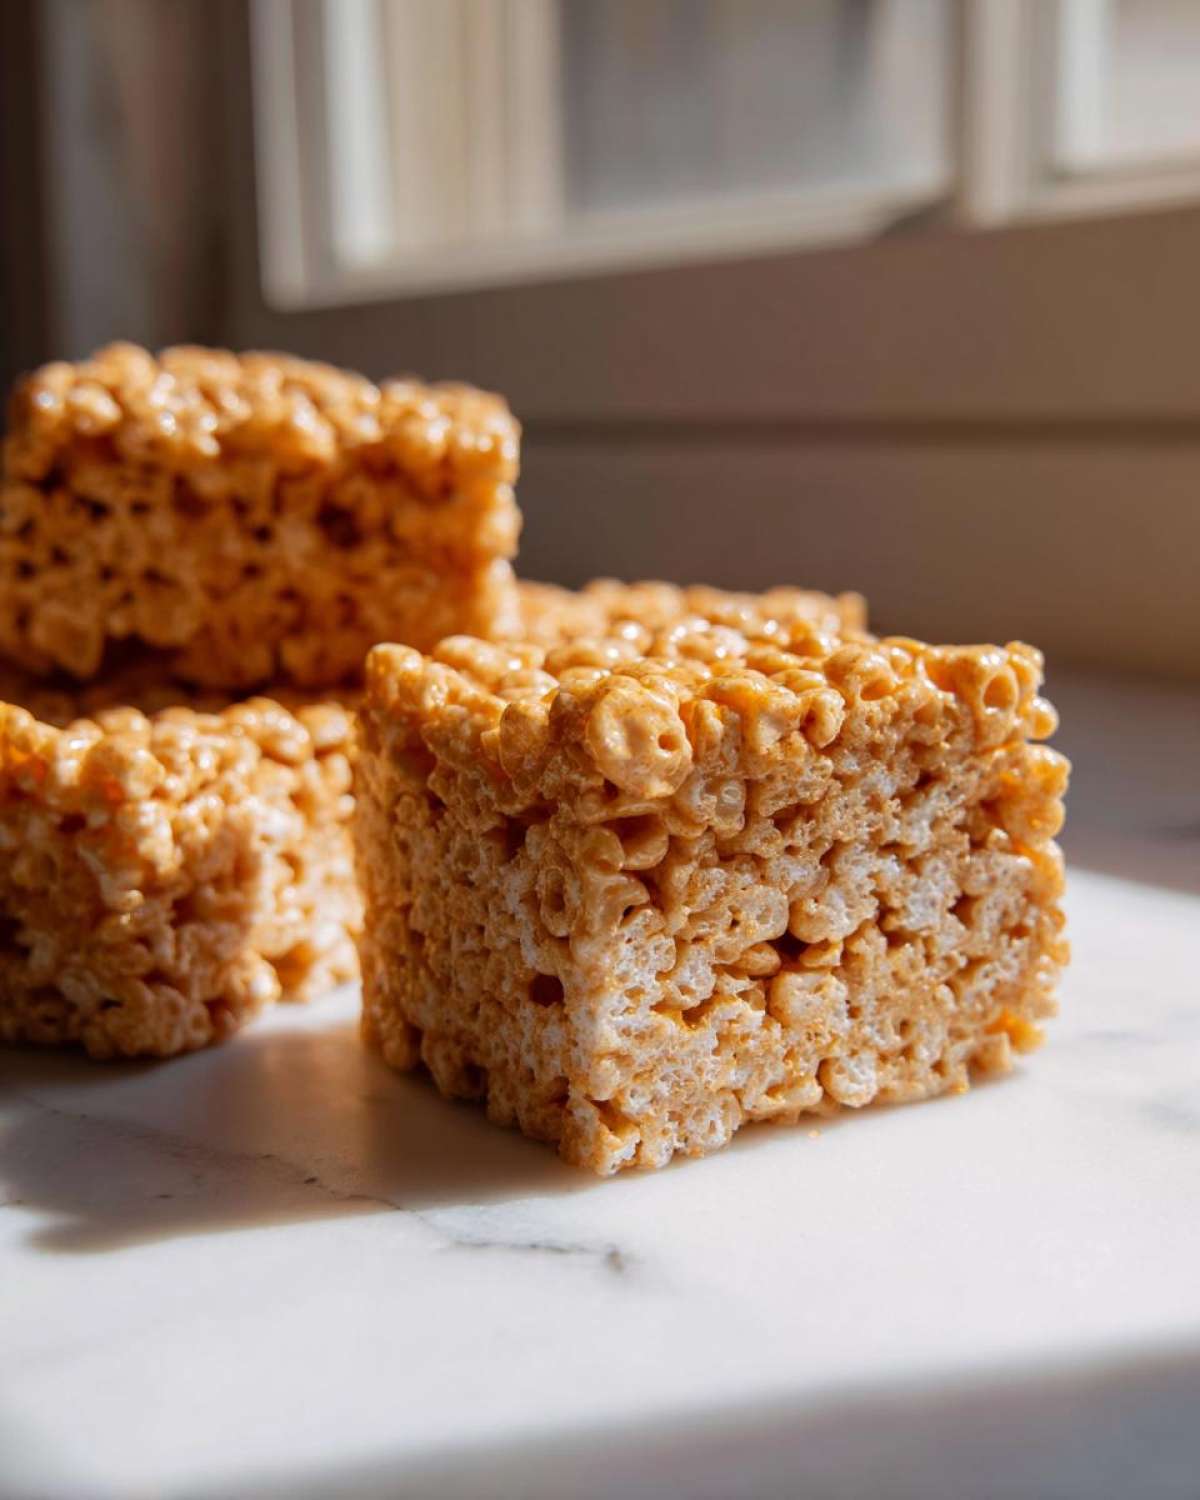
If you want to see how I get these perfectly chewy and delicious, check out my favorite way to make brown butter chocolate chip cookies for another flavor bomb inspiration!
Why You Will Love These Brown Butter Rice Krispie Treat Bars
I’ve made this recipe countless times for neighborhood gatherings, and people always ask, “What’s different about these?” The difference is that deep, soul-satisfying nutty flavor! If you’ve been looking for the ultimate upgrade to your batch of Nutty Rice Krispie Treats Recipe, you found it right here. Here’s why these are my go-to version:
- Deep, Toasted Flavor: The brown butter gives these squares a sophisticated, caramel-like edge that plain butter just can’t touch. It smells amazing while you’re making it, too!
- Perfectly Chewy Texture: We’re using a technique to make sure these aren’t too hard or crunchy. They snap just right, but still have that irresistible chew the second you bite in.
- Surprisingly Fast: Honestly, you can turn your kitchen into a pastry paradise in under 20 minutes of active time. So easy for a last-minute dessert!
- The Salt Factor: Adding a sprinkle of flaky sea salt on top is non-negotiable for me. It just makes the vanilla and nutty notes absolutely sing.
- Nostalgia Meets Gourmet: It’s the same childhood comfort food you remember, beautifully elevated with one simple change in technique.
Essential Ingredients for Gourmet Marshmallow Squares
You don’t need a ton of fancy stuff to make these **Gourmet Marshmallow Squares** sing, but the quality of the few things we do use really matters. Since we’re asking the butter to do double duty here by browning it, make sure you’re using good unsalted butter. That way, we can control the seasoning ourselves later on.
Here’s what you’ll need to gather for this easy upgrade:
- Six tablespoons of unsalted butter (don’t skip the unsalted part if you can help it!).
- One 10-ounce bag of miniature marshmallows—I find the minis melt smoother.
- A full six cups of your favorite crispy rice cereal.
- One teaspoon of good quality vanilla extract to deepen the flavor.
- And the grand finale: just a half teaspoon of flaky sea salt if you plan to sprinkle it on top for that gorgeous sweet-and-salty combo!
Mastering the Brown Butter: Key to Flavorful Brown Butter Rice Krispie Treat Bars
Okay, this is where the magic happens, and I promise, it’s so easy! Browning the butter is the single most important step in making these **Brown Butter Rice Krispie Treat Bars**. It takes your recipe from ‘kid’s party snack’ straight up to ‘gourmet bakery case.’ You’ll need a medium saucepan and medium heat. Put your six tablespoons of butter in there, and just let it do its thing.
First, it melts, right? Then it starts to foam up, which looks a little dramatic, but don’t panic! Keep swirling the pan gently so nothing sticks to the bottom immediately. After the foaming settles down, you’ll see tiny little brown bits start forming at the bottom of the pan. That’s the milk solids caramelizing, and that smell is what you are looking for—that deep, gorgeous nutty aroma. This whole show takes maybe five to seven minutes total, but you have to watch it like a hawk! Burn it by even just five seconds, and you’re starting over because bitter butter is no good.
Once it smells richly nutty and those little specks are golden brown, yank that pan off the heat immediately! Seriously, the residual heat will keep cooking it fast. If you want the deepest flavor layered into your **Browned Butter Cereal Bars**, you have to nail this toasty step. Speaking of toasting things just right, you should check out my method for making French onion butter rice for another way to use browned butter solids!
Identifying Perfect Brown Butter
How do you know you’ve hit that sweet spot? Look for the sediment at the bottom of the pan to turn a clear, amber-to-light-brown color. Visually, it should look like liquid gold. Olfactory-wise, it should smell intensely nutty—like toasted hazelnuts or toffee. If it smells burnt, toss it and start again. If it just smells like melted butter, keep going until you get that wonderful, deep aroma!
Step-by-Step Instructions for Chewy Brown Butter Bars
Alright, now that we’ve achieved crispy, nutty perfection in our butter, we move fast! This is where the **Brown Butter Rice Krispie Treat Bars** come together. Remember, the secret to a truly chewy bar isn’t just the ingredients; it’s the speed and gentleness of the mixing phase. I like to have everything measured out beforehand because once the marshmallows hit that hot brown butter, there’s no time to fool around!
We’re aiming for a light, airy texture, which means we have to be careful not to compact these beauties into a brick. Keep your movements deliberate and fold gently!
Preparing the Pan and Melting the Butter
First things first: get your 9×13 inch pan ready. I always line mine with parchment paper, making sure there’s a generous overhang on the sides—this is our built-in handle later! If you don’t use parchment, make sure you grease it really well with shortening or cooking spray. Next, place your six tablespoons of butter in that medium saucepan over medium heat. You’ll watch it melt, foam up, and then, around the five to seven-minute mark, you’ll see those gorgeous brown bits form. Pull it off that heat the *second* you smell that deep, toasted aroma.
Mixing Marshmallows and Cereal for Brown Butter Rice Krispie Treat Bars
This is crucial timing: as soon as the pan is off the heat, dump in the whole package of marshmallows. Stir them constantly into that hot, nutty butter until everything is completely melted down into a smooth, glossy sauce. Don’t let it sit! Once smooth, stir in that teaspoon of vanilla extract. Now, quickly—and I mean quickly—fold in your six cups of crispy rice cereal until every piece is coated in that amazing brown marshmallow goo. Then, transfer everything into your prepared pan and press it down very lightly. I mean it! If you press too firmly, they get hard. Just give it a gentle, even spread, maybe sprinkle on some sea salt, and let it cool completely!
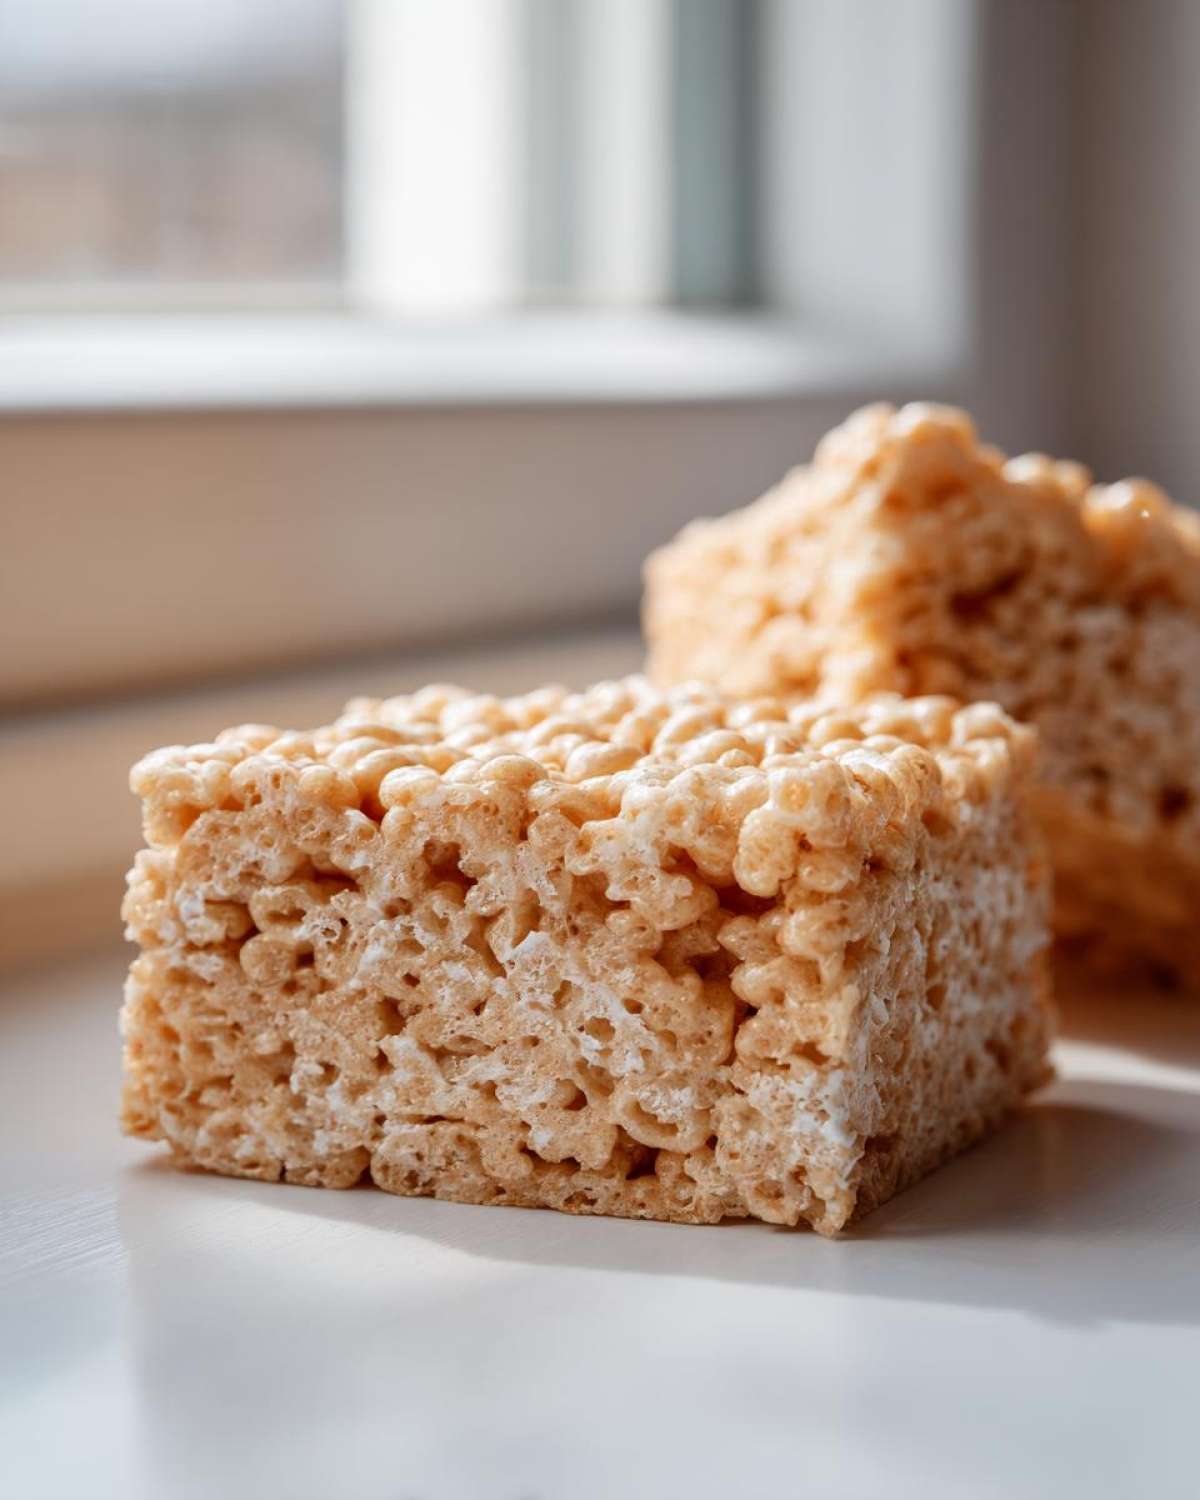
If you’re looking for more easy, reliable recipes involving pans and mixing, check out my guide on making easy moist lemon loaf recipe!
Tips for Success with Homemade Crispy Treats Recipe
Okay, you’ve made it through the hardest part—the browning! Now we talk texture and presentation, because nobody wants a sticky mess when serving up these gorgeous **Brown Butter Rice Krispie Treat Bars**. Getting that perfect combination of crispy crunch on the outside and that soft, yielding chew on the inside is all about knowing a few secrets I learned the hard way. Believe me, I’ve made enough batches of **Homemade Crispy Treats Recipe** to mess up pretty much every way possible!
My biggest tip, based on hard-earned kitchen experience, is always check your marshmallows. Do not, I repeat, *do not* use stale marshmallows! If they’ve been floating around in the pantry for months and feel rock hard, they won’t melt properly and your bars will be brittle instead of chewy. Fresh marshmallows are your best friend for that perfect pull.
Also, remember what I said earlier: when you press the mixture into the pan, be gentle! You are just coaxing it into place. If you smash it down with all your might, you’re forcing out all the air pockets we created when we mixed everything, and that’s how you end up with rock-hard squares. Just smooth the top lightly with buttered parchment paper or a spatula.
Achieving Clean Cuts on Your Brown Butter Dessert Bars
Cakes and bars are always tricky to cut cleanly, especially gooier ones like these **Brown Butter Dessert Bars**. If you wait until they are fully firm and try to cut them with a standard knife, you’ll end up dragging the stickiness right through the middle, ruining the look of your beautiful, nutty treats. I’ve tried oiling the knife, chilling the knife—the works!
The absolute best trick is to let them cool completely first. Once they are set (give them at least an hour at room temperature), grab your sharpest, largest knife, and give the blade a light spritz of cooking spray right before you slice. Wipe the knife clean between cuts if you are going for party-perfect squares. This simple step prevents the sticky marshmallow from clinging to the blade, giving you those amazing, sharp edges that show off how perfectly chewy the inside is. For even easier removal, make absolutely sure you used that parchment overhang I mentioned!
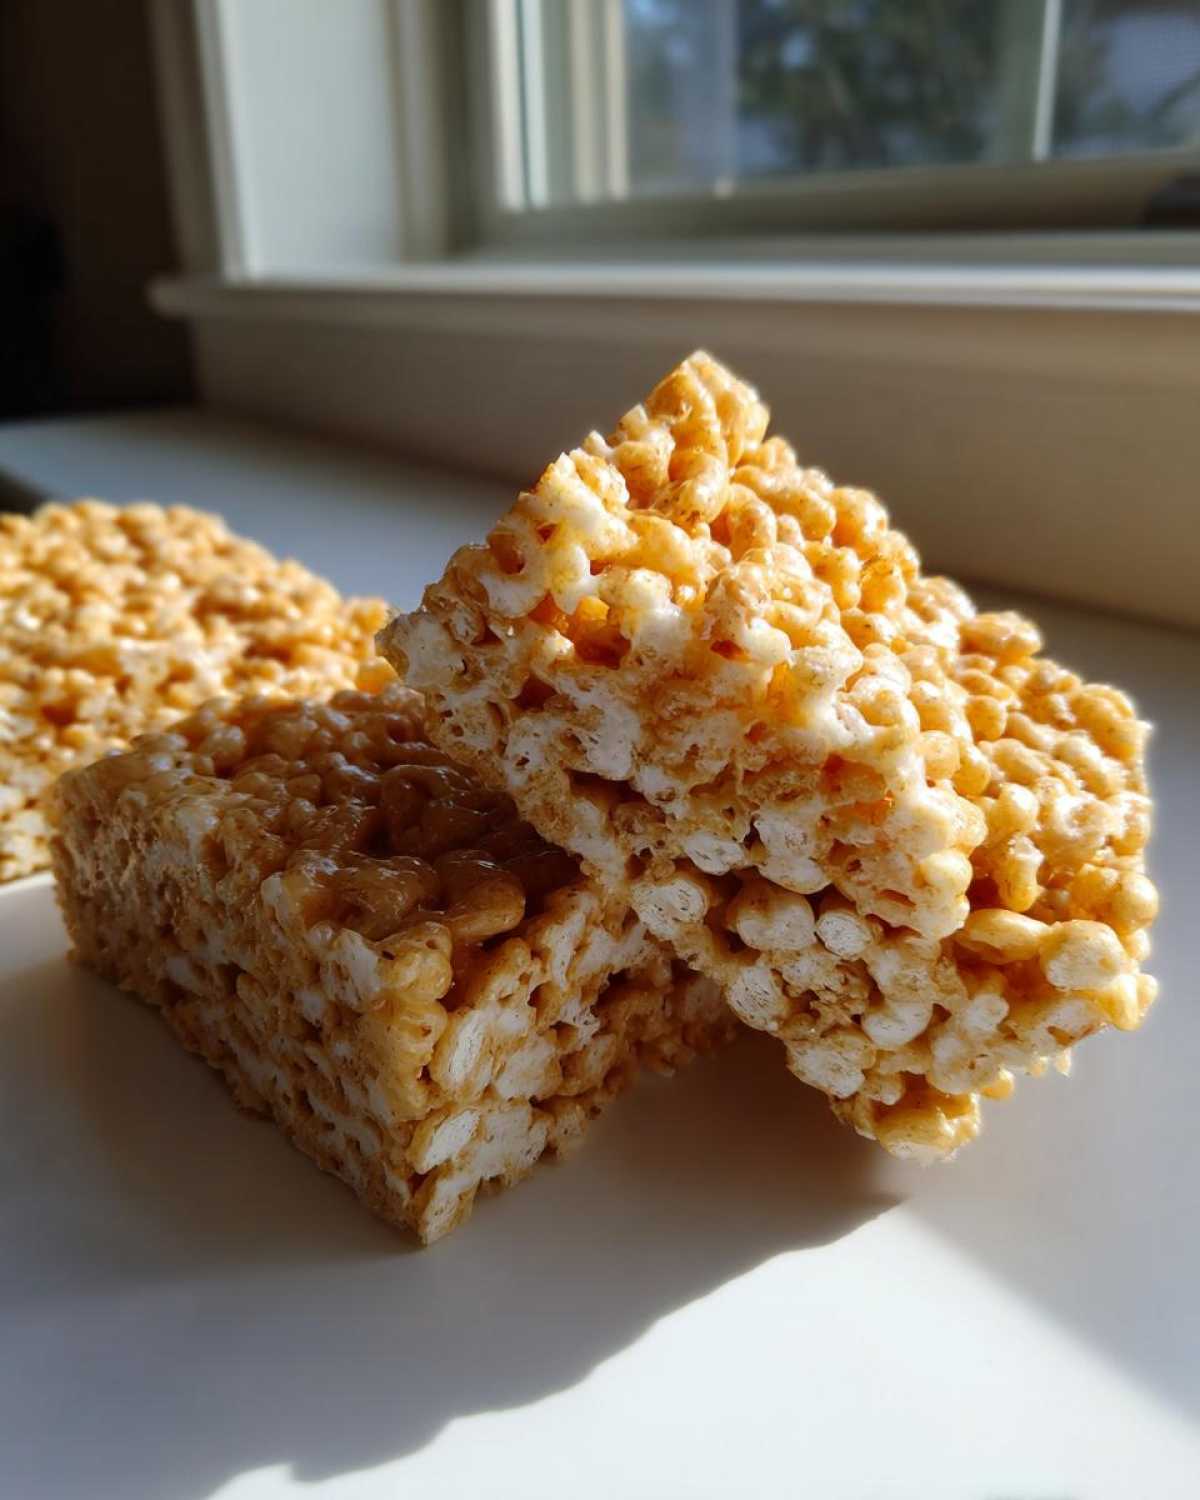
If you’re looking for more ideas on how to handle butter in your baking, you might want to peek at my recipe for the best butter cookies recipe easy homemade version!
Variations for Salted Brown Butter Treats
While the base recipe for these **Brown Butter Rice Krispie Treat Bars** is fantastic on its own, the brown butter base invites so much creativity! It’s like giving a canvas a sophisticated primer; now you can splash on some serious color. If you’re making these for a crowd or just feeling extra, definitely play around with these mix-ins. They pair beautifully with the nutty foundation we built!
Since we already sprinkled a little flaky sea salt on top for those stunning **Salted Brown Butter Treats**, adding another layer of texture or flavor is a breeze. My absolute favorite way to jazz these up is folding in about a cup of finely chopped pecans or walnuts right before pressing the mixture into the pan. Toasting those nuts lightly in a dry pan beforehand really unlocks their flavor, amplifying that toasted note from the butter!
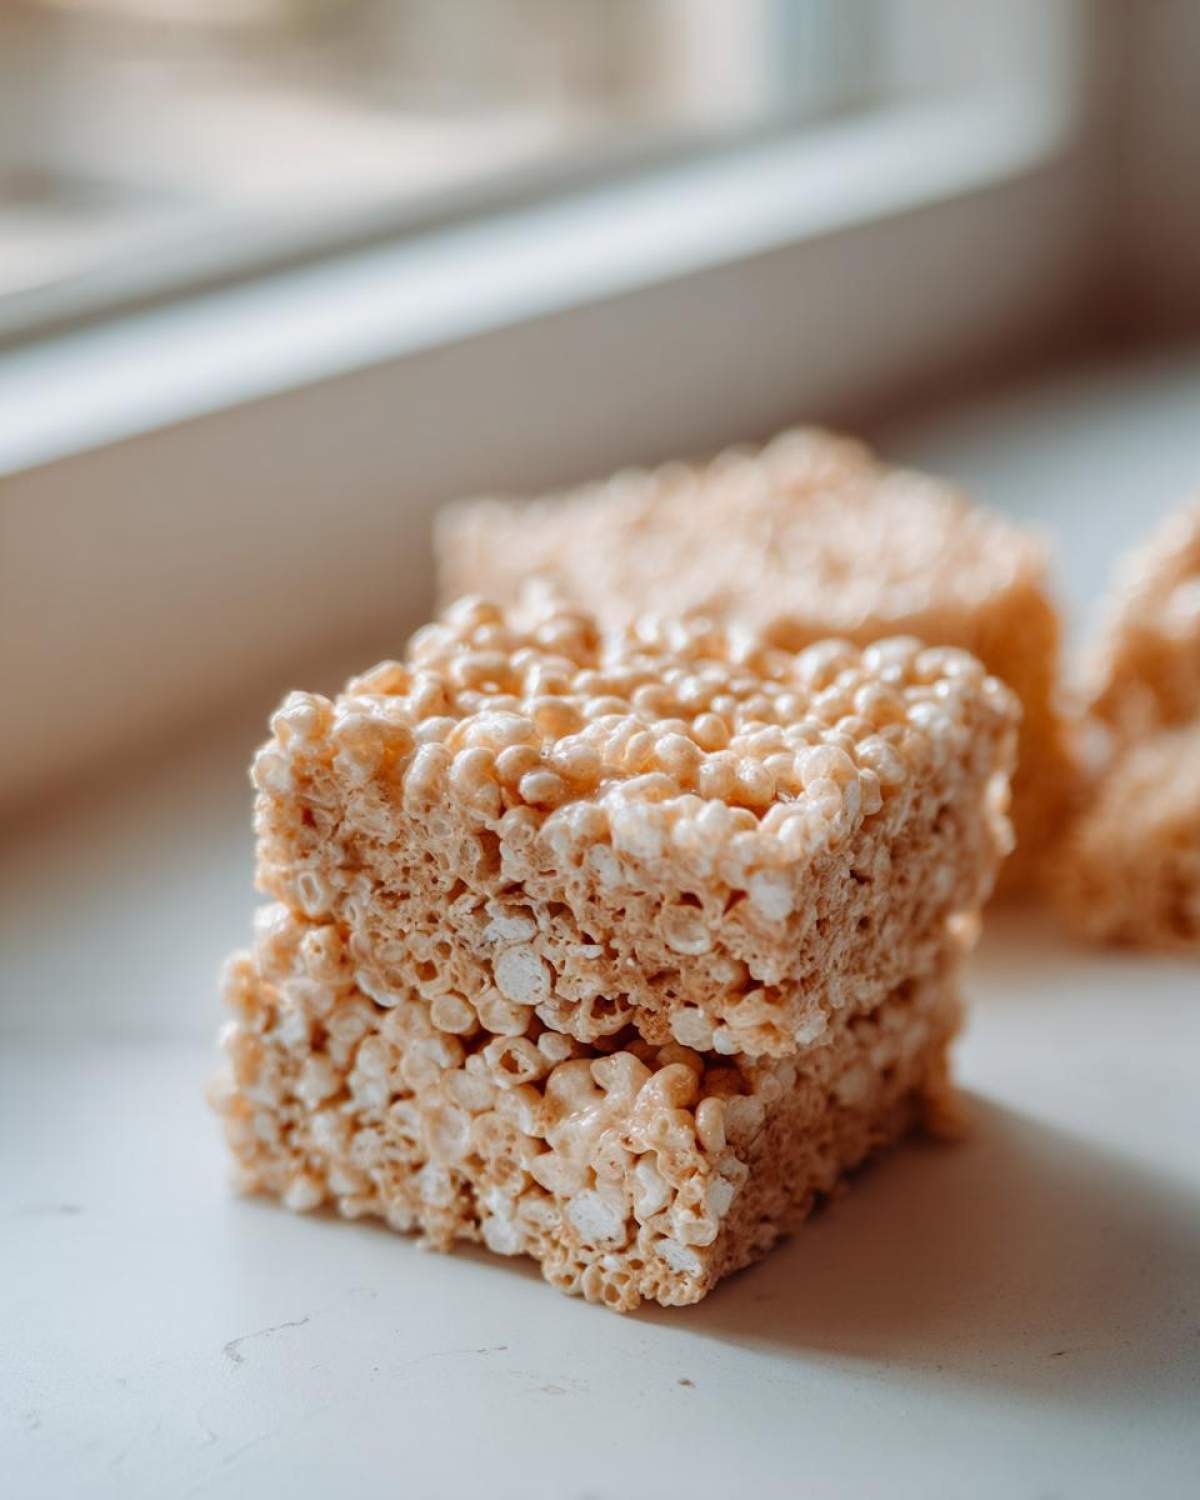
Another winning idea, especially for anyone who loves a rich dessert, is adding white chocolate or butterscotch chips. The creaminess of the chips melts ever so slightly against the warm marshmallow, creating pockets of pure indulgence. If you love that chocolate and nutty combination, you might enjoy my chocolate chip cheesecake cookies recipe too!
And hey, don’t feel stuck on sea salt! Try finishing with a sprinkle of smoked paprika—it sounds wild, but the mild smoke against the caramel is unbelievably complex. It’s all about having fun in the kitchen!
Storage and Keeping Your Brown Butter Rice Krispie Treat Bars Fresh
Part of the genius of these **Brown Butter Rice Krispie Treat Bars** is that you can actually make them ahead of time! Unlike some delicate baked goods that demand immediate attention, these cereal bars are super hardy, assuming you store them right. The nutty aroma of the toasted butter is strongest on day one, but honestly, they hold up beautifully for a few days.
You definitely want to avoid the refrigerator if you can. Putting these homemade bars in the fridge tends to suck out that wonderful chewiness we worked so hard to achieve. Cold air makes the sugar seize up, and suddenly your soft bar feels like a hockey puck! Yuck!
Keep them at room temperature, covered tightly. Pop them into a sturdy, airtight container. If you cut them into squares first, you can layer wax paper or parchment squares between the layers to stop them from sticking to each other. I find they taste best within the first 48 hours, but they are perfectly fine and delicious for up to three full days if you’ve got leftovers. Trust me, these rarely last that long anyway!
Quick Facts About This Easy Brown Butter Dessert
Sometimes you just need the snapshot—the facts right up front so you know exactly what you’re committing to! I know that when I’m flipping through recipes, I want to see the payoff time immediately. This **Easy Brown Butter Dessert** is a winner because the active time is so short, even with the little extra step of browning the butter.
These **Brown Butter Rice Krispie Treat Bars** are based on a classic American stovetop method, and they are completely vegetarian-friendly. You get 18 perfect squares out of this batch, which is just the right amount for a small gathering or to keep in the pantry for afternoon snacking!
Here’s the quick breakdown:
- Prep Time: Just about 10 minutes! That’s mostly just gathering ingredients.
- Cook Time: About 10 minutes on the stove while we brown the butter and melt the marshmallows.
- Total Time: About 70 minutes, but most of that is just cooling time so you don’t burn your mouth!
- Yield: You’ll get 18 wonderfully chewy bars.
- Method: Stovetop is the way to go for this one.
If you’re looking for other super-quick skillet or pan recipes that deliver huge flavor with minimal cleanup, you absolutely have to try my recipe for easy pizza casserole recipe—sometimes the simplest pan recipes are the best!
Frequently Asked Questions About Browned Butter Cereal Bars
I always get a flood of questions after I post these because browning butter just opens up a whole new area of cooking confidence for people! Figuring out that perfect nutty stage is key, and making sure these don’t turn into an unchewable brick are the two main things folks worry about when making these elevated treats. Let’s clear those up now so you can jump right into making the best batch of **Browned Butter Cereal Bars** ever!
Can I substitute salted butter in this Browned Butter Cereal Bars recipe?
That’s a great question! You absolutely *can* use salted butter instead of unsalted if that’s what you have on hand. However, remember that the brown butter process concentrates the flavor, including the salt. Since the recipe calls for us to sprinkle extra flaky sea salt on top for the best flavor pop, you need to adjust. If you use salted butter, I highly recommend skipping that extra sprinkle on top entirely. If you really want that salt finish, use salted butter but cut the added salt down to just a tiny pinch, or omit it completely. We don’t want these **Brown Butter Rice Krispie Treat Bars** to become overly salty!
How do I prevent my Brown Butter Rice Krispie Treat Bars from getting too hard?
Ah, the eternal struggle against hard cereal bars! There are two main culprits here, and both are easy to fix. First, remember that crucial step when you mix everything in: Do NOT press the mixture down into the pan with vigor! You are just gently coaxing it into place to stay flat; you aren’t trying to pack cement. Over-pressing squeezes out the air pockets that keep the bars soft.
Second, this is a little secret: slightly undercooking the marshmallows helps! I mean, don’t leave them as solid little lumps, but as soon as they are smooth, pull it off the heat. If you cook the marshmallows too long, they get stiff and dry out as they cool. If you follow these two steps—light pressing and quick mixing—you’ll end up with those wonderfully **Chewy Brown Butter Bars** you’re craving. And hey, if you have any burning kitchen questions, feel free to check out our general info page on our site!
PrintBrown Butter Rice Krispie Treat Bars
Make classic Rice Krispie Treat Bars with the added depth of nutty, browned butter for a richer flavor.
- Prep Time: 10 min
- Cook Time: 10 min
- Total Time: 70 min
- Yield: 18 bars
- Category: Dessert
- Method: Stovetop
- Cuisine: American
- Diet: Vegetarian
Ingredients
- 6 tablespoons unsalted butter
- 1 package (10 ounces) miniature marshmallows
- 1 teaspoon vanilla extract
- 6 cups crispy rice cereal
- 1/2 teaspoon flaky sea salt (optional, for sprinkling)
Instructions
- Lightly grease a 9×13 inch baking pan or line it with parchment paper, leaving an overhang for easy removal.
- Place the butter in a medium saucepan over medium heat. Cook the butter, swirling the pan occasionally, until it melts, foams, and then brown bits form at the bottom and the butter smells nutty. This takes about 5 to 7 minutes. Watch carefully to prevent burning.
- Remove the saucepan from the heat immediately once the butter is browned.
- Add the marshmallows to the browned butter in the saucepan. Stir constantly until the marshmallows are completely melted and smooth.
- Stir in the vanilla extract.
- Remove the pan from the heat and quickly fold in the crispy rice cereal until it is evenly coated with the marshmallow mixture.
- Transfer the mixture to the prepared baking pan. Lightly press the mixture evenly into the pan using a piece of wax paper or lightly buttered spatula. Do not press too firmly, as this makes the bars hard.
- If using, sprinkle the flaky sea salt evenly over the top.
- Let the bars cool completely at room temperature for at least 1 hour before cutting into squares.
- Lift the bars out of the pan using the parchment overhang and cut into desired bar sizes.
Notes
- For cleaner cuts, lightly spray your knife with cooking spray before slicing the cooled bars.
- Store the bars in an airtight container at room temperature for up to 3 days.
- If you prefer a chewier bar, slightly undercook the marshmallows until just melted.
Nutrition
- Serving Size: 1 bar
- Calories: 150
- Sugar: 12
- Sodium: 85
- Fat: 5
- Saturated Fat: 3
- Unsaturated Fat: 2
- Trans Fat: 0
- Carbohydrates: 25
- Fiber: 0
- Protein: 2
- Cholesterol: 10