

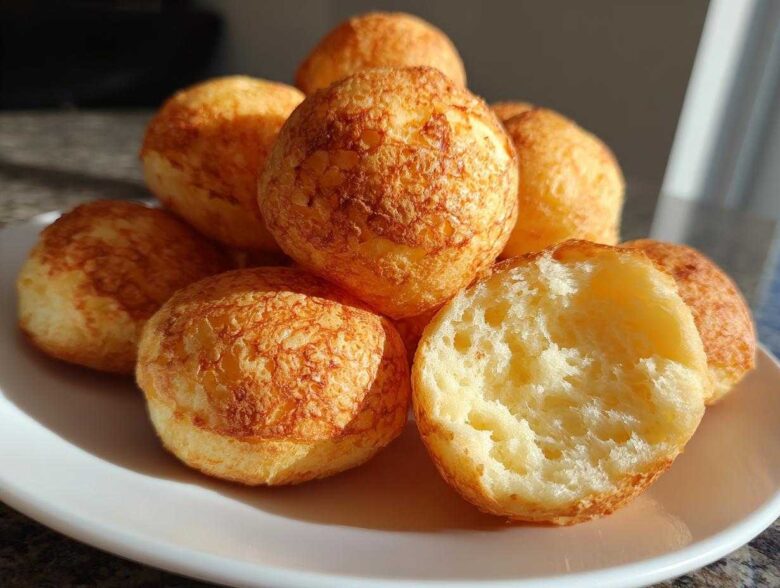
Are you ever just absolutely craving that specific, perfect chew? You know the one—the exterior shatters just slightly, giving way to an impossibly elastic, cheesy center? We get it. Back when Julian and I were stuck editing photos all day, we realized the best art we could make wasn’t on a screen; it was something warm and immediate. That’s why we fell head over heels for brazilian cheese bread. This recipe isn’t fussy, it comes together in a flash, and the best part? It’s naturally gluten-free using simple tapioca flour. It’s just pure, unedited joy in a bite, and it deserves to be the headline feature of your snack time. You can read more about how we try to live intentionally, just like we cook, on our About Us page.

Why This Authentic Brazilian Cheese Bread Recipe is Your New Favorite
Honestly, this recipe is the reason we started focusing less on perfection and more on satisfaction. If you’re looking for an appetizer that delivers major payoff for minimal effort, this is it! We promise you’ll stop scrolling Pinterest looking for the perfect version because you’ve found it right here. It’s quick—we’re talking done in under 40 minutes total!
Achieving the Perfect Crispy Chewy Texture
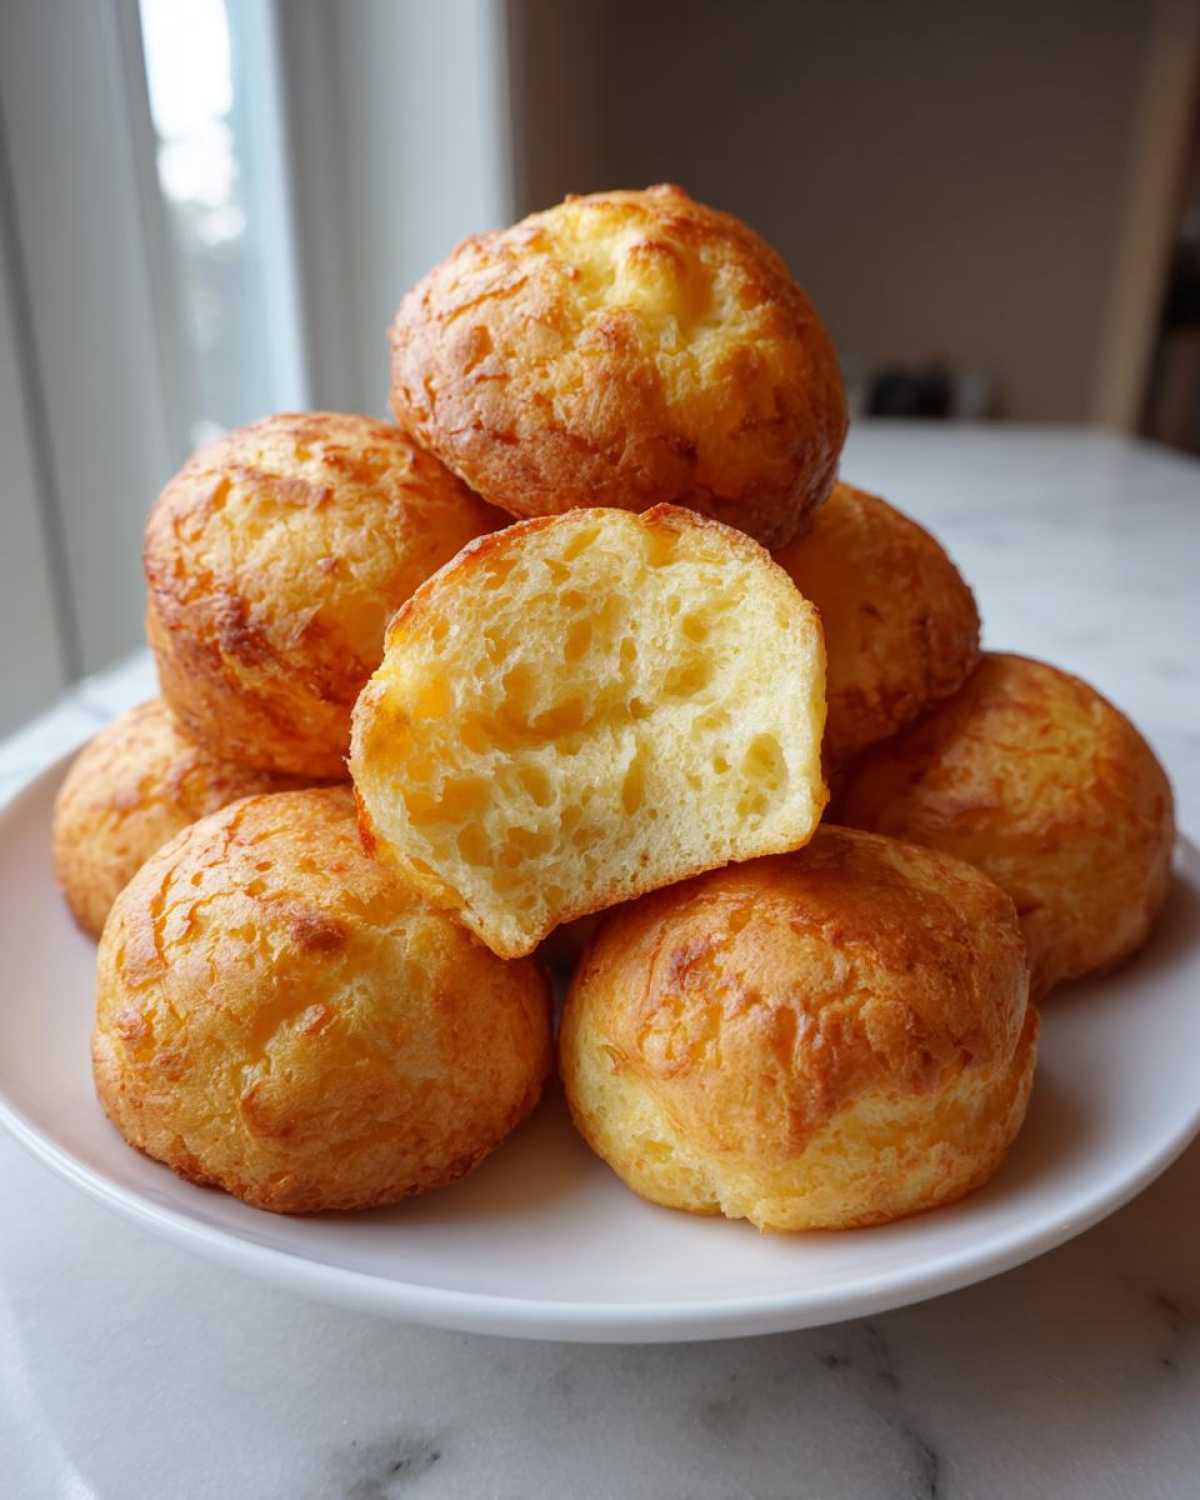
The secret to that signature elasticity isn’t magic; it’s the method! By pouring that near-boiling milk and oil mixture right over the tapioca flour first, we essentially start a cooking process before it even hits the oven. That scalded base is what guarantees that fantastic contrast: shatteringly crisp on the outside, then that beautiful, stretchy melt inside. Amazing, right?
Naturally Gluten Free Cheese Bread Success
For everyone who misses real, satisfying bread, listen up! This recipe is naturally gluten-free because we use tapioca flour instead of wheat. It’s a game-changer. You get all the comforting chewiness you crave without any fuss. If you loved our guide to Gluten Free Blueberry Muffins, you are going to adore this savory option.
Gathering Ingredients for Homemade Pao de Queijo
Okay, let’s talk about what you need. Julian is obsessed with having everything laid out before we start—it’s his visual art background coming through! For this brazilian cheese bread, you want simple, good quality components. Since this recipe is so straightforward, every ingredient really gets to shine, so pay attention to my notes below. You’ll need everything listed here for the right result. If you’re looking for other simple, satisfying recipes we’ve tested, check out our Easy Moist Lemon Loaf Recipe!
- 1 cup whole milk
- 1/2 cup vegetable oil
- 1 teaspoon salt
- 2 cups tapioca flour (sour or sweet—both work great!)
- 2 large eggs
- 1 cup shredded Parmesan cheese
- 1/2 cup shredded mozzarella or Monterey Jack cheese
Ingredient Notes and Substitutions for Brazilian Cheese Bread
This is where we get into the nitty-gritty details that separate a good batch from a life-changing one. When buying your Parmesan, if you can grab an aged one, please do! The sharper flavor just sings next to the mild tapioca. Julian always says the cheese is the star of the show when you are trying to nail that amazing texture you find in places like the restaurants. To capture that intense savory note, aim for a sharp Parmesan to really lean into that Copycat Texas de Brazil Cheese Bread vibe.
Now, about the flour: you can use sour or sweet tapioca flour interchangeably here, but know that sweet flour gives a slightly milder taste, while sour adds a tiny, fun tang. No matter what, make sure you get that specific tapioca starch and not regular all-purpose flour, or we’ll end up with sad, flat hockey pucks instead of fluffy rolls!
Step-by-Step Instructions for Perfect Brazilian Cheese Bread
Alright, team! This is where Julian’s vision for the perfect texture really comes to life. Don’t rush the mixing; it seems basic, but these steps are crucial for that signature puff. We’re going to break this down so your rolls are light and airy, not dense. If you’ve been looking for an easy brazilian snack recipe, this is going to be your go-to. For another excellent, straightforward recipe we love, Julian highly recommends checking out the Easy Pizza Casserole Recipe.
Mixing the Scalded Tapioca Flour Base
First things first, get your oven preheated to 375°F (190°C) and grab a baking sheet ready to go! We need to wake up that tapioca flour immediately. Combine the milk, oil, and salt in a saucepan and heat that mixture until it just barely starts to bubble—right when you see that first little boil, kill the heat. Then, pour that hot liquid right on top of the tapioca flour sitting in your big bowl. Stir it like crazy until it turns into a sticky, thick paste. Now, this is important: You have to let this cool for about 10 minutes. If you add the eggs while it’s too hot, you’ll end up with scrambled egg puffs, and we definitely don’t want that!
Forming and Baking Your Brazilian Cheese Bread Rolls
Once the base has cooled a bit (you should be able to handle it), start mixing in those two eggs, one at a time, making sure each one is fully incorporated before adding the next. Yes, the dough is going to look sticky—that’s totally normal! Now, fold in both your Parmesan and mozzarella until everything looks happy and uniform. Scoop out little tablespoon-sized dollops and gently roll them between your palms into balls, aiming for about 1 to 1.5 inches wide. Space your beautiful little rolls about an inch apart on that prepared baking sheet. Bake these beauties for 20 to 25 minutes until they are beautifully golden brown. That’s the sign your brazilian cheese bread is ready to be devoured!
Tips for Success with Pao de Queijo Recipe
Even though this Pao de Queijo Recipe is wonderfully fast, a few small checks ensure you get that melt-in-your-mouth perfection every time. Remember how Julian approaches design? He looks at the structure first—that’s what we need to do here with the dough!
If your dough seems way too sticky after adding the eggs, don’t panic! Sometimes eggs sizes vary. If you can’t easily roll the balls, just stir in a teaspoon of extra tapioca flour at a time until the dough is manageable. On the flip side, if it feels dry and crumbly after the cheese goes in, you can add a tiny splash (maybe half a teaspoon) of milk to bring it back together. You’re looking for a dough that’s sticky but can still hold its round shape when you press it.
Also, don’t be tempted to open the oven door too early! These rolls need that consistent, hot blast to puff up correctly. If you peek before the 20-minute mark, you might deflate them. Trust the process! If you happen to be trying other quick gluten-free bakes, you might love the texture we achieved in these Brown Butter Chocolate Chip Cookies, which also relies on very specific mixing steps.
Julian’s Visionary Tip: Think of the cheese blend not just as flavor, but as structure. The Mozzarella gives you that incredible stretch, while the Parmesan provides the sharp, salty backbone. If you want to lean into that authentic process, I found this detailed guide on Authentic Pão de Queijo Recipe really helpful when I first started testing textures!
Serving Suggestions for Brazilian Cheese Bread
One of the reasons I love simple recipes like this so much is that they adapt to whatever our day throws at us. We don’t just see this as a side dish; it’s a starring feature! These little puffs are incredibly versatile, which means less stress when planning our meals—which is totally my goal as the Editor & Writer here at Magazine Meal. You can genuinely serve these any time of day and they feel appropriate.
For a classic moment, serve them piping hot alongside coffee first thing in the morning. They make the absolute best light Brazilian Breakfast Food. I love setting out a warm basket of them when Julian is reading the news; it feels so cozy and decidedly South American.
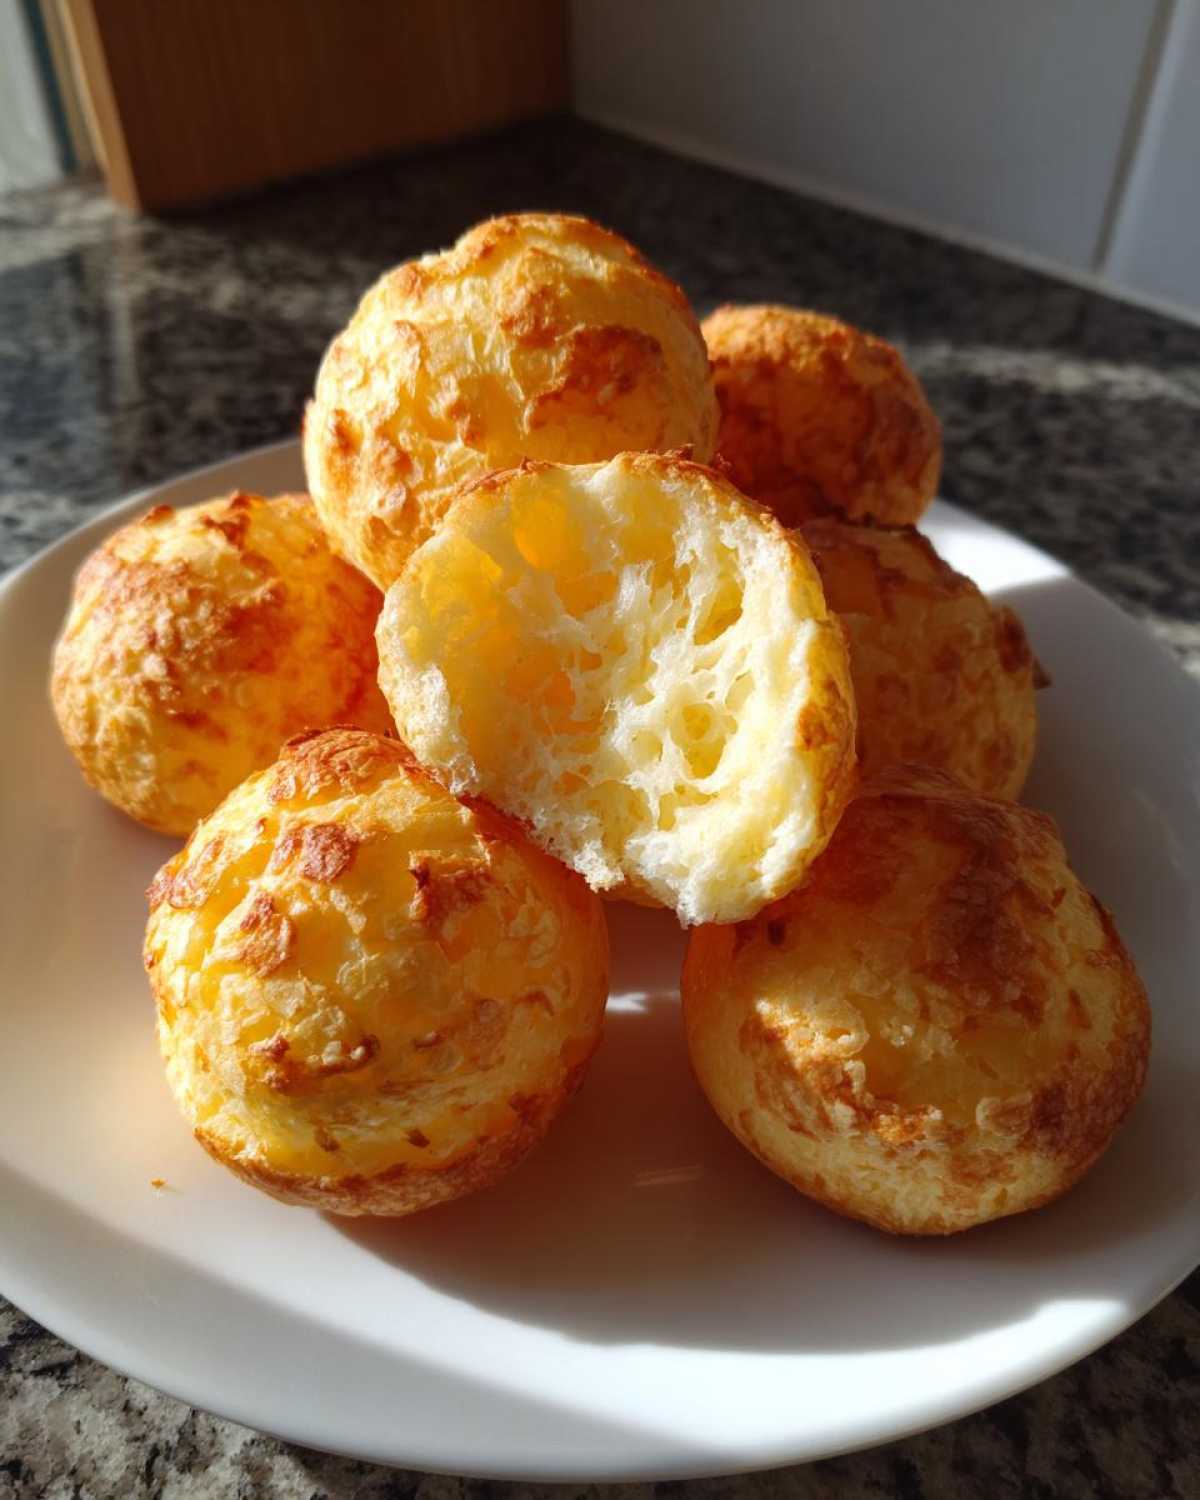
When company drops by unexpectedly, these are my go-to. They fly off the plate! Roll them small and stick a toothpick in them as charming Brazilian Appetizers served just before dinner. They pair wonderfully with bright, fresh flavors, so try serving them alongside something vibrant, like that amazing Shrimp Creole Classic Recipe we perfected last month.
But honestly? My favorite way to eat them is straight from the cooling rack while they are still warm and the cheese is molten. That’s when the texture is most exciting. Don’t feel like you have to save them for a special occasion; sometimes, the best feature story is a simple, savory snack that requires almost no fuss!
Storage and Freezing Tips for Brazilian Cheese Bread
So, what happens if you miraculously manage to have leftovers—because these things disappear fast! Storage is pretty easy, but we really want you to experience that fresh-from-the-oven magic if you can. If you do have some baked brazilian cheese bread left over, just keep them in an airtight container at room temperature for a day or two. They tend to lose some of that signature crispiness, but they stay soft enough. Reheating them quickly in a toaster oven or even the air fryer (I love using it for quick crisps, you can see how I use it for Air Fryer Chicken) brings back some of the crust.
But here is where we get really strategic, because Julian insists we plan ahead for maximum deliciousness. The best part of this whole recipe is that you can freeze the unbaked dough balls! Seriously, this is a total game-changer for busy weeks. After you roll your little balls, lay them out on a baking sheet without touching, and pop that tray straight into the freezer. Once they are completely solid—maybe an hour or two—you can toss them all into a heavy-duty freezer bag and store them away. They freeze perfectly for up to three months.
When the snack craving hits, you just pull out what you need and bake them straight from frozen. Just remember this crucial adjustment Julian noted when we tested it: add about 5 to 10 extra minutes to your baking time when baking from frozen. That little bit of extra time ensures they cook all the way through while still getting that perfect golden exterior.
Frequently Asked Questions About Brazilian Cheese Bread
Even after following the steps closely, sometimes questions pop up once you’re actually in the kitchen! That is totally normal, especially when dealing with new flours like tapioca. We test these recipes until they are foolproof, but I know you might have specific variables in your own kitchen. Think of this section like our quick layout edits before we send the final magazine to print—just clarifying the important details! We love answering your questions; it helps us make sure our whole process is crystal clear for everyone.
If you’re looking for other foundational tips on making great centerpiece meals, check out our post on the Best French Onion Soup Recipe—it seems complex, but simple rules make it great!
What cheese combination gives the best flavor for these Chewy Cheese Puffs?
You need a dynamic duo here! I find that the combination of aged, sharp Parmesan (for flavor backbone) and a good melting cheese like Mozzarella or Jack (for that epic chewiness) is perfection. You really need that saltiness from the Parmesan to cut through the starchiness of the tapioca. If you want to lean toward that restaurant style, make sure the Parmesan isn’t the pre-grated stuff in a can—get a block and shred it yourself. That freshness makes a huge difference in how those Chewy Cheese Puffs turn out!
Is this recipe truly Quick Gluten Free Breads?
Absolutely, yes. When I say quick, I mean it! The total active time—mixing the hot liquid, cooling, adding eggs, and stirring in the cheese—is probably only about 15 minutes. Baking takes another 25. That means you can decide you want Gluten Free Cheese Bread at 4 PM and have them ready to serve by 4:40 PM. It’s the perfect solution for those last-minute cravings or when you need a fantastic side dish without turning on the flour mill.
Can I use a blender instead of mixing by hand?
This is a common question, especially if you’ve seen some recipes suggest it! For this particular method that requires scalding the flour with hot liquid, the blender isn’t ideal. The heat can damage the blender blade or just make the process messy and hard to control. We absolutely rely on that manual stirring in step two to create the right consistency of the paste before the eggs go in. Stick to the spoon for the first stage; trust me, your arms will thank you when you bite into the final, perfect texture!
Can I make this Tapioca Flour Bread ahead of time?
You totally can! This is one of the best parts about making these for gatherings. If you want to get ahead of the game, head over to our section on Storage and Freezing Tips. We detail exactly how to roll the dough balls, freeze them solid, and store them until you’re ready to bake. It makes serving fresh Tapioca Flour Bread incredibly easy, even if you’re hosting friends or family!
Nutritional Estimates for This Cheesy Bread Bites
Since we treat every meal here like it’s the cover story, I know some of you are curious about the numbers too. Because we build these recipes with real ingredients—lots of cheese and good oil—they are richer than standard bread. But hey, they are still naturally gluten-free, which is a huge win! These values are based on the ingredient list provided, assuming a yield of about 20 small rolls. Remember, these are just visual aids for your plating, not the final word!

For accurate tracking, you’d want to input your specific brand measurements, but this gives you a great overall picture of what you’re serving up. It provides a satisfying, low-carb profile that pairs perfectly with fresh food, like the vibrant flavors in Julian’s Chicken Zucchini Stir-Fry.
- Serving Size: 1 roll
- Calories: 105
- Fat: 6g
- Saturated Fat: 3g
- Trans Fat: 0g
- Carbohydrates: 10g
- Fiber: 0.2g
- Sugar: 0.5g
- Protein: 4g
- Cholesterol: 25mg
- Sodium: 150mg
See? Not bad at all for a warm, savory, cheesy bite! The fat content comes mainly from the delicious cheese and the oil needed to properly scald the starch, which is what delivers that signature texture in our Cheesy Bread Bites.
Share Your Magazine Meal Creations
Now that you’ve mastered the art of the perfect chew, it’s time to put your creation on the cover! We’ve put our heart into making this brazilian cheese bread recipe as foolproof as possible, but the real magic happens when you bring it into your own kitchen. Remember, at Magazine Meal, we don’t chase perfection; we celebrate intention and connection.
So please, let me know how it turned out! Did you nail that crispy-chewy texture? Did your kids devour them? Did Julian approve of your cheese blend? Drop a rating and enthusiastic comment down below in the section dedicated to reader feedback. Sharing your experience helps us build this community of cooks who value real, delicious stories over flawless presentation. You can see our latest featured stories by heading over to the main Blog page!
If you snapped a picture of your warm, golden rolls—maybe next to your morning coffee or served as an appetizer—tag us on social media! We absolutely love seeing your finished spreads. Seeing your Homemade Pao de Queijo makes our whole week. Let’s prove that the best feature story starts right on your own dinner table!
PrintAuthentic Pão de Queijo: Chewy Brazilian Cheese Bread

Make this authentic Pão de Queijo (Brazilian Cheese Bread) recipe. You will create naturally gluten-free cheese bread that is crispy outside and deliciously chewy and cheesy inside. This is an easy Brazilian snack perfect for any time.
- Prep Time: 15 min
- Cook Time: 25 min
- Total Time: 40 min
- Yield: About 20 small rolls
- Category: Snack
- Method: Baking
- Cuisine: Brazilian
- Diet: Gluten Free
Ingredients
- 1 cup whole milk
- 1/2 cup vegetable oil
- 1 teaspoon salt
- 2 cups tapioca flour (sour or sweet)
- 2 large eggs
- 1 cup shredded Parmesan cheese
- 1/2 cup shredded mozzarella or Monterey Jack cheese
Instructions
- Preheat your oven to 375 degrees Fahrenheit (190 degrees Celsius). Lightly grease a baking sheet or line it with parchment paper.
- Combine the milk, oil, and salt in a medium saucepan. Heat this mixture over medium heat until it just begins to boil. Remove from heat immediately.
- In a large bowl, place the tapioca flour. Pour the hot milk mixture over the flour. Stir well with a wooden spoon until the mixture forms a thick, sticky paste. Let this cool for about 10 minutes.
- Add the eggs to the cooled tapioca mixture one at a time, mixing well after each addition until fully incorporated. The dough will look sticky.
- Stir in the Parmesan cheese and mozzarella cheese until they are evenly distributed throughout the dough.
- Scoop rounded tablespoons of the dough and roll them into small balls, about 1 to 1.5 inches in diameter. Place them on the prepared baking sheet, leaving about 1 inch between each ball.
- Bake for 20 to 25 minutes, or until the cheese puffs are golden brown and slightly puffed.
- Serve your homemade Pão de Queijo warm for the best chewy texture.
Notes
- For the best texture, use high-quality, aged Parmesan cheese.
- If you want a copycat Texas de Brazil Cheese Bread experience, ensure your cheese blend is sharp and flavorful.
- You can freeze the unbaked dough balls. Place them on a tray in the freezer until solid, then transfer them to a freezer bag. Bake directly from frozen, adding 5 to 10 minutes to the baking time.
- This recipe is naturally gluten free because it uses tapioca flour.
Nutrition
- Serving Size: 1 roll
- Calories: 105
- Sugar: 0.5
- Sodium: 150
- Fat: 6
- Saturated Fat: 3
- Unsaturated Fat: 3
- Trans Fat: 0
- Carbohydrates: 10
- Fiber: 0.2
- Protein: 4
- Cholesterol: 25