

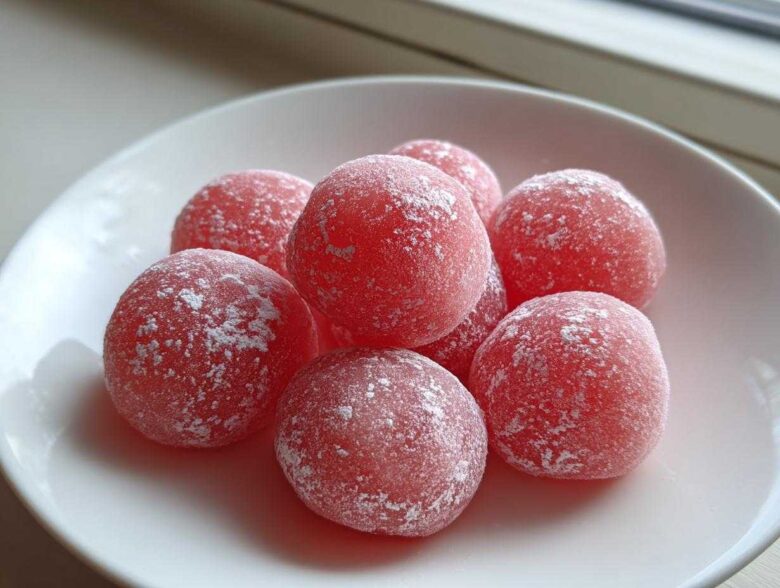
When the summer heat decides to stick around like a stubborn houseguest, you need a dessert that actively fights back with chill, sweetness, and fun texture. Forget heavy baking entirely! Julian and I found our secret weapon for those blazing afternoons: watermelon mochi. Seriously, these little bites are pure portable refreshment—soft, incredibly chewy, and bursting with that juicy watermelon flavor we crave. We played around with the traditional steaming method endlessly, but I finally perfected this much faster microwave technique. It delivers that classic, satisfyingly sticky, soft rice cake dessert feel without turning our kitchen into an oven. Trust me, this is the easiest way to make this fruity treat. If you want to read more about our journey from studio life to prioritizing our own kitchen features, check out our philosophy over on the About Us page!
Why This Easy Watermelon Mochi Recipe is Your Summer Headline
This recipe isn’t just another dessert; it’s designed to be the star attraction when the weather gets rough. We worked hard to make sure we could get that amazing texture without making you stand over a steamer all day. These are the highlights that make this the ultimate summer feature in our cookbook.
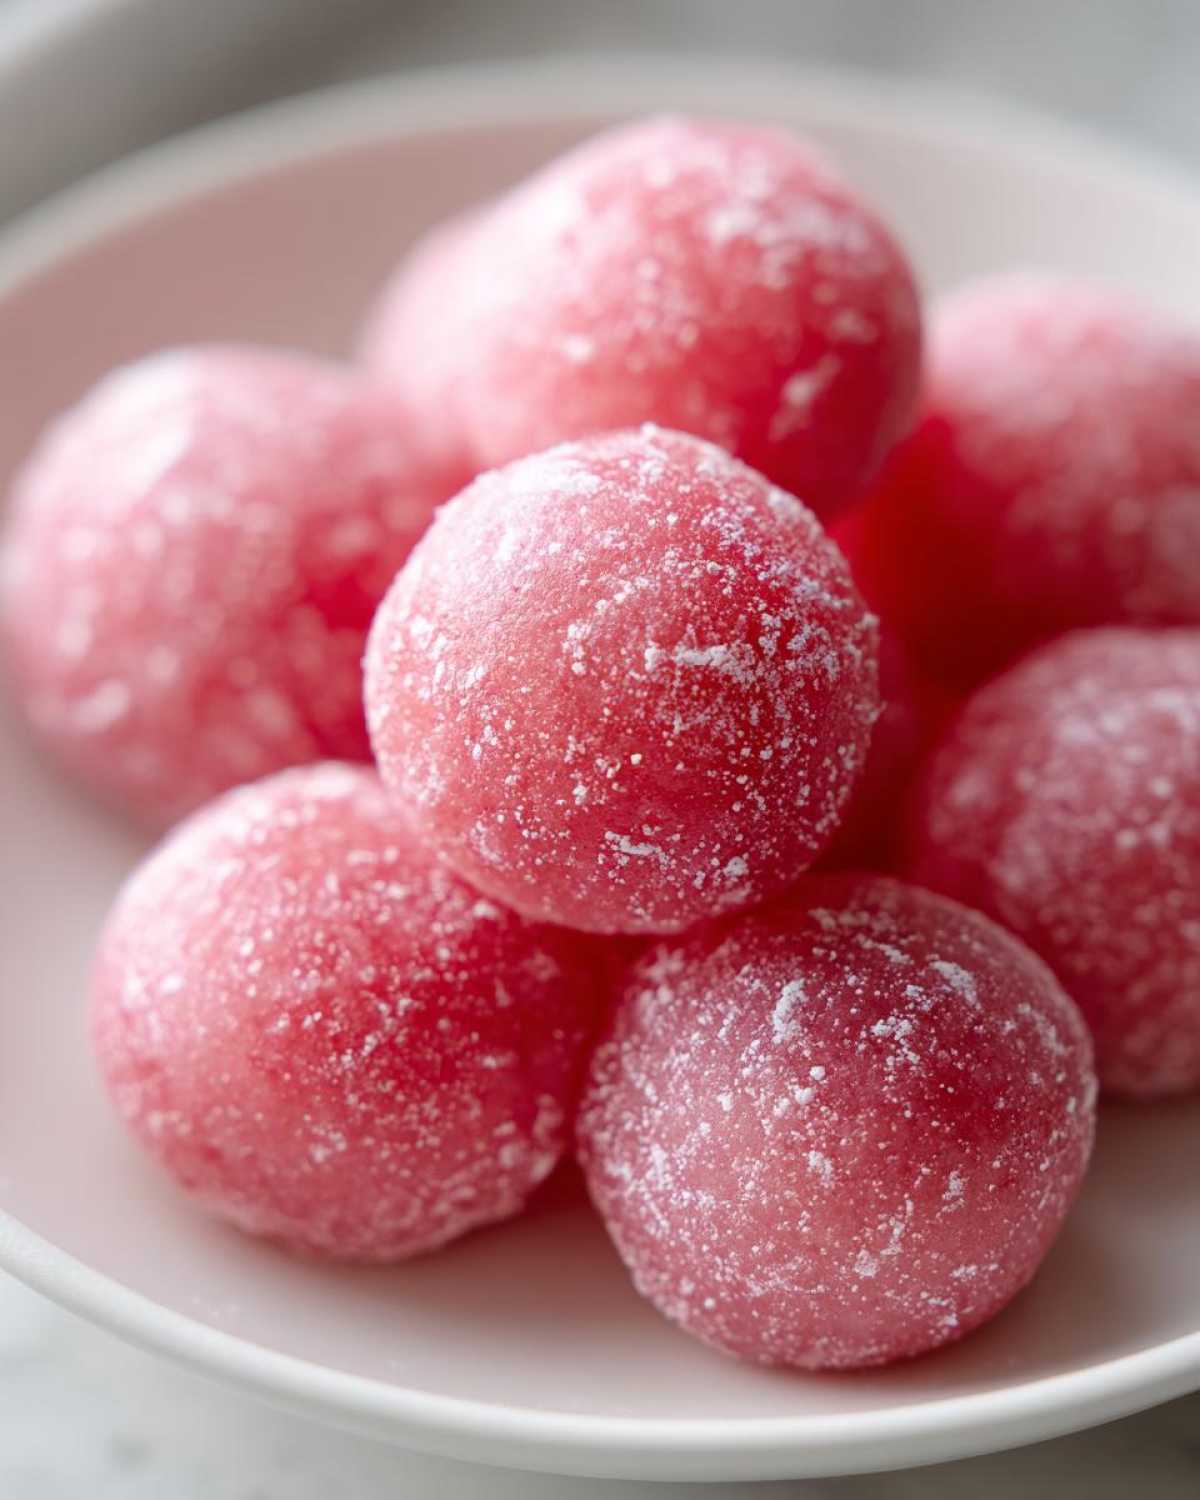
- It’s intensely refreshing and tastes just like biting into a sweet, cold slice of watermelon.
- You get fantastic, customizable bite sized summer sweets perfect for picnics or parties.
- It provides serious flavor payoff for almost zero effort!
Achieving the Perfect Soft Rice Cake Dessert Texture
The goal here is chewy, slightly springy, and definitely not tough! That signature chewiness only comes from carefully managing the microwave time for the watermelon mochi dough. Too little time, and it’s gluey; too much, and it turns hard fast. We nail that spot right between gummy and tough so you get that delightful pull when you bite in.
Simple Microwave Method for Watermelon Mochi
Who wants to heat up the kitchen? Not me! This is a completely beginner-friendly approach that aligns perfectly with an easy mochi recipe search. You mix the ingredients in one bowl and zap them in the microwave. It cuts the traditional cooking time way down, making these refreshing watermelon treats possible on a whim.
Gathering Ingredients for Your Watermelon Mochi Recipe
Putting together the components for your watermelon mochi is shockingly simple. Julian was impressed because we didn’t even need a specialty ingredient shelf for this one! We focus purely on the dough, keeping it streamlined so it qualifies as a wonderful, naturally gluten free mochi option. You’ll notice the short ingredient list below—that’s the magic happening right there in the bowl.
For structure, tenderness, and that pure summery glow, here is exactly what you need:
- 1 cup sweet rice flour (mochiko)
- 1/4 cup granulated sugar
- 3/4 cup watermelon juice (strained)
- 1 tablespoon cornstarch or potato starch (for dusting)
If you ever want to tackle another simple, great recipe that comes together quickly with pantry staples, check out my notes on the Easy Moist Lemon Loaf. It has that same ‘wow factor’ for minimal effort!
Ingredient Notes and Substitutions for Chewy Fruit Mochi
Okay, we need to talk about the flour. This is non-negotiable if you want that signature squish—you absolutely must use glutinous rice flour, often called mochiko. Regular rice flour won’t give you the stretchy, chewy fruit mochi texture we are looking for; it’ll just turn into a sad, stiff paste. So, please check the label!
Next, that watermelon juice. You need it strained, y’all. Any pulp or excess water will throw off the hydration balance of the dough and prevent it from thickening correctly in the microwave. I run mine through a fine-mesh sieve just to catch any tiny fiber bits. If you are worried about the color—because naturally, we love vibrant food—you can certainly stir in a drop of natural red food coloring along with the juice. I sometimes skip it because the juice gives it a nice, pale pink glow all on its own, but go with what makes your eyes happy!
How to Prepare Watermelon Mochi Instructions
Alright, this is where the real magic happens! You need to follow these steps closely, especially the timing, if you want your watermelon mochi to hit that perfect chewy mark. We rely completely on the microwave for speed, which saves us precious time when we’re trying to get dinner on the table (check out our 5-minute creamy garlic aioli recipe if you need quick flavor boosters!). You’ll be turning simple flour and juice into perfectly soft, summer mochi desserts right before your eyes.
Mixing and Microwaving the Mochi Dough Recipe
First things first: in a microwave-safe bowl, whisk together your sweet rice flour and sugar. Pour in that beautiful, strained watermelon juice and whisk it until absolutely smooth—no one wants dry lumps hiding in their finished treat! Now, cover it loosely with plastic wrap, leaving a tiny vent for steam to escape. Microwave on high for exactly one minute. When you pull it out, it will look soupy, but don’t panic! Stir it hard with a wet spatula; you’ll see it start to thicken immediately. Re-cover it and microwave for another minute, stir again furiously, and then give it one final zap for 30 seconds to a minute until the whole mass looks glossy and slightly translucent. That translucency is your visual cue that it’s cooked through—that’s how you ensure it’s not gummy!
Starching and Shaping Your Homemade Mochi Bites
This is where Julian always steps in to stop me from dropping the hot sticky mess! You must prepare your workspace beforehand. Dust a big cutting board or counter heavily with cornstarch or potato starch—don’t be shy! Scrape that hot, thick dough onto the starch and dust the top lightly, too. Let it cool just enough so you don’t burn your fingers. Then, dust your rolling pin and gently roll the dough out until it’s about 1/4 inch thick. This thickness is key for the perfect chew! Grab a small round cookie cutter—or even the rim of a shot glass if you want tiny homemade mochi bites—and start cutting out your circles. These look amazing, and they’re so simple! If you want a visual guide, I always browse Pinterest for ideas like the simple mochi dessert guides when I need a styling boost.
Tips for Success with Your Watermelon Flavor Dessert
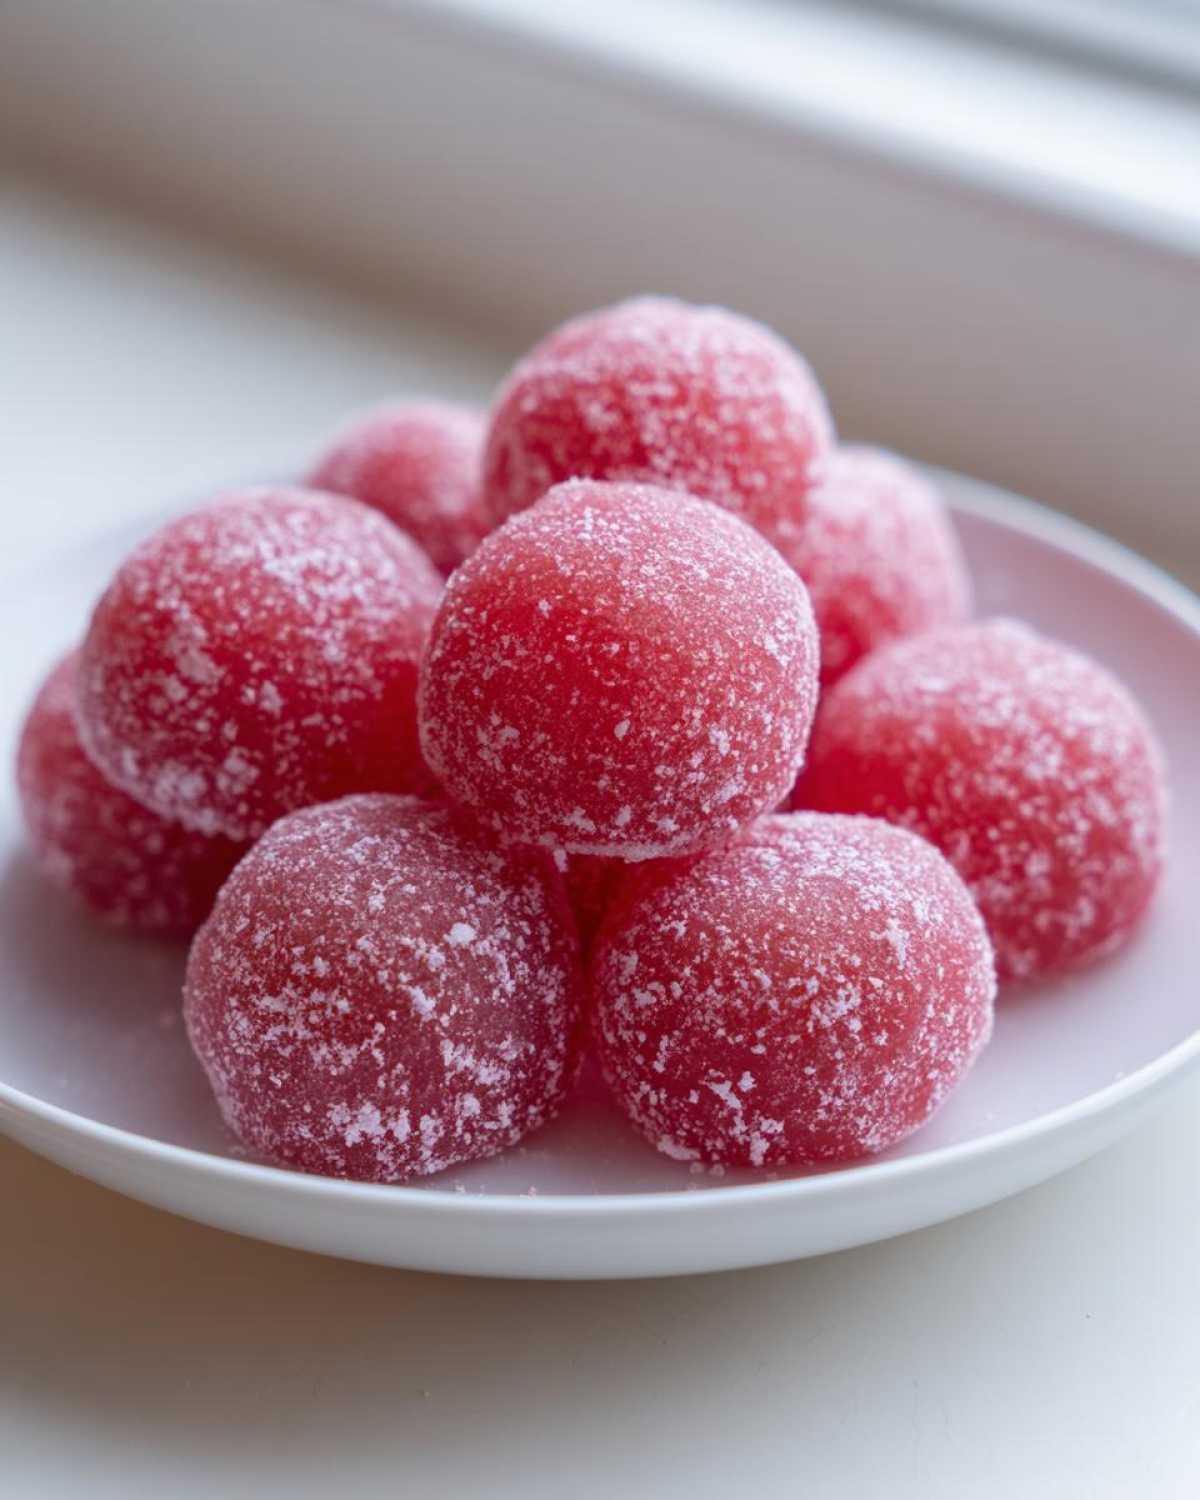
Even with a recipe as straightforward as this watermelon flavor dessert, details make the difference between ‘good’ and ‘absolutely unforgettable.’ Since we are dealing with a dough that loves to dry out if you turn your back on it, attention during the cooling and shaping phase is everything. This is where the authority comes in, right? Julian always tells me that patience in the shaping stage gives you an amazing payoff later.
When I’m rolling out the dough, if I notice it getting a little stiff—which happens if I take too long stopping to answer an email—I give my hands a quick dusting of starch and gently warm the dough by massaging it a bit before rolling again. It brings back that pliability you need!
Here are my personal rules for keeping this treat perfectly textured:
- Keep it Covered: Seriously, this is number one. If you are cutting out circles but waiting to cut the rest, keep the dough sheet covered with plastic wrap or a damp paper towel between cuts. Starch on the outside only helps so much; airtight covering prevents that crust from forming.
- Don’t Skip the Starch: We use cornstarch or potato starch here, not flour. If you use too much, it tastes chalky, but if you don’t use enough, you end up fighting a very sticky situation. Dust lightly, test often. Think of it like adding just enough paint to cover the canvas without drowning the texture underneath.
- Work Quickly When Cutting: Once the dough is rolled to that perfect 1/4 inch, cut your shapes fast. You can always re-roll the scraps, but aim for immediate cutting to capture the dough at its softest moment. If you need a reference point for the texture we are chasing, I love looking at comparison shots on sites like Paula’s, she has some beautiful summer shots.
Also, if you want to explore other ideas using high-fat ingredients to control texture, you absolutely must check out my recipe for brown butter chocolate chip cookies; that’s another area where small ingredient changes make a huge difference!
Storage and Reheating Instructions for Soft Watermelon Mochi Treats
Now for the hard truth about watermelon mochi, y’all: like most delicious things, they are definitely best eaten the day you make them. That wonderful soft, yielding texture we worked so hard for in the microwave? It starts to firm up as the mochi dough rests, especially when it chills down in the fridge. We want to manage those expectations upfront so you aren’t disappointed when you reach for leftovers the next morning.
For short-term storage, which means eating them within 24 hours, keep them contained. Place your finished soft watermelon mochi treats in an airtight container. The absolute key here is to place a small piece of wax paper or slightly oiled parchment paper between the layers of mochi pieces. If you skip that, they will fuse together into one big, sticky pink slab overnight. I know, because I forgot once, and cutting them apart was more like an archaeological dig than dessert prep! Julian had to grab his sharpest palette knife for that one.
If you need to store them longer, you can freeze them, but you have to be careful about the texture change. For freezing, roll each individual mochi circle lightly in cornstarch one last time, then place them on a baking sheet lined with parchment paper, making sure nothing touches. Flash freeze them until solid, and then transfer them to a heavy-duty freezer bag. They might last a month this way.
The “reheating” part is tricky for these refreshing watermelon treats, as they aren’t baked. You really shouldn’t microwave them again, as that tends to alter the fruit flavor and make the texture slightly bubbly. If they’ve been refrigerated and are a bit firm, just let them sit out on the counter for about 30 minutes before serving. That little bit of time helps them soften right back up. If you want to explore other frozen delights that don’t suffer texture loss after chilling, you should definitely check out my guide on making nice cream—that’s much more freezer-friendly! If you’re curious about how others handle storage for these cute treats, you can look up user tips on sites like Oystz, they have a good section on keeping them fresh.
Serving Suggestions for Fruity Asian Desserts
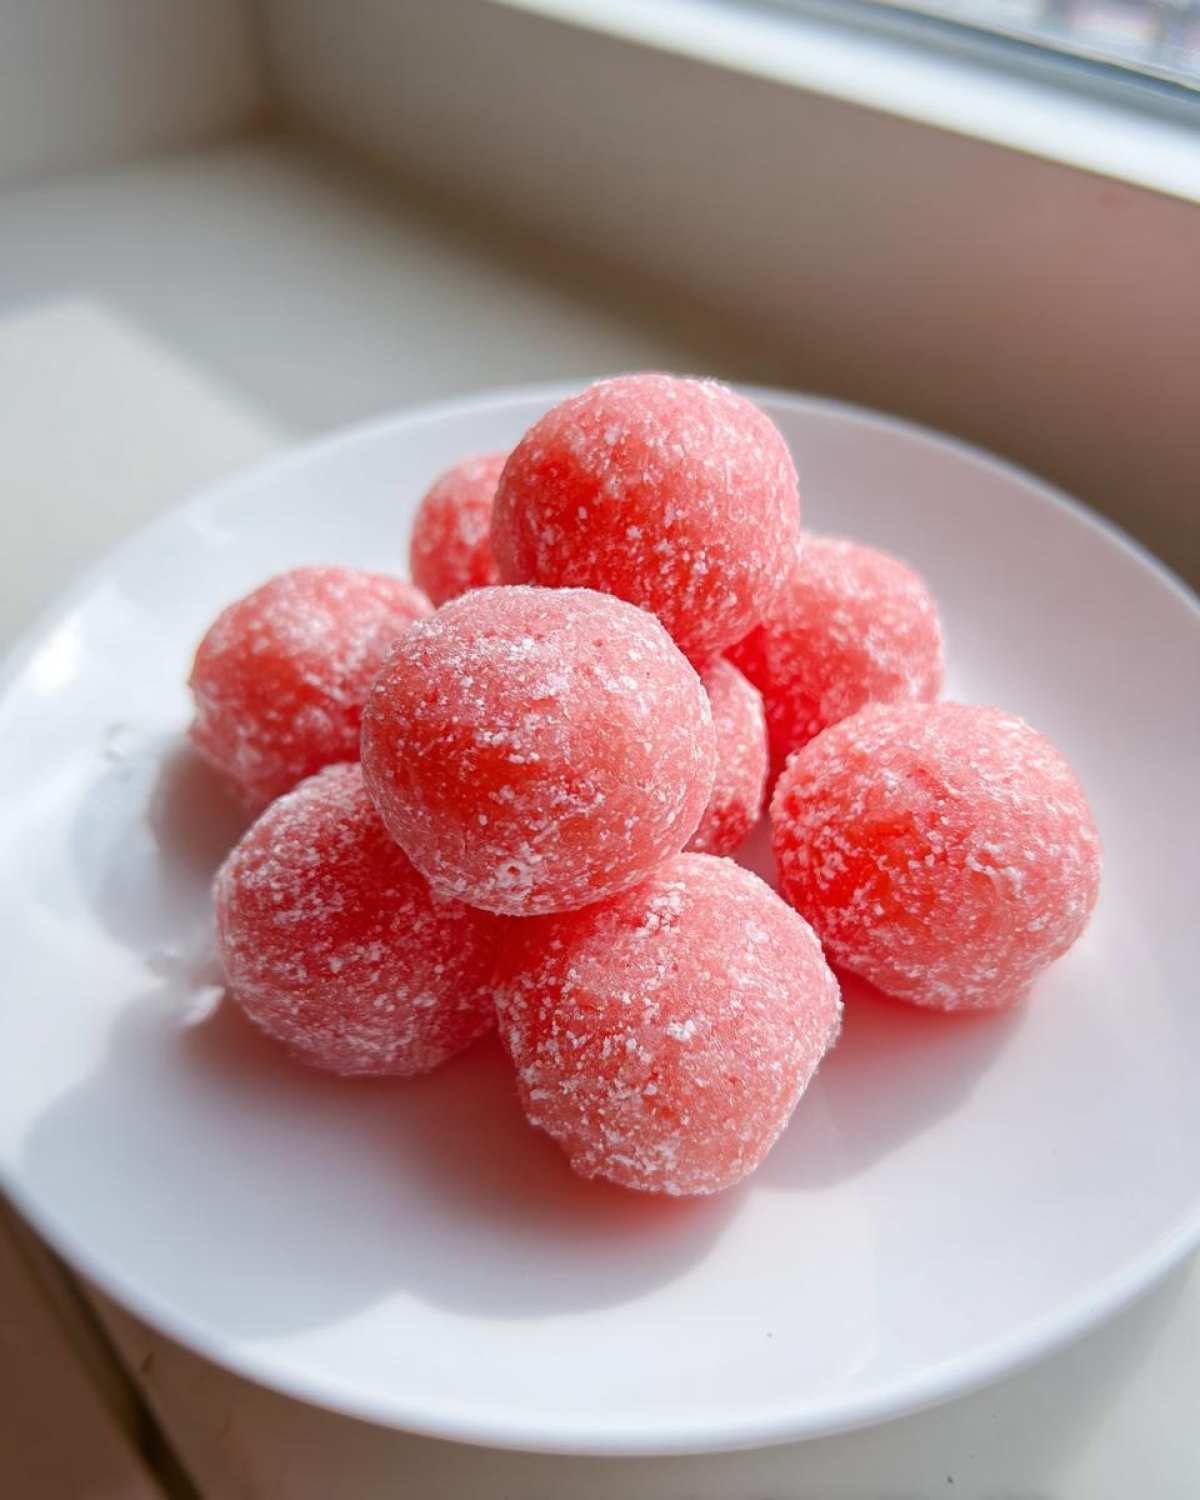
So, you’ve got twelve perfect, slightly rosy, irresistibly chewy rounds of watermelon mochi sitting on your counter. Now what? The goal of a great “Magazine Meal” is always presentation! Because these are already bite-sized and so inherently cute, they look fabulous just piled high on a simple white plate, maybe dusted with a tiny bit more starch for that powdery, soft look. But if you want to elevate this from a snack to a feature story, here are a few ways Julian and I like to plate them up.
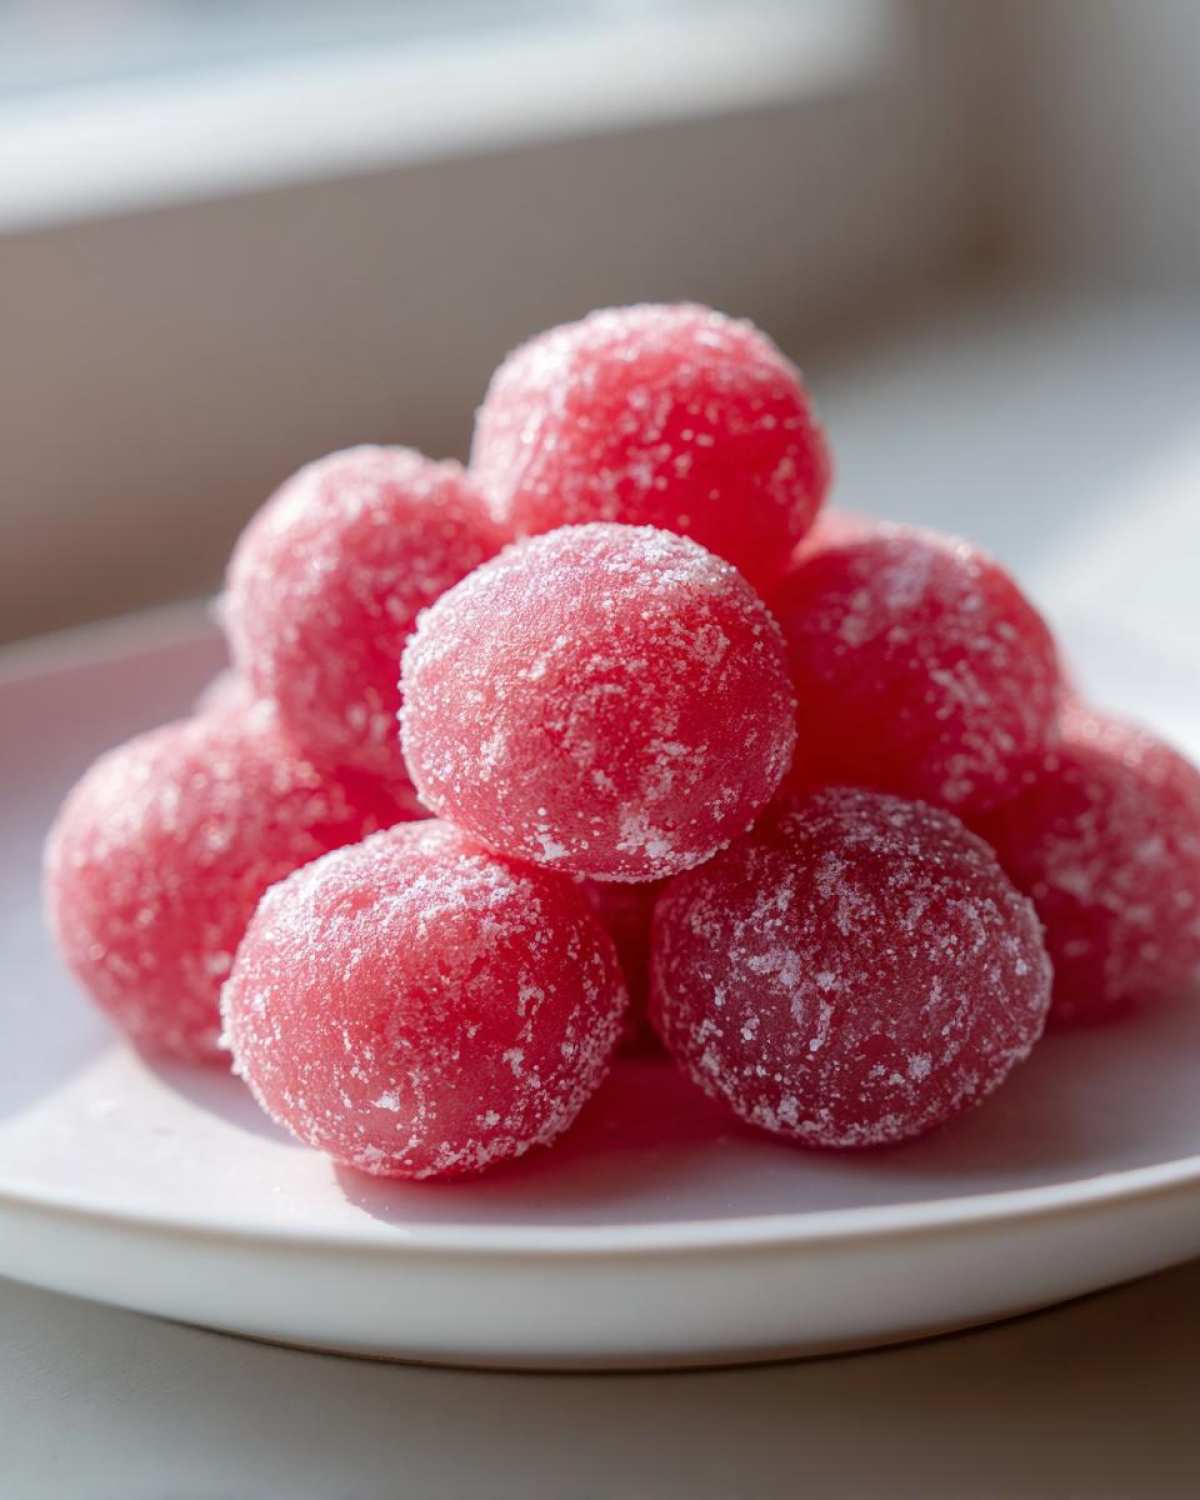
For maximum cooling refreshment, serve them chilled alongside something that contrasts nicely. Maybe a scoop of vanilla bean ice cream? That combination of the cool, dense creaminess against the springy mochi bounce is just sensational. Since we aren’t making a fancy sauce, presentation is key to making these fruity Asian desserts pop.
The Contrast Platter
If you’re serving these in the afternoon, try placing three or four mochi pieces around a single, perfectly ripe strawberry or a small mound of blueberries. The deep red or cobalt blue really makes that pale pink/green of the mochi stand out. It creates such an intentional-looking spread without you having to actually *do* much. Who doesn’t love a dessert that looks like art but only took 15 minutes?
Adding a Zesty Finish
Because watermelon is so light, a little zest can really wake it up. Before serving, try using a microplane to dust a tiny bit of lime zest right over the top of the platter. It adds an amazing fresh scent before you even take a bite. It’s a trick I learned while styling food photography—the smell is half the appeal! If you’re into citrus flavors, you might also love the balance in my recipe for persimmon cookies, which uses spice and zest beautifully together.
Pairing with Tea
These little homemade mochi bites pair wonderfully with a straightforward, slightly bitter beverage to cut through the simple sugariness. We often enjoy them with a simple, unsweetened iced green tea or a light floral white tea. It cleanses the palate between those chewy bites and keeps the whole experience feeling light and not too heavy for a hot day.
Frequently Asked Questions About Making Mochi
I know that working with mochi dough can feel a little intimidating if you’ve never done it before. We’ve all been there, worrying about stickiness or texture! Julian and I test these recipes until we’re absolutely sure they are foolproof, but here are a few things readers often ask when they tackle their first batch of homemade mochi bites.
Can I use regular flour instead of sweet rice flour for this Mochi Dough Recipe?
Oh, please don’t try this with all-purpose flour! That’s the quickest way to get a baking disaster on your hands. Regular flour—whether it’s whole wheat or all-purpose—lacks the starches needed for that classic, stretchy, and wonderfully soft texture. You absolutely need glutinous rice flour, which the package calls ‘mochiko’ or sometimes ‘sweet rice flour.’ That’s what gives you the signature chewiness of the final mochi dough recipe.
How do I ensure my mochi stays soft and doesn’t harden overnight?
This is the struggle, isn’t it? Remember what I said about keeping it covered? Good covering is your best defense! If you are saving leftovers, make sure they are in an airtight container on the counter, not the fridge if you plan on eating them the next day—chilling speeds up the hardening process surprisingly fast. If they do get a little firm later (which they always do!), let them sit out on the counter for 20 to 30 minutes to warm up slightly near temperature before you dive in. You can see some other great approaches to keeping these refreshing watermelon treats fresh over at The Flavor Nest if you need more visual ideas!
We always try to make these for immediate enjoyment because they are just designed to be eaten fresh. If you want to explore other sweet, chewy recipes that hold up better over a few days, you might want to jump over to the main blog index and see what else is cooking!
Nutritional Snapshot of This Watermelon Mochi
As a former designer, I always appreciate the data breakdown—it’s like reviewing the specs sheet before the final print run, right? But remember, these numbers are estimated based on the simple ingredients list we used for the dough and mixing method described above. Please know that exact values can shift based on the sweetness of your specific watermelon juice or the brand of sugar you use. We aren’t overly focused on counting calories when we’re enjoying these soft, chewy summer bites, but it’s good to have a general idea of what you’re eating!
For a serving size of two pieces of our basic watermelon mochi dough, here is what our internal recipe calculator spat out:
- Serving Size: 2 pieces
- Calories: 110
- Sugar: 10g
- Sodium: 1mg (Practically nothing!)
- Fat: 0.1g
- Saturated Fat: 0g
- Trans Fat: 0g
- Carbohydrates: 27g
- Fiber: 0.5g
- Protein: 1g
- Cholesterol: 0mg
Isn’t that great? It’s a light, satisfying treat that feels indulgent because of the texture, but it’s incredibly low in fat and cholesterol. This is why I love reaching for these refreshing watermelon treats when I want a little something sweet post-dinner without feeling heavy. If you ever have questions about the specifics of our recipe testing or just want to send us a note about our design background, feel free to drop us a line on our Contact page—we love hearing from our readers!
Share Your Magazine Meal Creations
Okay, we’ve made the gooey dough, we’ve cut the perfect little circles, and now you have your own batch of stunning watermelon mochi! Julian and I would absolutely love to see how these bright, chewy bites turned out on your table. Treating your cooking like the cover story of your personal magazine means sharing the final shot, right?
We put so much effort into perfecting this easy mochi recipe, especially nailing that quick microwave timing. I really want to know if it worked the magic for you! Did you keep them pale pink, or did you add that hint of red coloring for extra vibrancy? Did you manage to keep them from sticking together in the fridge overnight? Tell us everything in the comments below!
If you snap a picture of your finished pile of homemade mochi bites, please tag us on Instagram or just leave a rating for the recipe right here on the site so others know how delicious this is. Your feedback helps us decide what feature article to run next month!
Speaking of features, if you’re looking for another comfort recipe that demands to be the main event of your evening, you have to try our recipe for the best bread pudding. It’s rich, nostalgic, and just as satisfying to make as these light summer sweets.
And hey, if you tried this out and loved the refreshing quality, swing by Cindy’s site for another great, simple watermelon treat idea—she knows how to make desserts that shine!
PrintEasy Watermelon Mochi Recipe: Soft, Chewy Summer Bites

Make soft, chewy Watermelon Mochi, the perfect refreshing summer sweet. This easy mochi recipe blends juicy fruit flavor with classic rice dough for a bite-sized treat everyone will enjoy.
- Prep Time: 10 min
- Cook Time: 5 min
- Total Time: 15 min
- Yield: About 12 servings
- Category: Dessert
- Method: Microwave
- Cuisine: Japanese Inspired
- Diet: Gluten Free
Ingredients
- 1 cup sweet rice flour (mochiko)
- 1/4 cup granulated sugar
- 3/4 cup watermelon juice (strained)
- 1 tablespoon cornstarch or potato starch (for dusting)
Instructions
- Combine the sweet rice flour and sugar in a microwave-safe bowl. Mix them well.
- Pour in the strained watermelon juice. Whisk the mixture until it is smooth and there are no lumps.
- Cover the bowl loosely with plastic wrap, leaving a small vent. Microwave on high for 1 minute.
- Remove the bowl and stir the mixture thoroughly with a wet spatula. The mixture will start to thicken.
- Re-cover and microwave for another 1 minute. Stir again. The dough should be very thick and sticky.
- Cover and microwave for a final 30 seconds to 1 minute, or until the dough is translucent and fully cooked.
- Generously dust a clean work surface with cornstarch or potato starch.
- Scrape the hot mochi dough onto the prepared surface. Dust the top of the dough lightly with more starch.
- Allow the dough to cool slightly until you can handle it comfortably.
- Using a rolling pin dusted with starch, gently roll the dough out to about 1/4 inch thickness.
- Use a small, round cookie cutter or the rim of a glass to cut out bite-sized circles. This makes your homemade mochi bites.
- If you want a more intense watermelon look, you can use a small amount of natural red food coloring in the juice before starting.
- Serve these refreshing watermelon treats immediately, or store them covered in the refrigerator.
Notes
- For the best soft and chewy texture, use glutinous rice flour, often labeled as mochiko.
- If you want to make these dye-free watermelon mochi, rely on the natural color of the watermelon juice.
- Keep the dough covered when not working with it to prevent it from drying out.
- Dust your hands with starch when shaping to manage the stickiness of the mochi dough.
Nutrition
- Serving Size: 2 pieces
- Calories: 110
- Sugar: 10
- Sodium: 1
- Fat: 0.1
- Saturated Fat: 0
- Unsaturated Fat: 0
- Trans Fat: 0
- Carbohydrates: 27
- Fiber: 0.5
- Protein: 1
- Cholesterol: 0