

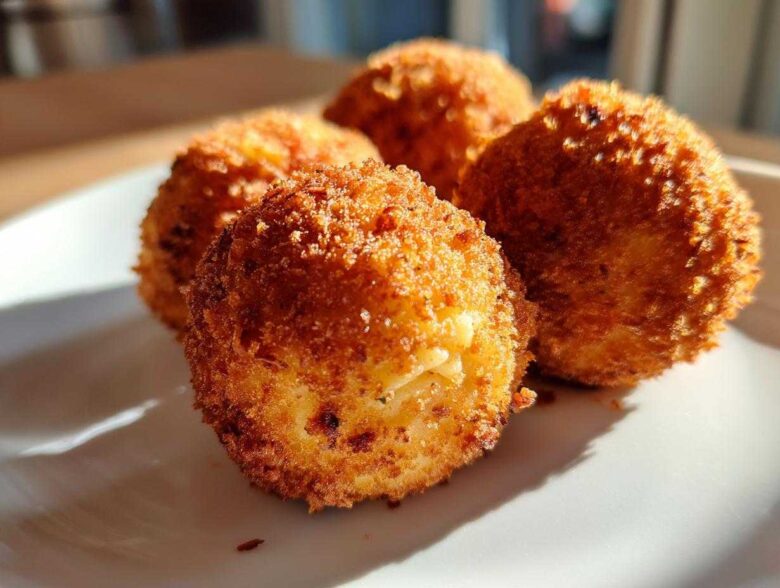
Sometimes, you just crave that deeply comforting, totally irresistible starchy goodness, right? But let’s be honest, we also want our food to look like it belongs on a cover—something impressive but still totally achievable, even on a busy weeknight. If you typed in the very broad search for rice balls, hoping for magic, I’m here to tell you: you found it! We are diving headfirst into classic Italian territory with Arancini. Julian, being the Art Director, obsessed over the concept—the perfect golden shell meeting that creamy, molten center. I (Iris, the writer here) spent weeks testing the process, focusing on the details so these homemade rice balls land perfectly for you. Trust me, these savory bites are definitely the feature story for your appetizer spread!
Why These Cheesy Fried Rice Balls Are Your New Favorite Appetizer Rice Balls
I’m telling you, what sets our Arancini apart from every other version of those popular rice balls floating around out there is that texture contrast. We aren’t making bland little lumps; we are creating moments of pure joy. Think about it: you bite through that shatteringly crisp exterior, and BAM! You hit pockets of sweet peas, savory ham (if you use it), and best of all, fully melted mozzarella.
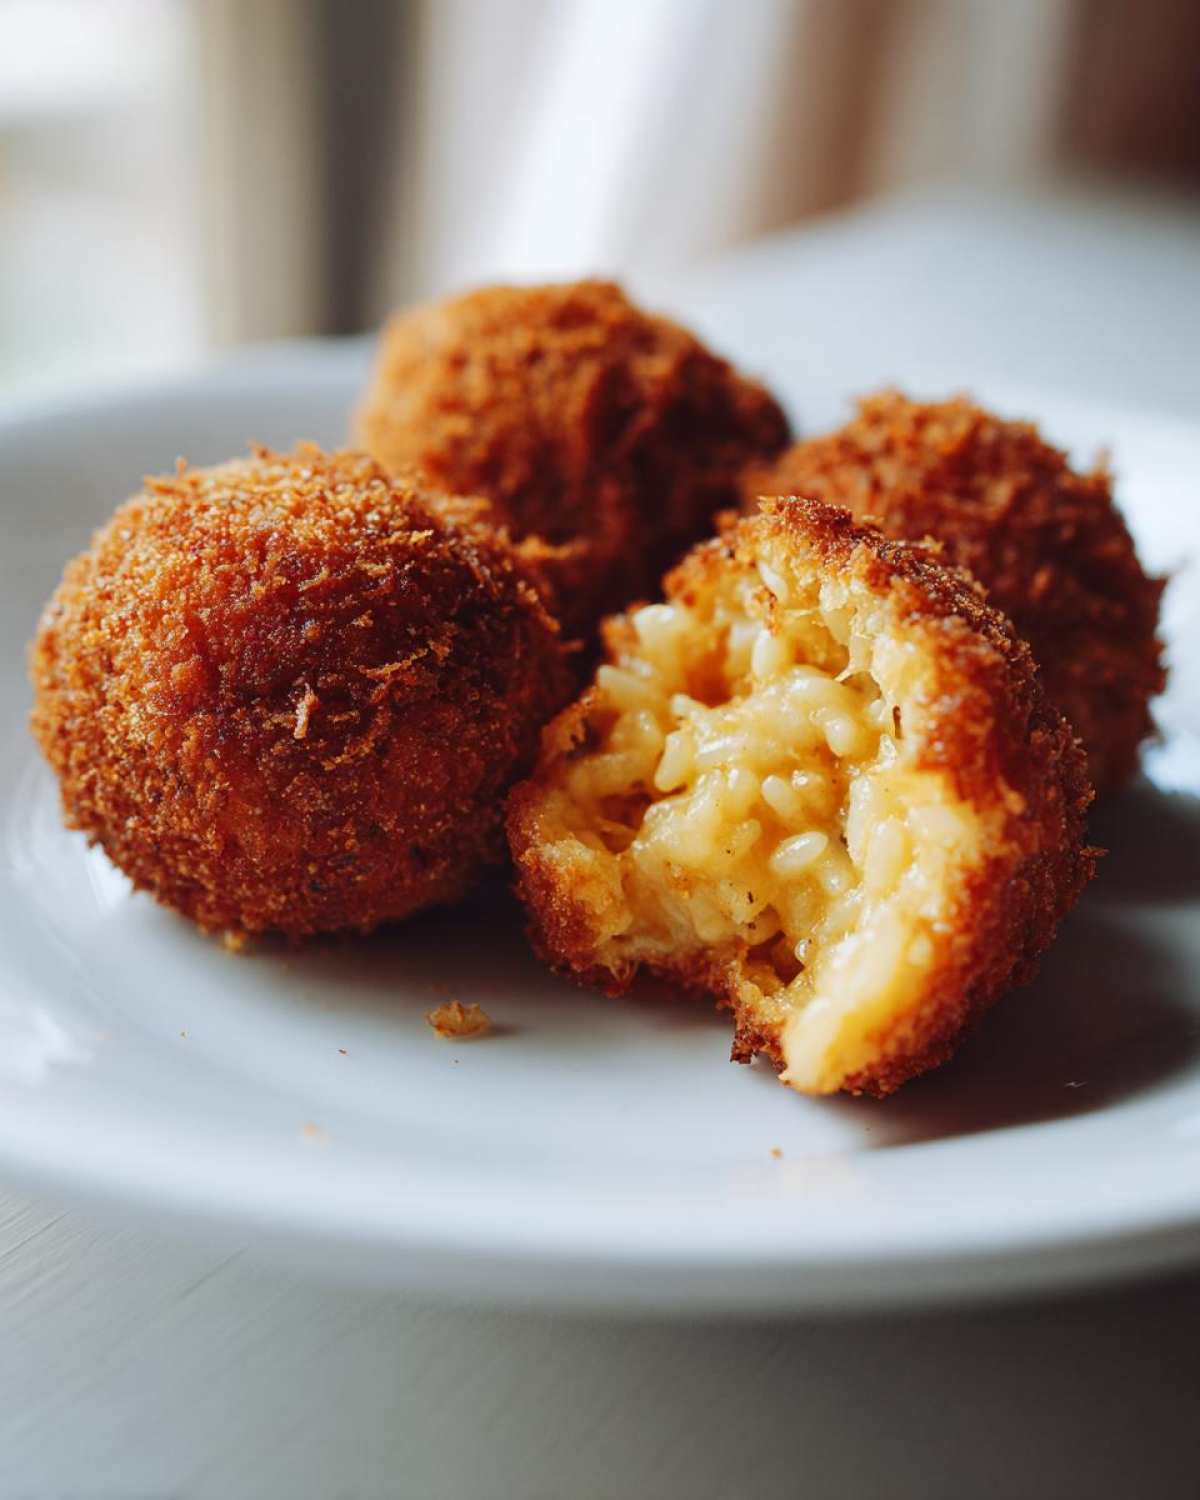
These make the absolute perfect Appetizer Rice Balls because they are self-contained flavor bombs. Julian says they have the best “visual pop” when arranged just right on the serving platter, but honestly, it’s the chew and the melt that gets me every time. If you’ve been searching for that ultimate Crispy Rice Balls recipe, stop looking. This is the one that gets finished first at every party!
If you’ve mastered cut-out cookies, you know precision matters, and this same focus gets you perfect shapes here. Check out my tips for perfect sugar cookies when you need a break from frying!
Gathering Ingredients for Perfect Italian Fried Rice Balls
Okay, before we get to the messy, fun part, we need to talk kitchen prep. You know how Julian stresses about the concept? Well, the concept here depends entirely on the quality of your raw materials, especially that rice! For these Italian Fried Rice Balls, you absolutely must use short-grain, starchy rice like Arborio. The starch is what makes the inside creamy once cooked.
The key mandate from my testing process is that the rice must be cooked fully and then cooled completely—seriously, stick it in the fridge! Warm rice falls apart way too easily when you try to roll it. Here’s what you need to have ready before you start mixing up your filling:
- 3 cups cooked Arborio rice (cooled until chilly!)
- 1 cup shredded mozzarella cheese (the meltier, the better)
- 1/2 cup grated Parmesan cheese
- 1/4 cup chopped cooked ham (if you’re keeping it vegetarian, skip this!)
- 1/2 cup frozen peas (thawed, make sure they’re dry-ish)
- 2 large eggs, lightly beaten
- 1 cup all-purpose flour
- 2 cups plain breadcrumbs (I prefer Panko for extra crunch!)
- Vegetable oil, for frying (you need about 2 inches deep)
- Salt and black pepper to taste
Gather everything up like you’re setting up a still life for a photo shoot—it makes the assembly line go so much smoother!
Mastering the Technique: How to Make Crispy Rice Balls
Alright, this is where the artistry comes in! Once all our ingredients are prepped and chilled, the actual assembly of these rice balls moves pretty fast. Remember, we are aiming for that structural integrity so they don’t fall apart when they hit the hot oil. Patience here wins the day, I promise. We’ll move through three main stages: mixing the guts, shaping and coating, and finally, the glorious frying!
Preparing the Risotto Base for Your Rice Balls
Grab that big bowl of cooled rice. Now, gently fold in your cheese—the mozzarella and Parmesan are the stars here, making these the ultimate Cheesy Rice Balls. Toss in the ham and defrosted peas. Mix everything by hand, but don’t mash it! You want to *fold* it, just enough so everything is distributed. If you crush the rice grains now, you’ll end up with a paste instead of that perfectly creamy interior we want. Taste a tiny bit and adjust the salt and pepper, but remember the Parmesan is already salty.
Forming and Breading the Golden Fried Rice Balls
Now, dampen your hands slightly—this stops the sticky rice from gluing itself to your fingers. Scoop about two tablespoons of the mixture and carefully roll it between your palms into a tight ball, about an inch and a half across. Next, get your breading station ready: one dish flour, one dish the beaten eggs, and the last dish full of breadcrumbs. Roll the rice ball first in the flour, shaking off any puffy bits. Then dip it fully into the egg wash. Finally, really press that ball into the breadcrumbs so you get a serious, thick coating. This heavy layer is what guarantees those beautiful, Golden Fried Rice Balls.
Frying Your Arancini to Perfection
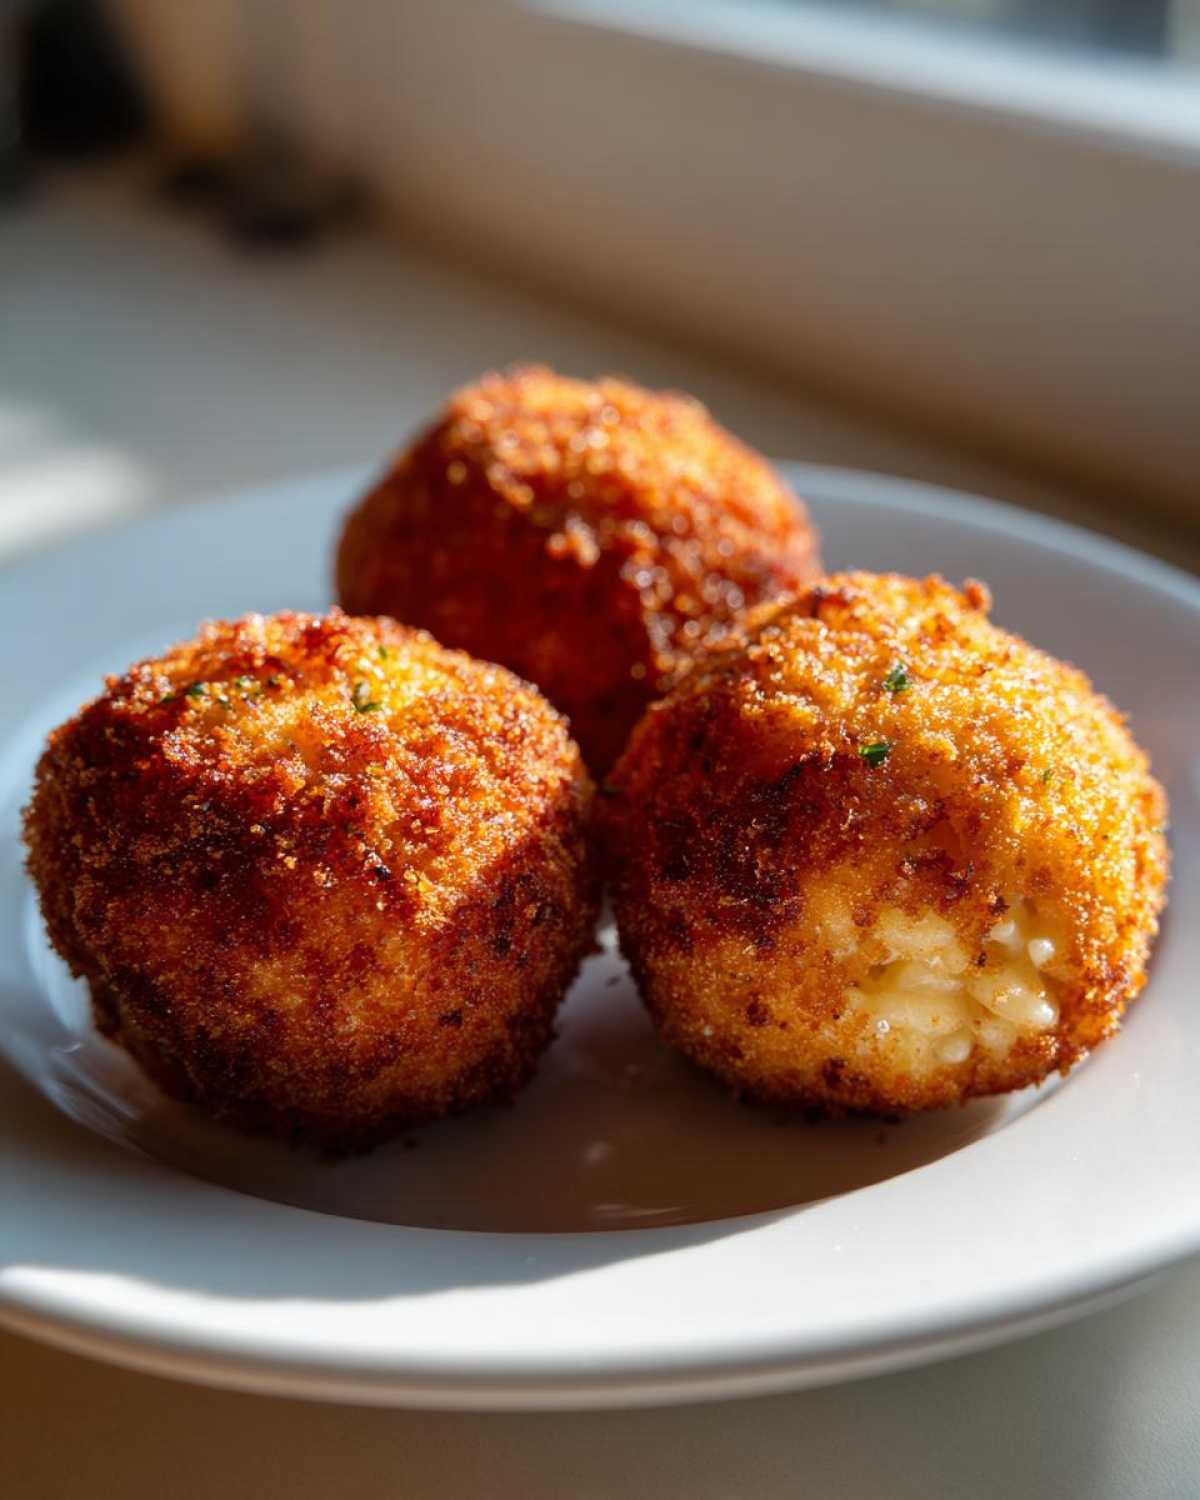
This step is non-negotiable: use a thermometer! Heat up about two inches of vegetable oil in a heavy pot until it hits exactly 350°F (175°C). If the oil isn’t hot enough, the breading gets soggy. If it’s too hot, it burns before the cheese melts. Carefully drop only 3 or 4 balls in at a time; never overcrowd the pot, or the temperature plummets immediately. Let them swim for about 3 to 4 minutes, turning them gently with a spider or slotted spoon until they are a deep, even bronze color. Lift them out, drain them fast on paper towels, and get ready for bliss. You’ll want to enjoy these right away, maybe next to a side of my quick aioli!
Expert Tips for Unforgettable Homemade Rice Balls
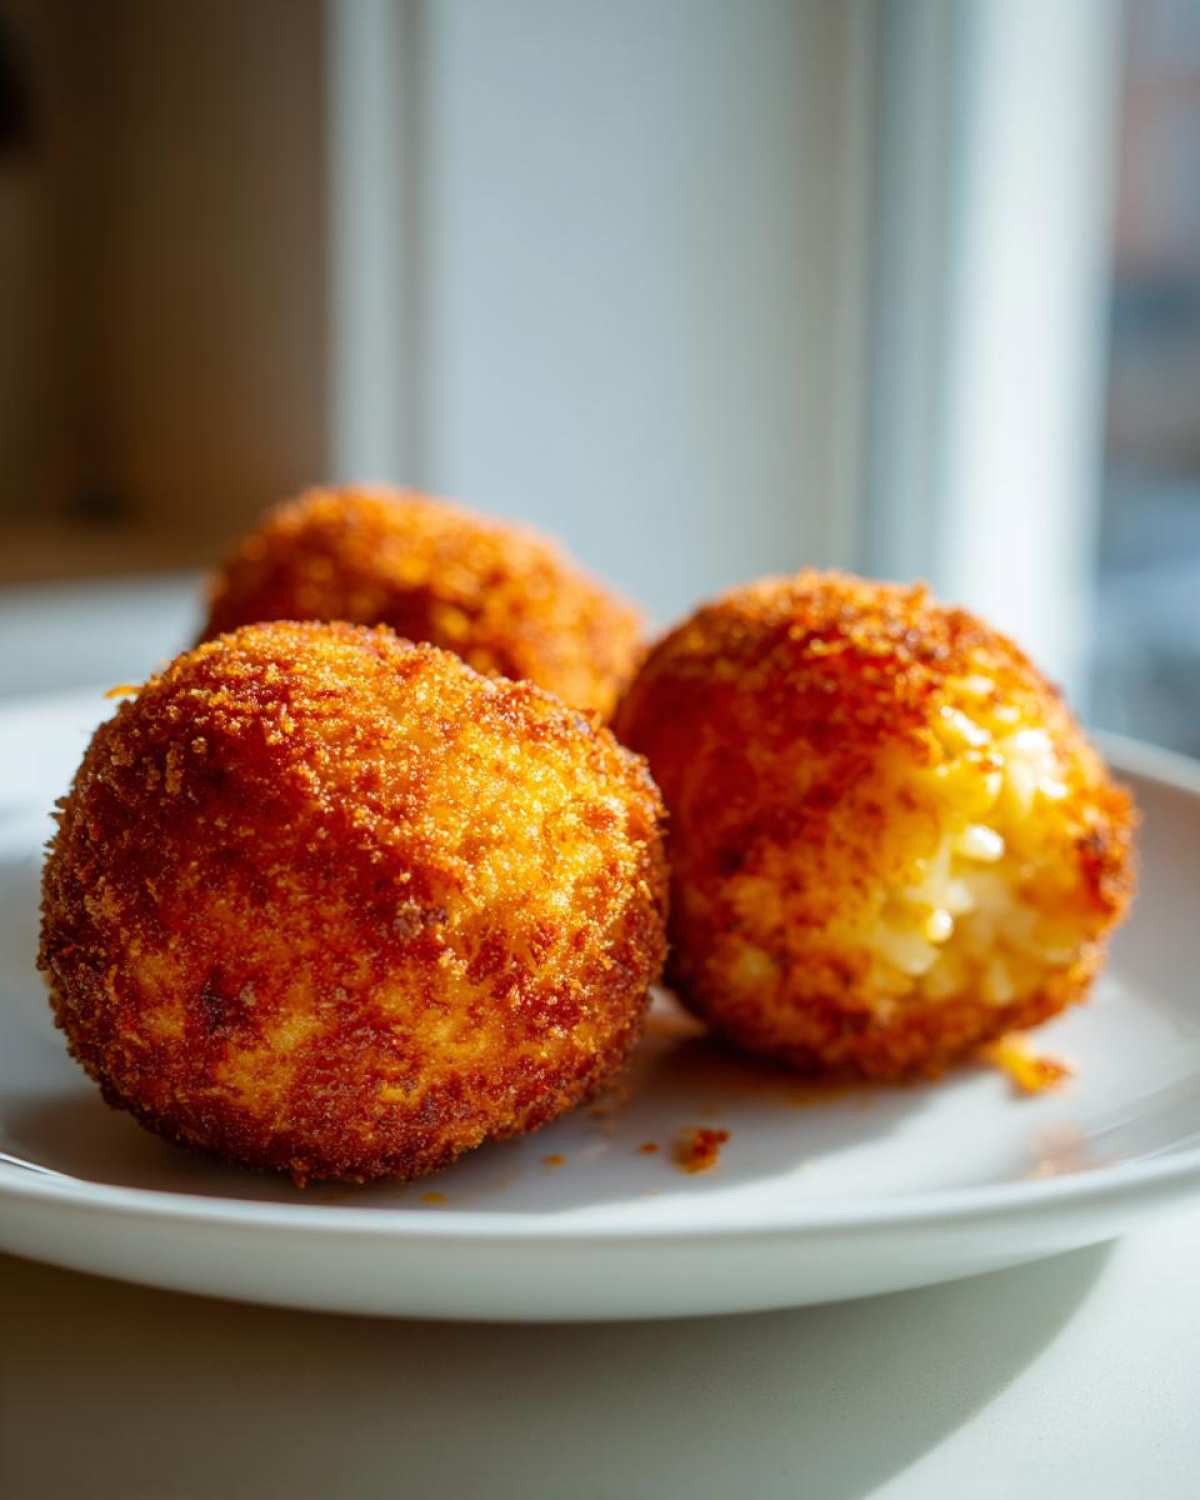
Even with a solid recipe, a few secrets make all the difference between a good batch of homemade rice balls and a truly legendary one. Julian feels strongly that the presentation needs to match the flavor, and for that, structure is everything! My biggest tip, which I learned the hard way after one batch slid apart in the oil, is to chill your formed and breaded balls.
Seriously, take the time to place the breaded spheres on a baking sheet and pop them into the fridge for at least 30 minutes. This chills the breadcrumbs right to the rice, solidifying the entire structure so when they hit the hot fat (which is critical—check out how to make great dipping sauce while you wait!), they don’t weep or crumble.
Remember I mentioned the ham? If you want a *real* Italian experience, swap that out for a spoonful of thick, cooled meat ragu right in the center before you roll them up. You can read about techniques for getting truly crispy exteriors in this amazing guide on authentic Italian rice balls. But for these cheesy ones, chilling is king!
Serving Suggestions for Your Savory Rice Bites
The best part of making these Savory Rice Bites is seeing everyone grab one right out of the oil—but you have to let them rest for about 30 seconds, or you’ll burn your face off melting that glorious mozzarella!
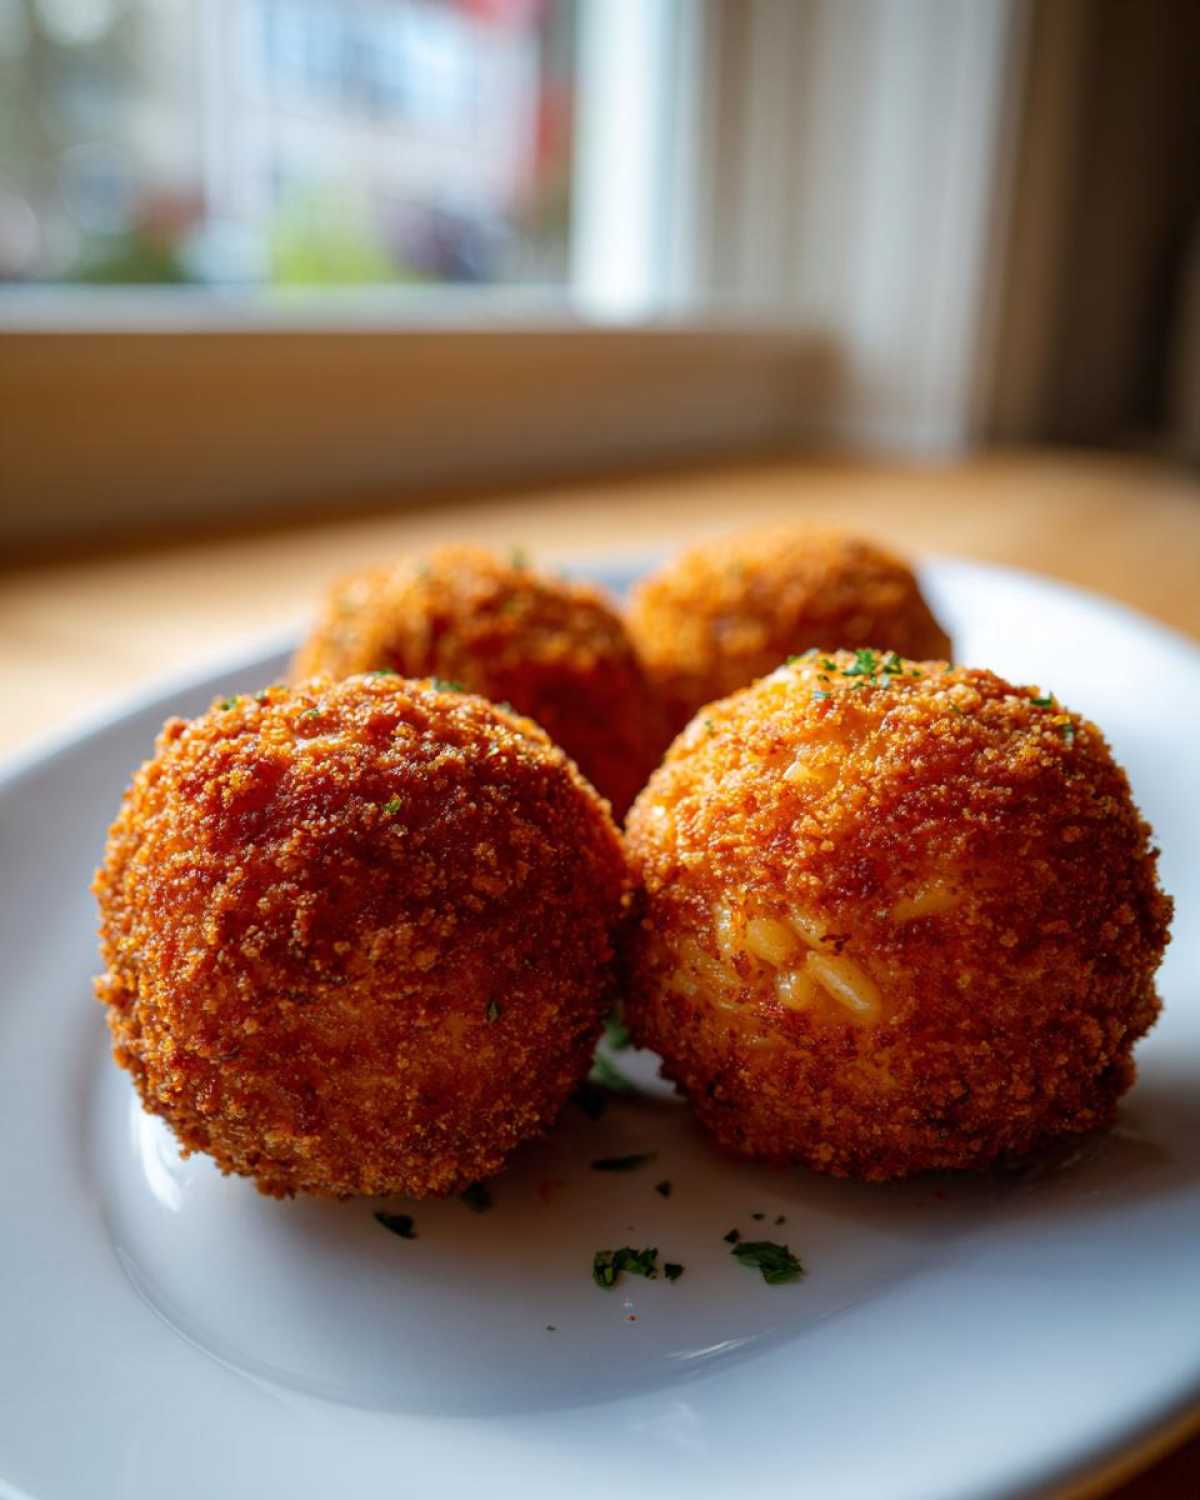
Since these Italian rice balls are so rich and fried, they absolutely scream for something bright to cut through it all. I love setting out a small bowl of high-quality marinara sauce, warmed up slightly, ready for dipping. If you want to get fancy, you could even try a vibrant pesto. For the ultimate pairing, try making my super-quick garlic aioli. Serve them immediately. Seriously, these are built for that moment when the cheese pulls!
Storing and Reheating Leftover Rice Balls
So, what happens if you magically have any of these incredible rice balls left over? Don’t panic! They are still delicious the next day, but you absolutely cannot microwave them. That heat turns the crust soft and the whole thing gummy—we worked too hard for a soggy outcome!
Tuck any leftovers into an airtight container and keep them in the fridge for up to three days. When you’re ready for round two, the best method is definitely the oven or, even better, the air fryer. If you’re using an air fryer, set it to about 375°F and crisp them up for about 6 to 8 minutes. The oven works too: 400°F until they are hot all the way through and the outside is crunchy again. It brings back that just-fried magic!
Frequently Asked Questions About Making Rice Balls
I know you might have a few lingering thoughts before you tackle rolling these beauties. When you’re working with a concept as visually exciting as these rice balls, sometimes the execution feels intimidating. But don’t worry! Julian and I have worked through all the kinks, so here are the answers to the questions folks ask most often about these Italian Fried Rice Balls.
Can I make these rice balls without deep frying?
Oh, I get this! Deep-frying is fast and gives you that unbeatable outer crust, but maybe you don’t want the oil bath. You absolutely can bake or air fry these! If you bake them, lightly spray the breaded balls with cooking spray and bake at 400°F until golden. If you use the air fryer, set it to about 380°F and watch them closely. What I’ll say is this: you *will* sacrifice some of that signature shattering crispness you get from true frying, but they still come out delicious, especially with that gooey center!
What is the best rice to use for Arancini rice balls?
If you want truly authentic, creamy-on-the-inside Arancini Recipe results, you need high-starch rice. That means Arborio—which we used—or Carnaroli. These rices release their starch as they cook, resulting in that velvety texture that just melts in your mouth. If you try to use long-grain white rice, the interior will just be… fluffy, not creamy. We need the cream, folks!
Are these Cheesy Rice Balls suitable for vegetarians?
That’s a great question! The base recipe I shared does include ham, making them savory and rich. However, they are incredibly easy to turn into Cheesy Rice Balls that are completely vegetarian-friendly! Just leave out the ham completely in Step 1. The combination of Parmesan and Mozzarella has plenty of flavor on its own. You could replace the ham with finely chopped sun-dried tomatoes or sautéed mushrooms if you want to add another texture element!
Nutritional Estimate for These Fried Rice Balls
Okay, real talk time. We are deep-frying glorious balls of cheese and rice here, so we know these aren’t exactly salad greens! When we talk about the finished product—our absolutely incredible Fried Rice Balls—it’s important to remember that the actual nutritional breakdown can look different every single time we make them. Right? Because sometimes I use more Parmesan, and maybe Julian adds an extra dash of whatever seasoning he’s testing that week.
Because of those beautiful, messy variations that make cooking so personal, the numbers I calculate are just that—estimates. They are a general guideline, not a guarantee! The final calorie count or fat content depends entirely on the brand of cheese you choose, how much oil your breadcrumbs soak up, and whether you used ham or skipped it for a vegetarian version. If you’re tracking closely, please use this recipe as a guide and run your specific ingredient measurements through your preferred tracking app. For more on how we approach sharing health information on the site, you can always check out our full disclaimer here. Now stop worrying about the details and go grab another one!
Share Your Magazine Meal Creations
Now that you’ve pulled off your own stunning spread of rice balls, I’m dying to know how they turned out! Did the cheese pull perfectly? Did you create the crunchiest coating on your first try? Please jump down into the comments below and leave us a star rating—it helps so much! And if you snapped a photo, tag us so Julian and I can share your masterpiece on our own feed! Don’t hesitate to reach out via our contact page if any questions pop up!
PrintCheesy Fried Arancini: Crispy Italian Rice Balls

Make classic Italian rice balls, or Arancini, at home. These feature a creamy risotto interior stuffed with melted cheese, coated, and fried until perfectly golden and crispy. They make an excellent appetizer or snack.
- Prep Time: 25 min
- Cook Time: 15 min
- Total Time: 40 min
- Yield: 12 servings
- Category: Appetizer
- Method: Deep Frying
- Cuisine: Italian
- Diet: Vegetarian
Ingredients
- 3 cups cooked Arborio rice (cooled)
- 1 cup shredded mozzarella cheese
- 1/2 cup grated Parmesan cheese
- 1/4 cup chopped cooked ham (optional)
- 1/2 cup frozen peas (thawed)
- 2 large eggs, lightly beaten
- 1 cup all-purpose flour
- 2 cups plain breadcrumbs
- Vegetable oil, for frying
- Salt and black pepper to taste
Instructions
- In a large bowl, combine the cooled cooked rice, mozzarella cheese, Parmesan cheese, ham, and peas. Season with salt and pepper. Mix gently until just combined; avoid crushing the rice grains.
- Scoop about 2 tablespoons of the rice mixture and form it into a tight ball, about 1.5 inches in diameter. If the mixture is too dry, slightly dampen your hands.
- Set up a standard breading station: place flour in one shallow dish, the beaten eggs in a second dish, and breadcrumbs in a third dish.
- Roll each rice ball first in the flour, shaking off any excess.
- Dip the floured ball into the beaten egg, allowing excess to drip off.
- Roll the ball thoroughly in the breadcrumbs, pressing lightly to ensure an even, thick coating. Place the breaded balls on a baking sheet.
- Heat about 2 inches of vegetable oil in a deep, heavy-bottomed pot or deep fryer to 350°F (175°C). Use a thermometer to monitor the temperature closely.
- Carefully lower 3 or 4 rice balls into the hot oil, ensuring you do not overcrowd the pot.
- Fry for 3 to 4 minutes, turning occasionally, until they are deep golden brown and crispy on all sides.
- Remove the cooked Arancini with a slotted spoon and place them on a plate lined with paper towels to drain excess oil.
- Serve the crispy rice balls immediately while the cheese inside is melted.
Notes
- For the best results, chill the formed and breaded rice balls for at least 30 minutes before frying. This helps them hold their shape better during cooking.
- If you prefer a meat filling, substitute the ham with 1 cup of cooled, thick meat ragu, placing a small spoonful in the center before sealing the rice ball.
- Use high-quality, short-grain rice like Arborio for the best creamy texture in the center.
Nutrition
- Serving Size: 2 balls
- Calories: 350
- Sugar: 3
- Sodium: 450
- Fat: 18
- Saturated Fat: 8
- Unsaturated Fat: 10
- Trans Fat: 0
- Carbohydrates: 35
- Fiber: 2
- Protein: 14
- Cholesterol: 65