

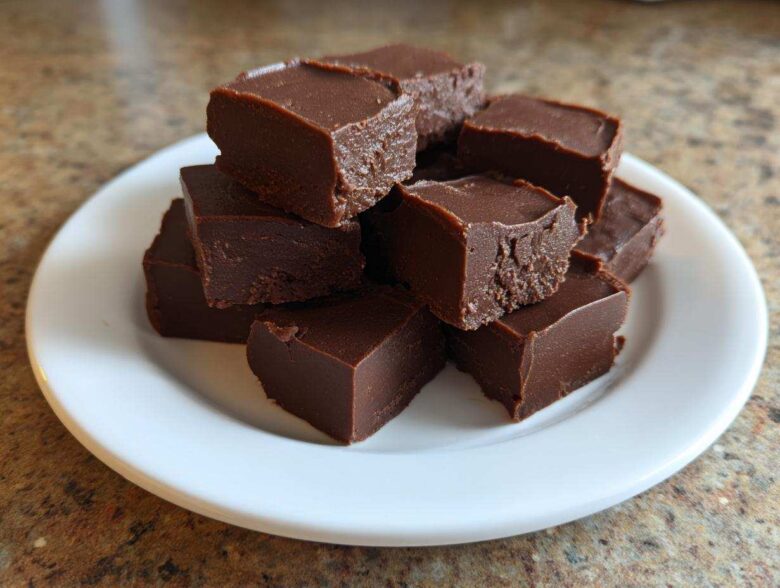
Are you ever just scrolling, desperate for something rich and intensely chocolatey, but the thought of dragging out the candy thermometer makes you want to order takeout instead? I totally get it. Julian and I used to think the best desserts had to be complicated—like they needed a huge production team just to look decent on the plate. But that’s not what life is about, right? Making life the feature story means finding joy in the simple, messy wins, and my favorite win lately is this utterly foolproof, 3-ingredient chocolate fudge. It comes together faster than you can decide what movie to watch. Seriously, this is the easiest, creamiest homemade candy you will ever see. If you want to know more about our philosophy on trading perfection for intention, check out our About Us page. Forget the fuss; let’s make something incredible right now.
Why This 3-Ingredient Chocolate Fudge is the Best Fudge Recipe
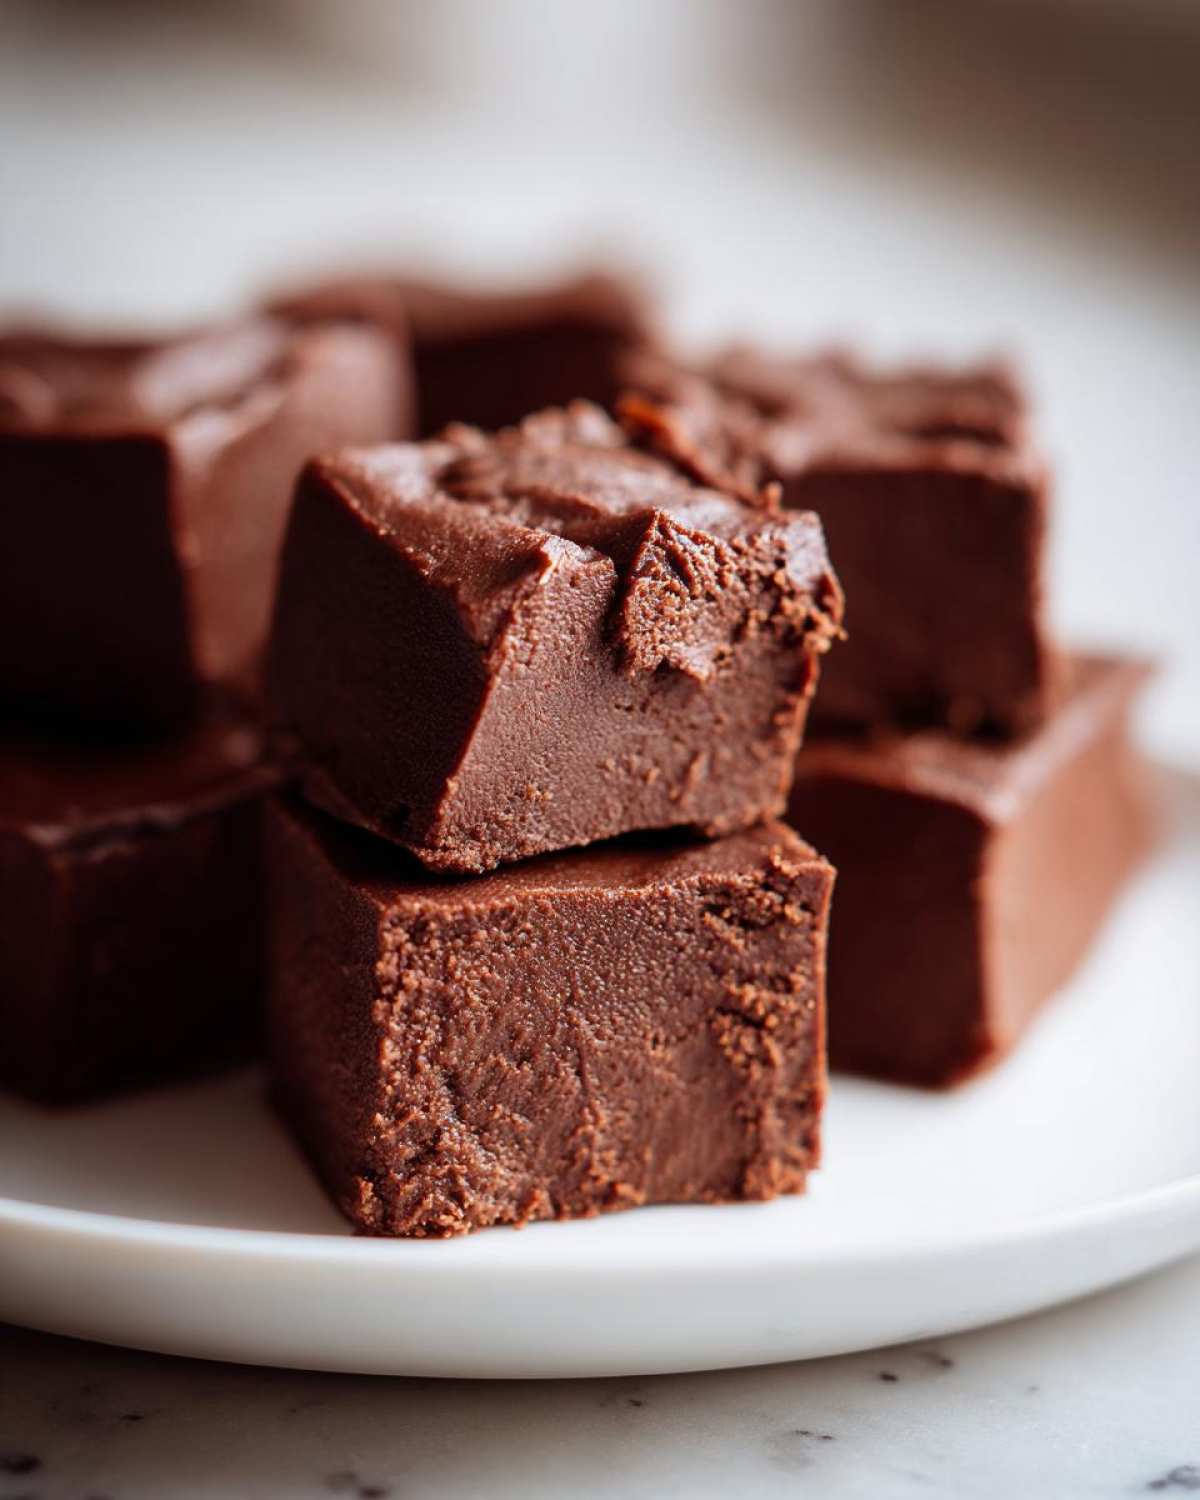
When I talk about the best homemade candy, I’m talking about results you can count on every single time. This isn’t some finicky recipe you only try once; this is foolproof fudge designed for real life. It’s just three ingredients, and that means less fuss and more eating, which I am always on board with!
- It’s unbelievably decadent for something so simple.
- It’s perfect fudge for gifting when you realize you forgot to bake something!
- It delivers that smooth, dense texture we all crave.
If you’ve been scared of making candy before, you need to see how this comes together. It’s a lifesaver when you need amazing treats fast, like our Easy Moist Lemon Loaf Recipe is for a lighter snack.
Quick Dessert Recipes: Ready Fast
This whole thing is basically a no bake fudge solution. You’re stirring for maybe 5 minutes, max. Once it hits the fridge, it can chill and set while you go about your evening. It’s one of those truly wonderful simple sweet treats that fits perfectly into a busy week when you just need a quick sugar fix.
Guaranteed Creamy Fudge Texture
The actual magic here—the reason you get creamy fudge without the scary sugar science—is the sweetened condensed milk. It acts as the stabilizer, totally bypassing the need for a candy thermometer. Trust me, avoiding that sticky thermometer is worth the price of admission alone! We heat it just enough to melt the chips evenly. This method ensures you skip the graininess most people worry about when making traditional homemade fudge.
Gathering Your Ingredients for This Easy Fudge Recipe
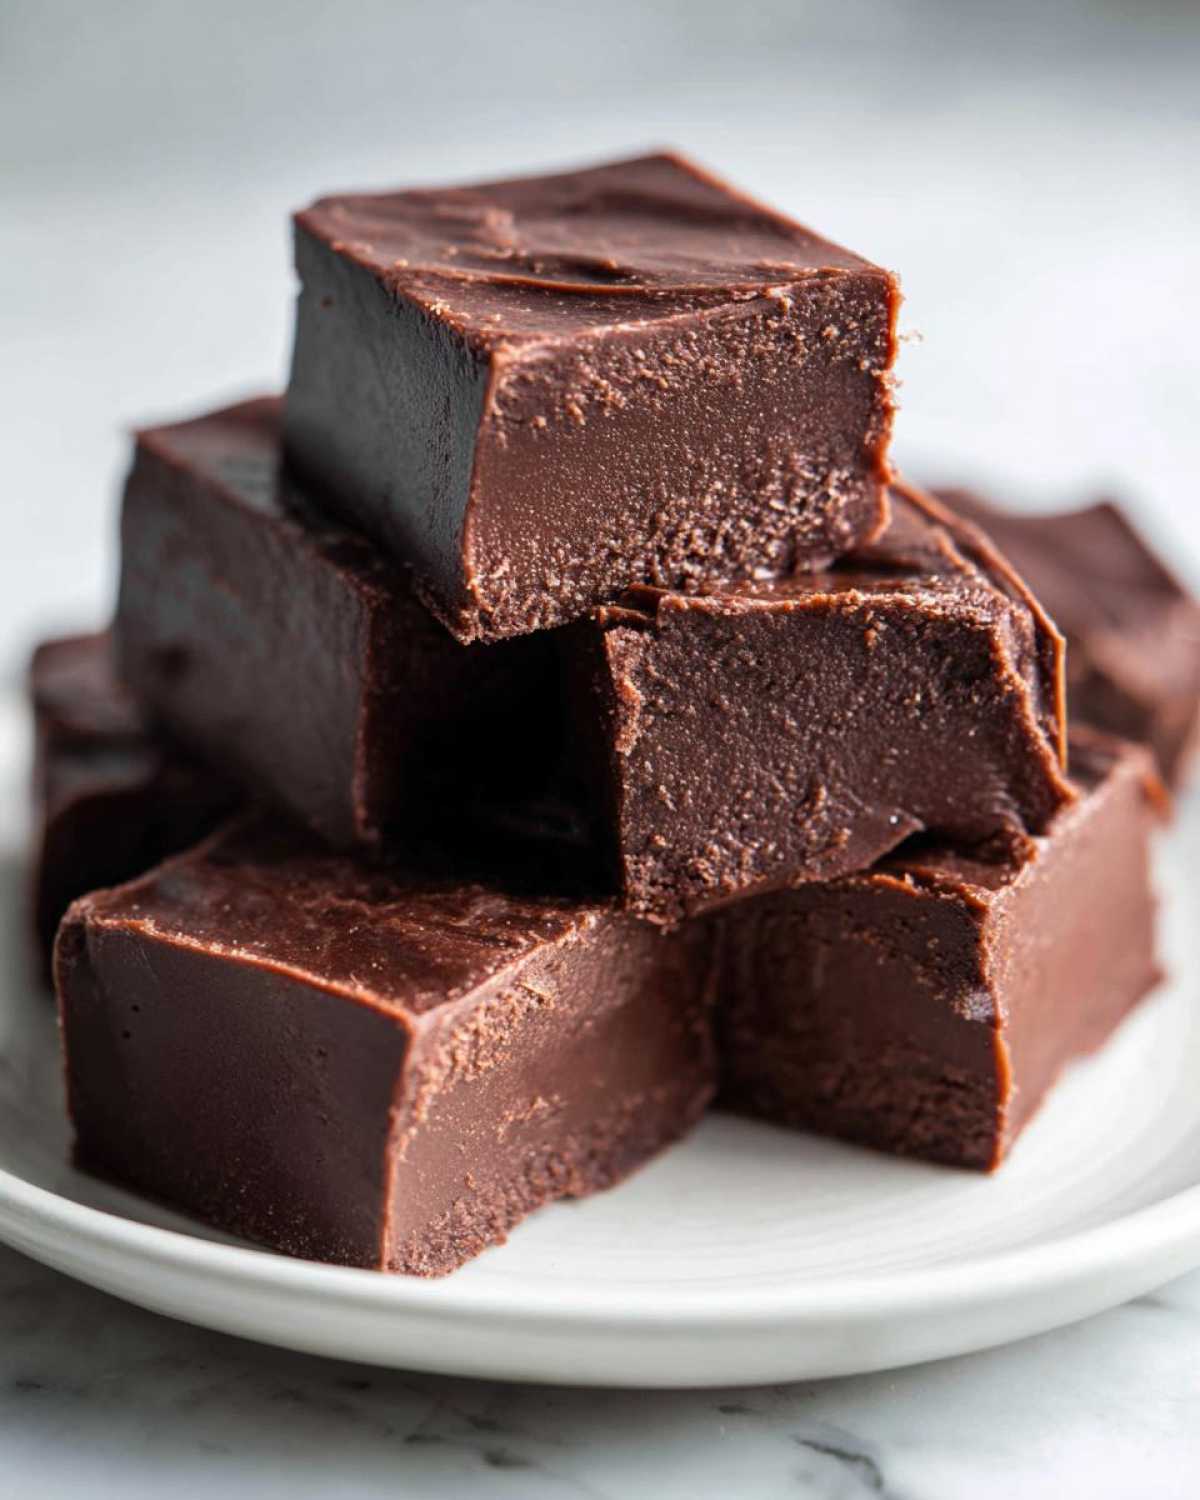
Okay, grab your things! Since this is a 3-ingredient recipe, just making sure you have the right form of those ingredients is half the battle. Seriously, don’t try to substitute the star players here; they are what makes this chocolate fudge so ridiculously simple and smooth. We aren’t making old fashioned fudge here that requires tons of pantry staples, thankfully!
Here is exactly what you need for this quick dessert that always passes the taste test:
- One (14 ounce) can of sweetened condensed milk—and yes, the whole can has to be 14 ounces!
- One (12 ounce) package of semi-sweet chocolate chips. I usually grab the good quality ones because they melt better, but any standard chip works fine.
- One teaspoon of vanilla extract. This is non-negotiable; it brightens up the chocolate flavor beautifully.
This combination is the perfect foundation. If you feel ambitious later, you can always use this base to make a fun variation, maybe even something like a white chocolate version if you swap the chips! Speaking of easy starts, if you want to skip the rolling pin for dessert, you absolutely must check out my recipe for Easy Chocolate Croissants next!
Step-by-Step Instructions for Perfect Homemade Fudge
Alright, let’s get down to the actual making of this simple, wonderful homemade fudge. Julian always says that following steps clearly is like art direction for food—it keeps the final product exactly where you want it. Since this is a no bake fudge recipe, it’s all about prep and patience in the chilling stage! If you’re looking for another easy, reliable recipe to master, be sure to check out my thoughts on the Best Chocolate Chip Cookies Recipe.
Preparing the Pan and Melting the Fudge Base
First things first, grab an 8×8 inch pan because squares are the best shape for candy, obviously. Line it with parchment paper, making sure you leave an overhang on two sides—this is your handle for lifting the whole slab out later! Now, toss your chocolate chips and the whole can of sweetened condensed milk into a microwave-safe bowl. Here is the critical part: Microwave on 50 percent power for just 60 seconds. Stir it like you mean it! Then, keep zapping it by 30-second bursts, stirring between each time. You have to watch it so you don’t scorch the chocolate. Stop the second it’s smooth!
Mixing and Setting Your Creamy Fudge
Once that chocolate is silky smooth, quickly stir in your teaspoon of vanilla extract. That’s it for the mixing! Pour all that glorious melted mixture right into your prepared pan. Use an offset spatula—or the back of a spoon—to spread it out evenly. Don’t fuss too much with making it look perfect on top; it’s going to firm up beautifully. Now comes the hard part: waiting! Pop it into the fridge for at least two solid hours until it’s totally firm. If you check too soon, you’ll end up with a gooey mess, and we are aiming for creamy fudge!
Tips for Making Fudge That Shines Every Time
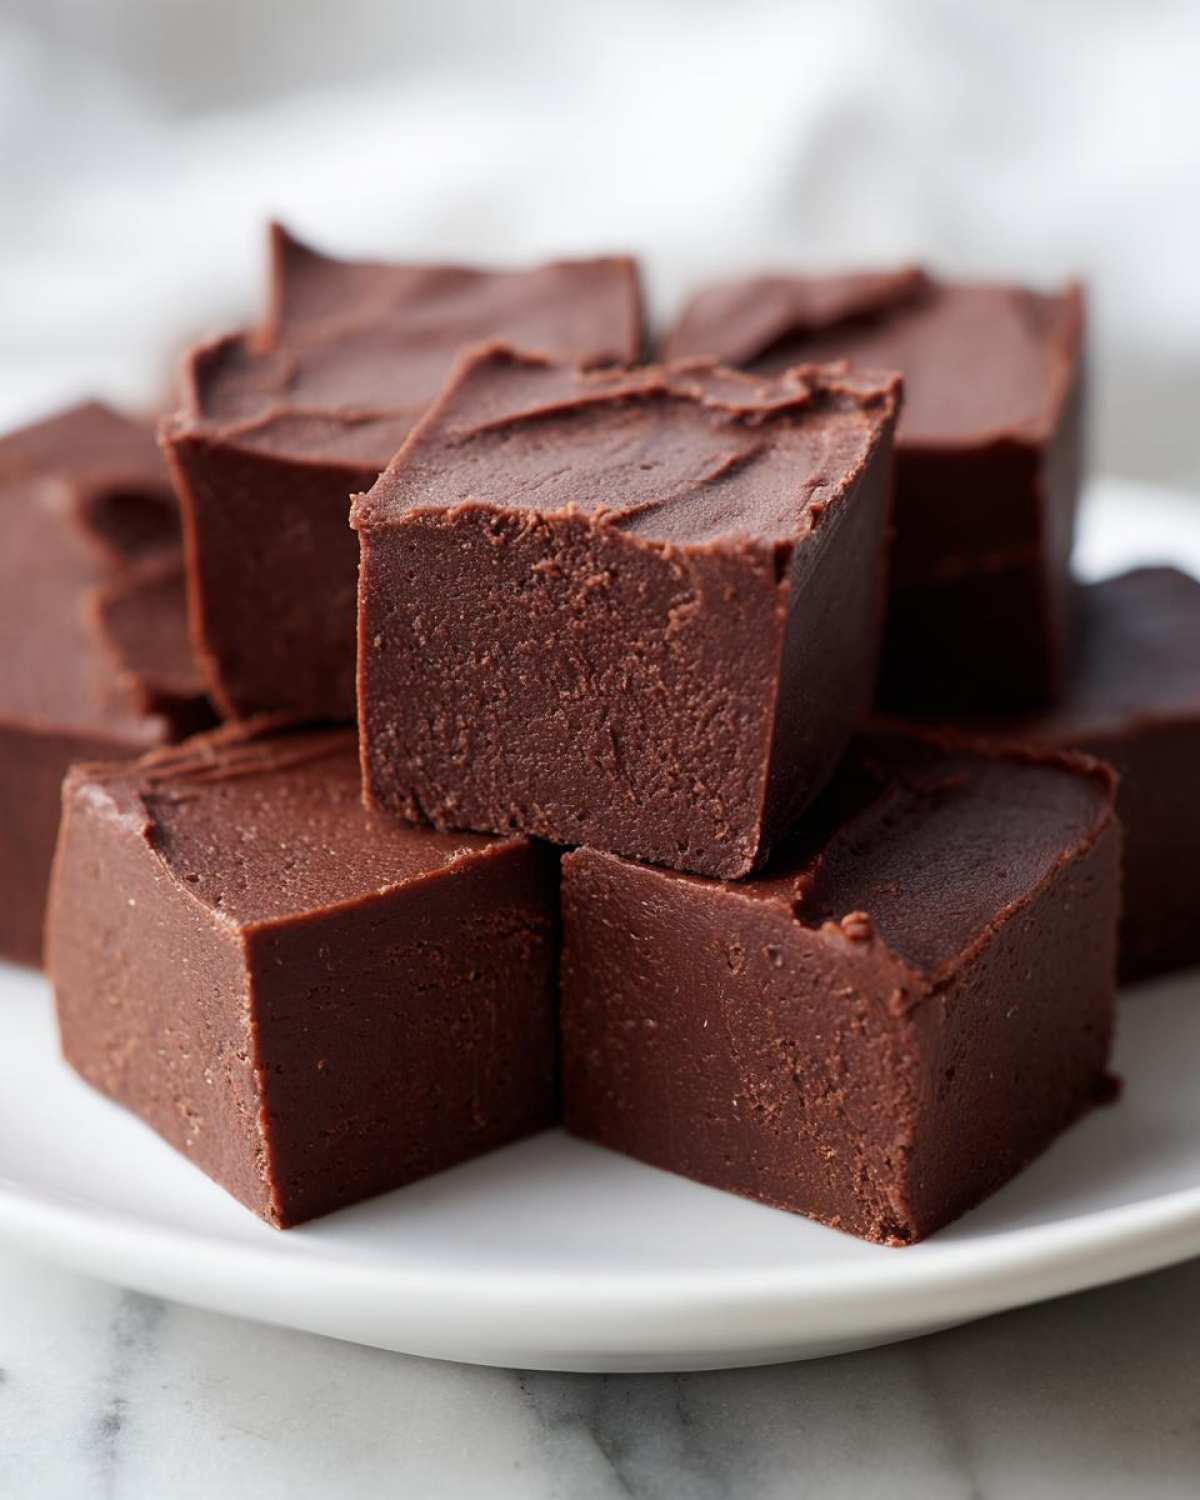
Even though this is the easiest fudge recipe on the planet, I still messed it up a few times when Julian and I were first testing it out for the blog. We learned quickly that small touches make a huge difference in turning good fudge into *great* fudge. It’s worth adding these little adjustments because nobody wants fudge that looks perfect but tastes flat, right? Like my brown butter chocolate chip cookies, these little flavor boosts take the final product to the next level.
Flavor Variations for Your Chocolate Fudge
Since this base is so sturdy, you can totally customize your simple sweet treats! If you want a richer flavor, swap out the semi-sweet chips for dark chocolate chips—that really amps up the cocoa intensity. Or, if you need texture, try folding in about a half cup of chopped walnuts or pecans right after you add the vanilla. I sometimes toss in miniature marshmallows for a lighter bite, which is kind of cheating, but hey, I’m not judging!
Storage and Making Fudge For Gifting
Once your fabulous, creamy fudge has set up, the final hurdle is cutting it gracefully, especially if you’re planning on packaging this up for fudge for gifting. Remember those parchment paper overhangs? Use those! Lift the entire block right out of the 8×8 pan and set it gently onto your cutting board. This prevents you from wrestling the soft candy out and cracking your beautiful edges.
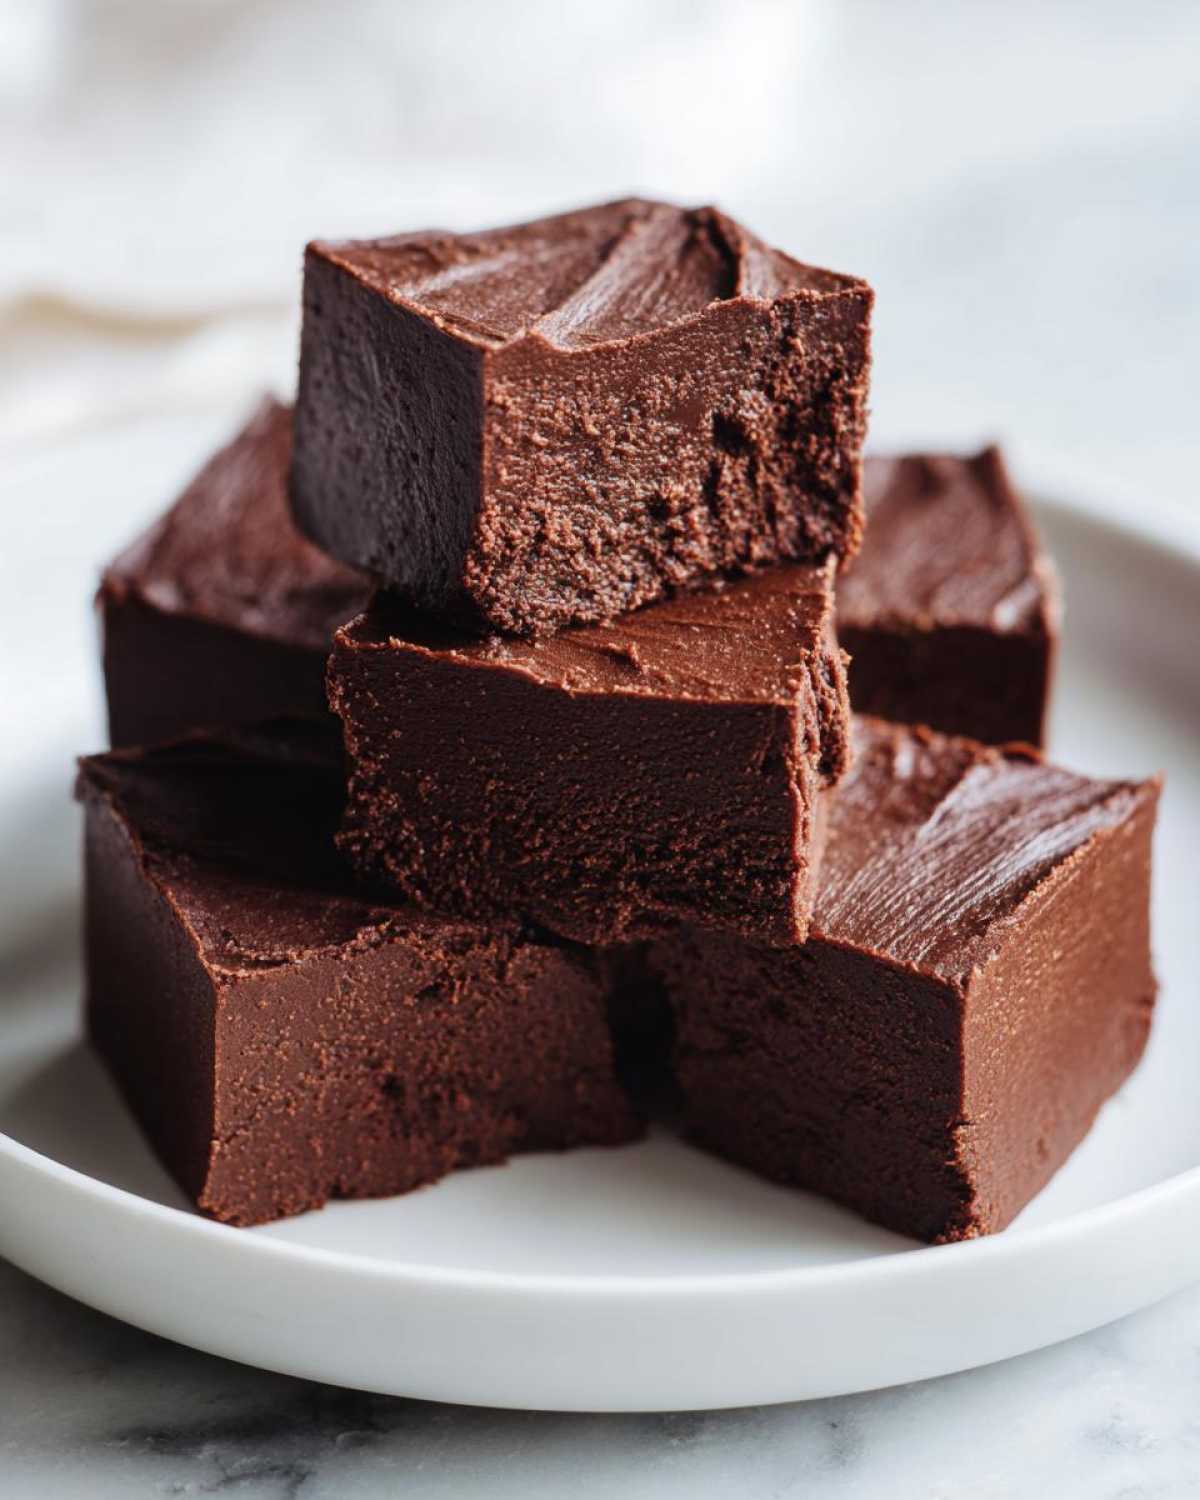
For cutting, I like to use a long, sharp knife that I run under hot water and dry quickly between slices—this keeps the chocolate from sticking and gives you those perfectly clean edges we talked about. The recipe says it yields 36 small squares, and I highly recommend sticking to small pieces because this fudge is intensely rich! If you need a heartier, savory meal to balance out all this sweetness, you have to check out my recipe for the Easy Chicken Cobbler Recipe.
Now for storage: you can definitely keep this on the counter in an airtight container, and it’ll be fine at room temperature for a few days. But honestly, if you need that guaranteed firm texture, especially if your kitchen runs warm, a sealed container in the fridge works wonders. It keeps the homemade fudge super firm, which is perfect for transport if you’re taking these dessert squares to a party or shipping them out to friends. Good luck hiding any long enough to give away!
Frequently Asked Questions About Making Fudge
I always get so many questions after posting a recipe because I know you all want your easy fudge recipe to come out perfectly the first time! I tried to write this guide so you wouldn’t have any uncertainty, but here are a few things I hear often. Don’t feel bad if you wonder about these things—it means you care about making the best fudge!
Can I make this fudge without sweetened condensed milk?
Honestly, for this specific three-ingredient version? No, you really can’t. Sweetened condensed milk is the superstar here because it already has the sugar cooked down heavily and concentrates the milk solids. That’s what makes it set up so beautifully, giving you that creamy fudge without needing to boil sugar to a specific temperature. If you skip it, you’re moving into a completely different homemade fudge recipe style, usually one that requires that candy thermometer we’re trying to avoid!
What is the difference between this and Old Fashioned Fudge?
That’s a great distinction to make! That classic, Old Fashioned Fudge texture you might be thinking of usually involves boiling milk, sugar, and butter together, often to the soft-ball stage, and then letting it cool before beating it vigorously. It’s a whole process! This version, using the condensed milk and the microwave, is technically a variation of Fantasy Fudge, and it skips all that complicated heating and cooling. This is your emergency, quick dessert recipe fix!
If you want more inspiration for turning your kitchen into a publishing house, head over to the main Blog page!
Estimated Nutritional Data for This Fudge
I always feel a little weird posting strict nutritional breakdowns because, let’s be honest, this is pure indulgence, not a health food masterpiece! But if you need the numbers for your own tracking, here they are. These serving sizes and calorie counts are just estimates based on the ingredients we used—specifically the semi-sweet chips and sweetened condensed milk—so take them as a guideline only. When you make these rich dessert squares, you’re making something special just for you!
- Serving Size: 1 square
- Calories: 110
- Sugar: 15g
- Sodium: 25mg
- Fat: 5g
- Protein: 2g
Share Your Magazine Meal Creations
I’ve shared my favorite hack for the fastest, creamiest fudge, and now I want to see yours! Did you add sea salt? Did you go for the dark chocolate chips? Take a photo of your finished squares! Rate this recipe so other people who are tired of fussy baking know this is the one to try. We love seeing how you make your kitchen the main feature of your day. If you need to get in touch about your successful batch, our contact form is ready for you right here!
PrintFoolproof 3-Ingredient Chocolate Fudge: Quick and Creamy
You can make rich, decadent chocolate fudge with only three simple ingredients. This no-bake recipe guarantees a smooth, melt-in-your-mouth texture every time you make it. It is perfect for quick desserts or homemade candy gifting.
- Prep Time: 10 min
- Cook Time: 5 min
- Total Time: 2 hours 15 min
- Yield: 36 small squares
- Category: Dessert
- Method: No Bake
- Cuisine: American
- Diet: Vegetarian
Ingredients
- 1 (14 ounce) can sweetened condensed milk
- 1 (12 ounce) package semi-sweet chocolate chips
- 1 teaspoon vanilla extract
Instructions
- Line an 8×8 inch baking pan with parchment paper, leaving an overhang on two sides for easy removal. Lightly grease the paper.
- In a medium microwave-safe bowl, combine the sweetened condensed milk and chocolate chips.
- Microwave on 50 percent power for 60 seconds. Stir well. Continue microwaving in 30-second intervals, stirring after each, until the chocolate is completely melted and the mixture is smooth. This usually takes 1 to 2 minutes total. Do not overheat the mixture.
- Stir in the vanilla extract until fully combined.
- Pour the fudge mixture into the prepared baking pan. Spread it evenly using a spatula.
- Refrigerate the fudge for at least 2 hours, or until firm enough to cut.
- Lift the fudge out of the pan using the parchment paper overhang. Place it on a cutting board.
- Cut the fudge into small squares. Store the creamy fudge in an airtight container at room temperature or in the refrigerator.
Notes
- For a different flavor, substitute the semi-sweet chips with milk chocolate or dark chocolate chips.
- If you want to add texture, fold in 1/2 cup of chopped nuts or mini marshmallows after stirring in the vanilla extract.
- This recipe is a fantastic base for other quick dessert recipes; try adding a pinch of sea salt for a salted chocolate flavor.
Nutrition
- Serving Size: 1 square
- Calories: 110
- Sugar: 15
- Sodium: 25
- Fat: 5
- Saturated Fat: 3
- Unsaturated Fat: 2
- Trans Fat: 0
- Carbohydrates: 16
- Fiber: 0
- Protein: 2
- Cholesterol: 10