

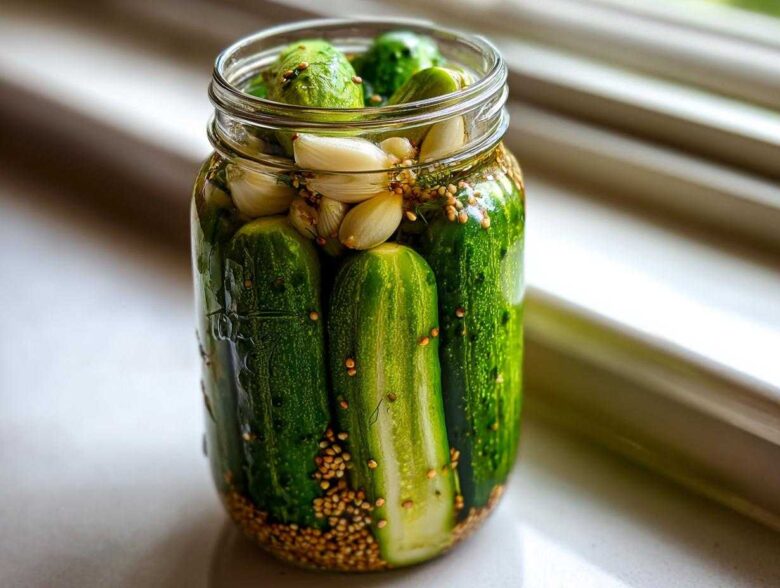
Oh my gosh, is your garden overflowing with cucumbers right now? Happens to me every July! You go out for a walk and suddenly you have twelve perfect little green buddies staring up at you. Don’t panic about canning! I’ve got the absolute best solution for what to do with them: refrigerator pickles. Seriously, forget those floppy, dull store-bought versions. We are making Ultra-Crispy Garlic Dill Refrigerator Pickles that are ready to *crunch* in just 24 hours. This no-fail, no-canning brine is my top secret for keeping things simple, fast, and ridiculously tasty. Trust me, once you try these, you won’t look back!
Why These Ultra-Crispy Refrigerator Pickles Are Your New Favorite Snack
Why mess with hot water baths when you can have fantastic flavor in a day? These easy refrigerator pickles are the answer to all your cucumber problems. I promise you, they are truly superior! Here’s the quick rundown:
- Speedy Satisfaction: They’re ready in just 24 hours. That’s right, 24 hour pickles!
- Maximum Crunch: We use a specific trick to ensure they are the crispiest you’ve ever had.
- Zero Fuss: This is a true no canning pickles method, perfect for beginners.
If you love that satisfying snap, these crunchy fridge pickles will be your go-to snack all summer long.
Ingredients for Perfect Garlic Dill Refrigerator Pickles
The beauty of this simple pickling recipe is that the ingredient list is short and sweet. Because these are homemade dill pickles that live in the fridge, we don’t need complicated canning supplies, just good fresh stuff! The star, of course, is the cucumber. You really do need pickling cucumbers—they have the right texture to handle the brine without turning mushy.
For the brine itself, we keep it balanced. You need white vinegar for that essential sharp tang. Make sure the kosher salt and sugar dissolve completely! I always heat the brine gently until I can’t see any grains left; if the sugar or salt isn’t dissolved, you won’t get the brine penetration you need.
And don’t forget the aromatics! Those smashed garlic cloves are non-negotiable for the best garlic dill pickles flavor. Here is exactly what you’ll need for about two pint jars:
- 2 lbs pickling cucumbers (small to medium size)
- 4 cloves garlic, smashed
- 1/2 cup white vinegar (5% acidity)
- 1 1/2 cups water
- 2 tablespoons kosher salt
- 1 tablespoon granulated sugar
- 1 teaspoon black peppercorns
- 1 teaspoon mustard seeds
- 2 sprigs fresh dill (or 1 teaspoon dill seed)
How to Make Refrigerator Pickles: Step-by-Step Instructions
Okay, here is where the magic happens! Learning how to make refrigerator pickles is way easier than you think, and it mostly comes down to prepping your veggies right. Seriously, this is the best quick pickles recipe for when you just need a flavor fix fast from that cucumber haul! Honestly, my spicy dill pickle popcorn tastes even better with these fresh pickles on the side!
Preparing the Cucumbers and Jars
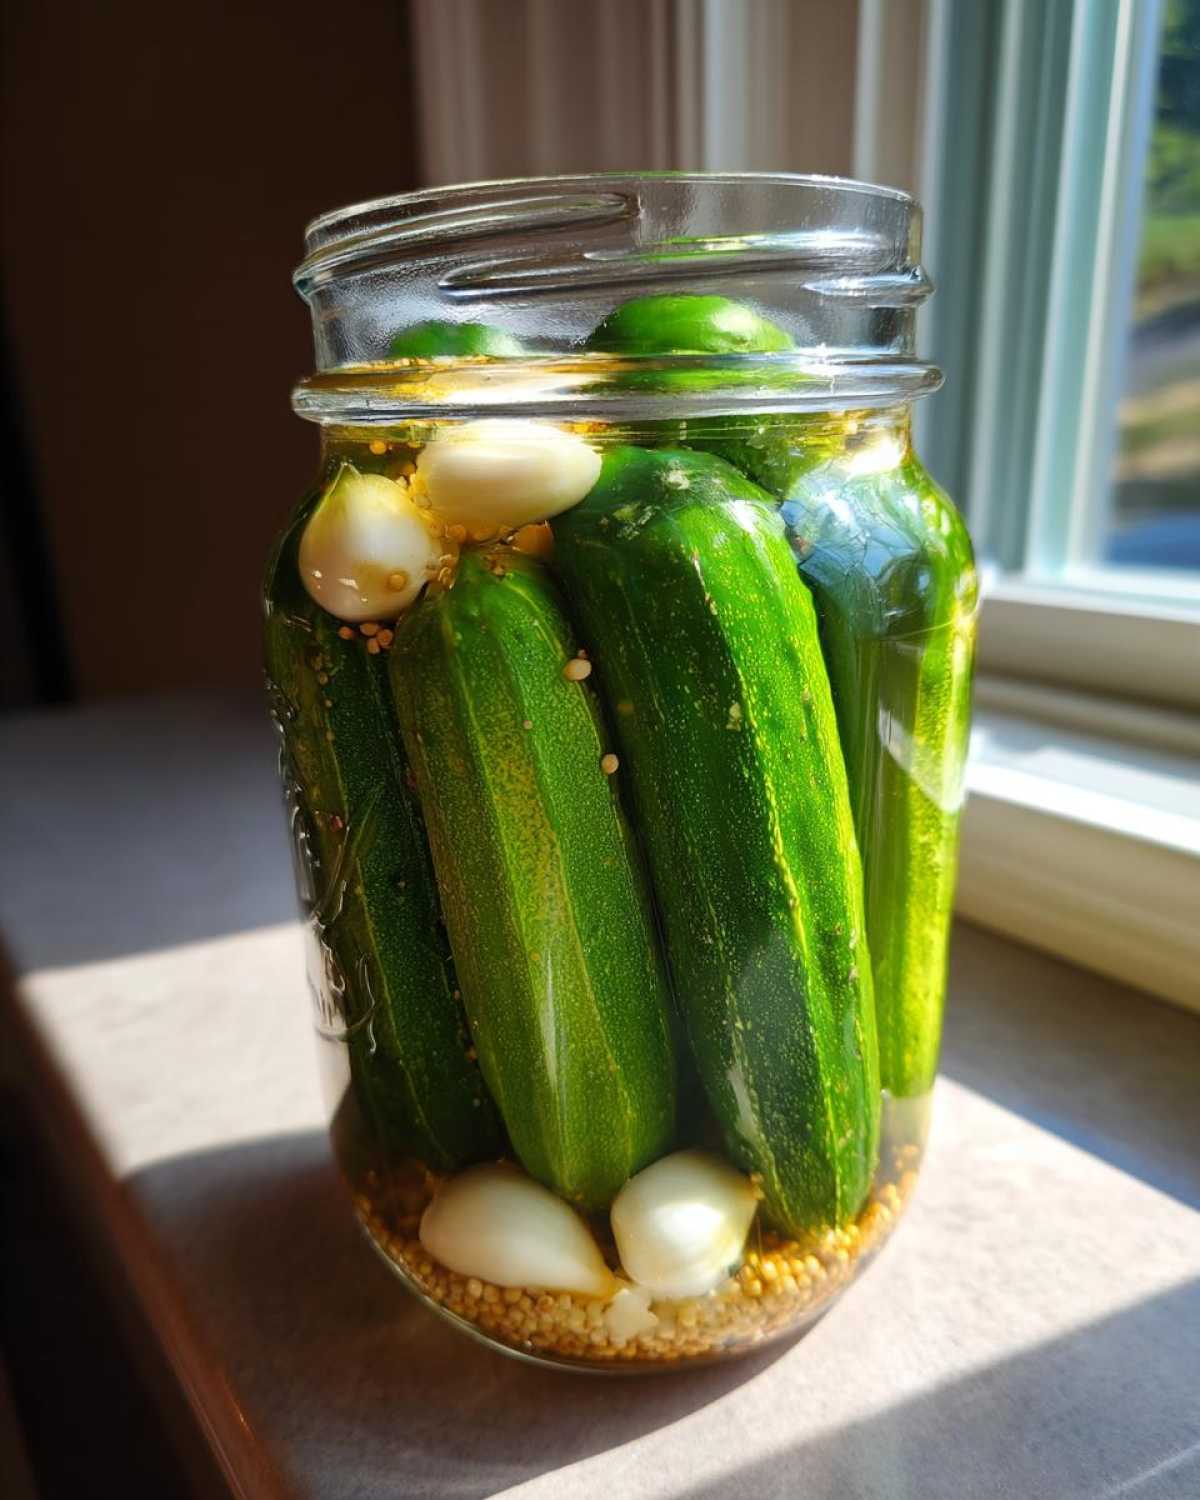
First things first: wash those gorgeous cucumbers really well! The most critical part for that perfect snap happens right at the start. You have to trim off the very tips where the flower was—that’s the blossom end. I can’t stress this enough; those tiny enzymes in that end root are what turn your pickles soft! Oops! After trimming, just slice them up however you like—spears for snacking, coins for burgers. Pack them tightly into your clean jars. Now, toss in your flavor bombs: the smashed garlic, peppercorns, and mustard seeds right at the bottom.
Creating the Simple Brine Recipe
Next up is developing the actual pickling liquid. This is your beginner brine recipe, and it’s super easy. In a little saucepan, whisk together the water, vinegar, salt, and sugar. You want to heat this just until everything dissolves. I mean it—do NOT let this boil! If you boil it, the vinegar starts to cook off, and that acidic punch gets dull. Just make sure you stir it constantly until you can’t feel any grit on the bottom of the pan. That’s the sign it’s ready.
Cooling and Refrigerating Your Refrigerator Pickles
Once the salt and sugar are gone, kill the heat and let that brine sit for about 10 minutes to cool down just a bit. Then, carefully pour the *warm* brine over your packed cucumbers—make sure everything is submerged, but leave about half an inch of space at the very top of the jar. Put the lids on, but don’t seal them tight just yet. Let them chill on the counter for about an hour to equalize the temperature. After that, they hustle into the fridge! For the best results and that beautiful tang, you absolutely must wait 24 hours. These are your 24 hour pickles, remember?
Expert Tips for Achieving Maximum Crispy Refrigerator Pickles
Look, making great refrigerator pickles isn’t hard, but getting them shatteringly crisp requires a couple of little tricks that Grandma would insist upon. These details are what separate a mediocre pickle from the crispy refrigerator pickles you dream about. I always follow these rules religiously, especially when cucumbers are abundant!
First, my absolute favorite secret weapon from the Notes section: if your cucumbers look slightly less than firm, give them an ice water bath for 30 minutes before you even start cutting. It shocks them back to life! Also, note on the dill—if you want that deep, heavy dill flavor, swapping fresh sprigs for dill seed is key. Dill seed gives a punchier, more concentrated flavor profile.
Here’s one I learned the hard way: jar temperature matters! You really want those jars to be room temperature before you pour in the brine, otherwise, the shock can mess with the texture. Also, remember that any time you are dealing with fresh produce soaking in vinegar, using clean jars is essential for freshness.
Storing and Keeping Your Homemade Dill Pickles Fresh
Now that you’ve successfully made the best homemade dill pickles, you have to treat them right! Since we skipped the boiling and sealing—that’s the whole point of this awesome no canning pickles method—they rely entirely on the fridge’s cold environment to stay crisp and slow down fermentation.
You absolutely must keep these covered and refrigerated 24/7 after they cool down. If they sit out longer than an hour, they aren’t as reliably crunchy, so don’t leave them on the counter! Honestly, they are best eaten within about three weeks. After that, the vinegar starts to mellow out too much, and you risk losing that incredible snap. So, keep popping those jars out for snacking!
Flavor Variations for Your Quick Pickles Recipe
Since this simple pickling recipe is so easy to master, you know I immediately went wild experimenting! That’s what I love most about refrigerator pickle variations—you can tweak them every time you make a batch. If you’re looking for a little kick to go with your sandwiches, toss in a half teaspoon of red pepper flakes when you add the garlic. Wow, those turn into killer spicy pickles almost immediately!
You can also change the vinegar! I sometimes swap out a quarter cup of the white vinegar for apple cider vinegar just to add a bit more depth and a slightly fruitier tang. It plays really nicely with the dill. If you were thinking about sweet refrigerator pickles options, that’s easy too. Just bump that sugar measurement up to two tablespoons instead of one for a real sweet-and-sour punch. These small changes, like the ones I use when I make my famous spicy corn dip, keep snack time interesting!
Serving Suggestions for Fresh Cucumber Pickles
Now that you have jars full of perfectly tangy, super crunchy pickles, the fun really begins! What do you use these beautiful fresh cucumber pickles for? Honestly, it’s hard to stop snacking on them straight from the jar—I keep finding myself wandering into the kitchen for just “one more.” But they are also incredible supporting actors in tons of great meals.
My number one way to use them is right on a burger. Forget those sad, thin pickle chips you get at a drive-thru; these spears cut through the richness of the meat perfectly, adding that necessary zip. They rock alongside a grilled cheese, too. If you make a pile of these, they disappear fast!
If you’re building a grain bowl or a salad, these are fantastic for adding texture. They are chunky enough to really make an impact. They are amazing tossed into my favorite chickpea salad when I need a little extra crunch. Think about them as your secret weapon for brightening up any plate. They cut through heavy sauces or creamy dips like a champ!
Frequently Asked Questions About Refrigerator Pickles
I get so many questions once people start trying this on their own! It’s usually just little things that throw people off when making their refrigerator pickles for the first time. Don’t worry if something seems sticky or if the brine gets cloudy—that’s normal! If you’re using these on your cheese boards, you’ll want to make sure they are perfect, so let’s cover the biggest concerns I hear about these quick pickles.
Why didn’t my refrigerator pickles get crunchy?
Ugh, the dreaded soft pickle! This is almost always caused by two things. First, did you trim off the blossom end of the cucumber? If you skip that tiny step, the enzymes in that end will destroy your crunch. Second, check your brine temperature when pouring. If the brine is too hot when it hits the cool cucumbers, it can actually start the softening process! For the crispiest results, remember to trim that blossom end and let the brine cool for 10 minutes before pouring.
Can I use other vegetables in this simple pickling recipe?
Absolutely! This is such a great, simple pickling recipe, and it works wonderfully with other veggies. Carrots are fantastic—just cut them into sticks and make sure they are submerged. Red onion slices are also great for color and flavor. Just a heads-up: heartier veggies like carrots might need 48 hours in the fridge instead of 24 before they soften up just right. But yes, feel free to mix up your jar contents!
Plus, if you’re checking out more great finger foods, you can always browse my whole category of all my favorite snacks for more ideas!
Understanding the Nutrition of Garlic Dill Pickles
I know a lot of us are making these just because they taste amazing, but it’s also great that they are a relatively light snack! When you look at the nutrition facts for these garlic dill pickles, you see why they are such a good choice when you’re grabbing something quick from the fridge. Since we aren’t deep-frying anything or adding loads of fat, the numbers stay pretty low for calories and fat.
Keep in mind that this information is just an estimate based on the amounts in the recipe—if you use super salty store-bought salt, your sodium might be a tick higher, or if you add extra sugar for a sweeter profile, that will change too! For the full breakdown and to read my thoughts on how these numbers are estimates, definitely check out my official nutritional disclaimer page.
Here’s the general idea of what you’re looking at for one serving size (about three spears):
- Serving Size: 3 spears
- Calories: 15
- Fat: 0g
- Saturated Fat: 0g
- Cholesterol: 0mg
- Sodium: 350mg
- Carbohydrates: 3g
- Sugar: 1g
- Protein: 0g
See? Very low-key! The main thing to watch, as with any pickle, is the sodium content, but honestly, you’d get way more sodium just eating a handful of chips. These crunchy little spears are a fantastic, flavorful way to keep things light!
PrintUltra-Crispy Garlic Dill Refrigerator Pickles (Ready in 24 Hours)
Make simple, crunchy dill pickles using this quick refrigerator method. These no-canning pickles are ready to eat in just 24 hours.
- Prep Time: 15 min
- Cook Time: 5 min
- Total Time: 20 min
- Yield: About 2 pints
- Category: Side Dish
- Method: Refrigerator Pickling
- Cuisine: American
- Diet: Vegetarian
Ingredients
- 2 lbs pickling cucumbers (small to medium size)
- 4 cloves garlic, smashed
- 1/2 cup white vinegar (5% acidity)
- 1 1/2 cups water
- 2 tablespoons kosher salt
- 1 tablespoon granulated sugar
- 1 teaspoon black peppercorns
- 1 teaspoon mustard seeds
- 2 sprigs fresh dill (or 1 teaspoon dill seed)
Instructions
- Wash the cucumbers well. Trim off the blossom end of each cucumber; this end contains enzymes that can soften the pickles.
- Cut the cucumbers into spears or slices, depending on your preference. Pack the cut cucumbers tightly into one or two clean pint-sized glass jars.
- Add the smashed garlic cloves, peppercorns, and mustard seeds to the jars. Place the dill sprigs on top of the cucumbers.
- In a small saucepan, combine the water, vinegar, kosher salt, and sugar. Heat over medium heat, stirring until the salt and sugar completely dissolve. Do not boil the mixture.
- Remove the brine from the heat and let it cool for about 10 minutes.
- Carefully pour the warm brine over the cucumbers in the jars, ensuring the cucumbers are fully submerged. Leave about 1/2 inch of headspace at the top of the jar.
- Seal the jars with lids. Let the jars cool to room temperature on the counter for about 1 hour.
- Transfer the jars to the refrigerator. Chill for a minimum of 24 hours before eating for best flavor and crispness.
Notes
- For maximum crispness, soak the cucumbers in ice water for 30 minutes before cutting.
- If you prefer a stronger dill flavor, use dill seed instead of fresh dill sprigs.
- These pickles must stay refrigerated and are best eaten within 3 weeks.
Nutrition
- Serving Size: 3 spears
- Calories: 15
- Sugar: 1
- Sodium: 350
- Fat: 0
- Saturated Fat: 0
- Unsaturated Fat: 0
- Trans Fat: 0
- Carbohydrates: 3
- Fiber: 0
- Protein: 0
- Cholesterol: 0