

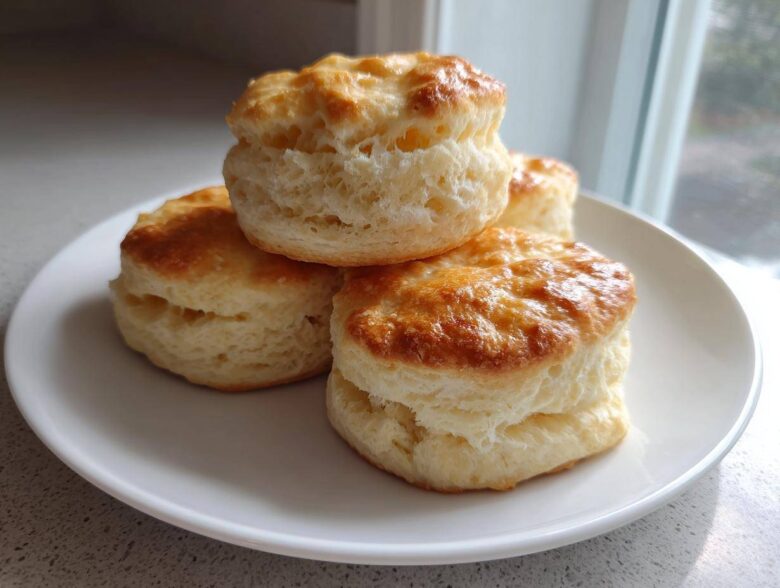
I swear, there is nothing quite like the smell of butter and sugar melting together, only to turn into something unbelievably flaky right there on your kitchen counter. For years, Julian and I chased that perfect, tall, melt-in-your-mouth texture we only ever found in fancy tea rooms. We needed a recipe that was genuinely easy, ready when we were having a spontaneous brunch craving, but still delivered that incredible, buttery pastry experience.
Well, friends, I’m finally handing over the blueprint. This is it—the ultimate base recipe for achieving truly **bakery style scones** that are consistently fluffy, rich with butter, and wonderfully moist inside. Trust me when I say this is the recipe we rely on here at Magazine Meal; it’s been tested, tweaked, and finally approved to be the centerpiece of your next breakfast spread or afternoon tea spread. Say goodbye to dry, crumbly disappointments. We are making the best scones!
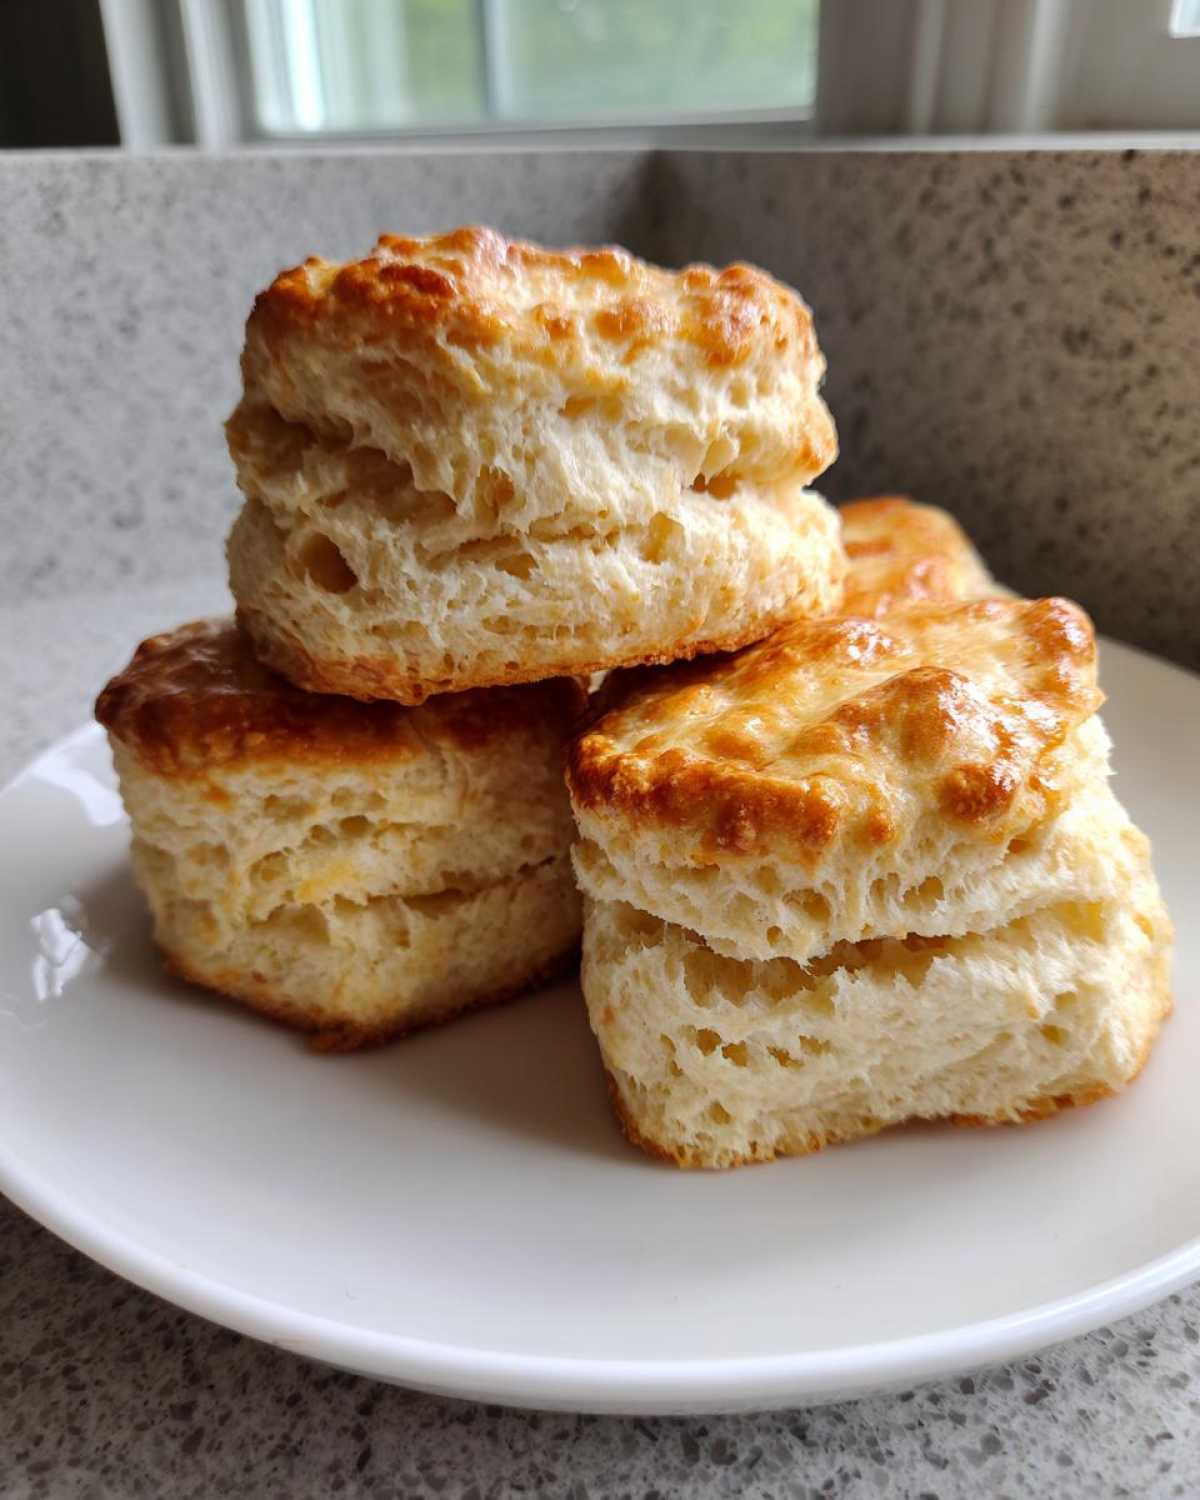
Why You Will Make These Fluffy Scones Recipe Again and Again
I promise you, these bake up perfectly nearly every single time. Forget everything you thought you knew about tricky baking; this recipe keeps things simple but delivers maximum payoff!
- They are ready fast! We’re talking about the easiest scones that come together wonderfully in under 35 minutes total prep and bake time.
- The texture hits that sweet spot every time—achieving that desired fluffy scones recipe standard.
- You get rich, buttery flavor paired with a surprisingly tender homemade scones center.
- Because this is a base dough, you can easily pivot into so many delicious flavors for brunch or tea time.
The Essential Ingredients for Perfect Scones
This is where the real magic starts, people! Julian always tells me that ingredients are like the color palette in a design—you need the right shades to get the final picture right. When it comes to scones, the quality and temperature of these simple things matter more than anything else. Keep everything cold, and you are winning!
Base Scones Ingredients
Here is the list of what you need for this amazing, quick base dough. Don’t even think about substituting the butter unless you want a sad, dense brick instead of a perfectly fluffy scone!
- 2 cups all-purpose flour
- 1/4 cup granulated sugar
- 1 tablespoon baking powder
- 1/2 teaspoon salt
- 1/2 cup (1 stick) cold unsalted butter, cut into small cubes
- 1 large egg
- 1/2 cup heavy cream, plus more for brushing
- 1 teaspoon vanilla extract
See that butter? It has to be rock solid, cut into tiny cubes. That’s the secret weapon that gives us those beautiful, flaky pockets in our finished buttery pastry recipe.
Expert Tips for Achieving Bakery Style Scones at Home
Julian always says that the visual composition of a scone is almost as important as the taste. If you want those tall, impressive layers—that signature of a fantastic scones experience—you have to nail the early stages. Seriously, following these tips is the difference between a standard biscuit and true bakery style scones at home.
The Secret to Buttery Pastry Recipe Texture
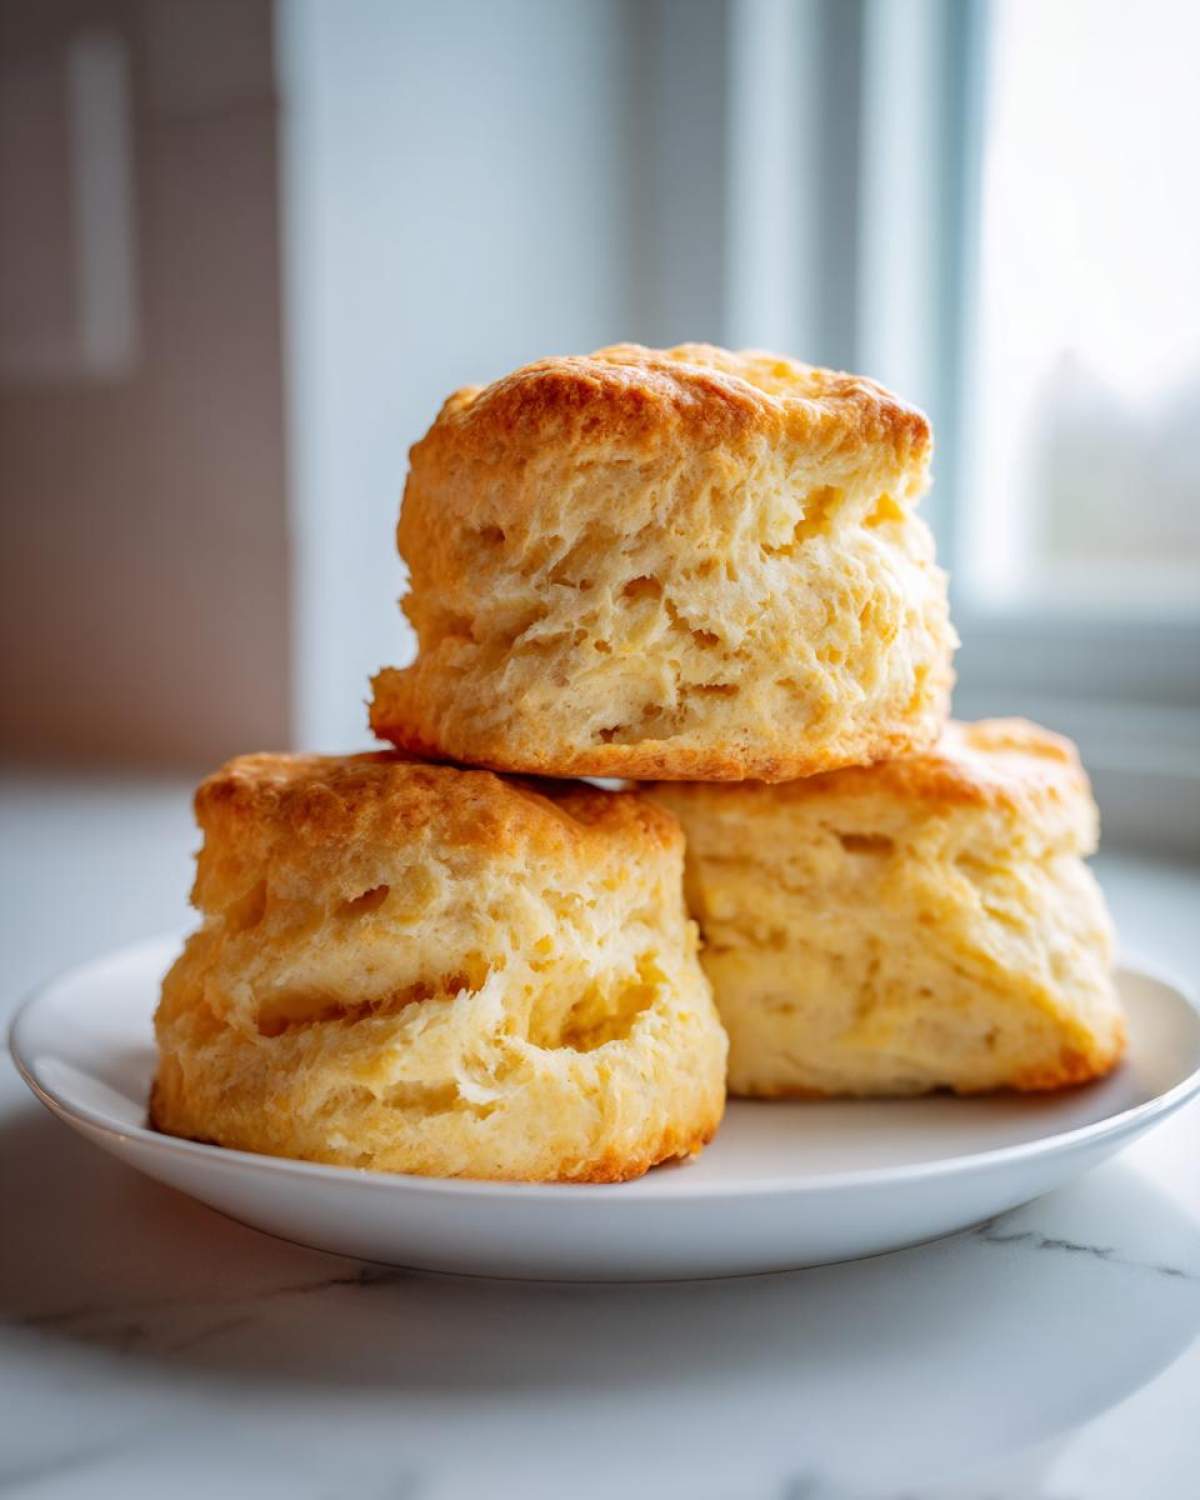
We are aiming for coarse crumbs, my friends! When you cut the cold butter into the flour, you need to stop before it’s perfectly smooth. Those tiny, pea-sized chunks of butter are what create steam pockets when they hit the hot oven. That steam pops up, creating those beautiful flaky layers you see in classic English tea biscuits. Don’t rush this; cold butter is your best friend for a stunningly flaky buttery pastry recipe.
Moist Scone Recipe Tips: Avoiding Dryness
The biggest mistake people make when trying to learn how to make perfect scones is overworking the dough once the liquid goes in. I know it’s tempting to knead it until it looks perfectly smooth like bread dough, but resist! When you mix flour too much, you activate the gluten, and that’s what leads straight to dry, tough textures. You only want to combine it until it *just* looks messy enough to hold together. Head over to this fantastic guide if you want a deep dive on handling dough like a pro, similar to what we do for our biscuits over here.
Step-by-Step Instructions for Tender Homemade Scones
Okay, now that we’ve got our ingredients chilled and our technique sorted, let’s actually assemble these beauties! Time management is key here; remember, we want this to be a quick bread option that doesn’t take up your whole morning. Preheat that oven to 400 degrees F right now—don’t wait—and line a baking sheet with parchment paper. I can’t stress enough how much faster cleanup is when you use parchment; it’s a lifesaver!
Preparing the Dough for Tall Scones
First, in your biggest bowl, whisk together all the dry stuff: flour, sugar, baking powder, and salt. Now, add those cold, cubed butter pieces. This is where you get your hands dirty (which is why my favorite quick bread recipes get messy!). Use your fingertips or a pastry blender to work the butter in until it looks like coarse meal with some definite pea-sized chunks hanging out? That’s perfect. Don’t let your hands warm the butter up too much!
Next, whisk your egg, cream, and vanilla together in a small cup. Pour the wet into the dry and mix *just* until you don’t see any more flour streaks. If it looks shaggy, that’s exactly right. Turn it out gently onto your floured surface. We need height, so try this trick: pat the dough into a thick circle, and then gently fold the edges into the center like you are closing an envelope. Pat it back down to about 3/4-inch thickness. This simple folding—the beginning of lamination—is how you get seriously tall, fluffy scones.
Baking and Achieving Golden Tops
Grab your round cutter (about 2 inches) and press *straight down* through the dough. Seriously, do not saw or twist! Twisting seals the edges and stops your scones from rising tall. Place them shoulder-to-shoulder on the sheet if you like softer sides, or spread them out if you prefer crispy edges all around. Brush the tops lightly with extra cream. They go into the hot oven for about 14 to 18 minutes. You’re looking for beautiful golden-brown tops. Don’t wait too long to pull them out, though—the best part is pulling them apart when they are still warm!
Flavor Variations for Your Classic Scones
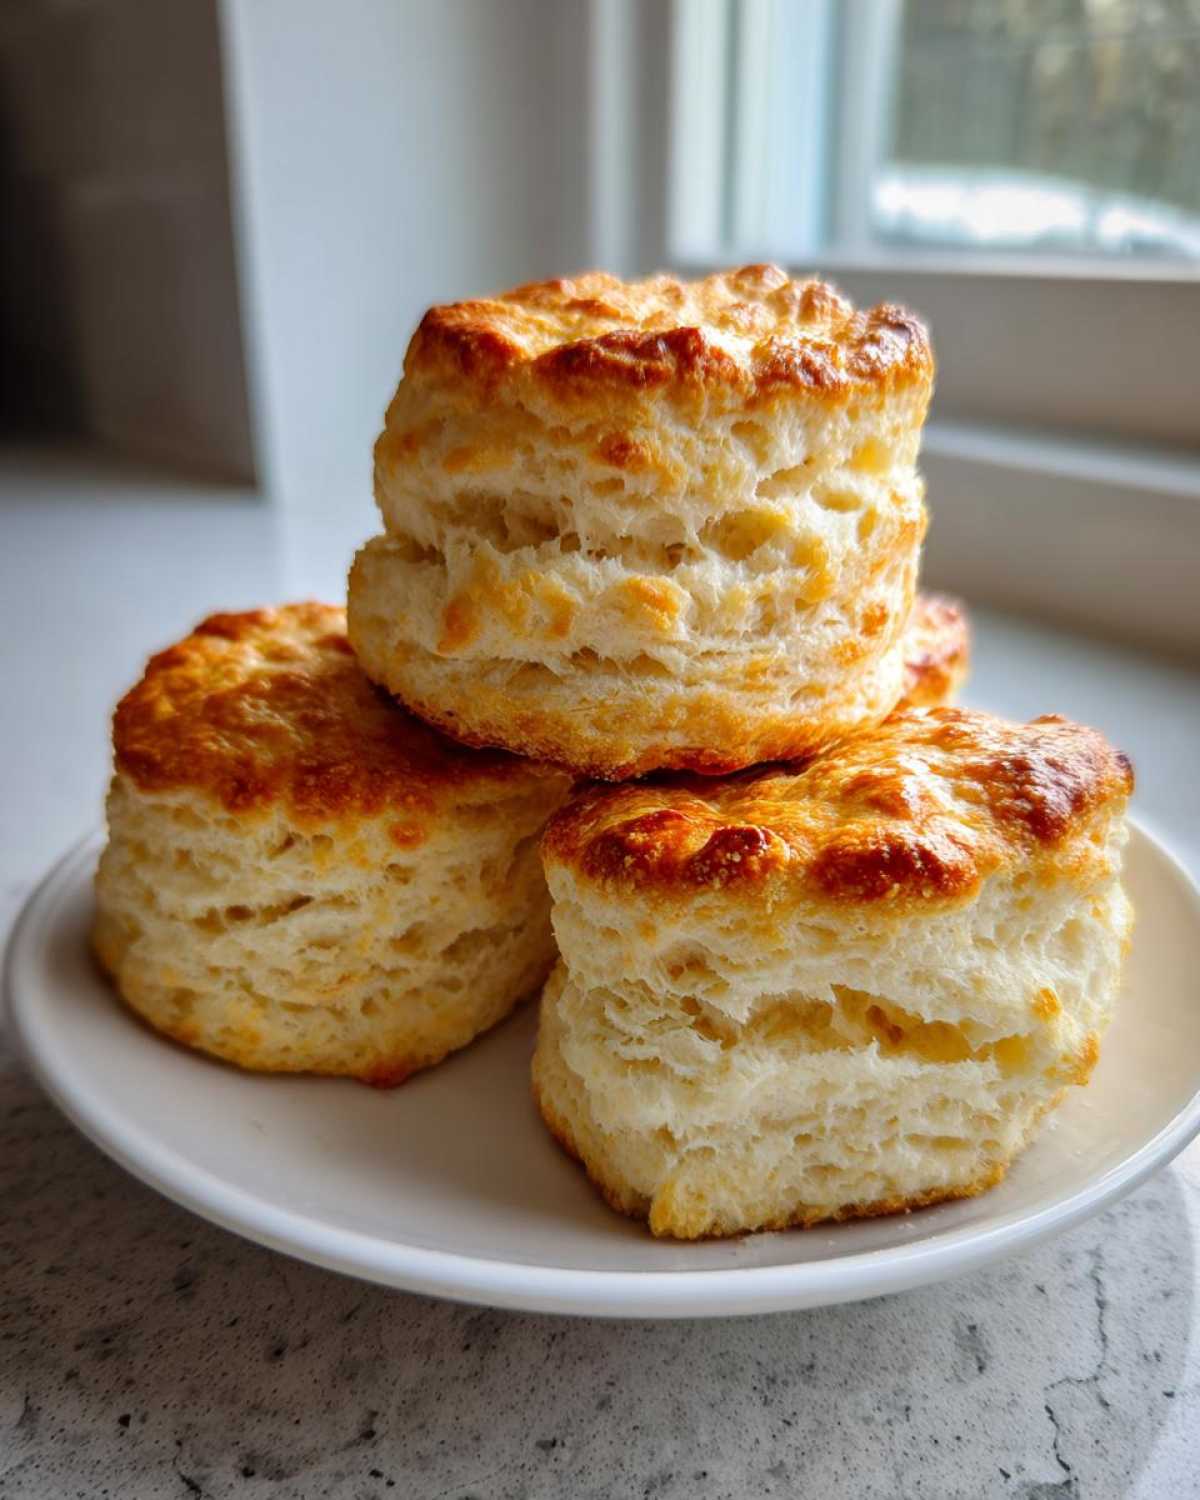
Now that you have this incredible, foolproof base for scones, you have to play around with it, right? That’s the fun part! We’ve been inspired by so many beautiful ones online, like vibrant strawberry cream or rich white chocolate raspberry—but the two flavor profiles we incorporate most often are these bright spring/summer favorites and cozy autumn flavors. They transition beautifully from breakfast to afternoon tea treats.
Don’t feel limited to sweet, either! If you’re looking for something for a savory brunch, you could easily omit the sugar and fold in grated cheddar and chives for amazing savory scone recipes. But for now, let’s stick to my current favorites.
Lemon Blueberry Scones: Bright and Zesty
If you want something that tastes like sunshine, this is your move. When you get to the wet ingredients stage, that’s your cue to add flavor! In a small bowl with your egg, heavy cream, and vanilla, whisk in the zest of one lemon—make sure you only get the bright yellow part, not the bitter white pith underneath! Then, gently fold about a cup of fresh blueberries into the wet ingredients before incorporating them into the dry mixture. Remember what I said about gentle mixing? Be extra gentle here so you don’t mash those gorgeous berries!
Cranberry Orange Scones with Glaze
These are perfect for the holidays or just when you need something wonderfully cozy. Same as the lemon version, add the zest of an orange into your wet ingredients first. Then, when you turn the dough out to gently knead, fold in about 3/4 cup of dried cranberries. Resist the urge to make them giant; smaller ones distribute better! Once your scones are baked and cooling, whip up a quick drizzle. Just mix about 1 cup of powdered sugar with 2 tablespoons of fresh orange juice until it’s smooth and pourable. I found this recipe for Cranberry Orange Scones that inspired my basic glaze technique!
These variations prove how versatile our base recipe is before we even get into things like making our own Morning Glory Muffins!
Serving Suggestions for Afternoon Tea Treats
Honestly, once these warm, buttery scones come out of the oven, the presentation is almost as fun as the eating! While they are fantastic on their own as an easy breakfast biscuit, they truly shine when treated like the lovely afternoon tea treats they were meant to be. I love how they can anchor an entire afternoon spread right in the middle of the table.
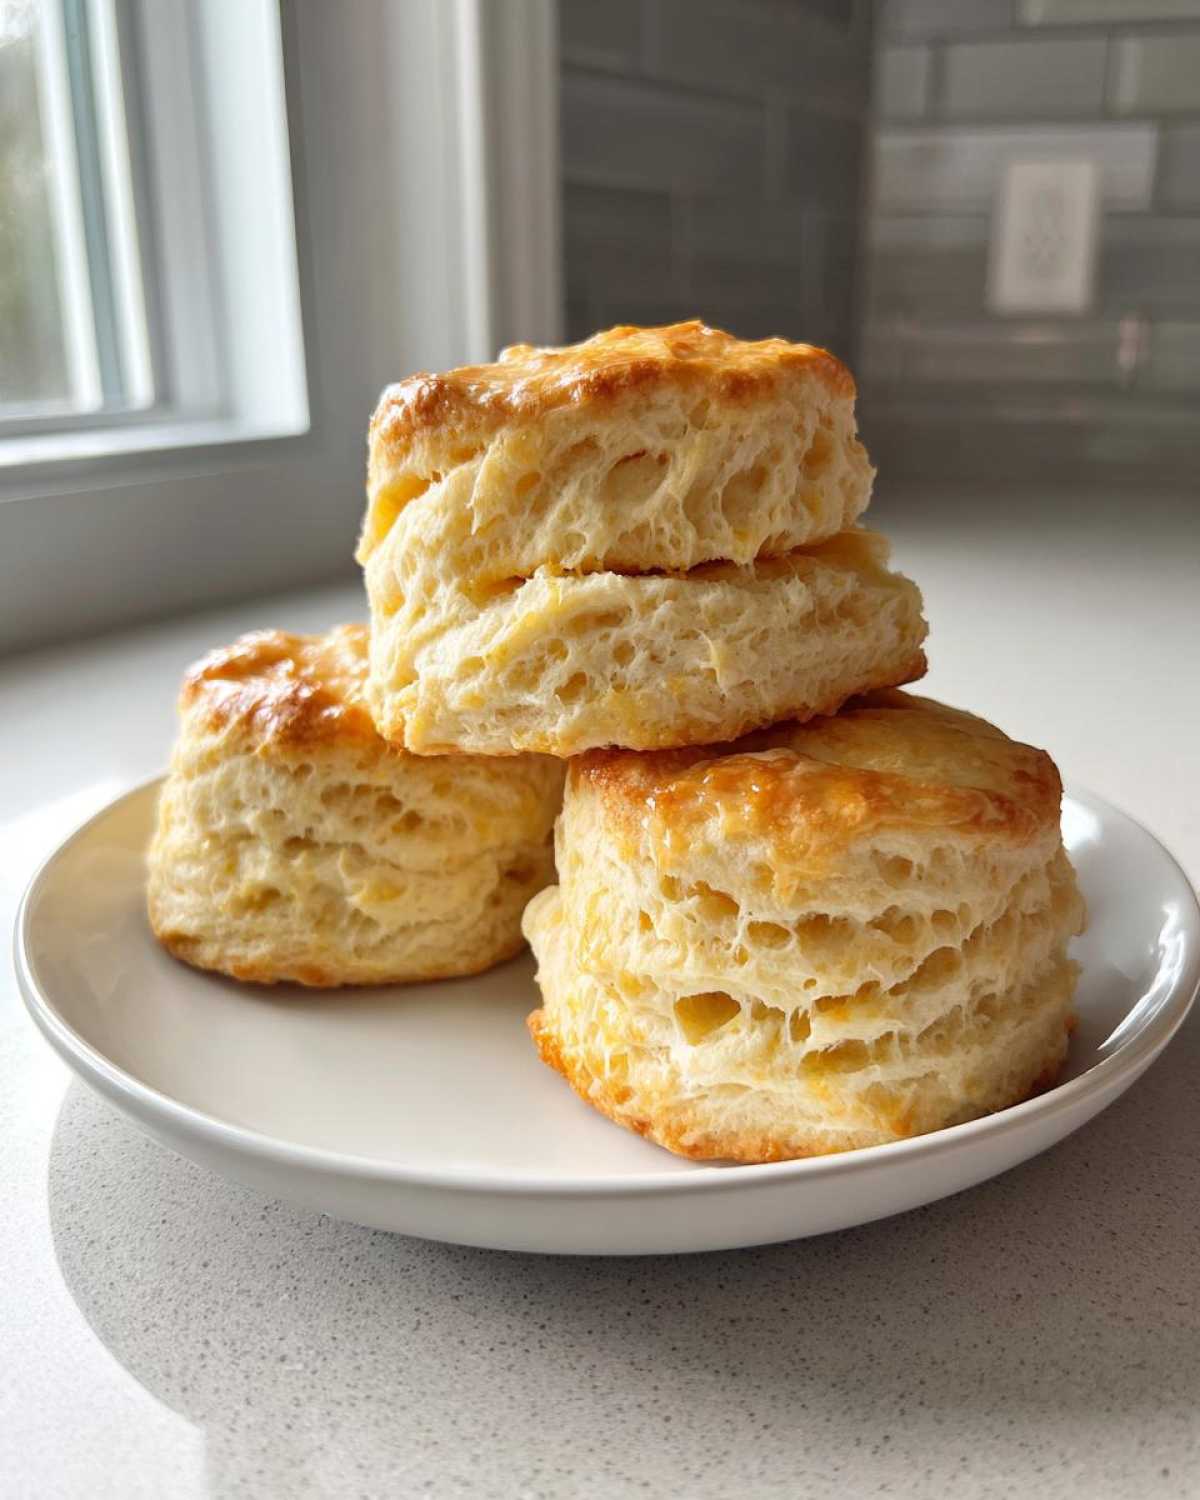
If you’re aiming for that authentic experience, you absolutely need the proper accompaniments. Think about the classic pairing: thick clotted cream and, of course, raspberry or strawberry jam. The slight tartness of the jam cuts through the richness of the cream and the butter in the scone perfectly. These aren’t just any baked goods; they are the heart of a proper tea time!
For a rustic, cozy vibe—more like an elevated brunch than a formal tea—serve them alongside fresh fruit and strong coffee. If you want to dive deeper into the authentic British way of preparing these, check out the lovely inspiration on this classic English tea biscuits guide. No matter how you serve them, just remember that slicing them open and spreading your toppings while they are still a little warm makes all the difference!
Storage and Reheating Instructions for Scones
One of the best things about mastering these tender homemade scones is that you can make them ahead of time, or at least you *can* keep the leftovers for a day or two, which is a miracle in my house! If you have any leftover beauties, storage is simple, but reheating is where we bring back the *wow* factor.
For short-term storage (up to 2 days), just keep them at room temperature inside an airtight container. Do not refrigerate them, though! That cold air is the enemy of moisture and will dry out your perfect crumb immediately. If you know you won’t get to them by the second day, you can actually freeze them!
When freezing, make sure they are completely cooled first. Wrap each scone tightly in plastic wrap, then place them all inside a heavy-duty freezer bag. They freeze beautifully for up to two months, which means you are always prepared for an impromptu afternoon tea!
Now, for the best part: reheating. If you want that incredible, just-baked experience, don’t microwave them! You want to restore that buttery flakiness. Pop them directly onto a baking sheet at about 350 degrees F for about 5 to 7 minutes. Trust me, the aroma that fills your kitchen when that butter reheats is simply magnificent. They come out fluffy and warm, ready for your jam and cream!
Frequently Asked Questions About Making Scones
I always get so many questions when I post pictures of these on my stories! It’s totally normal; everyone wants to know the secrets to getting that perfect bake. Since this recipe uses simple ingredients to create amazing scones, I figured I’d tackle the most common hurdles people run into when trying to mimic that beautiful, tall bakery texture.
Can I use milk instead of heavy cream in these scones?
You absolutely can, but I have to be honest with you—it changes things! Heavy cream has a much higher fat content, and that fat is what gives you that luxurious, rich mouthfeel and helps keep the final product wonderfully moist. If you swap it for regular milk, your scones will still bake up just fine, but they might lean a little more toward the biscuit side and lose some of that buttery tenderness we are aiming for. If milk is all you have, go for whole milk before skim!
Why are my scones flat and dense instead of fluffy?
This is the number one question I hear, and 99% of the time, it comes down to two things: either your butter wasn’t cold enough, or you mixed the dough too much after adding the wet ingredients. If your butter melts into the flour before it even hits the oven, you don’t get those steam pockets, resulting in a flat disc instead of a fluffy layer cake effect. Also, remember what I said about mixing until *just* combined? Over-kneading develops gluten, which means dense, tough results. For the absolute breakdown on how to fix texture issues, check out my guide on the scone texture guide!
Estimated Nutritional Data for These Scones
I always make sure to include this information when we talk about our ‘Magazine Meals’ because, well, transparency is key! We aren’t dieticians here, but we believe in being upfront about what we’re putting into our bodies while we enjoy these amazing scones. Knowing the rough breakdown helps you plan the whole day, whether these are for a quick breakfast or part of a larger spread.
Please keep in mind that these numbers are just estimates based on the ingredients listed, and they can change wildly depending on what brand of butter you use or if you add extra sugar to your glaze. For the official word on our ingredient transparency, you can always read up on our general philosophy over on our disclaimer page.
- Serving Size: 1 scone
- Calories: 280
- Sugar: 6g
- Sodium: 250mg
- Fat: 16g
- Saturated Fat: 10g
- Unsaturated Fat: 6g
- Trans Fat: 0g
- Carbohydrates: 30g
- Fiber: 1g
- Protein: 5g
- Cholesterol: 55mg
Enjoying these warm, buttery treats means you are enjoying the best of what homemade baking offers. That’s what matters most at the end of the day!
PrintThe Ultimate Fluffy & Buttery Scone Recipe (Base Recipe)

Learn how to make the best scones that result in flaky, buttery pastry with a moist center. This easy recipe delivers bakery style scones at home, perfect for breakfast or afternoon tea treats.
- Prep Time: 15 min
- Cook Time: 18 min
- Total Time: 33 min
- Yield: 8 servings
- Category: Breakfast
- Method: Baking
- Cuisine: British
- Diet: Vegetarian
Ingredients
- 2 cups all-purpose flour
- 1/4 cup granulated sugar
- 1 tablespoon baking powder
- 1/2 teaspoon salt
- 1/2 cup (1 stick) cold unsalted butter, cut into small cubes
- 1 large egg
- 1/2 cup heavy cream, plus more for brushing
- 1 teaspoon vanilla extract
Instructions
- Preheat your oven to 400 degrees F (200 degrees C). Line a baking sheet with parchment paper.
- In a large bowl, whisk together the flour, sugar, baking powder, and salt. This is your dry mix foundation.
- Add the cold, cubed butter to the flour mixture. Use a pastry blender or your fingertips to cut the butter into the flour until the mixture resembles coarse crumbs with some pea-sized pieces of butter remaining. Working quickly keeps the butter cold, which is key for flaky scones.
- In a small bowl, whisk together the egg, heavy cream, and vanilla extract.
- Pour the wet ingredients into the dry ingredients. Use a fork to mix until just combined. Do not overmix; the dough will look shaggy.
- Turn the dough out onto a lightly floured surface. Gently knead the dough 3 or 4 times until it just comes together.
- Pat the dough into a 3/4-inch thick circle or square. For tall, fluffy scones, you can gently fold the dough in half, then fold it in half again (lamination technique). Pat it back to 3/4-inch thickness.
- Use a 2-inch round biscuit or scone cutter to cut out the scones. Press the cutter straight down without twisting to keep the edges clean and tall. Rework scraps once if necessary.
- Place the cut scones onto the prepared baking sheet, ensuring they touch slightly if you prefer softer sides, or leave space between them for crispier edges.
- Brush the tops lightly with extra heavy cream.
- Bake for 14 to 18 minutes, or until the tops are golden brown.
- Let the scones cool slightly on the baking sheet before moving them to a wire rack. Serve warm for the best texture.
Notes
- For Lemon Blueberry Scones: Gently fold in 1 cup of fresh blueberries and 1 tablespoon of lemon zest with the cream mixture before combining with the dry ingredients.
- For Cranberry Orange Scones: Fold in 3/4 cup dried cranberries and 1 teaspoon of orange zest. Drizzle with a simple glaze (1 cup powdered sugar mixed with 2 tablespoons orange juice) after baking and cooling slightly.
- To achieve that moist center and crispy edge, keep all your ingredients, especially the butter, very cold.
- If you want a sweeter, bakery style scone, increase the sugar to 1/3 cup.
Nutrition
- Serving Size: 1 scone
- Calories: 280
- Sugar: 6
- Sodium: 250
- Fat: 16
- Saturated Fat: 10
- Unsaturated Fat: 6
- Trans Fat: 0
- Carbohydrates: 30
- Fiber: 1
- Protein: 5
- Cholesterol: 55