

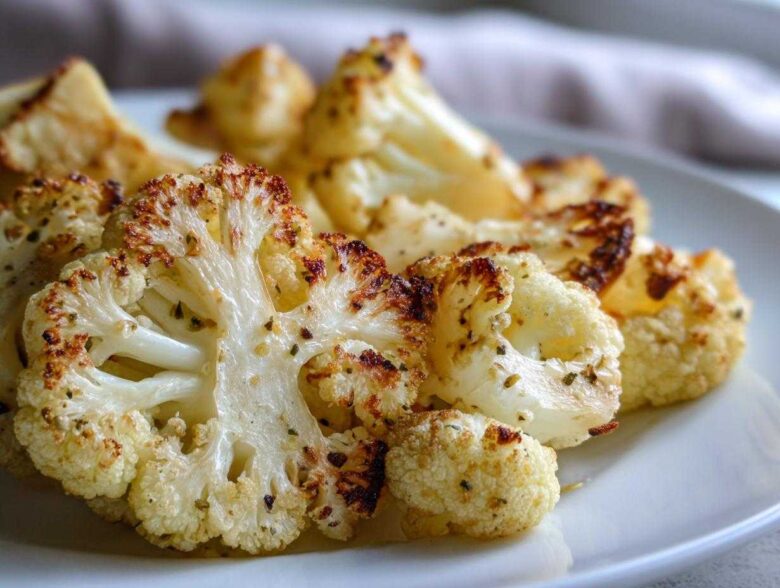
Oh my gosh, if you’re like me, you always need a side dish that just *works*—something that tastes totally decadent but is honestly so simple? Well, stop looking! This Garlic Butter Roasted Cauliflower is about to become your new weeknight champion. Forget those bland, mushy vegetable attempts you might have made in the past; this method locks in flavor and gets those gorgeous crispy edges every single time.
I started making this recipe out of sheer frustration because I couldn’t get my cauliflower to brown without burning, but after testing the heat and the ratio of butter to garlic, I nailed it. Trust me, the combination of rich melted butter soaked into the florets with loads of fresh garlic is just heaven. It’s the easiest approach to truly perfect roasted cauliflower, making it a staple on our dinner table at least twice a month. You’re going to love how fast this comes together! For more of my favorite foundational cooking wisdom, check out my main cooking philosophy on the blog.
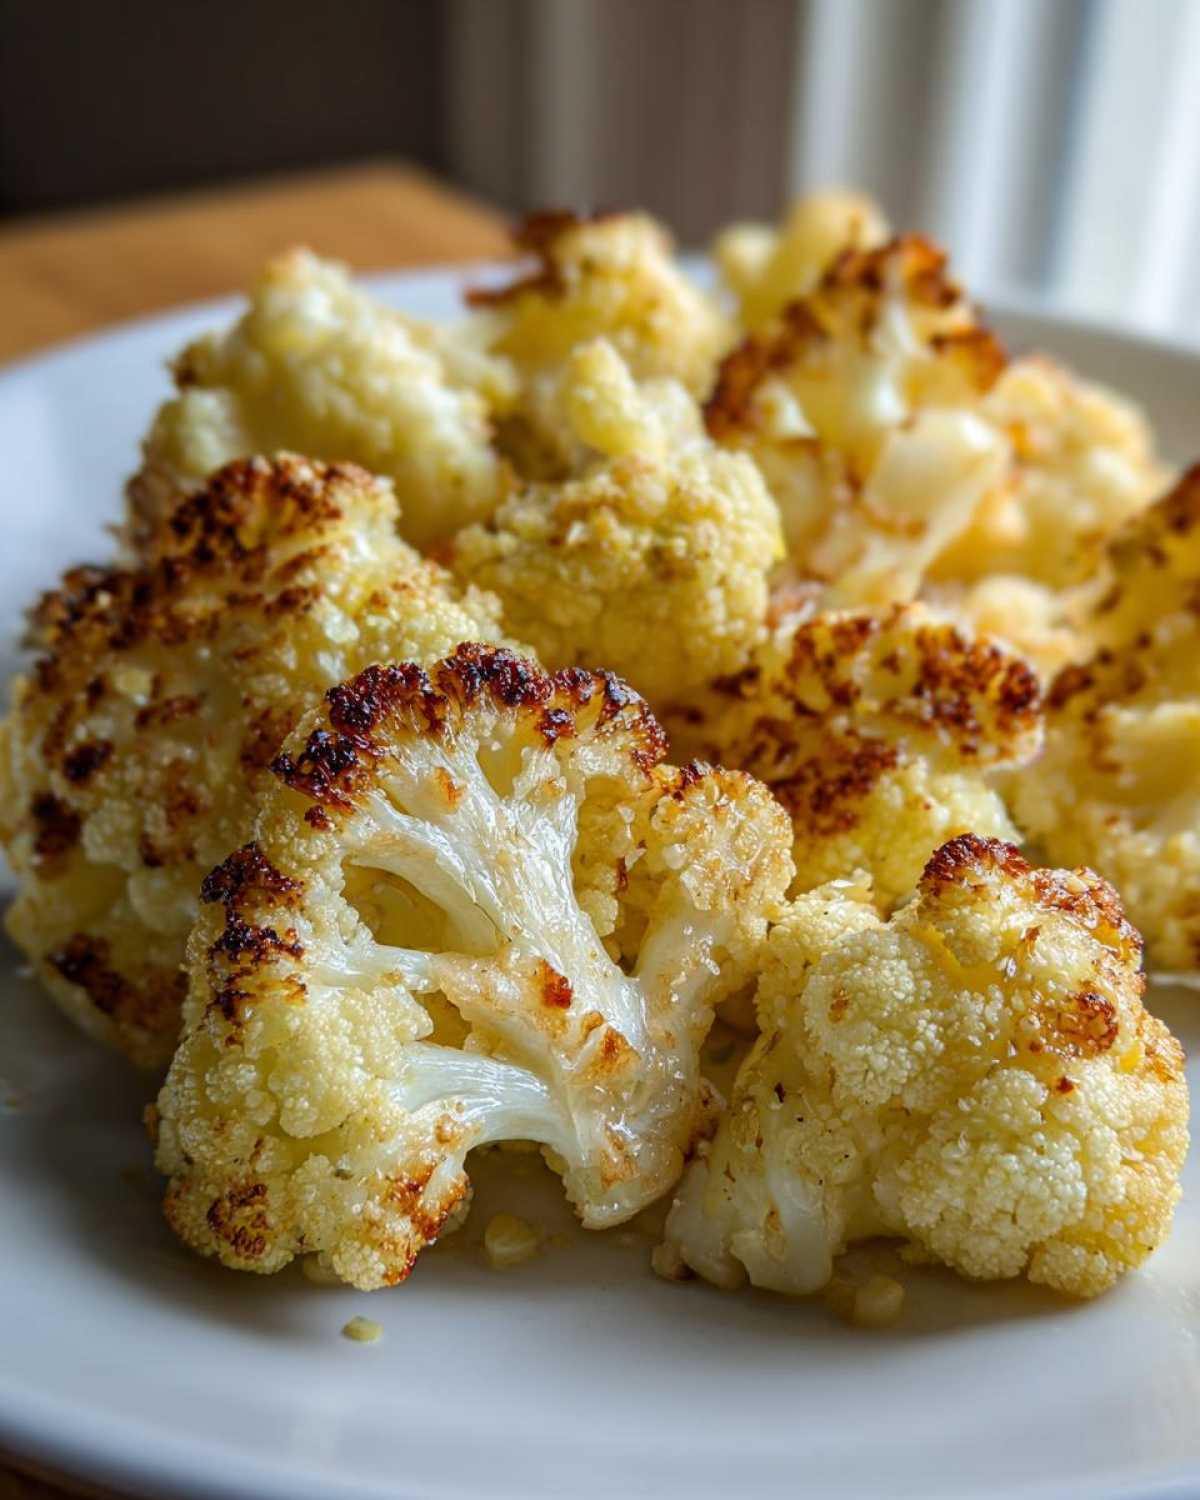
Why This Garlic Butter Roasted Cauliflower Recipe Works (Easy Roasted Vegetables)
Honestly, this isn’t just another recipe; it’s a technique! I developed this specifically because I was tired of cauliflower tasting like sad, wet broccoli. This method guarantees that you get incredible flavor without needing a million steps. It’s proof that Easy Roasted Vegetables can taste like they took hours.
- Quick Prep Time for Weeknight Success: Seriously, you’re looking at maybe 10 minutes to chop and toss everything. It’s the perfect Weeknight Vegetable Recipe when you’re rushing dinner along.
- Achieving Tender Roasted Cauliflower Edges: We roast hot—like 400°F hot! That high heat blast caramelizes the outside quickly, giving you that perfect Crispy Roasted Cauliflower texture before the inside turns to mush. For more fantastic, simple baking tips, check out my lemon loaf guide!
Ingredients for the Best Roasted Cauliflower with Garlic Butter
You don’t need a huge grocery haul for this, which is why I love it so much. The magic is really in keeping the ratios right, especially with the garlic and butter! Here’s what you’ll need to pull off this amazing Roasted Cauliflower Recipe.
Key Components for Perfect Garlic Butter Roasted Cauliflower
Grab one large head of cauliflower—make sure it’s firm! Then you need 4 tablespoons of unsalted butter, melted, and 4 cloves of garlic, minced very finely. Don’t be shy with the salt and pepper either; about 1/2 teaspoon of salt and 1/4 teaspoon of pepper really helps draw out that flavor. Plus, a tablespoon of olive oil coats everything nicely before the butter bath.
Optional Flavor Boosters
If you want to take this over the top, I have three optional add-ins. A tablespoon of fresh lemon juice dazzles everything right at the end. Then, the Parmesan cheese and fresh parsley are just beautiful finishers. If you skip those, you still have amazing classic Buttery Roasted Cauliflower! If you want a rich dipping option later, you have to try my Cowboy Butter recipe.
Step-by-Step Instructions for Garlic Butter Roasted Cauliflower
Okay, let’s get this into the oven! The biggest mistake people make when roasting vegetables is overcrowding the pan, and trust me, sogginess is the enemy here. Pay attention to the temperature and the spacing, and you’ll be rewarded with the Best Roasted Cauliflower imaginable.
Preparation and Seasoning the Cauliflower
First things first, fire up that oven to 400 degrees Fahrenheit (200 Celsius) and line a big baking sheet with parchment paper—that saves the cleanup struggle! Next, hack your cauliflower into bite-sized florets. Try to keep them all roughly the same size; this is vital for even cooking. In a tiny bowl, whisk together your melted butter, minced fresh garlic, salt, and pepper until it looks like a creamy, fragrant sauce. Drizzle your florets with just a bit of olive oil and give them a good toss. Then, pour that heaven-sent garlic butter mixture right over the top and toss again until every single piece is coated!
The Roasting Process: How to Roast Cauliflower Perfectly
Now, spread those seasoned florets onto your prepared sheet. And here’s the trick for getting that beautiful char: make sure they are in a single layer. If they are piled up, they steam instead of roast! If you have too much, grab a second pan! Pop them into that hot oven for about 20 to 25 minutes total. About halfway through—say, at 12 minutes—pull them out and give them a quick toss so all sides get browned. This is how we guarantee that amazing golden color and achieve that perfect Crispy Roasted Cauliflower texture. Check my guide on how to roast cauliflower perfectly if you want more detail on checking doneness!
Tips for Success with Your Garlic Butter Roasted Cauliflower
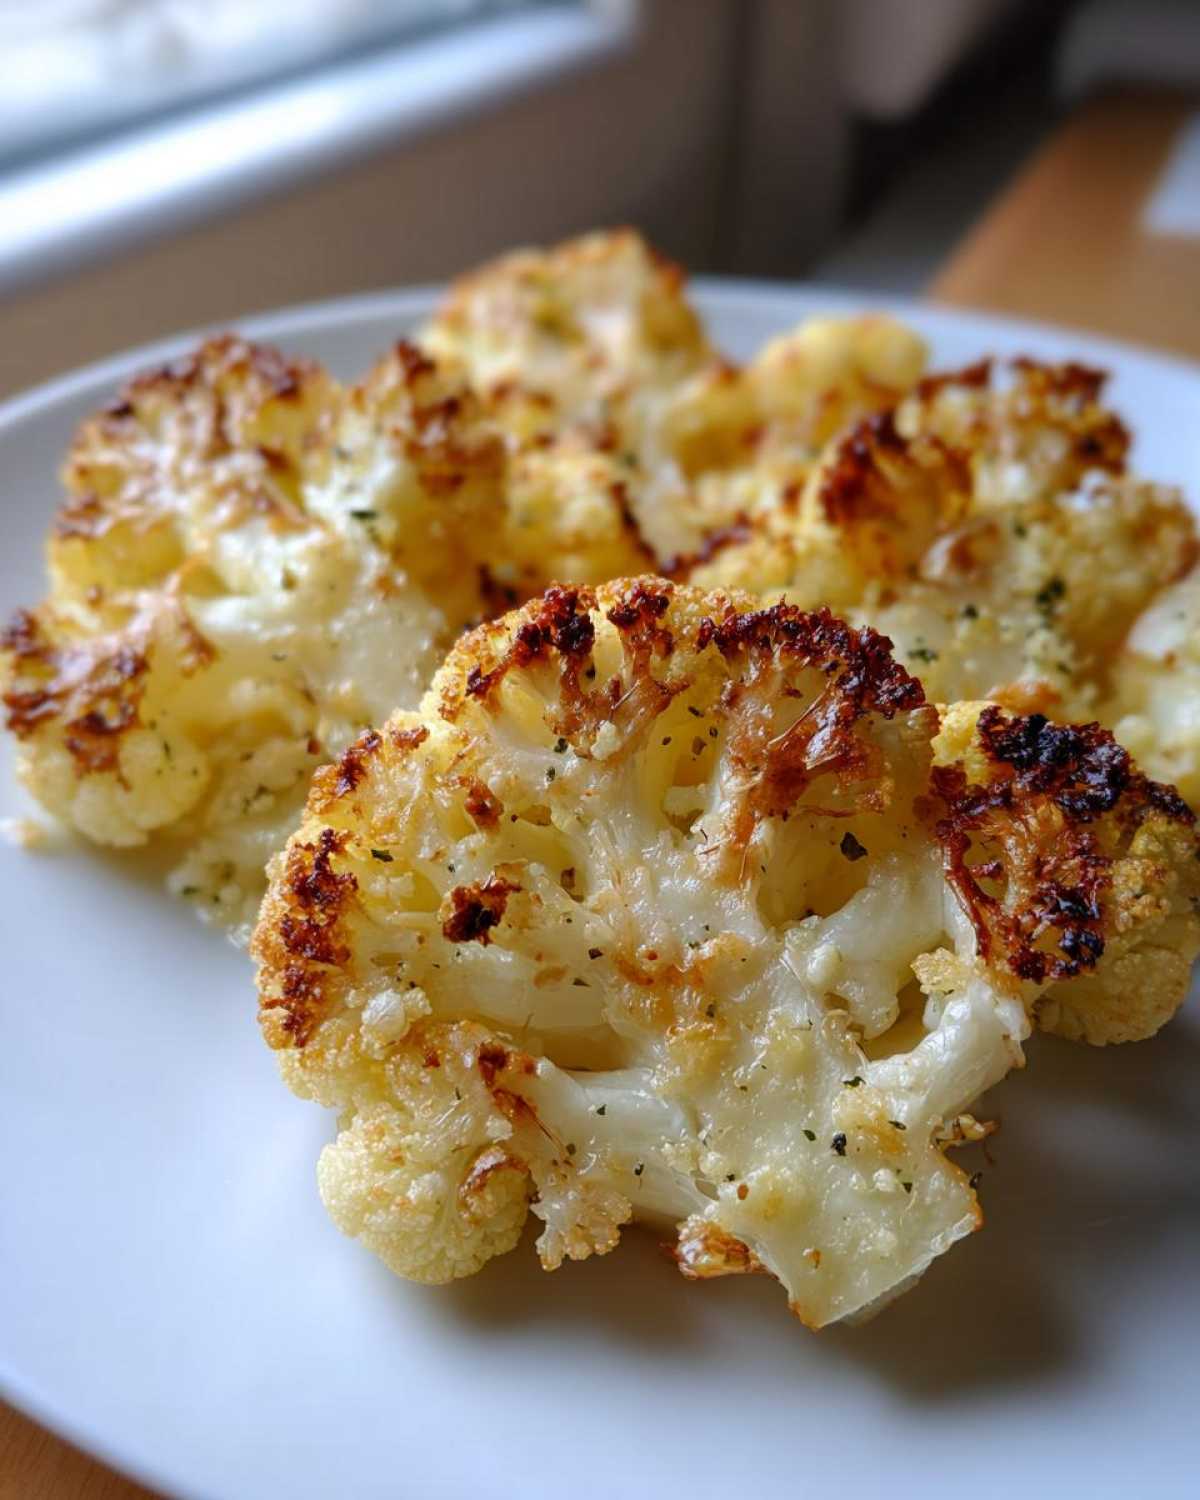
Look, I want you to succeed with this Garlic Butter Roasted Cauliflower the first time and every time! These little secrets are what separate good roasted veggies from *amazing* ones. We are aiming for that sweet spot of tender inside and crisp outside—that’s How to Roast Cauliflower Perfectly, in my opinion.
Preventing Soggy Cauliflower
The absolute number one rule for any Easy Roasted Vegetables batch is the pan space! If your florets are touching or overlapping, they are going to steam, not roast. You want them sitting comfortably in a single layer on that hot baking sheet. If you have to choose between crowding the pan or using a second one, please, grab the second one. That initial blast of high heat combined with room to breathe is what keeps them from turning squishy.
Adjusting Garlic Intensity
Four cloves of garlic is my sweet spot for rich, savory flavor, but if you’re anything like me when it comes to garlic—more is always better! If you want something truly intense that leans heavily into the Garlic Roasted Cauliflower flavor profile, just throw in that fifth clove. Just make sure you don’t burn it. We want fragrant, not bitter! Speaking of baking perfection, if you ever need a different kind of comfort food, my old-fashioned bread pudding is unbeatable.
Variations for Your Roasted Cauliflower Recipe
I always preach about sticking to the basics for this Garlic Butter Roasted Cauliflower, but sometimes you just need a little something extra, right? Don’t worry, this recipe handles variations like a champ. These flavor tweaks are super easy and give you tons of great Vegetable Seasoning Ideas without messing up the core buttery, garlicky goodness.
Spice It Up: Adding Heat
If you like a little kick when you eat your veggies, this is the place to put it! Right when you’re mixing that garlic butter base, toss in a generous pinch of red pepper flakes. Seriously, just a little pinch wakes everything up and cuts through the richness of the butter perfectly. It makes the whole dish feel brighter!
Herb Substitutions for Buttery Roasted Cauliflower
If you ran out of fresh parsley, don’t sweat it! You can absolutely swap it out for dried herbs, and it changes the whole feeling of the dish slightly. I love using dried thyme if I’m serving this with roasted chicken, or even a tiny bit of dried rosemary. It still compliments the Buttery Roasted Cauliflower base beautifully. If you’re looking for a totally different dinner vibe, check out my quick chicken zucchini stir-fry!
Serving Suggestions for This Simple Side Dish Recipe
Honestly, what does this Garlic Butter Roasted Cauliflower *not* go with? Because it’s rich and savory, it pairs perfectly with lighter main courses. I always make a stack of this when we have sheet pan meals so that people have something satisfying to balance the protein.
It’s divine alongside simple baked or grilled fish—it lets the fish flavor shine through but still gives you that comforting garlic flavor. It’s also fantastic next to a juicy grilled steak if you’re going for something heartier. Or, honestly, just serve it over quinoa or brown rice for a super satisfying vegetarian bowl. If you’re making something like my Greek baked chicken, this cauliflower is the perfect sidekick!
Storage and Reheating Instructions for Garlic Roasted Cauliflower
Leftovers of this Garlic Roasted Cauliflower are surprisingly good, but you have to reheat them the right way if you want to keep that crispness we worked so hard for! Store any remaining florets in an airtight container in the fridge—they’re good for about three days.
Never, ever use the microwave! It turns them instantly mushy. The best way to reheat them is tossing them back on a sheet pan in a 375°F oven for about 8 minutes, or pop them in the air fryer for 3-4 minutes. If you’re loving the air fryer life, try my baked potato hack next!
Frequently Asked Questions About Oven Roasted Cauliflower
I get so many questions about this recipe because everyone wants that perfect balance! It’s such a great Simple Side Dish Recipe, but a few little tweaks can make a big difference. Ask away! I’m happy to share everything I’ve learned about Oven Roasted Cauliflower technique.
Can I make Garlic Butter Roasted Cauliflower ahead of time?
It really is best fresh, you know? The texture is unbeatable straight out of the oven. But, if you need to prep early, you can totally chop your florets the night before and keep them in a bag in the fridge. Just skip the oil and butter until you’re ready to roast them so they don’t get dreary!
What temperature should I use for roasting cauliflower?
We stick to 400 degrees Fahrenheit (200 Celsius) every time! That high heat is non-negotiable if you want that gorgeous external crisping while still achieving the Tender Roasted Cauliflower interior. If your oven runs cold, you might need to nudge it up a touch, but start there.
Can I use oil instead of butter in this recipe?
Oh, absolutely, you can use all olive oil! It will still roast beautifully, especially with all that garlic you’re adding. But I have to warn you, if you skip the butter entirely, you lose that specific richness that makes it classic Buttery Roasted Cauliflower. It’s a slightly different side dish, but still great!
I hope these little tips help you nail it! If you’re looking for a sweet treat to balance out this savory side, you simply must check out my guide to making nice cream!
Nutritional Estimate for Garlic Butter Roasted Cauliflower
Now, I know we made this to taste amazing, but it’s still cauliflower, so it’s a pretty fantastic Healthy Roasted Side Dish! Keep in mind that these numbers are just estimates based on the exact ingredients listed above, and they mostly depend on how much Parmesan magic you decide to sprinkle on top. If you leave off the optional cheese and lemon, the numbers shift a bit, naturally!
- Serving Size: 1 serving
- Calories: 120
- Sugar: 3 (g)
- Sodium: 350 (mg)
- Fat: 9 (g)
- Saturated Fat: 5 (g)
- Unsaturated Fat: 4 (g)
- Trans Fat: 0 (g)
- Carbohydrates: 8 (g)
- Fiber: 3 (g)
- Protein: 3 (g)
- Cholesterol: 20 (mg)
It’s great knowing you can enjoy something this rich and flavorful without completely derailing your dinner plan. If you want another satisfying but slightly sweeter baked good, my Morning Glory Muffins recipe is on deck next!
PrintGarlic Butter Roasted Cauliflower

Follow these steps to make tender, flavorful roasted cauliflower coated in rich garlic butter.
- Prep Time: 10 min
- Cook Time: 25 min
- Total Time: 35 min
- Yield: 4 servings
- Category: Side Dish
- Method: Roasting
- Cuisine: American
- Diet: Vegetarian
Ingredients
- 1 large head cauliflower
- 4 tablespoons unsalted butter, melted
- 4 cloves garlic, minced
- 1/2 teaspoon salt
- 1/4 teaspoon black pepper
- 1 tablespoon olive oil
- 1 tablespoon fresh lemon juice (optional)
- 2 tablespoons grated Parmesan cheese (optional)
- 1 tablespoon fresh parsley, chopped (optional)
Instructions
- Preheat your oven to 400 degrees Fahrenheit (200 degrees Celsius). Line a large baking sheet with parchment paper for easier cleanup.
- Cut the cauliflower into bite-sized florets, aiming for pieces roughly the same size for even cooking.
- In a small bowl, combine the melted butter, minced garlic, salt, and pepper. Whisk until the garlic is evenly distributed.
- Place the cauliflower florets in a large bowl. Drizzle with olive oil and toss to coat.
- Pour the garlic butter mixture over the cauliflower. Toss everything together until every floret is lightly coated in the seasoning.
- Spread the seasoned cauliflower in a single layer on the prepared baking sheet. Do not overcrowd the pan; use two sheets if necessary to allow the edges to crisp.
- Roast for 20 to 25 minutes, tossing halfway through the cooking time. The cauliflower is done when it is tender when pierced with a fork and the edges show light browning.
- Remove from the oven. If using, immediately toss with lemon juice. Sprinkle with Parmesan cheese and fresh parsley before serving hot.
Notes
- For crispier results, ensure your oven is fully preheated and do not skip the single-layer arrangement on the baking sheet.
- If you prefer a stronger garlic flavor, add one extra clove of garlic to the butter mixture.
- If you do not have fresh parsley, dried thyme can be substituted for a different herbal note.
Nutrition
- Serving Size: 1 serving
- Calories: 120
- Sugar: 3
- Sodium: 350
- Fat: 9
- Saturated Fat: 5
- Unsaturated Fat: 4
- Trans Fat: 0
- Carbohydrates: 8
- Fiber: 3
- Protein: 3
- Cholesterol: 20