

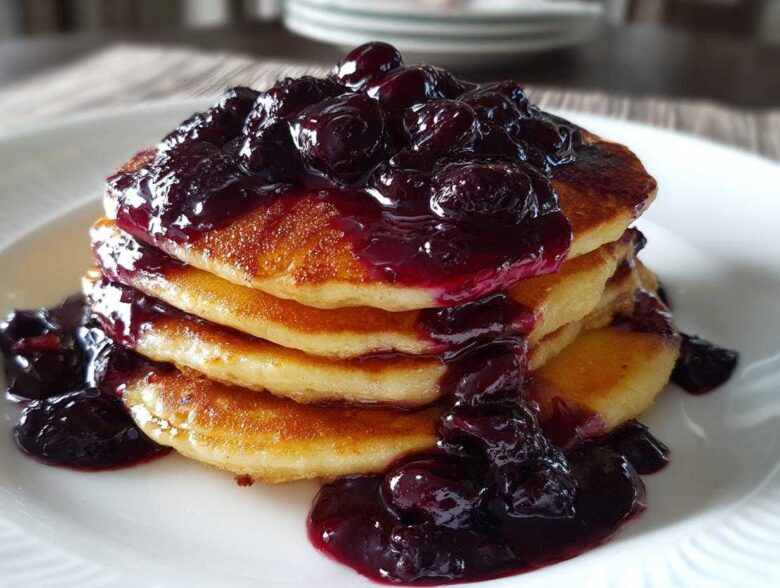
Folks, forget those overly sweet, neon-colored bottles lurking in the grocery store aisle! If you haven’t made your own fruit topping, you are missing out on a serious breakfast upgrade. Seriously, whipping up vibrant, thick Homemade Blueberry Syrup takes maybe twenty minutes, and it tastes a million times better than anything I’ve ever bought.
I’ve been playing around with fruit syrups for years—trying to nail that perfect balance where it’s sweet but still tastes intensely of real berries. After countless batches, I finally locked down this simple method that gets the consistency spot-on without needing any weird stabilizers. Trust me, once you try this easy blueberry syrup, you’ll never go back. Plus, I love controlling exactly how much sugar hits my pancakes!
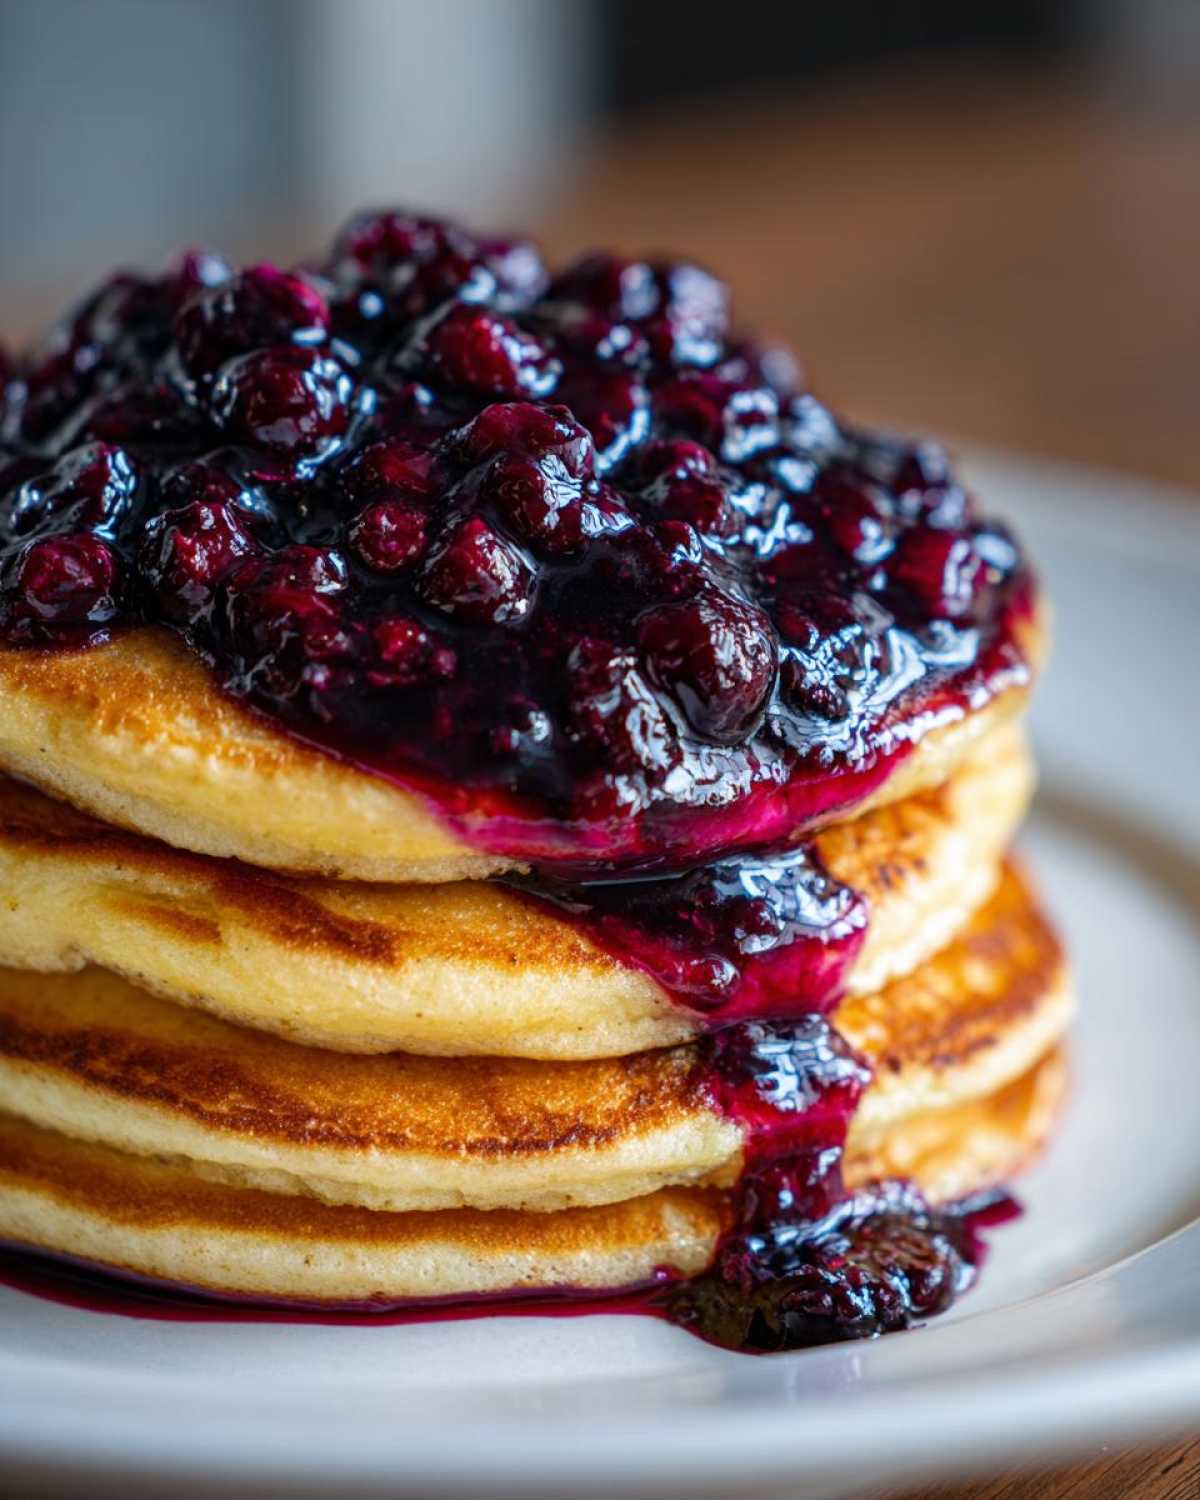
Why You Need This Homemade Blueberry Syrup Recipe
Okay, listen up! Why bother buying syrup when you can make this glorious, all-natural stuff so fast? If you’re looking for an Easy blueberry syrup that tastes like sunshine, this is your winner. I’m giving you the full guide to making this Natural blueberry syrup guide right now!
- It’s ready in under 20 minutes—seriously!
- You control the sugar and sweetness levels completely.
- It works beautifully with both fresh or frozen berries.
- The flavor is intensely fruity and so much brighter than store-bought.
Gathering Ingredients for Homemade Blueberry Syrup
This recipe is wonderfully simple, which is why I love it so much for a quick weekday breakfast fix! You only need a handful of pantry staples to get started. Don’t sweat the fresh versus frozen debate; we use them interchangeably here. We’re starting with two cups of those gorgeous blueberries.
You’ll need one cup of water and about 3/4 cup of regular granulated sugar to start. Remember, we can always add more, but you can’t take it out! Make sure you have a splash of lemon juice for brightness and, if you like that thick, slow-drip consistency, grab your cornstarch and a tablespoon of cold water ready to mix.
Ingredient Notes and Substitution Guidance
Let’s talk about messing with the recipe slightly because I know some of you watch your sugar intake. If you cut the sugar down significantly—say, to half a cup—your syrup will naturally be thinner because sugar plays a big role in texture when it cools. If you’re cutting sugar, you absolutely MUST use that optional cornstarch slurry to help it set up nicely.
The lemon juice isn’t just for flavor; it helps keep that vibrant blue color shining! And the cornstarch? It’s your magic trick for a premium, easy blueberry syrup that clings perfectly to your pancakes and waffles.
Step-by-Step Instructions for Homemade Blueberry Syrup
Alright, this is where the magic happens! Grab your medium saucepan—nothing fancy needed. First things first: toss in your blueberries (frozen or fresh, doesn’t matter!), the one cup of water, and your starting sugar amount. Get that on medium-high heat and bring it right up to a boil. Keep an eye on it and stir occasionally so nothing sticks to the bottom.
Once it’s bubbling away, turn the heat way down to low. This is the simmering stage, and you need to let it hang out for about 10 to 15 minutes. You’ll see the berries start to burst open, which is exactly what we want. They release all that beautiful color and flavor into the water!
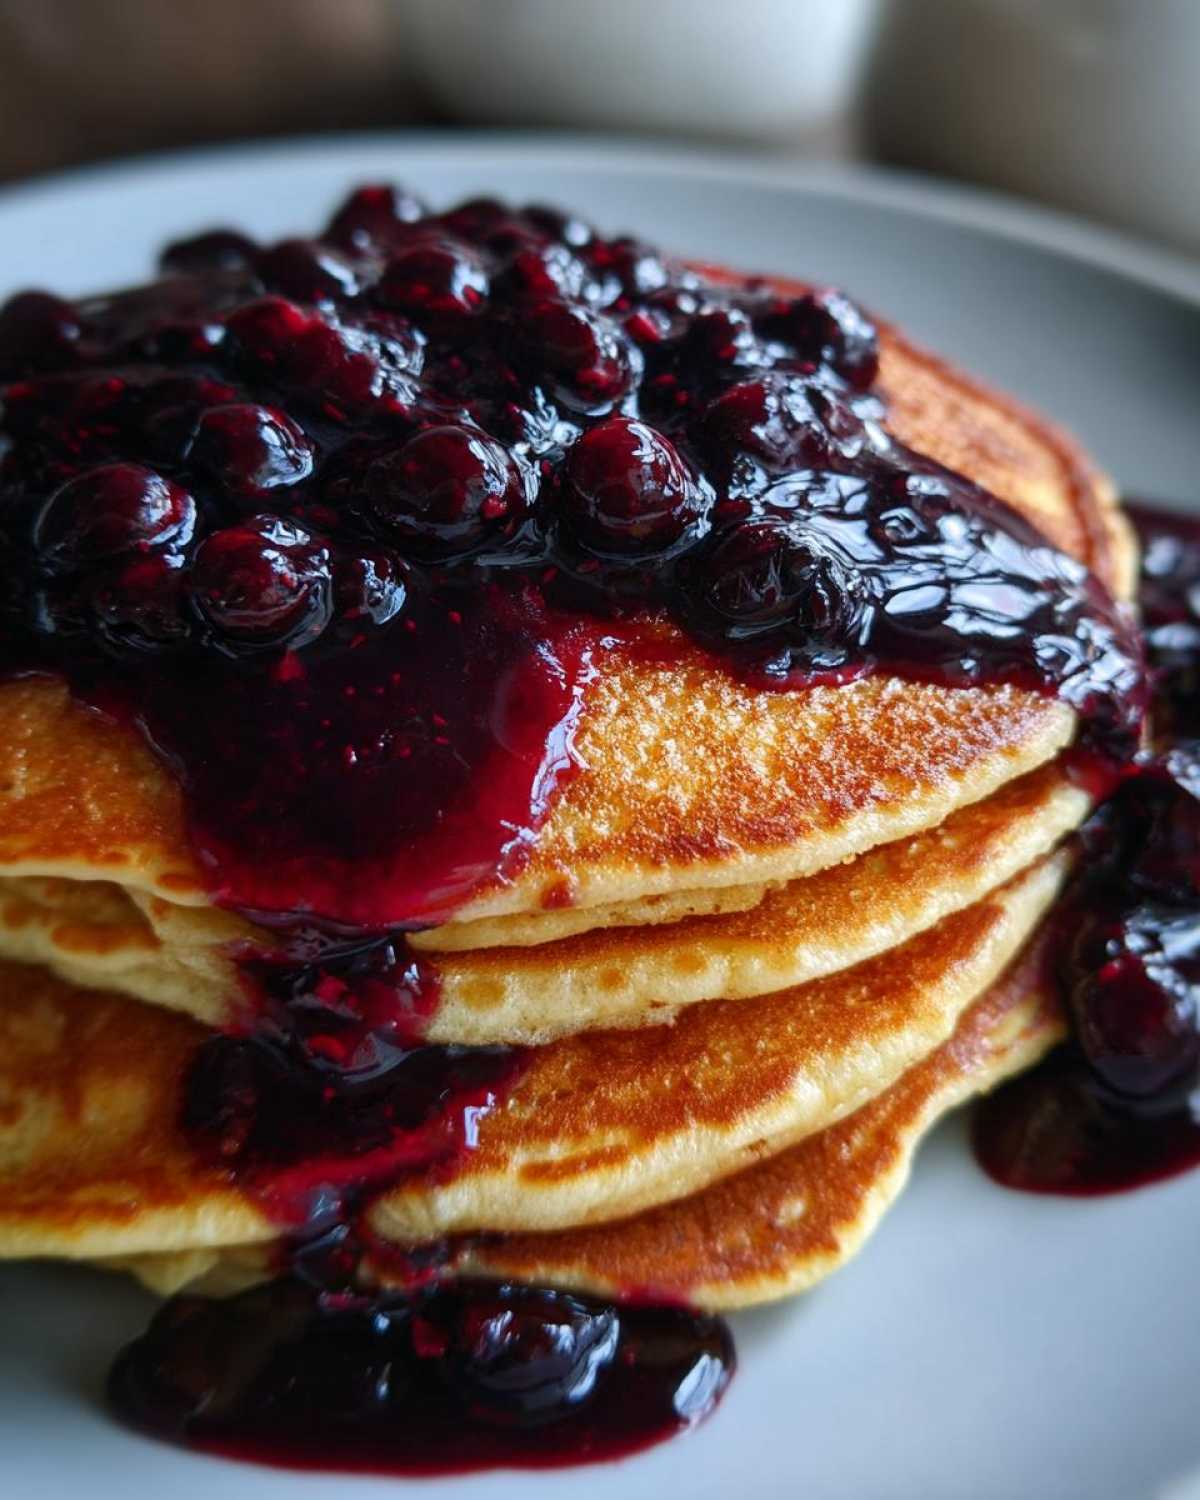
Now, here’s a big decision point for you, my friend. If you like texture, skins, and want a rustic Blueberry topping for pancakes, you can skip the next bit. But if you are aiming for that silky, smooth finish, take it off the heat and press that mixture through a fine-mesh sieve. Discard the solids—it’s hard, but you have to let them go!
Return the beautiful, smooth blue liquid to the pot. Stir in that teaspoon of lemon juice. Then, if you’re going for that premium drizzle, it’s time to thicken it up just a touch.
Achieving the Perfect Thick Blueberry Syrup Consistency
If you want that truly impressive, pourable but not runny syrup, we use a cornstarch slurry. Seriously, don’t just dump the powder in! Mix that teaspoon of cornstarch with just one tablespoon of cold water until it’s totally smooth—no lumps allowed. Whisk that slurry right into your gently simmering syrup. It only needs about 60 seconds to kick in, and you’ll see it immediately start to get that perfect body.
And here’s the crucial part about consistency that trips everyone up: it will seem slightly thin when it’s hot. Don’t panic and add more cornstarch! As the **Thick blueberry syrup tutorial** demands, it thickens significantly once it cools down on the counter. Trust the process, cool it completely, and then pour it into your jar!
Expert Tips for Making Fresh Blueberry Syrup
Listen, anyone can boil berries and sugar, but to get that truly *gourmet* flavor you’d expect from the best diner, you need a few insider tricks. If you can find berries that are slightly under-ripe—the ones that are still a little firm and not totally mushy—use those! They actually contain slightly more natural pectin, which gives your finished syrup a bit more body without resorting to extra starch.
When you’re simmering the berries down, especially if you skipped the cornstarch, taste it right before you remove it from the heat. Sugar flavor changes when it’s hot versus cold. If it tastes just a tiny bit sweeter than you’d ideally want, take it off immediately. Remember, it concentrates as it cools down on the countertop. This small adjustment makes a huge difference between an okay syrup and a phenomenal one you’ll want drizzled over everything, like this amazing bread pudding!
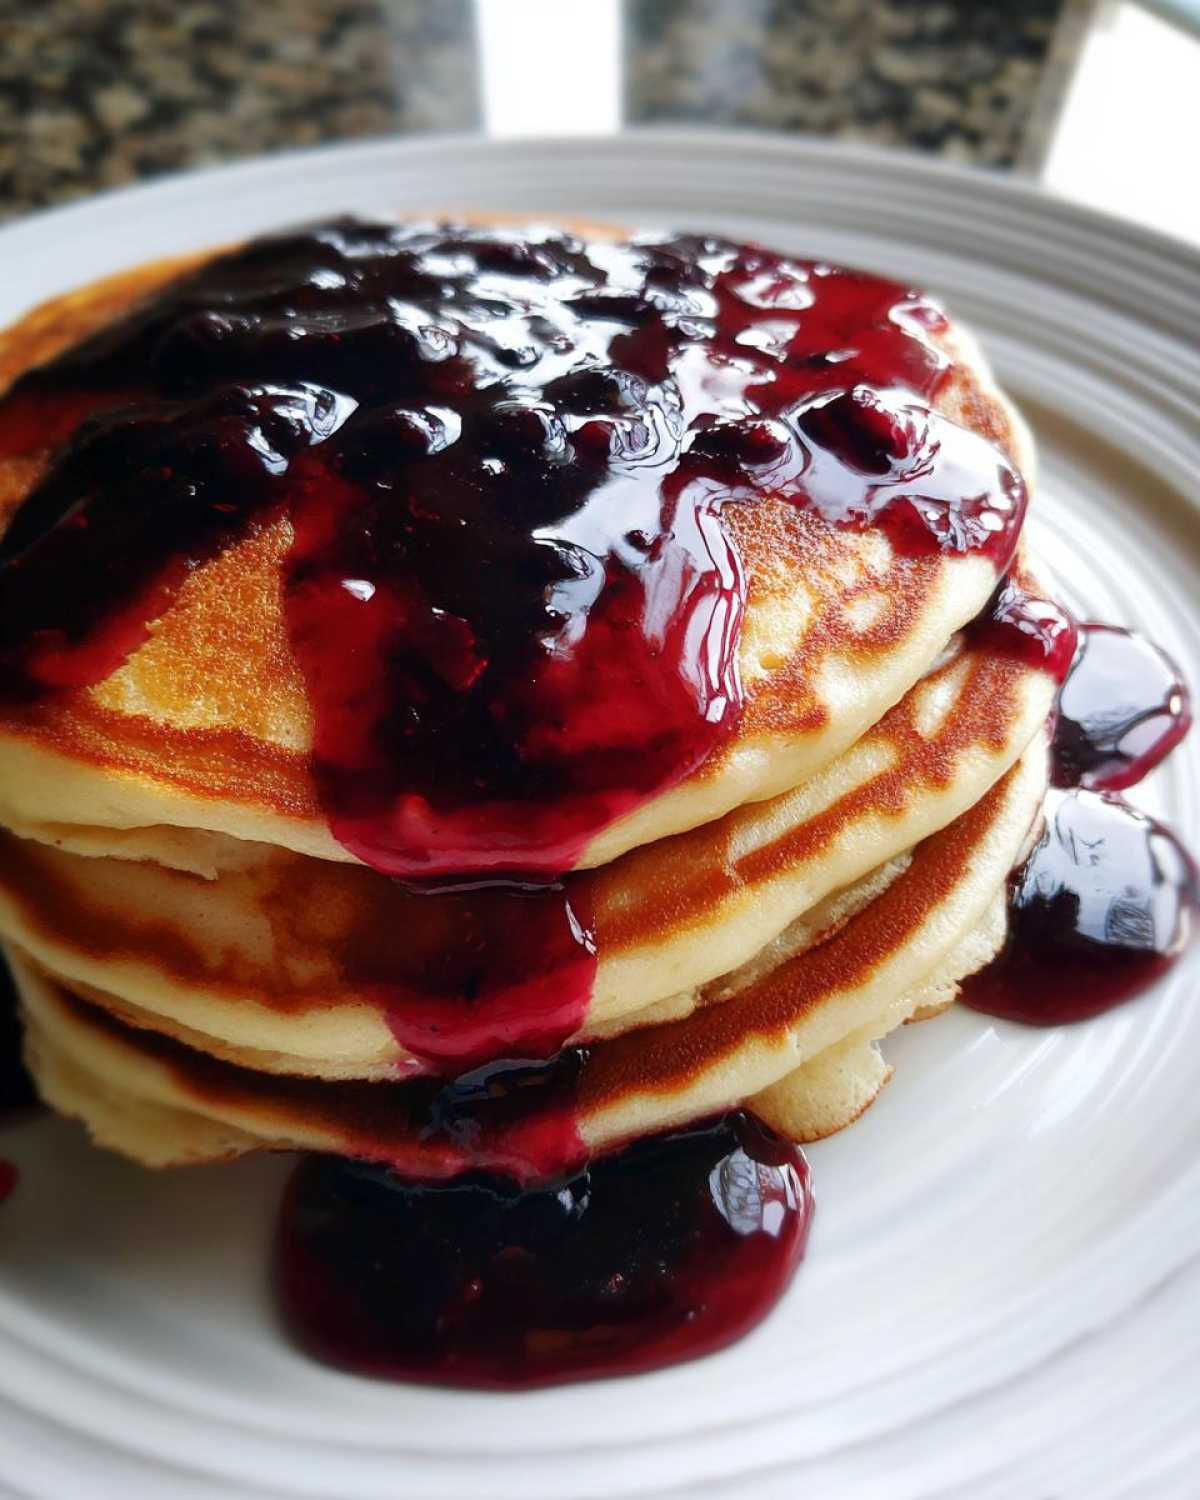
Using Frozen Blueberries for Syrup
Now, I know some of you bake with whatever you have on hand, and that’s fantastic! One of the best things about this simple recipe is that it genuinely doesn’t care if your blueberries come from the freezer bag or the farmer’s market. You absolutely do not need to thaw those frozen berries first—just toss them in straight from the freezer!
Because frozen fruit has a bit more ice crystallization, it releases its liquid a little slower than fresh berries. You might need to simmer for an extra two or three minutes to get everything to break down completely. That’s it! No other changes needed to our beloved Simple syrup with fresh fruit method. This makes it the ultimate year-round topping solution!
Serving Suggestions: Best Uses for Homemade Blueberry Syrup
Okay, you’ve made this amazing, gorgeous syrup—it would be a crime to only use it on pancakes, though I highly encourage that as the first test! This is where the fun begins for all my Blueberry Syrup Recipe Ideas.
Obviously, it’s a dream over fluffy waffles or French toast, but think beyond breakfast! Swirl a tablespoon or two into your plain Greek yogurt. It’s fabulous warmed up slightly and poured over vanilla ice cream or homemade nice cream, like my favorite banana nice cream.
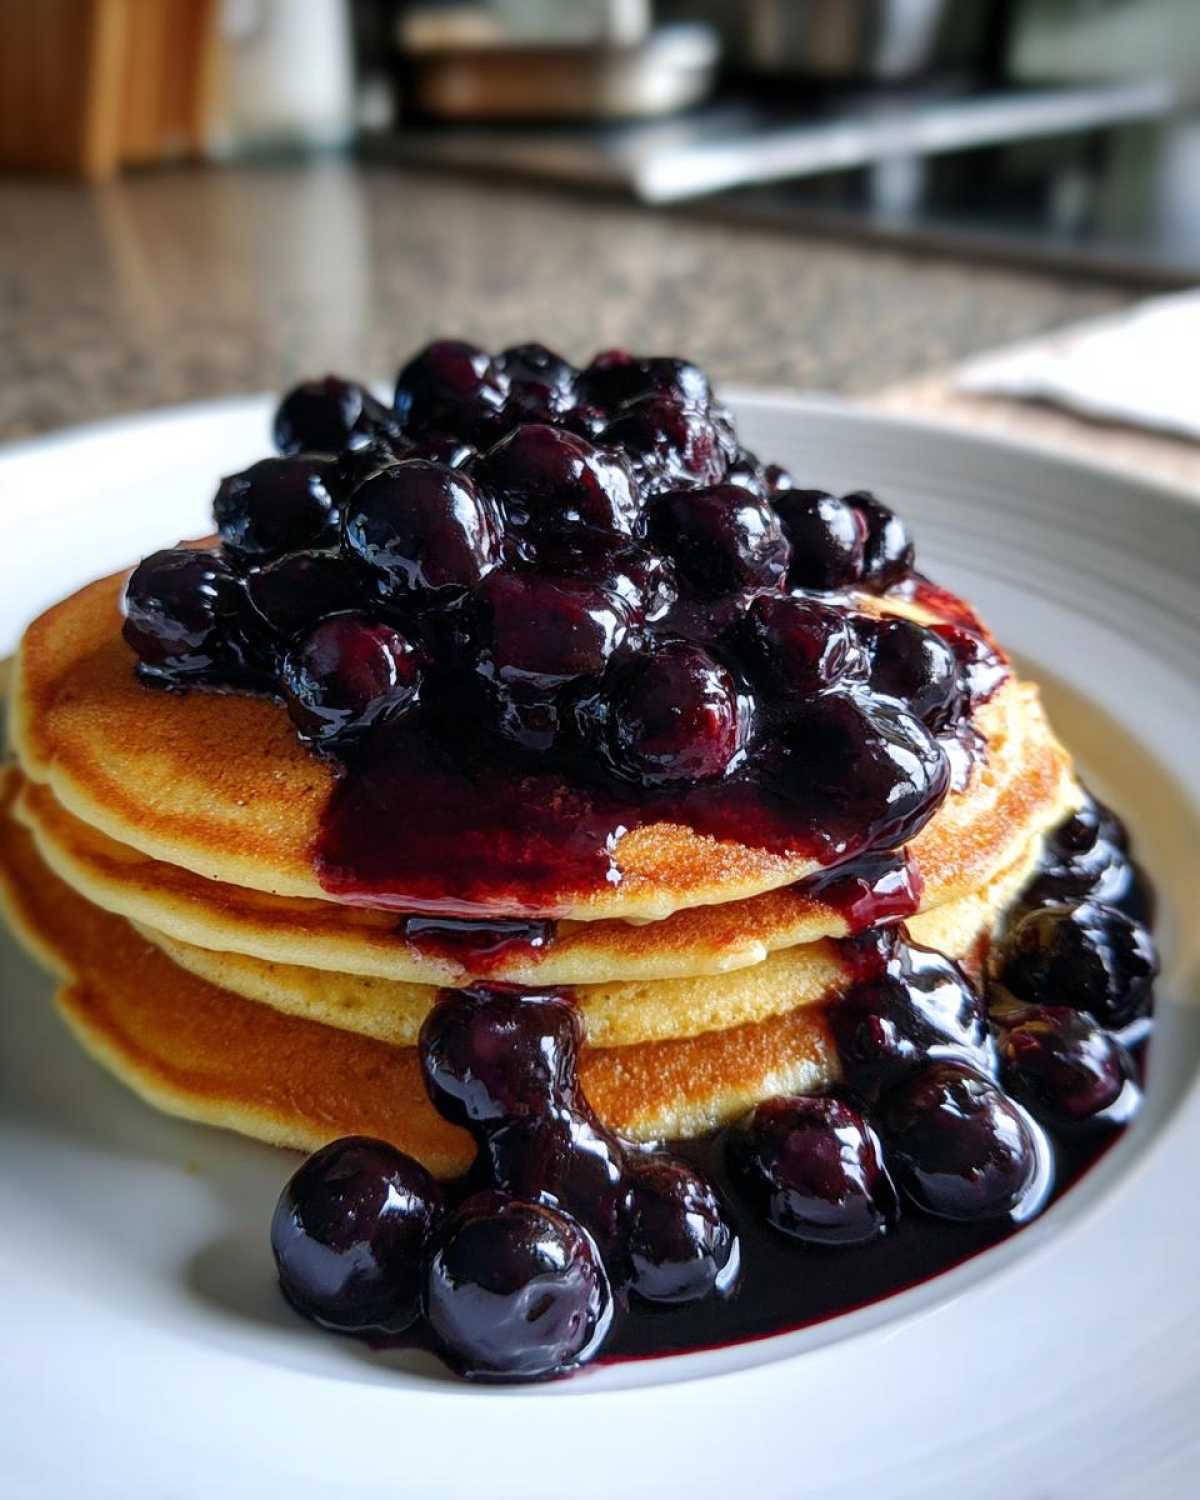
Have you ever tried drizzle it over cheesecake? Don’t knock it till you try it! I even use a small splash in sparkling water with a squeeze of lime for a tasty, natural refresher. It’s so versatile, you’ll be looking for excuses to use up that jar!
Storage and Shelf Life for Your Homemade Blueberry Syrup
Now that you have this beautiful, jewel-toned syrup, we have to talk about keeping it fresh. Since we aren’t using industrial preservatives, these Blueberry syrup storage tips are important!
The easiest way is the fridge. Pour the cooled syrup into a clean, airtight jar or container. Honestly, mine usually lasts about two or three weeks in the refrigerator before I use it all up. It might get slightly thicker—which is fine!—but if you see any mold or weird smells, toss it. That’s the downside of using real fruit!
If you are a weekend baker and whipped up a huge batch, you *could* look into proper home canning instructions for true shelf stability. But for most of us, sealing it tightly and keeping it chilled is the way to go. It’s so quick to make, I usually just make a fresh small batch every two weeks rather than fussing with the water bath canner. That way, I know it tastes absolutely perfect every time I drizzle it on my pancakes!
Frequently Asked Questions About Blueberry Syrup Recipe
I know you might have a few lingering questions about this super simple method for making blueberry syrup for pancakes and waffles. It’s so straightforward, but everyone has their own preferences! Here are the main things folks ask me about this Easy blueberry syrup.
Can I make this Homemade Blueberry Sauce sugar-free?
You totally can try! If you want a natural blueberry syrup that avoids refined white sugar, you can substitute it with a zero-calorie sweetener like erythritol or monk fruit. However, be warned: sugar dissolves and creates bulk. If you cut the sugar completely, your syrup will be very thin, almost like juice, unless you rely heavily on the cornstarch for thickness, which can sometimes give a slightly different mouthfeel. Start with half the sugar and use the cornstarch slurry!
How do I make my finished syrup thinner if it turns out too thick?
This is a super common snag, especially if you love that thick texture! If you cooled it down and it ended up being more of a compote than a drizzle, don’t panic. Just pour the cooled syrup back into your saucepan, add about two tablespoons of plain water (or even a splash of lemon juice for brightness), and bring it back up to a gentle simmer for about a minute. Stir until it loosens up. Remember, it will firm up slightly again once it chills, so don’t over-liquefy it!
Does this Homemade Blueberry Syrup need to be refrigerated?
Yes, absolutely! Since this recipe doesn’t use commercial preservatives and relies on fresh fruit, it has to be treated like any fresh fruit preserve. Pour it into a sterilized, airtight container once it has cooled down completely—and I mean completely—and store it in the fridge. It stays fantastic for two to three weeks this way. Never leave it sitting on the counter overnight!
Can I use this recipe to make a slightly warm Blueberry topping for pancakes at home?
Of course! While the syrup thickens up best when fully chilled, you can absolutely serve it warm. After the syrup has cooled completely and thickened nicely (which is the best time to assess your consistency), just scoop the amount you want onto a small plate or into a tiny saucepan and warm it gently on the stove or in the microwave for 15 to 20 seconds. It won’t be quite as thick when warm, but the flavor is incredible!
Nutritional Estimates for Homemade Blueberry Syrup
Now, I always like to share a little peek at the numbers when we’re baking or cooking something sweet like this. Keep in mind, making your own means these are just guideposts—your sugar amount might be different, which changes everything!
These estimates are based on that 3/4 cup sugar setting and a serving size of about 1/4 cup of the finished syrup. It’s surprisingly reasonable, especially since you’re getting those antioxidant-packed berries!
- Serving Size: 1/4 cup
- Calories: 180
- Sugar: 38g
- Fat: 0.2g
- Saturated Fat: 0g
- Carbohydrates: 47g
- Protein: 0.5g
- Sodium: 1mg
Take these numbers with a grain of salt, okay? When you adjust the sugar down, your calories and sugar grams drop, but the carb counts will change if you decide to go heavy on that optional cornstarch. But overall, it’s a wonderfully flavorful topping made with real fruit, and that’s what counts most to me!
PrintSimple Homemade Blueberry Syrup

Make a flavorful blueberry syrup at home using fresh or frozen berries. This recipe yields a thick, sweet topping perfect for pancakes or waffles.
- Prep Time: 5 min
- Cook Time: 15 min
- Total Time: 20 min
- Yield: About 1.5 cups
- Category: Breakfast Topping
- Method: Stovetop Simmering
- Cuisine: American
- Diet: Vegetarian
Ingredients
- 2 cups fresh or frozen blueberries
- 1 cup water
- 3/4 cup granulated sugar (adjust to taste)
- 1 teaspoon lemon juice
- 1 teaspoon cornstarch (optional, for thickening)
- 1 tablespoon cold water (if using cornstarch)
Instructions
- Combine blueberries, 1 cup water, and sugar in a medium saucepan.
- Bring the mixture to a boil over medium-high heat, stirring occasionally.
- Reduce heat to low and simmer for 10 to 15 minutes, stirring occasionally, until the berries break down and the liquid thickens slightly.
- Remove the saucepan from the heat. If you prefer a smooth syrup, press the mixture through a fine-mesh sieve to remove the skins and seeds. Discard the solids.
- Return the strained liquid to the saucepan. Stir in the lemon juice.
- If you want a thicker syrup, mix the cornstarch with 1 tablespoon of cold water to create a slurry. Whisk the slurry into the simmering syrup. Cook for 1 minute until thickened.
- Remove from heat and let the syrup cool completely. It will thicken more as it cools.
- Pour the finished syrup into a clean, airtight container.
Notes
- You can use frozen blueberries without thawing them first.
- For a less sweet syrup, start with 1/2 cup of sugar and add more after tasting.
- If you prefer a thinner consistency, skip the optional cornstarch step.
- Serve warm over pancakes, waffles, French toast, or yogurt.
Nutrition
- Serving Size: 1/4 cup
- Calories: 180
- Sugar: 38
- Sodium: 1
- Fat: 0.2
- Saturated Fat: 0
- Unsaturated Fat: 0.1
- Trans Fat: 0
- Carbohydrates: 47
- Fiber: 1.5
- Protein: 0.5
- Cholesterol: 0