

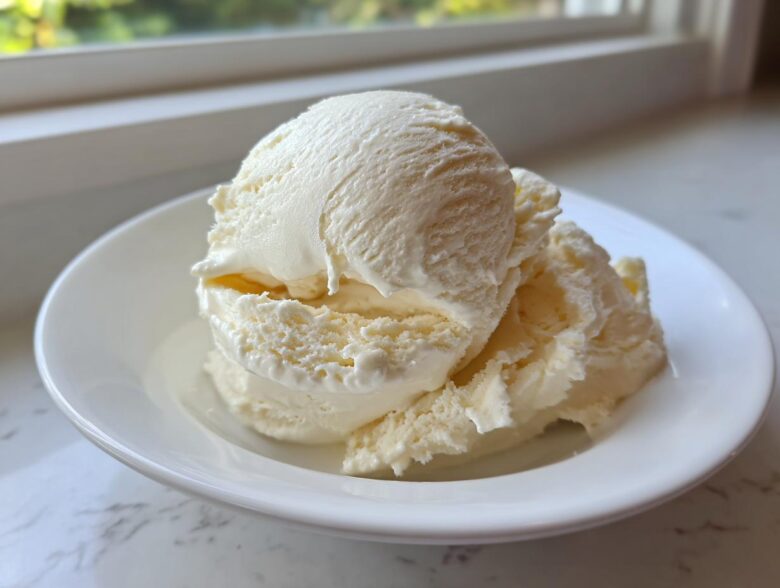
If you think frozen bananas are just for smoothies, do I have news for you! Seriously, the humble frozen banana is the absolute foundation for some of the best, creamiest dessert hacks out there. I spent way too many summers trying to get that perfect scoop. Trust me, getting that rich, unbelievably smooth texture for homemade banana ice cream shouldn’t require wrestling with a complicated machine.
That’s why I pulled together my absolute favorite three approaches for you today. We’re covering everything from the lightning-fast, one-ingredient blender magic to a truly decadent, no-churn version that feels like cheating. I’ve tested batch after batch—sometimes burning out my blender in the process, oops!—to figure out exactly how to capture that dreamy, melt-in-your-mouth consistency every single time. Want to know more about my baking philosophy before we dive in? Check out my About Me page! Get ready because your freezer is about to become your new favorite dessert spot!
Why You Will Love This Ultimate Banana Ice Cream Guide
I know what you’re thinking—another frozen banana recipe? Nope! This guide is different because it solves the texture problem. You get amazing banana ice cream no matter your setup, whether you have fancy gadgets or just a basic blender. It’s all about giving you control over just how creamy or how simple you want your treat to be!
Key Benefits of Making Banana Ice Cream at Home
- It’s incredibly fast, especially the nice cream version—ready in under ten minutes!
- You completely control the sweetness level; it can be naturally sweet or decadent.
- We maximize creaminess, even in the dairy-free options, banishing icy textures for good.
- It’s virtually foolproof, giving you gourmet results with minimal effort or ingredients.
Ingredients for Your Three Banana Ice Cream Methods
Okay, picking the right method means picking the right ingredients, right? Since we are doing three totally different takes on banana ice cream, the shopping list looks a little different for each one. Read carefully so you don’t accidentally use the heavy cream when you just wanted the one-ingredient snack!
You can check out my full Privacy Policy later, but for now, let’s focus on getting the right stuff from the freezer and the pantry!
Ingredients for One-Ingredient Banana Nice Cream
This one is basically magic, but you absolutely must use bananas that have been peeled, sliced up, and frozen solid—like, rock solid. No exceptions here!
- Three large ripe bananas, peeled, sliced, and fully frozen
- One-quarter cup milk (any kind you like works here, dairy or non-dairy!)
- One teaspoon vanilla extract (this just wakes up the flavor!)
Ingredients for Creamy No-Churn Banana Ice Cream
This is where we bring in the richness. If you want that super luxurious mouthfeel without churning, you need fat! We use good quality heavy whipping cream, but full-fat coconut cream works like a dream if you’re keeping it dairy-free.
- The same three frozen banana slices you prepped earlier, but let them thaw just a tiny bit so they mash easier.
- One-half cup heavy cream or really cold, full-fat canned coconut cream. Make sure that coconut cream is well-chilled so you can whip it!
- One-quarter cup granulated sugar or maple syrup—this is optional, but it keeps things softer if you want it firmer than soft-serve.
- One teaspoon vanilla extract.
Ingredients for Ninja Creami Banana Ice Cream Base
If you’re making a base for the Creami, you need to make sure everything fits and that it’s got enough liquid so the machine doesn’t struggle. We add one little secret weapon here to fight the famous Creami chalkiness.
- Frozen banana slices (Make sure these are completely frozen solid for at least 24 hours!)
- Just enough milk (dairy or non-dairy) to reach the maximum fill line in your Creami Pint.
- One teaspoon vanilla extract.
- One-half teaspoon xanthan gum, if you have it on hand. Seriously, this little bit of binder makes the texture so much better upon the first spin!
How to Make One-Ingredient Banana Nice Cream
This is my go-to when I get a sudden craving around 9 PM and need a banana ice cream fix immediately without washing a ton of dishes. This method requires zero churning and honestly, zero patience. If you have a bag of frozen bananas, you have dessert!
You need to dump those frozen slices right into your strongest machine—a high-powered blender or a heavy-duty food processor works best here. If your processor is weaker, I found that you might have to stop and scrape the sides down every thirty seconds, which is annoying but worth it. Pulse it first until those solid chunks break down into a dry, crumbly powder. Don’t panic when it looks dry; that’s step one!
Now for the liquid! You need to add milk (dairy or non-dairy works) one tablespoon at a time. Be super cautious here! Too much liquid and you end up with banana soup instead of ice cream. Keep blending, just scraping the sides as needed, until BAM! It suddenly catches and swirls into that perfect, smooth soft-serve texture we love. Serve this immediately for the best experience. You can find more tips on making desserts without a machine right here!
Instructions for No-Churn Banana Ice Cream
This version, the no churn banana ice cream method, is for when you want something richer, something that feels more like a traditional scoop you’d get from an old-fashioned parlor. The trick here is trapping air in the heavy cream so you don’t need to churn it in a machine. It’s worth the extra step, I promise!
First things first: you need your frozen bananas to thaw just enough so they can be mashed smoothly. If they are rock solid, you’ll just end up with chunky bits, and we want that velvety texture. Mash them by hand until they look like a very thick, slightly clumpy puree, and set them aside. For the best results, you can see my notes on the best no-bake recipes which often depend on similar texture management!
Next, grab your cold heavy cream—or cold coconut cream if you went dairy-free—and whip it up! You need to beat this until it forms stiff peaks. When you lift the whisk, the cream should stand tall without drooping. This structure is critical; it’s what keeps the ice cream light instead of becoming a dense block of ice.
Now, we fold! Gently fold the mashed bananas into the whipped cream. Do not stir aggressively! We are trying to keep all that lovely air in the cream, so use a spatula and cut down the middle, sweep around the edge, and turn the bowl gently. Mix just until no white streaks remain. If you are adding that optional sugar or maple syrup, stir it in right at the end.
Pour this beautiful mixture into a freezer-safe container—a small loaf pan wrapped in plastic wrap works great for me. Now comes the patience part. You need to freeze this for at least six hours, but here’s the crucial detail to keep it creamy: pull it out every two hours for the first four hours. Give it a good stir or push around the edges with a spoon. This simple action breaks up any ice crystals that want to form, giving us that supremely satisfying, smooth scoop when it’s finally done!
Making Perfect Ninja Creami Banana Ice Cream
Okay, confession time: if I’m feeling lazy but I want that perfectly dense, artisan-style scoop of banana ice cream, I break out the Creami. This machine changed my life for frozen fruit! But you have to follow the rules, or you end up with a sad, gritty mess that’s basically flavored ice shavings. We are aiming for creamy perfection here, not a frozen smoothie!
The most important thing you must remember for the ninja creami banana ice cream base is the freezing time. You have to let it set rock solid—I mean, completely unyielding. That means at least 24 hours in the freezer. If you try to spin a base that’s only frozen for half a day, the machine gets confused, and you’ll spend half your time hitting the Re-spin button!
Assemble your pint: Toss those frozen banana slices in first. Then, add your milk—and this is key—only add enough milk to hit that MAX fill line. I know it looks like barely any liquid, but trust me, the Creami needs that low liquid-to-solid ratio to work its magic. I also toss in a teaspoon of vanilla and that little bit of xanthan gum if I have it, because that binder really stabilizes the dairy-free or vegan versions beautifully.
Once it’s frozen solid, lock it in and run it using the ‘Lite Ice Cream’ setting first. That setting is usually perfect for fruit bases. After the cycle finishes, if it comes out looking crumbly or powdery, don’t throw it out! That’s totally normal sometimes. Just add a tiny splash more milk—seriously, just a spoonful—and run it again on the ‘Re-spin’ cycle. That second spin is what brings everything together into that flawless, creamy texture that tastes way less healthy than it actually is!
Expert Tips for the Creamiest Banana Ice Cream Texture
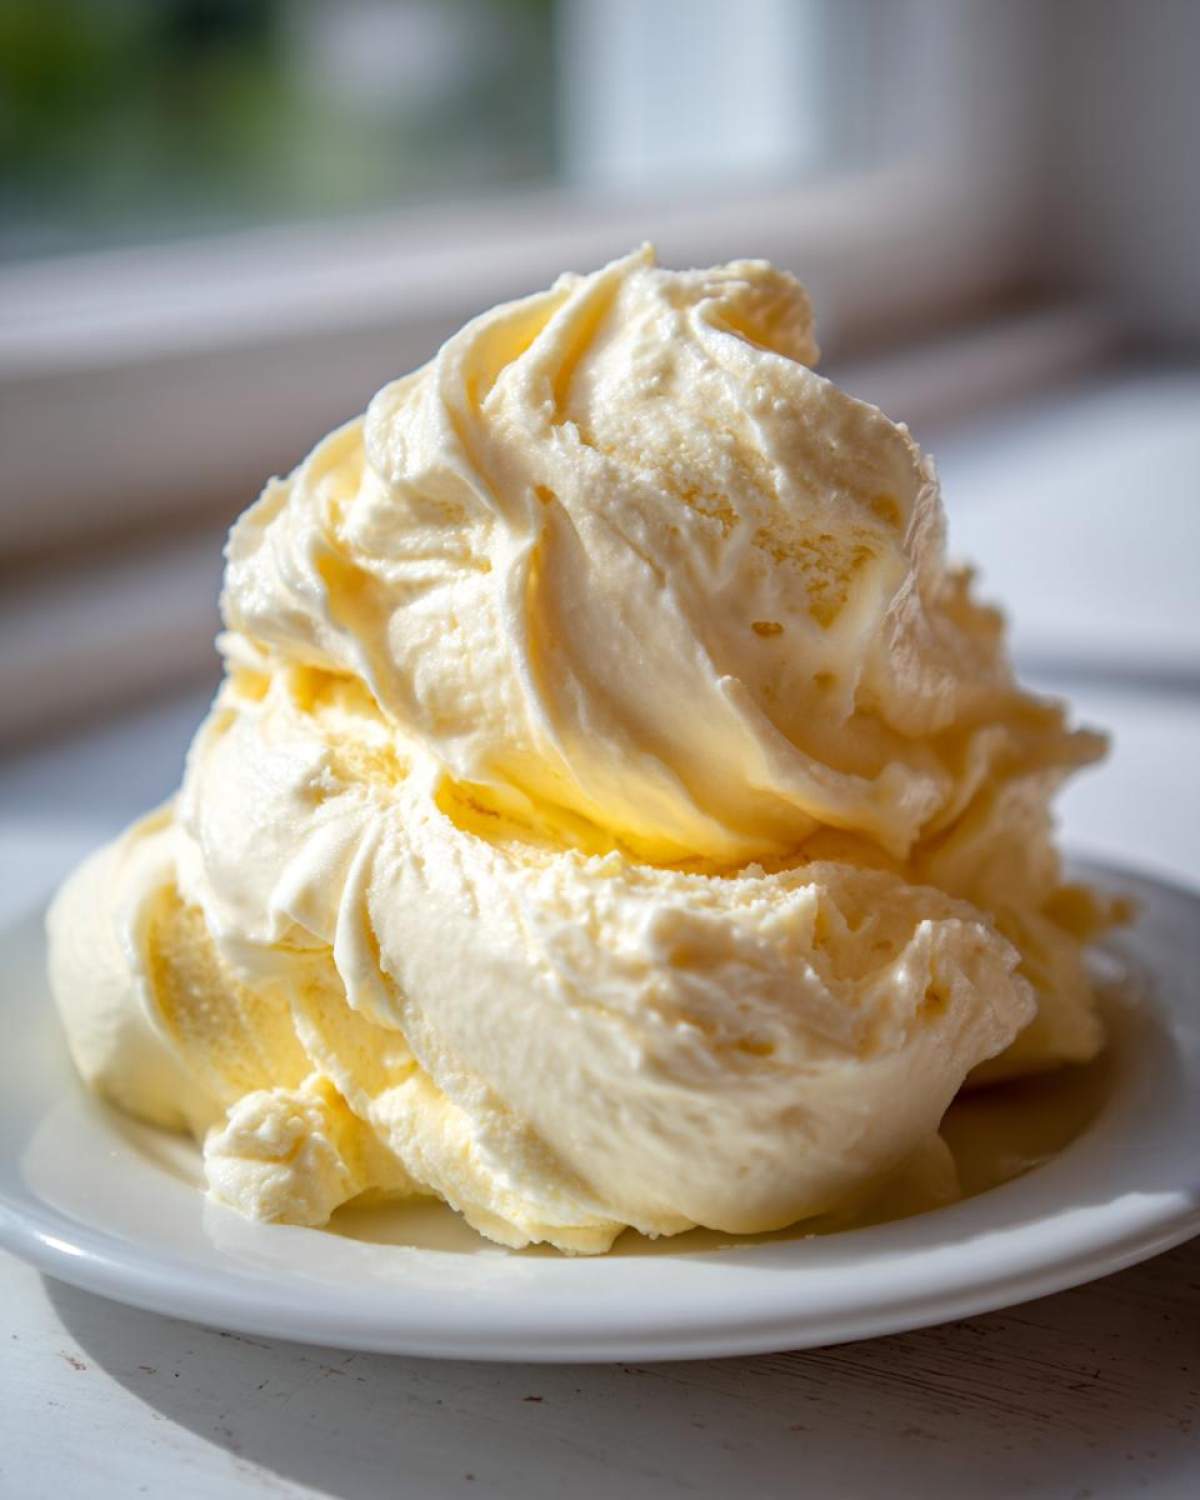
Look, getting the machine-free banana ice cream to be smooth can be tricky because when you blend frozen fruit, you’re fighting water molecules that want to turn back into ice crystals! I’ve learned a few tricks over the years that drastically improve texture, no matter which recipe you use. Remember, temperature management is just as important as the ingredients list itself.
My best advice centers around the bananas themselves. If you use green bananas, they just won’t blend right—they end up tasting starchy and cold, not sweet and creamy. We want the opposite!
For more help keeping your baked and frozen treats perfect, you can always check out my Cookie Policy page for site details.
Selecting and Freezing Bananas for Optimal Banana Ice Cream
When I say ‘ripe,’ I mean ripe enough that you almost don’t want to eat them raw. Those bananas should be yellow with plenty of brown spots covering the skin—that’s when their starches have converted to maximum sugar content, which means sweeter flavor and a smoother final product. If you freeze them too early, that wonderful creaminess just doesn’t happen.
Once they’re spotty, don’t just toss the whole peeled banana into a bag! That guarantees one giant icy chunk that will kill your blender motor. Always slice them up into about one-inch coins first. Then, lay those slices out in a single layer on a baking sheet lined with parchment paper. Pop that sheet into the freezer until the coins are hard (about two hours). Once they are separate and solid, *then* you can transfer them into a freezer bag. This way, they never stick together, and your processor can handle them easily!
Ingredient Notes and Healthy Banana Dessert Substitutions
One of the biggest joys of making a frozen banana treat at home is that you get to customize everything! If you are looking to make this a truly healthy banana dessert or maybe needing a strict dairy free ice cream option, we can absolutely adjust things without sacrificing that beautiful creamy texture we worked so hard to achieve.
I love that this base naturally relies on fruit for its sweetness, making it inherently lighter than traditional churn ice creams. But let’s talk specifics on how to swap out dairy or adjust sugar if you need to. It makes bringing delicious, cool treats to friends with different dietary needs so much easier! For more simple swaps and ingredient tricks, you should definitely check out my guide to Veggie Packed Breakfast Muffins—it’s all about smart substitutions!
Achieving Dairy Free Ice Cream
Making this vegan banana ice cream is so simple, especially for the no-churn version. If you are avoiding dairy, the heavy cream swap is super easy, but you have to choose the right thick substitute. You cannot just use almond milk or soy milk because they don’t have enough fat to whip up and hold that airy structure.
You must use full-fat canned coconut cream or coconut milk. The key here is chilling that can in the refrigerator overnight—don’t shake it! When you open it, the thick cream will have separated and risen to the top. Scoop just that thick solid part out and whip it just like you would heavy cream. It behaves almost identically and gives you that fantastic fat content needed for a rich, scoopable texture in your no-churn base.
For the one-ingredient nice cream and the Creami version, any plant-based milk works fine because you are either blending it immediately or using the specialized Creami mechanism to process the ice crystals out later. Almond, oat, or soy milk are all great in those instances!
Serving Suggestions for Your Frozen Banana Treat
So you’ve nailed the texture, and you have a gorgeous bowl of homemade banana ice cream ready to go. What now? While this frozen banana treat is absolutely phenomenal all on its own—seriously, it needs nothing—sometimes you just want to dress it up a little bit. I like to keep the toppings simple so the natural banana flavor still shines through, rather than hiding it under heavy chocolate syrup.
When I serve this up, especially the no-churn version, I love adding texture contrasts. A light sprinkle of toasted pecans or walnuts is fantastic. The little bit of crunch against the smooth coldness is just divine. If you’re into chocolate, skip the gooey syrups and stick to finely chopped dark chocolate shards; they melt perfectly on the surface just as you take the first bite!
For a slightly more sophisticated presentation, especially if you’re serving it after dinner, try adding a drizzle of homemade salted caramel. You can find my favorite quick recipe designed for drizzling over cold things over on my Apple Nachos page—it works just as beautifully here! A little shake of cinnamon or nutmeg on top of the caramel drizzle really enhances that sweetness, too. Enjoy making it your own!
Frequently Asked Questions About Banana Ice Cream
I get asked the same things about this dessert all the time, so I figured I’d put together a quick FAQ list right here. Dealing with frozen fruit can sometimes feel a little weird, but these answers should clear everything right up so you can get back to eating! Feel free to reach out if you have other questions after you read these—you can always find my Contact page!
Can I make this banana ice cream without a machine?
Absolutely! That’s the beauty of the one ingredient ice cream method, which I call Nice Cream. You just need a high-powered food processor or a very sturdy blender. We blend the frozen bananas until they break down, adding just a splash of milk until they whip up into a soft-serve texture right before your eyes. No bulky ice cream maker required—it’s the ultimate banana dessert no machine solution!
How long does homemade banana nice cream last?
This is where the Nice Cream versus the No-Churn version differs quite a bit. Since the Nice Cream is made instantly by blending the frozen fruit, it acts just like soft-serve ice cream. If you leave the leftovers in the freezer, it will turn into a very hard, icy block, kind of like a popsicle base. For the best texture, I always recommend eating the banana nice cream immediately or within about thirty minutes of making it. If you want something that lasts for days, you absolutely need to make the No-Churn version!
PrintThe Ultimate Banana Ice Cream Guide: From 1-Ingredient Nice Cream to Creamy No-Churn Perfection
Learn three distinct methods to make delicious banana ice cream: the simple one-ingredient nice cream, a rich no-churn version, and a recipe optimized for the Ninja Creami.
- Prep Time: 15 min
- Cook Time: 0 min
- Total Time: 15 min
- Yield: 2 servings
- Category: Dessert
- Method: Blending/Freezing
- Cuisine: American
- Diet: Vegan
Ingredients
- 3 large ripe bananas, peeled and frozen
- 1/4 cup milk (dairy or non-dairy)
- 1 teaspoon vanilla extract
- 1/2 cup heavy cream or full-fat coconut cream (for No-Churn version)
- 1/4 cup granulated sugar or maple syrup (optional, for No-Churn version)
- 1/2 teaspoon xanthan gum (optional, for Ninja Creami version)
Instructions
- For One-Ingredient Nice Cream: Place the frozen banana slices into a strong food processor or high-powered blender. Pulse until the bananas break down into crumbs. Scrape down the sides. Continue blending, adding the milk one tablespoon at a time, until the mixture becomes smooth and resembles soft-serve ice cream. Serve immediately.
- For Creamy No-Churn Banana Ice Cream: Whip the heavy cream (or chilled coconut cream) until stiff peaks form. In a separate bowl, mash the thawed frozen bananas until smooth. Gently fold the whipped cream into the mashed bananas until just combined. Stir in vanilla and optional sweetener. Pour the mixture into a freezer-safe container. Freeze for at least 6 hours, stirring every 2 hours for the first 4 hours to maintain creaminess.
- For Ninja Creami Banana Ice Cream: Place the frozen banana slices in the Creami pint. Add just enough milk to reach the fill line. Add vanilla and xanthan gum, if using. Freeze solid (at least 24 hours). Process using the ‘Lite Ice Cream’ or ‘Ice Cream’ setting. If the texture is crumbly, add a splash more liquid and re-spin using the ‘Re-spin’ function.
Notes
- For the best texture in the one-ingredient method, use very ripe, spotty bananas before freezing.
- If you prefer a firmer texture for the no-churn version, use full-fat canned coconut cream instead of heavy cream.
- Always freeze the Ninja Creami base completely solid before processing for best results.
Nutrition
- Serving Size: 1/2 cup
- Calories: 180
- Sugar: 18
- Sodium: 5
- Fat: 5
- Saturated Fat: 3
- Unsaturated Fat: 2
- Trans Fat: 0
- Carbohydrates: 35
- Fiber: 3
- Protein: 1
- Cholesterol: 10