

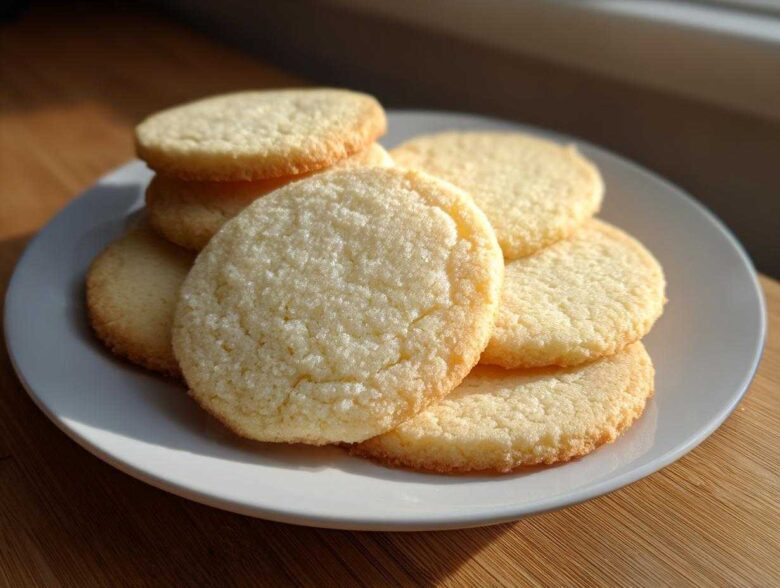
Oh, you are going to love diving into this recipe! For years, I messed around trying to find that *perfect* balance for a rolled-out cookie. You know the struggle—you want your festive cutouts to taste soft and buttery, but the second they hit the oven, they spread into sad little puddles. Don’t even get me started on trying to do detailed piping on a flimsy cookie! Well, trust me when I say I finally cracked the code. This is the definitive recipe for those soft and sturdy sugar cookie cutouts that hold their shape beautifully, making decorating a dream, not a disaster.
Why This is the Best Sugar Cookie Recipe for Cutouts
I’ve tried just about every tutorial promising the perfect sugar cookie, and honestly, most of them end up too crumbly or too flat. What makes this recipe my absolute go-to? Simple: it’s designed to work hard for you! It delivers that nostalgic, homemade bakery style, but with zero fuss. It’s the magic formula that lets you roll the dough thin, cut intricate shapes, and end up with cookies that don’t puff up or puff out in the oven. That’s why I call it the best sugar cookie recipe for anyone planning a big decorating session or just wanting a guaranteed win.
You’ll find me always using this version because it balances texture and structure perfectly. For more inspiration on holiday baking magic, check out what I’m whipping up on my main recipe feed!
- It uses just the right amount of flour to create that dense, sturdy base.
- The chilling steps are non-negotiable—they lock in the shape.
- It has that delicious, straightforward flavor that lets your icing shine.
Achieving Soft Sugar Cookies Without Spreading
The secret to stopping that dreaded cookie spread is all about temperature and ratios, my friend. We use a little baking powder, not soda, which encourages rising instead of spreading out. More importantly, chilling the dough lets the flour fully absorb the wet ingredients. If you skip chilling, the butter warms up too fast in the oven, and boom—puddles! Sticking to the instructions keeps your sugar cookie cutouts sharp and beautiful.
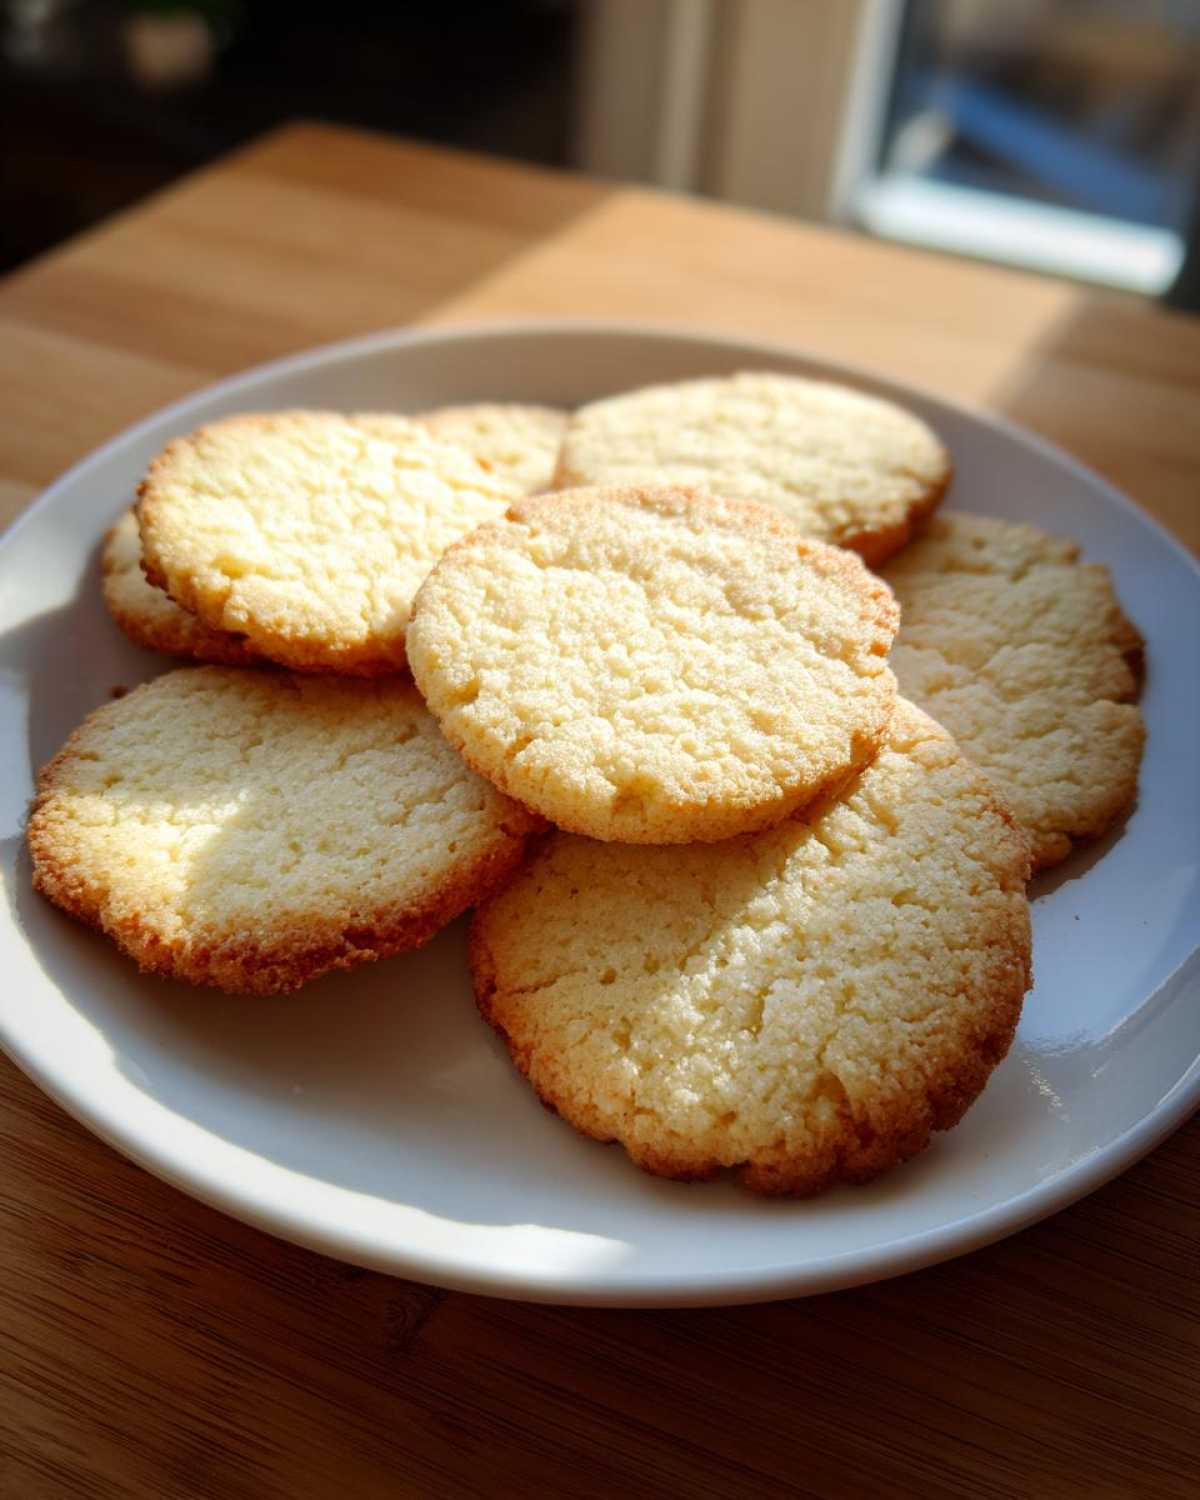
Buttery Flavor Profile of Our Sugar Cookie
There is no substituting the amount of butter here; we need every ounce of that creamy goodness! When you cream the butter well with the sugar, you’re building flavor right from the start. This isn’t a bland base; these are intensely buttery sugar cookies that taste rich, even under a thick layer of royal icing. It’s what separates a mediocre cookie from one people actually ask for the recipe for!
Essential Ingredients for Perfect Sugar Cookie Cutouts
Okay, let’s get down to brass tacks. When you are tackling a roll out sugar cookie recipe, especially one designed to hold up to heavy decorating, the ingredients can’t be skimped on. I’ve carefully listed exactly what you need below, and I really, really want you to stick to these measurements the first time you try them. This list ensures you end up with three dozen fantastic, sturdy cookies, perfect for any occasion. See? No mystery here, just good, honest baking essentials!
- 3 cups all-purpose flour
- 1 teaspoon baking powder
- 1/2 teaspoon salt
- 1 cup (2 sticks) unsalted butter, softened
- 1 1/2 cups granulated sugar
- 1 large egg
- 1 teaspoon vanilla extract
Ingredient Notes and Substitutions for Your Sugar Cookie Dough
First things first: your butter needs to be perfectly softened. That means if you press it gently, your finger leaves an indentation, but it’s not melty or greasy! That temperature is crucial for proper creaming. For the flour, trust me on the all-purpose stuff; anything else—like cake flour or bread flour—will mess with the structure of your sugar cookie cutouts. As for vanilla, if you have pure vanilla extract, use it!
If you absolutely have to make a quick switch, you can substitute the egg with a flax egg (one tablespoon ground flaxseed mixed with three tablespoons of water, let sit for five minutes), though the very best, thickest dough comes with the actual egg.
Step-by-Step Instructions for Roll Out Sugar Cookies
This is where the magic happens, but patience is your secret helper here! We need to treat this dough right so it bakes up perfectly. Follow these steps precisely—I promise, it’s worth the small extra effort to ensure you get those beautifully crisp-edged, soft-centered beauties. If you want to learn more about how we keep our recipes reliable and tested, check out my recipe philosophy page! Get your mixer ready; we are going to build this dough layer by layer.
Mixing the Dough for Soft Sugar Cookies
First, you need to get those dry ingredients whisked together completely. That’s so the little bit of baking powder gets distributed evenly—we don’t want one cookie rising way higher than the others! Now, focus on the butter and sugar. You absolutely must beat these until they look light and super fluffy. I mean fluffy enough that you stop the mixer and think, “Wow, that looks like pale yellow whipped clouds.” That step is trapping the air that keeps our easy sugar cookies light later on.
Chilling and Rolling Out Your Sugar Cookie Dough
Once the dough comes together, don’t even think about using it yet! Divide it, flatten it into disks—this helps it chill faster, by the way—and wrap it tight. It needs at least an hour in the fridge, maybe more if your kitchen is warm. When you roll it out, aim for exactly 1/4-inch thickness; anything thinner and they might get brittle! This is the key to sturdy sugar cookie cutouts that don’t warp. After cutting your shapes, put the trays in the fridge again for ten minutes before they brave the oven. That final chill locks everything in place!
Tips for Success When Baking Your Sugar Cookie Batch
Even with the best sugar cookie recipe in hand, the actual baking part can be tricky if you aren’t paying attention! My biggest tip revolves around your oven temperature. Seriously, if your oven runs hot, your cookies will brown too fast and spread, negating all that hard work you did chilling the dough. If you can, keep an oven thermometer handy; it’s a total game-changer for consistent results.
Also, don’t overbake! I know we want them golden brown, but for soft sugar cookies, you’re looking for just the slightest hint of color on the edges. They should look almost pale in the center when you pull them out. They keep cooking on that hot baking sheet! For more essential tips on handling your baked goods safely, always check out my baking safety guide. Perfectly baked, never-spread sugar cookies are totally within your reach!
Decorating Your Sturdy Sugar Cookies
Now that you have these perfect, sturdy bases, it’s time for the fun part! Because this sugar cookie recipe doesn’t balloon out while it bakes, it means you can finally get those crisp lines and intricate designs you’ve always wanted. Whether you’re planning on making simple batch for a school event or going all-out for some detailed holiday sugar cookies, this dough won’t buckle under pressure.
The structure we worked so hard to create means you can pile on the details without fearing your cookie snapping in half just trying to get it off the cooling rack. It holds up beautifully to drying time too, which is absolutely essential if you’re planning to stack or package them. Check out my privacy policy if you want to know how seriously I take protecting your baking secrets!
Simple Cookie Icing Recipe Recommendation
When you have a solid base like this, you need icing that matches its staying power. Forget the runny glaze; what you really want is a sturdy royal icing. It dries hard and smooth, giving you that beautiful, professional finish, especially important for those detailed Christmas cookies.
I usually use a simple mix of powdered sugar, meringue powder (which is a lifesaver!), a tiny splash of water, and a drop of flavoring. That meringue powder is the secret weapon that makes it dry rock-solid. If you don’t have a dedicated royal icing recipe saved yet, you’ll definitely want to bookmark mine where I show you how to get that perfect piping consistency every time!
Storage and Make-Ahead Tips for Homemade Sugar Cookies
I always make my dough ahead of time when the holidays roll around because, honestly, who has time to mix dough the day you want cookies? The nice thing about this recipe is that the dough is ultra-stable! Wrapped tightly, it lasts great in the fridge for up to three days, or you can freeze it for up to three months. Proper chilling or freezing is key—it prevents any weird flavor development and keeps the fats solid.
For baked cookies that keep their soft texture, make sure they are completely cooled before storing them in an airtight container. If you’re planning ahead, definitely read my deep dive on sugar cookie dough tips—it has all the info on how to wrap individual disks before freezing them flat! Storing the dough is usually easier than storing the baked cookies, but both work great for simple cookie baking!
Frequently Asked Questions About This Sugar Cookie Recipe
It’s totally normal to have questions when you’re working with a recipe for the first time! These homemade sugar cookies are pretty straightforward, but baking is chemistry, right? Here are the things folks ask me most often about getting these buttery sugar cookies just right, especially concerning chilling and that perfect texture we are aiming for. Don’t worry if you’ve had sad results before; we’re fixing that right now!
Can I make these sugar cookies without chilling the dough?
You technically *can*, but I really advise against it! If you skip chilling, your dough will be too warm, guaranteeing that your beautiful sugar cookie cutouts will spread right into each other while baking. That defeats the whole “sturdy” design!
How do I get the softest sugar cookies possible?
To keep them soft, pull them out of the oven just before you think they are done. The centers should still look a little pale and feel soft to the touch when you gently tap them. They firm up as they cool down completely!
What is the best way to freeze unbaked sugar cookie cutouts?
This is the secret to stress-free holiday decorating! Cut all your shapes, arrange them on a baking sheet, and pop the whole sheet into the freezer until they are rock solid. Then, transfer the frozen shapes into a freezer bag. You can bake them straight from frozen, just add two minutes to the bake time.
Estimated Nutritional Data for One Sugar Cookie
Listen, I’m a baker, not a nutritionist, so take all this with a grain of salt—or, you know, a grain of sugar!
Based on the ingredients in this recipe and using standard estimates, here is what one of these wonderful homemade sugar cookies breaks down to:
- Serving Size: 1 cookie
- Calories: 150
- Fat: 8g
- Carbohydrates: 18g
- Protein: 2g
- Sugar: 12g
- Cholesterol: 25mg
These numbers reflect the robust, buttery nature of these cookies. You’ve got rich flavor, so expect a decent little energy boost!
Share Your Perfect Sugar Cookie Creations
Now that you’ve made these amazing soft and sturdy sugar cookies, I am dying to see what you did! Did you get those perfect, crisp edges? Did you pile on the royal icing or keep it simple?
Please take a minute to leave a rating right here on the recipe card; it truly helps other bakers know this recipe works! And if you snap a picture of your finished batch, tag me! I love seeing your incredible decorating success stories. If you have any last-minute questions after baking, feel free to send them over using my contact form—happy baking!
PrintSoft and Sturdy Cut-Out Sugar Cookies

This recipe yields soft, buttery sugar cookies that hold their shape perfectly for cutting out shapes and decorating.
- Prep Time: 25 min
- Cook Time: 10 min
- Total Time: 85 min
- Yield: 3 dozen
- Category: Dessert
- Method: Baking
- Cuisine: American
- Diet: Vegetarian
Ingredients
- 3 cups all-purpose flour
- 1 teaspoon baking powder
- 1/2 teaspoon salt
- 1 cup (2 sticks) unsalted butter, softened
- 1 1/2 cups granulated sugar
- 1 large egg
- 1 teaspoon vanilla extract
Instructions
- Whisk together the flour, baking powder, and salt in a medium bowl. Set aside.
- In a large bowl, beat the softened butter and sugar with an electric mixer until light and fluffy, about 3 minutes.
- Beat in the egg and vanilla extract until just combined.
- Gradually add the dry ingredients to the wet ingredients, mixing on low speed until a soft dough forms. Do not overmix.
- Divide the dough in half, flatten each half into a disk, wrap in plastic wrap, and chill for at least 1 hour.
- Preheat your oven to 375 degrees Fahrenheit. Line baking sheets with parchment paper.
- On a lightly floured surface, roll out one disk of dough to 1/4-inch thickness. Cut out desired shapes using cookie cutters.
- Place the cutouts onto the prepared baking sheets, spaced about 1 inch apart.
- Bake for 8 to 10 minutes, or until the edges are lightly golden. The centers should still look soft.
- Let the cookies cool on the baking sheet for 5 minutes before transferring them to a wire rack to cool completely before decorating.
Notes
- For best results when cutting shapes, chill the rolled-out dough for 10 minutes before cutting.
- If you plan to decorate, use a simple royal icing recipe; this cookie base is sturdy enough to support it.
- For extra soft cookies, slightly reduce the baking time.
Nutrition
- Serving Size: 1 cookie
- Calories: 150
- Sugar: 12
- Sodium: 85
- Fat: 8
- Saturated Fat: 5
- Unsaturated Fat: 3
- Trans Fat: 0
- Carbohydrates: 18
- Fiber: 0
- Protein: 2
- Cholesterol: 25