

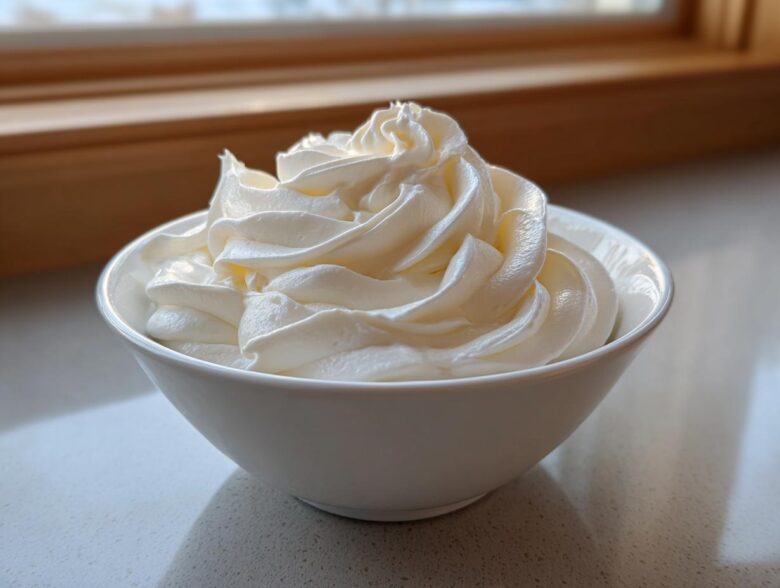
If you’ve ever stared at those perfect bakery-style sugar cookies and thought, “How do they get that icing so smooth and shiny?”—well, stop worrying! That professional look isn’t magic; it’s just knowing the right coating recipe. I spent *years* trying every simple glaze out there, and they all ended up sticky or cracked. But I finally perfected this ultimate **sugar cookie icing** recipe. Trust me when I say this stuff dries hard, looks incredibly glossy, and honestly, it couldn’t be easier to whip up, even if you’ve never decorated before.
This recipe uses meringue powder, which is the game-changer for that hard, smudge-proof finish we all want. I use this exact formula every single holiday season now because it never lets me down. Check out my cookie decorating gallery; that amazing shine? That’s this icing!
Why This is the Best Sugar Cookie Icing That Dries Hard and Glossy
If smashing cookies because the icing smeared is part of your baking tradition, you need this recipe! So many simple glazes taste great but stay tacky forever. Not ours! This is the absolute **best icing for sugar cookies** because it hits all the right notes: smooth application, amazing vanilla taste, and it sets up like glass.
It’s a fantastic, sturdy coating that holds up beautifully, making it the definitive secret to that professional look we’re chasing.
Achieving That Perfect Hard Shell Finish
The secret sauce, truly, is the meringue powder. It gives this royal icing the incredible structure it needs to dry completely firm. Seriously, once you let these set, you can stack them, box them, or even toss them gently into a cookie tin without worrying one bit about the patterns smearing. It’s a reliable, **icing recipe that dries firm** every single time.
Simple Cookie Icing Recipe for Beginners
I know ‘royal icing’ sounds fancy, but this is actually a truly **simple cookie icing recipe**. The prep time is seriously under ten minutes. You just dump the main dry stuff, add the liquids, and let the electric mixer do the heavy lifting. It’s so foolproof, even my nephew managed a perfect batch last Christmas!
Ingredients for Your Ultimate Sugar Cookie Icing
Okay, let’s talk about what makes this batch of icing so phenomenal. It’s all about quality inputs here! You only need a few things, but paying attention to the details—like sifting your sugar—makes all the difference between good and absolutely gorgeous icing.
For this recipe, make sure you have:
- Four cups of powdered sugar—but you absolutely must sift this first!
- Half a cup of meringue powder. Yes, this is mandatory, so don’t skip it!
- One teaspoon of your favorite vanilla extract.
- A half teaspoon of clear vanilla extract—this is optional, but trust me, it keeps the icing brilliantly white.
- Six to eight tablespoons of warm water.
The meringue powder is what gives us that structural integrity. It’s what causes the **sugar cookie icing** to dry firm and hold those crisp lines you see on professional cookies. If you try using plain egg whites instead, you’ll get a decent icing, sure, but it won’t dry with the signature hard shell finish this recipe promises.
Ingredient Notes and Substitutions
First things first: the sifting. Powdered sugar clumps up faster than anything, and if you dump those lumps into your mixer, you’ll end up with grainy icing, not smooth perfection. Sift, sift, sift!
For the vanilla flavor, I love using clear vanilla extract alongside the regular stuff. Regular vanilla has a darker color from the bean, which slightly yellows your final icing. If you are aiming for that crisp, bright white finish, the clear stuff is your ticket. If you have to use egg whites instead of meringue powder—because maybe you ran out mid-bake, oops!—you need to remember that egg whites add more liquid. You’ll have to adjust your water content down significantly, and frankly, you might not get that same reliable, rock-hard finish.
My rule is: for the absolute best, most dependable, **easy sugar cookie icing**, stick to the meringue powder. It’s worth grabbing a container just for this coating!
How to Prepare Smooth Royal Icing Tutorial
Alright, here is where we turn those dry bags of powdered sugar into liquid gold. Following the recipe steps exactly is crucial, especially regarding how long you mix, because that’s what generates the shine! Grab your electric mixer—doing this by hand will give you a serious arm workout, and we want perfectly whipped icing, not tired arms!
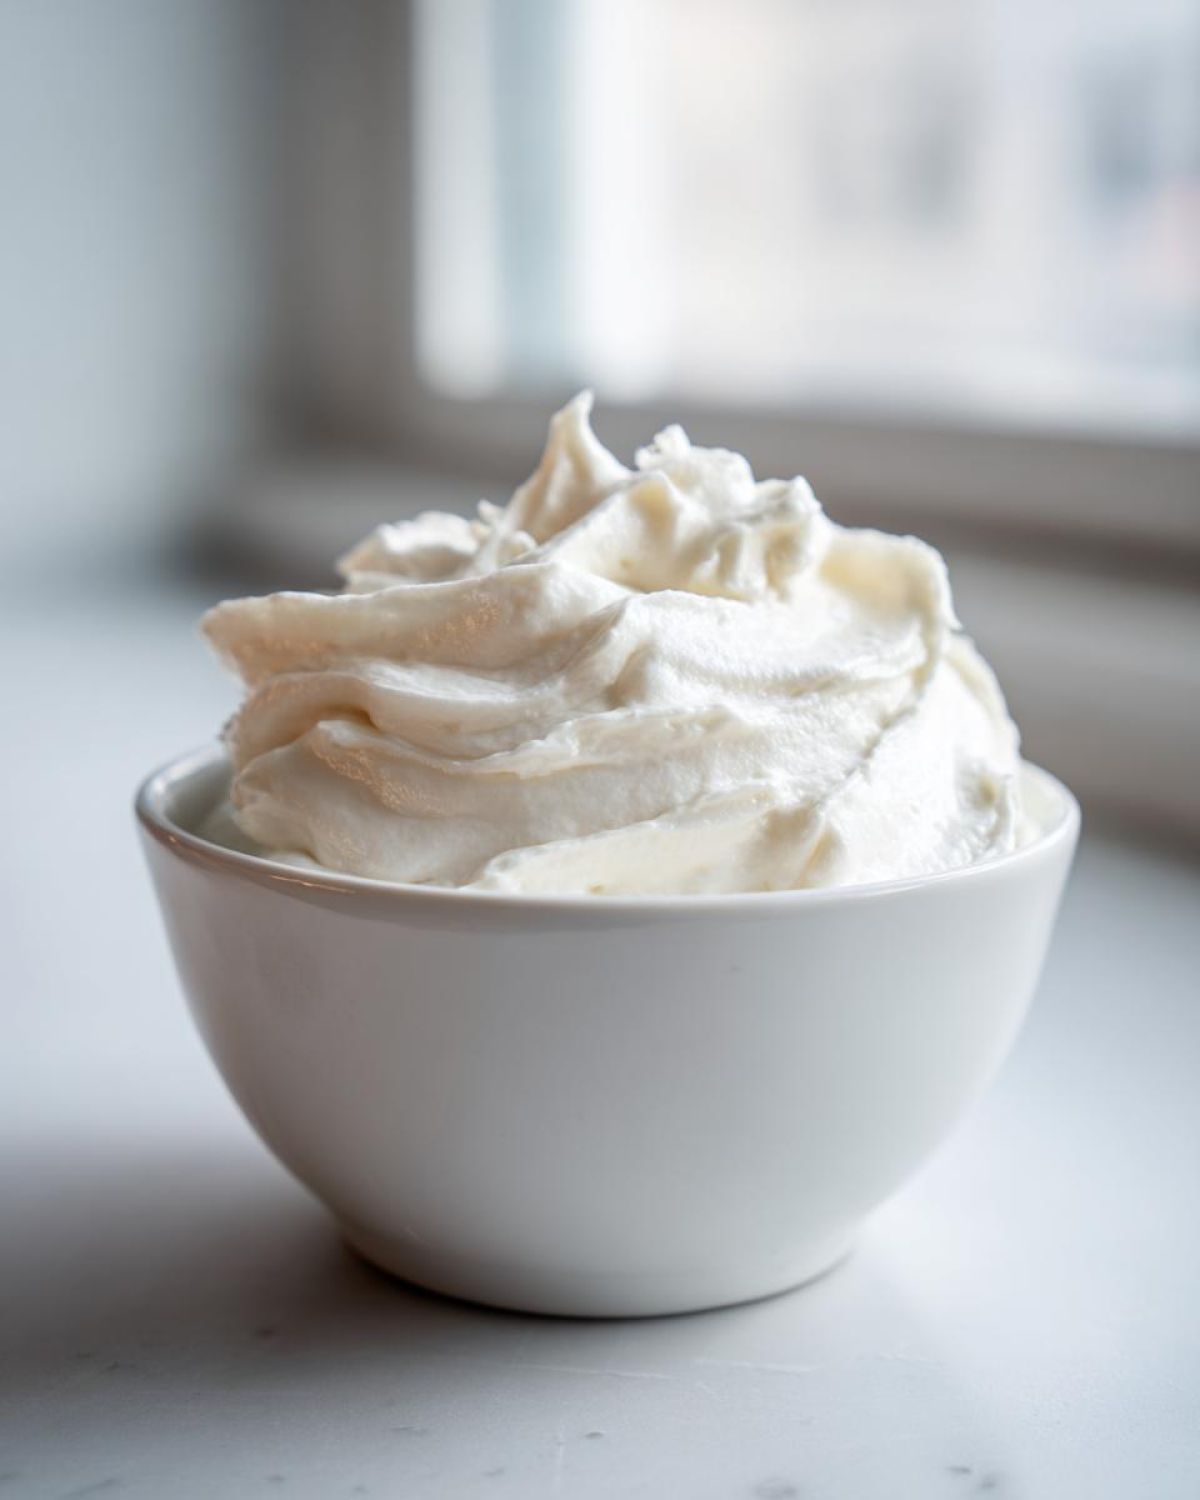
First, always make sure those dry ingredients—the sifted sugar and the meringue powder—are completely blended before anything else goes in. Then, you add your flavorings. Start by adding the water slowly; I always begin with six tablespoons and mix on low. Then, crank that mixer speed up to medium-high for a solid three to five minutes. You’re looking for the texture to change from grainy to luxurious and glossy. If you’re looking for more decorating tips and ideas, I post new ones all the time!
Mastering Piping and Flooding Icing Consistency
This is the moment of truth, the skill that separates the pros from everyone else: consistency control. For this **smooth royal icing tutorial**, you have two main goals: outlining (piping) and filling (flooding).
For piping the edges, use slightly less water so the icing is thick and holds a stiff peak straight up when you lift the mixer beater. For flooding, you add a bit more water until you hit the sweet spot, which I call the 10-second ribbon test. Lift that beater and let the icing stream back into the bowl. If that stream of icing disappears completely back into the main batch in about ten seconds, you nailed the **piping and flooding icing consistency**!
For the flood, you want it thin enough to spread into the outlined area without pushing the outline out, but thick enough that it doesn’t run right off the edge of the cookie. It takes practice, but this recipe makes adjusting adjustments super easy with just a few extra drops of water or a quick stir if it thickens up while you’re coloring batches.
Tips for Success When Making Sugar Cookie Icing
Even with the best recipe, a couple of little kitchen secrets can elevate your results from great to absolutely stunning. I’ve learned a few things the hard way over the years, like battling bowl crusting and dealing with too many air bubbles!
First, when you are coloring, please, please use gel food coloring! Liquid drops are full of water, and adding too much water is how you accidentally turn your beautiful **sugar cookie icing** into a runny mess that won’t hold a line. Gel colors are concentrated, so you only need a tiny dab to get vibrant hues.
My personal annoying habit? I used to mix too fast initially. If you run your mixer on high right away, you incorporate tons of air, and those little bubbles surface while you’re piping. Now, I always start low to combine everything, then ramp up the speed only for that final minute of whipping for gloss. It keeps the surface perfectly smooth!
Also, if you aren’t using the icing right away, just lay plastic wrap directly onto the surface of the icing while it’s sitting on the counter. That stops that annoying, hard crust from forming on top. You’ll thank me later when you don’t have to scrape chunks out of your perfectly mixed batch!
Coloring Your Glossy Cookie Icing Recipe
This beautiful, vibrant icing deserves amazing colors, but coloring royal icing can be tricky if you don’t know the secret handshake! The biggest trap people fall into is adding too much liquid when coloring. Remember how we worked so hard to get that perfect 10-second flood consistency? Well, adding standard liquid food coloring is the quickest way to undo all that work!
You absolutely have to use gel food coloring for this. Those little pots of concentrated color are your friend here. They give you intense, vibrant colors—like a deep sapphire blue or a rich Christmas red—without adding any extra water that could thin out your **vanilla cookie icing** and make it runny.
For a really clean, bright white look—which is great for snowy holiday cookies or simple birthday designs—I mentioned using clear vanilla earlier, but here’s another trick: sometimes your icing is just a touch too ‘eggy’ yellow. You only need the tiniest speck of violet or blue gel coloring. Seriously, grab a toothpick, touch the side of the gel container, and tap that microscopic bit into the bowl. Mix it in completely. That tiny amount of opposing color neutralizes the yellow and gives you snow-white icing! It’s so satisfying when the color pops.
When you’re coloring batches, wrap the bowls you aren’t actively using tightly with plastic wrap, pressing the wrap right onto the surface of the icing. This stops the air from getting to it and prevents that crust from forming, keeping all your colors ready to go until you need them for your next **holiday cookie decorating idea**!
Storage and Reheating Homemade Sugar Cookie Frosting
So, you made a giant batch of this amazing icing, or maybe you just finished decorating your first dozen cookies and you still have half a bowl left! Don’t ever toss leftover icing—it’s too good, and chances are it cost you a little bit of effort!
The great thing about this meringue-based icing is that it’s super stable. You don’t need to refrigerate it at all. Just scoop whatever you aren’t using immediately into a truly airtight container. Make sure you press plastic wrap right down onto the surface of the icing before you put the lid on. This creates a seal that stops air from getting in and hardening the top layer. I’ve stored my extra royal icing like this at room temperature for a good two days, and it’s been perfect!
When you get ready to use it again, don’t panic if it looks a little stiff or separated. That’s totally normal for this kind of coating. Just bring it out and give it a really good stir with a spatula. You want to gently fold it back together until it’s smooth again. If it seems just a touch too thick for the consistency you need—maybe it was out on the counter for a while—just stir in a few drops of water at a time until it flows nicely again. Start small! You don’t want to go from piping consistency back to flood consistency by accident.
This easy revival process is why I find this recipe so reliable for big projects. You can prep the icing the day before you plan to decorate, which saves your sanity when you’re rushing to get everything ready for a party. It’s a huge help when you need that firm, **homemade sugar cookie frosting** ready to go without any last-minute scrambling!
Frequently Asked Questions About Sugar Cookie Icing
I know you’re probably trying to rush to get these cookies decorated, but hold up a second! It’s always good to know the answers to the little curveballs that pop up when working with **sugar cookie icing**. Here are the things folks ask me most often when they are trying to master this art!
How long does it take for this icing to dry completely?
This is the big one, right? Because this is a firmer royal icing made with meringue powder, it takes time to get that hard shell. If you’re just letting them sit on a wire rack at room temperature, you are looking at about six to eight hours for light flooding to feel firm. But for those thicker piped outlines or if you live somewhere humid, I tell everyone to leave them overnight—like a full 12 hours. If the icing isn’t completely dry, it will smudge. Give it the full overnight rest for the absolute best, most durable finish!
Can I use regular milk or cream instead of water in this recipe?
Please, stick to water for this recipe! This is a key difference between this hard-drying royal icing and a simple powdered sugar glaze. Milk or cream contains fat, and fat actively fights the structural proteins in the meringue powder. When fat mixes with the meringue powder, it prevents it from setting up firm and glossy. You might end up with a soft, chewy coating that never really hardens, which defeats the whole purpose of using this specific **icing recipe that dries firm**. Stick to water for the best results.
Why is my icing runny even though I followed the instructions?
Most of the time, if your icing is unexpectedly runny, it means one of two things happened. One: you mis-measured the water, which is super easy to do! Start slow with the water additions; you can always add more, but you can’t easily take it out. Two: if you added liquid coloring, that extra moisture probably pushed it over the edge. If you find your flood icing is too thin and just running right off the cookie, try stirring in a spoonful of leftover sifted powdered sugar to thicken it up just slightly. A little adjustment can save your batch!
Is this the best tasting sugar cookie icing?
For an icing that dries this hard and holds detail, yes, I truly think it is! The vanilla comes through beautifully, and because it’s not overly sweet like some simple glazes, it complements the buttery sugar cookie perfectly. It is a delicious, **best tasting sugar cookie icing** that provides that satisfying snap when you bite into the decorated cookie.
How to Make Sugar Cookie Glaze Instead of Royal Icing
If you are in a massive rush and really don’t need that hard, glossy shell—maybe you’re just doing a very quick drizzle—you can skip the meringue powder entirely and make a simple glaze. For a **quick cookie icing method**, you just mix about two cups of sifted powdered sugar with two to three tablespoons of milk or lemon juice until it’s smooth. That’s it! But here’s the catcher: that simple glaze will stay soft and slightly sticky for hours, and it will never achieve that professional, smooth, glass-like finish that our royal icing does. It’s good for a quick treat, but for decorating cutouts you plan to stack or transport, you need this royal icing recipe.
Serving Suggestions for Decorated Cookies
Now that you have perfected your **sugar cookie icing**, the fun part truly begins: putting it to work! Honestly, the fact that this icing dries firm means you can get creative without fear of smudging. It makes the preparation for any party or holiday so much less stressful.
I use this icing almost exclusively for my shaped holiday cookies, like gingerbread men or Christmas tree cutouts. Since the coating solidifies so well, you can stack those decorated cookies on a big platter—no wax paper necessary between layers! They stack up like little edible decorative tiles. They look professional, and they won’t transfer color onto each other.
It’s also fantastic for detailed birthday cookies. If you want to write beautiful script or pipe tiny flowers, this consistency holds those details perfectly. The gloss just makes the colors look richer when the lights hit them. For transport, I love that I don’t have to coddle my cookie boxes anymore. You can pack them snugly because the icing is essentially cured and protected. If you need some ideas on what to serve alongside these amazing cookies, check out my favorite snack pairings!
Go wild with color, practice your piping skills, and enjoy knowing that once you let these babies sit for a few hours, they are set for whatever celebration you have planned!
Estimated Nutritional Information for Vanilla Cookie Icing
I know some of you wonderful bakers are tracking macros or just curious about what’s in your amazing creation! Now, remember, this is just our **simple cookie icing recipe** we are talking about, so there aren’t any weird stabilizers or fats in here—it’s mostly powdered sugar, which is why the carbs look a little high (surprise, surprise!).
I ran the numbers based on the standard recipe we just made. Since this yields quite a bit of icing—enough to coat maybe three dozen cookies—these numbers are based on a quarter-cup serving size. Keep in mind these are estimates, and if you use a ton of coloring or different extracts, things change just a bit!
Here’s the breakdown:
- **Serving Size:** 1/4 cup
- **Calories:** 450
- **Sugar:** 110g (Yes, it’s icing, honey!)
- **Protein:** 2g
- **Fat:** 0g
- **Sodium:** 5mg
- **Carbohydrates:** 112g
Pretty straightforward, right? It’s pure deliciousness focused on giving you that perfect **vanilla cookie icing** finish for your cutouts! Because this icing is made basically of sugar and meringue powder, it stays very low in sodium and has virtually no fat or cholesterol. That’s good news for us, I suppose!
Just a friendly reminder, like I always say about sharing these kinds of stats: these are solid estimates based on the core ingredients. For the official nitty-gritty details, you can always check out my full nutritional disclaimer page, but for everyday baking purposes, these numbers should give you a great idea of what you’re working with!
PrintEasy Sugar Cookie Icing That Dries Hard and Glossy
A simple recipe for smooth, glossy sugar cookie icing that dries firm, perfect for detailed piping and flooding on cutout cookies.
- Prep Time: 10 min
- Cook Time: 0 min
- Total Time: 10 min
- Yield: Coats approximately 3 dozen standard cookies
- Category: Baking
- Method: No-Bake Icing
- Cuisine: American
- Diet: Vegetarian
Ingredients
- 4 cups powdered sugar, sifted
- 1/2 cup meringue powder
- 1 teaspoon vanilla extract
- 1/2 teaspoon clear vanilla extract (optional, for whiter icing)
- 6 to 8 tablespoons warm water
Instructions
- In a large bowl, whisk together the sifted powdered sugar and meringue powder until fully combined.
- Add the vanilla extracts to the dry mixture.
- Gradually add the warm water, starting with 6 tablespoons, mixing on low speed with an electric mixer until just combined.
- Increase the speed to medium-high and beat for 3 to 5 minutes until the icing is smooth and glossy.
- Check the consistency. If the icing is too thick for flooding, add the remaining water, one teaspoon at a time, until the desired flow is reached.
- To test for flooding consistency, lift the mixer beater; the icing should fall back into the bowl in a continuous ribbon that disappears after about 10 seconds.
- Divide the icing if you plan to color it. Add gel food coloring sparingly and mix until uniform.
- Use immediately for outlining or flooding cookies. Let the first layer dry completely before adding detail layers.
- Allow decorated cookies to air dry for several hours or overnight until the icing is completely hard to the touch.
Notes
- For piping consistency (outlining), use slightly less water, aiming for a thick mixture that holds its shape when piped.
- For flooding consistency, use more water until the icing flows smoothly across the cookie surface.
- If the icing becomes too thick while working, stir in a few drops of water.
- Store unused icing in an airtight container at room temperature for up to two days, stirring well before reuse.
Nutrition
- Serving Size: 1/4 cup
- Calories: 450
- Sugar: 110
- Sodium: 5
- Fat: 0
- Saturated Fat: 0
- Unsaturated Fat: 0
- Trans Fat: 0
- Carbohydrates: 112
- Fiber: 0
- Protein: 2
- Cholesterol: 0