

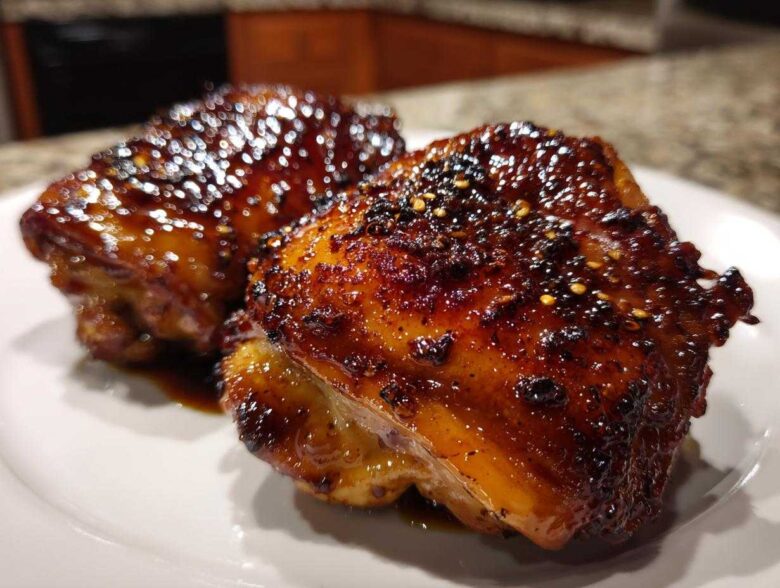
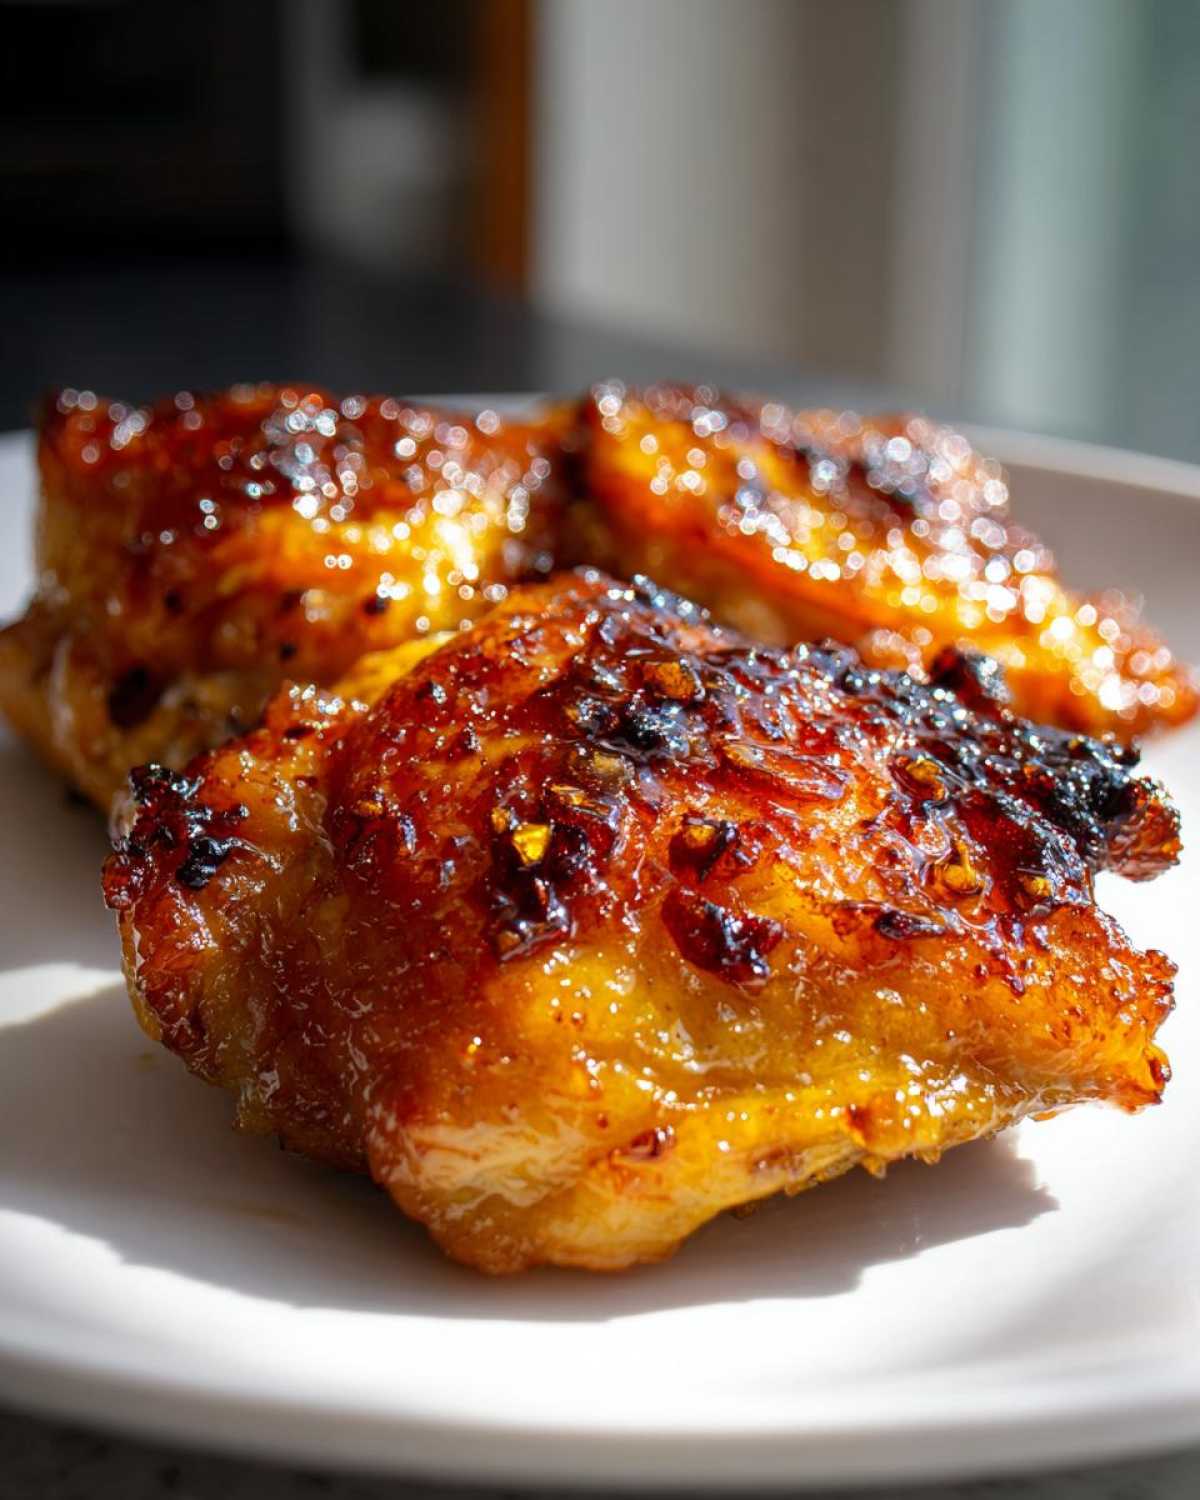
Some nights, you just stare into the fridge, right? You need dinner on the table fast, but you’re so tired of boring baked chicken. Trust me, I’ve been there! That’s why I perfected this method for Sticky Honey Soy Chicken Thighs with Garlic. This isn’t just a recipe; it’s my go-to weeknight miracle! We’re talking about shatteringly crisp skin giving way to tender meat, all drenched in a glossy, perfectly balanced sweet and savory glaze. After ruining a few batches by burning that beautiful honey, I finally locked down the perfect pan-searing and glazing sequence. You can read more about our commitment to real, tested recipes over at our About Us page. It’s seriously spectacular.
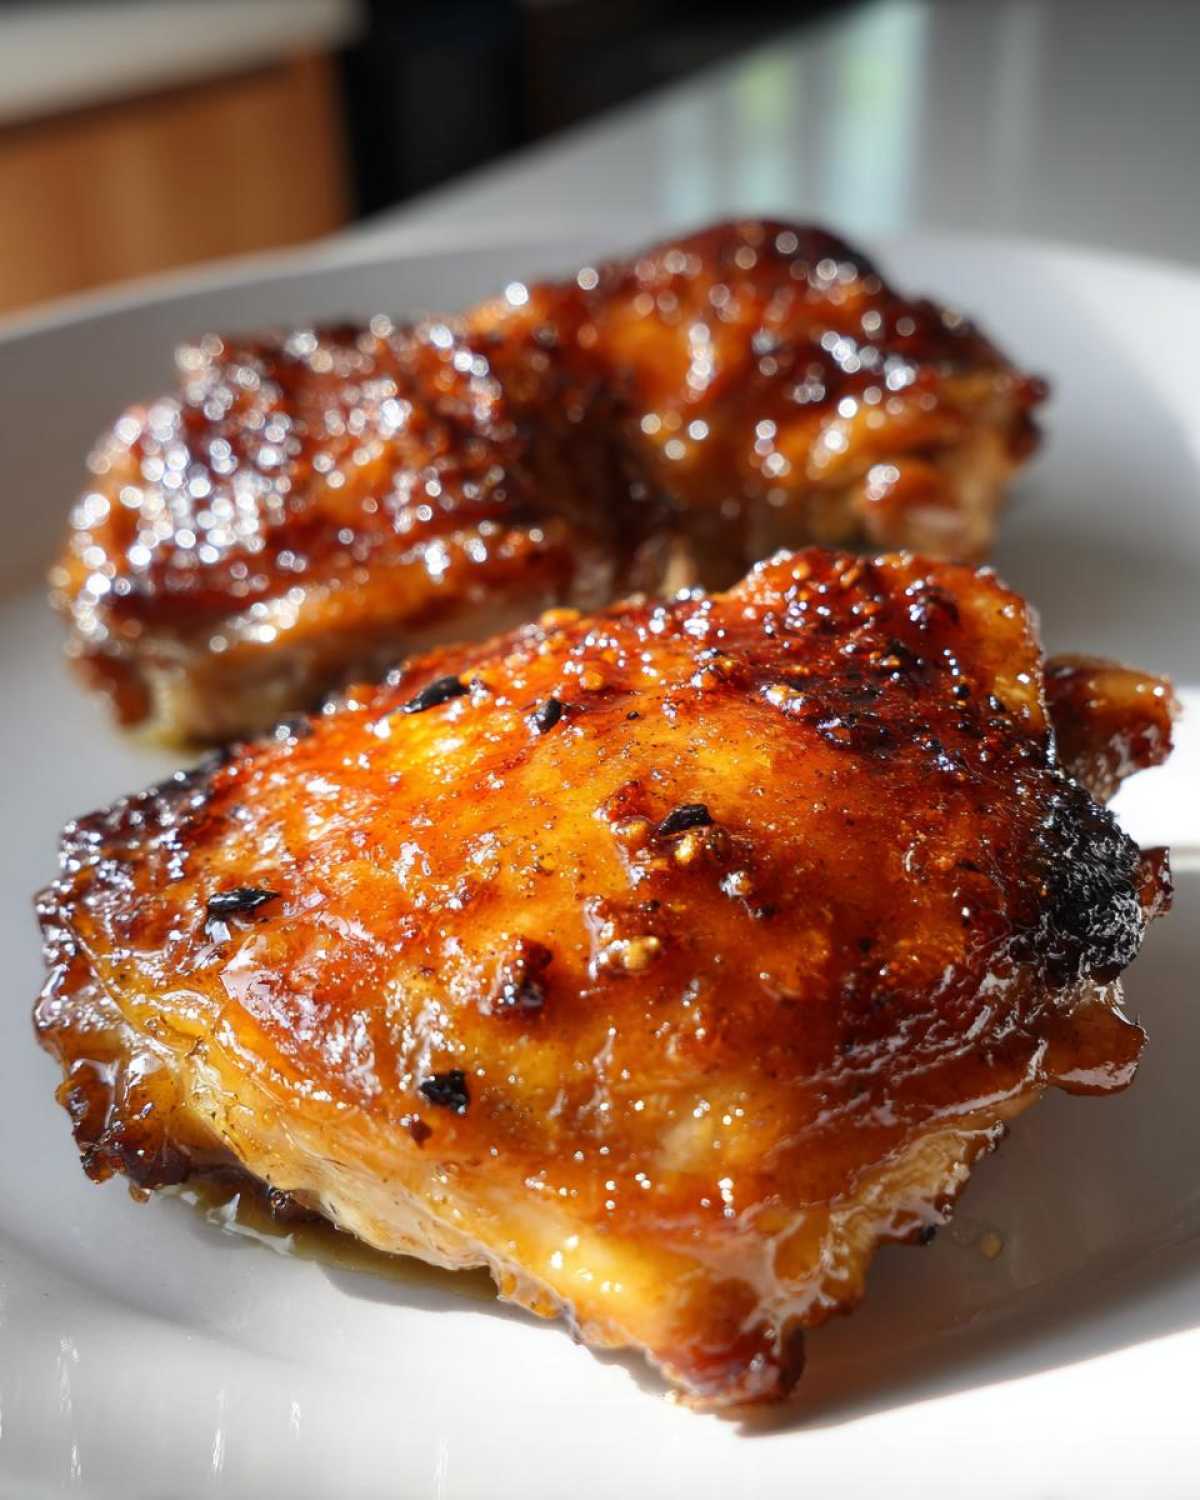
Why This Sticky Honey Soy Chicken Thighs with Garlic Recipe Works for Dinner
Listen, when you’re scrambling at 5:30 PM, you need food that performs! This Sticky Honey Soy Chicken Thighs with Garlic recipe isn’t fussy, and it delivers big flavor without needing hours of marinating time. I promise you, this is the gold standard for an Easy Chicken Thighs Dinner. If you need more inspiration for the evening meal, check out all our dinner ideas!
- Speed Demon: With only about 10 minutes of active prep, this whole stunning meal hits the table in under 35 minutes. It’s the perfect Weeknight Chicken Recipe when you’re exhausted.
- Flavor Bomb Thighs: We use bone-in, skin-on thighs because they cook up richer and handle the heat needed to crisp that skin perfectly. That crispy skin plus the sweet glaze? Unbeatable texture!
- The Glaze is the Star: That signature sticky texture comes from controlling the heat when we introduce the honey and soy mixture. It reduces perfectly right in the pan without burning—I worked hard so *you* don’t have to worry about that step!
- Minimal Cleanup: Since we sear and glaze everything right in one oven-safe skillet, cleanup is genuinely quick. Less scrubbing means more time relaxing after dinner.
Gather Your Ingredients for Sticky Honey Soy Chicken Thighs with Garlic
You don’t need a giant shopping list for this showstopper! The beauty of this Sticky Honey Soy Chicken Thighs with Garlic recipe is using simple pantry staples to create something truly restaurant-worthy. I insist on bone-in, skin-on chicken thighs here. Seriously, don’t swap them for boneless if you want that incredible crispness and flavor boost!
Here’s what you’ll need to pull this amazing Recipe for Sticky Chicken together quickly:
- 4 bone-in, skin-on chicken thighs (about 1.5 lbs)
- 1 tablespoon vegetable oil
- Salt and black pepper to taste
- 4 cloves garlic, minced
- 1/4 cup soy sauce (low sodium preferred)
- 1/4 cup honey
- 2 tablespoons rice vinegar
- 1 teaspoon grated fresh ginger
- 1 teaspoon cornstarch mixed with 1 tablespoon cold water (this is our secret thickening weapon!)
Essential Components for the Honey Soy Garlic Glaze
The real magic happens when these few ingredients meet the hot pan. That fresh garlic is non-negotiable—it gives us that perfect punch! Make sure you have your soy sauce, that gorgeous liquid gold—the honey—and the rice vinegar ready to go before the chicken starts searing. That way, nothing waits!
Equipment Needed for Perfect Pan Seared Chicken Thighs
You don’t need any fancy gadgets for this Pan Seared Chicken Thighs recipe, which I absolutely love! A good, heavy skillet is the real star here. Because we go from high heat searing right into a simmering glaze, you need something that can handle temperature changes without warping. That’s why my main tip is to grab an oven-safe skillet.
Here’s the short list of things I always pull out for this Simple Chicken Thigh Meal:
- A large, oven-safe skillet (cast iron is my absolute favorite for getting that perfect skin crunch).
- Tongs, for safely flipping those hot chicken thighs.
- Parchment paper or paper towels—you need these to pat the skin dry! Seriously, don’t skip that part.
- A small bowl and whisk for mixing up the glaze ingredients.
That’s it! We do everything in that one pan, which keeps clean-up super easy. It’s all about efficiency when you’re trying to get a delicious Sweet and Savory Chicken on the table during a busy week.
Step-by-Step Instructions for Sticky Honey Soy Chicken Thighs with Garlic
Okay, this is where the magic happens! We’re moving fast here, but the key is managing your heat. The biggest mistake people make with this Honey Garlic Glazed Chicken is trying to cook everything at once. We do this in stages: sear first to make the skin amazing, then glaze it up when the chicken is almost done. If you want the absolute best results on your sear, check out my deep dive on perfecting pan-seared chicken thighs.
Preparing and Searing the Chicken for Crispy Skin
First things first: you have to torture the moisture out of that beautiful chicken skin! Take your paper towels and blot those thighs until they feel practically dry to the touch. Don’t be shy! Then, season them really well with salt and pepper on both sides. Get your oil hot in that oven-safe skillet over medium-high heat. When the oil shimmers, lay the thighs in, skin-side down. This step takes patience—let them sear undisturbed for a good 6 to 8 minutes until you get that deep, mahogany brown color. Then, flip and cook for just about 5 more minutes on the other side before dropping the heat to medium-low.
Creating the Best Honey Soy Sauce Glaze for Sticky Honey Soy Chicken Thighs with Garlic
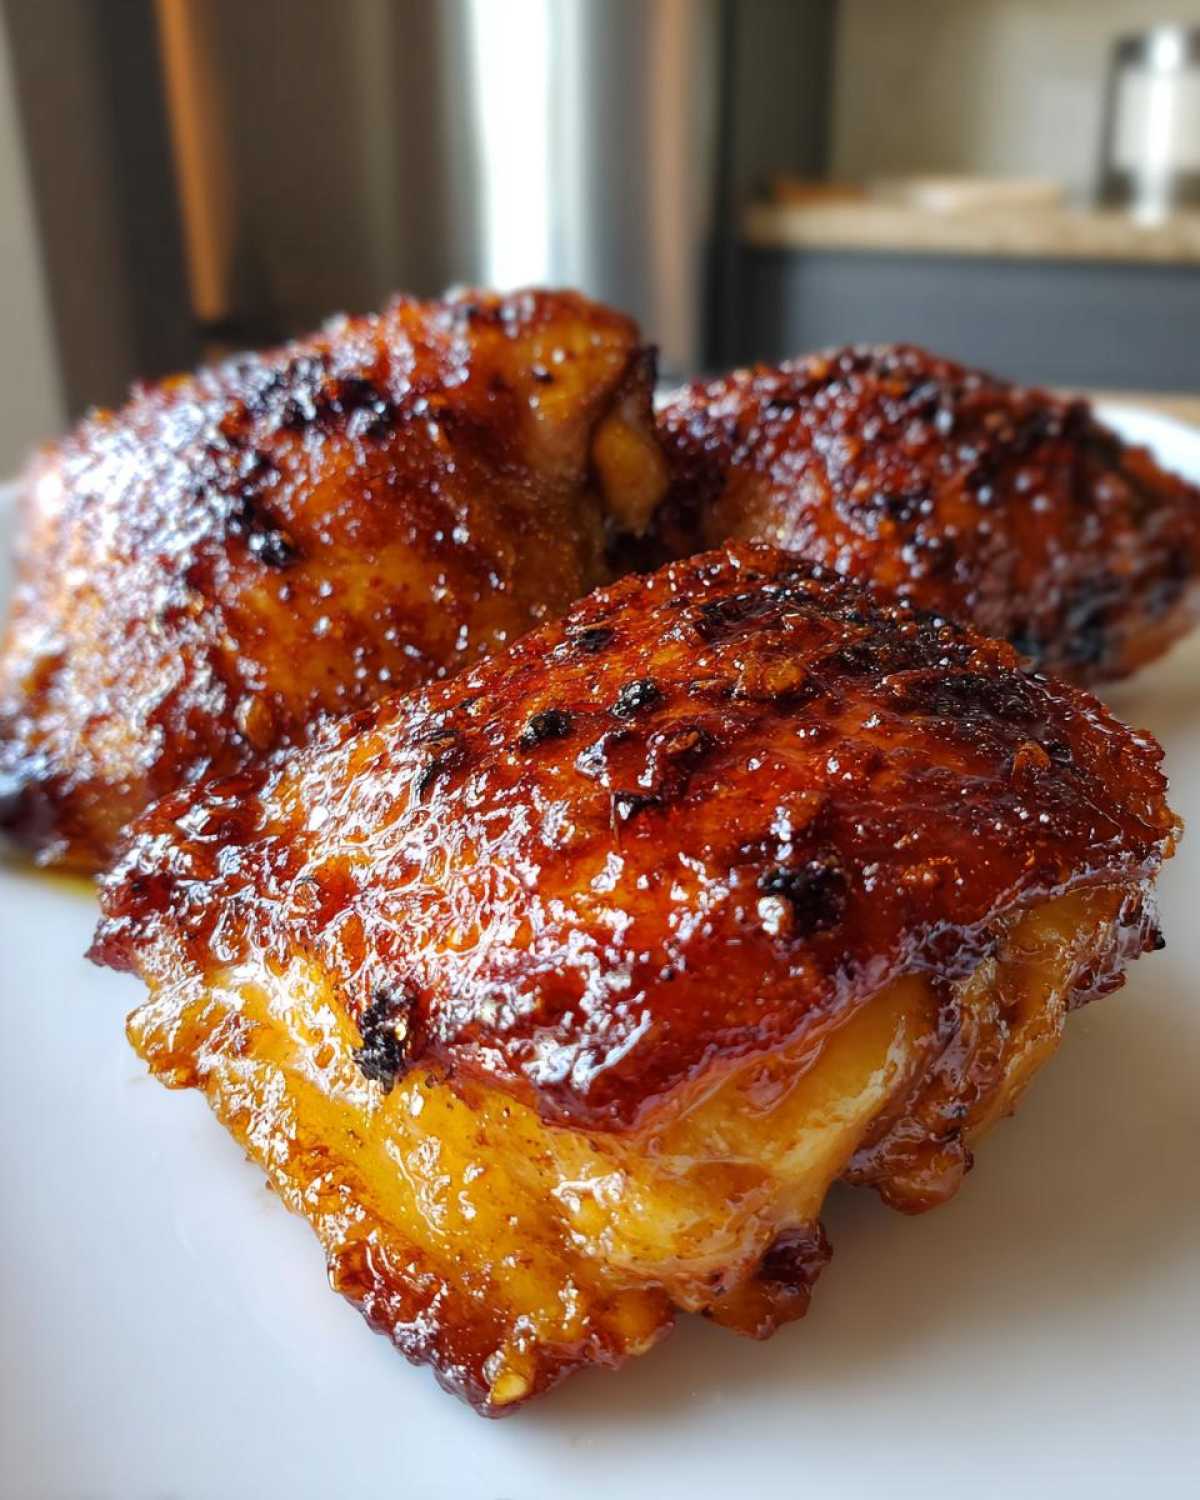
While the second side is cooking, you quickly whip up the sauce in a tiny bowl. Don’t add this to the pan yet! Whisk together your minced garlic (gotta have that strong garlic presence!), soy sauce, honey, rice vinegar, and fresh ginger. This combination is what makes the Best Honey Soy Sauce Glaze you’ll ever taste—it’s savory, sweet, and tangy. Once the chicken is mostly cooked through, carefully pour this mixture right over the thighs in the skillet.
Thickening the Sauce to Achieve Maximum Stickiness
Now, turn the heat up slightly to a gentle simmer. Use a spoon to bathe the chicken in that sauce for about 3 to 5 minutes. Here’s the pro move: Whisk your cornstarch and cold water together—that’s your slurry. Pour it in slowly while stirring the sauce constantly. Watch it transform! It will go from watery to thick and glossy lava in about 60 seconds. Stop stirring and remove the pan from the heat *immediately* once it’s sticky. If you keep cooking it down, that honey will scorch, and trust me, burnt honey tastes bitter! Let it rest for two minutes so that lovely glaze sets around the chicken beautifully.
Tips for Success with Your Sticky Honey Soy Chicken Thighs with Garlic
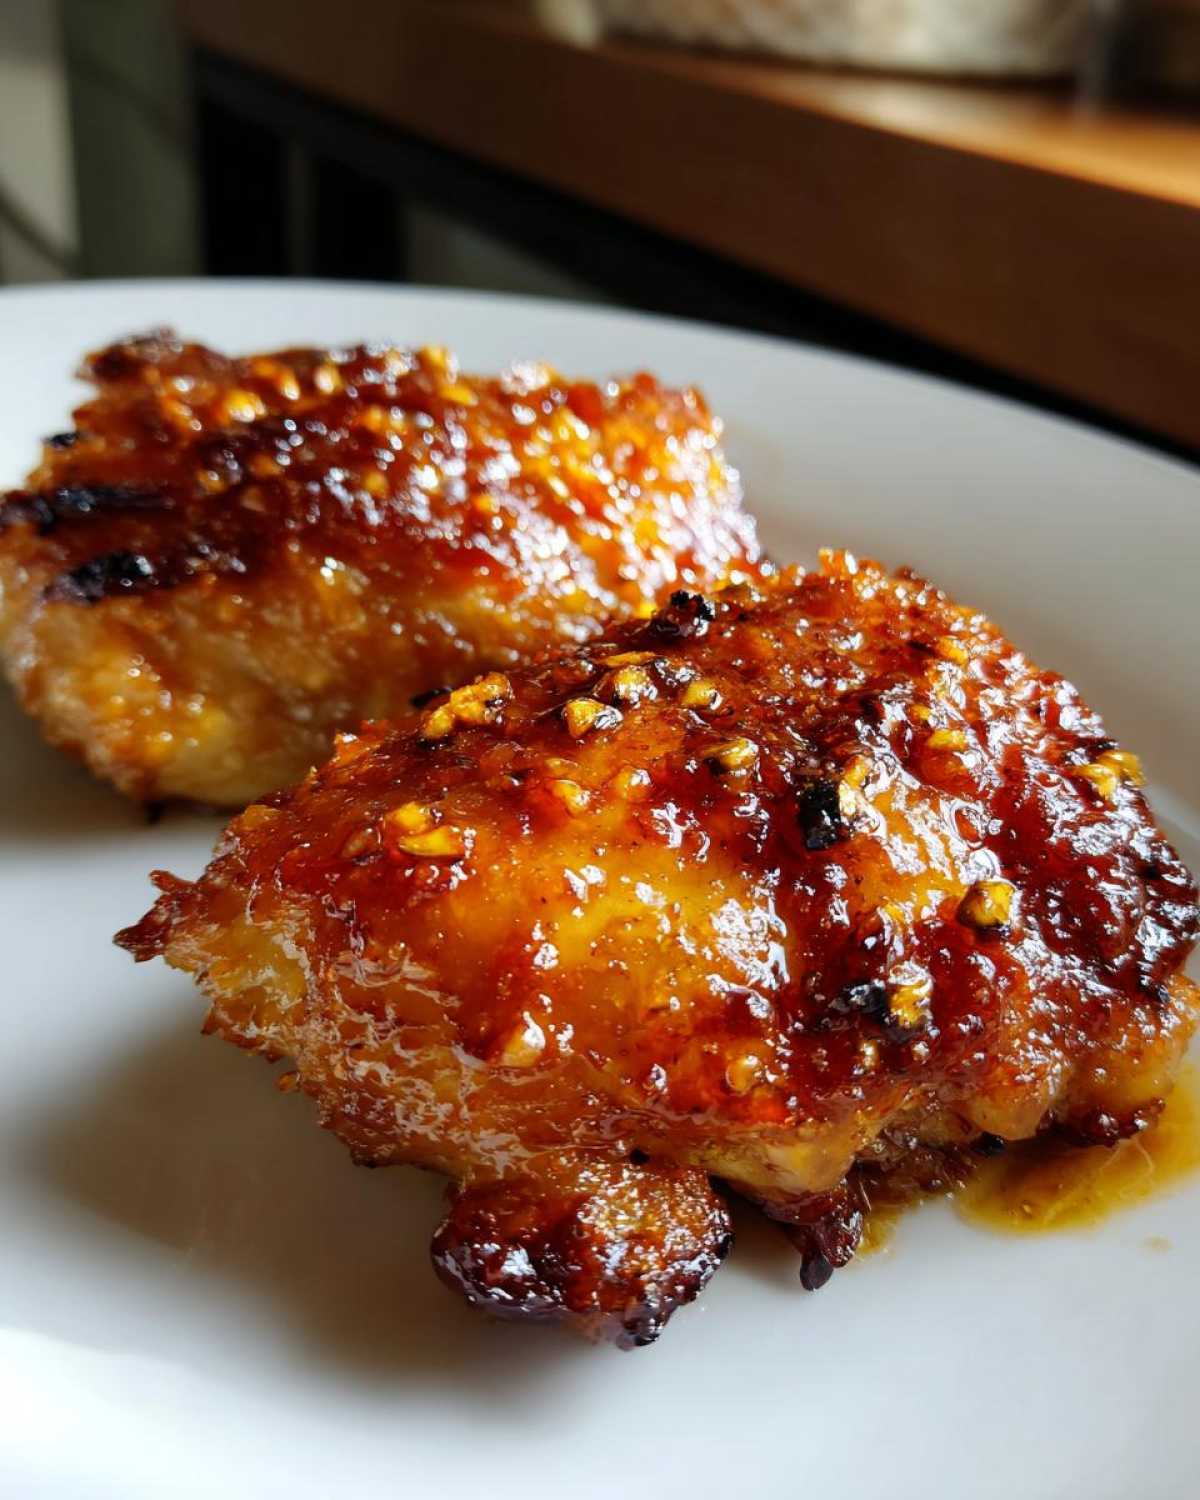
I’ve made this Sticky Honey Soy Chicken Thighs with Garlic recipe so many ways, and I feel like I’ve finally cracked the code on getting that perfect, non-burnt, glossy coating every single time. If you follow these little tips, you’ll have the Best Honey Soy Sauce Glaze setting up beautifully on your chicken, guaranteed.
Here are my non-negotiable rules for this whole process:
- The Dry Skin Mandate: I cannot stress this enough—you MUST pat your chicken skin bone-dry before it ever hits the hot oil. Moisture is the enemy of crispiness! If the skin is damp, you end up steaming the chicken and you get flabby skin, not that deeply browned, crackly exterior we are hunting for.
- Garlic Timing is Everything: Since we use raw minced garlic in our glaze, we only hit the pan with the sauce *after* the chicken has already seared and is almost cooked through. If you add raw garlic while searing the skin in high heat, it burns to charcoal long before the thighs are done. It’s a waste of flavor!
- Bone-In, Skin-On is Your Friend: If you use boneless, skinless thighs, you absolutely cannot sear them the same way, and they dry out way faster when you are reducing the sauce. The bone insulates the meat so it stays juicy while the outside gets that gorgeous glaze. For a great marinade idea if you swap cuts, check out this marinade guide.
- The Slurry Stir Rule: When you add that cornstarch slurry to thicken the sauce, stir gently but constantly. The thickest part tends to settle right at the bottom of the pan against the hot surface. Keep it moving so everything thickens evenly and you avoid that ugly, burnt sugary patch right under the chicken.
- Resting in the Pan: Don’t immediately plate the chicken the second you turn off the heat. Let those thighs sit right in the setting glaze for two or three minutes. This allows the cooling sauce to adhere totally, giving you that thick, gorgeous, sticky look rather than just a thin coating.
Serving Suggestions for Your Honey Soy Chicken Dinner
Okay, you’ve made the most delicious, glossy Honey Soy Chicken Dinner imaginable. Congrats! But what are we going to do with this incredible sticky chicken? You simply cannot let that amazing sauce go to waste, right? This glaze is practically begging to coat something simple underneath it!
My absolute favorite way to serve this is over a big fluffy bed of steamed white rice. The rice acts like a sponge and soaks up every last bit of that garlicky honey soy goodness. If you’re feeling fancy (or just want to use up some leftovers!), try making my French Onion Butter Rice instead—it adds a whole other layer of savory yumminess!
To keep things balanced and just a little bit healthy, you have to add some green. Steamed broccoli is always a winner because it’s hardy enough to stand up to the sticky sauce without getting soggy. I also love tossing some quick-blanched green beans or bok choy directly into the simmering sauce right before I add the final cornstarch slurry. They pick up flavor and color wonderfully!
Pro tip: Garnish everything liberally! A sprinkle of toasted sesame seeds adds a lovely little crunch, and some freshly sliced green onions give it that sharp, fresh bite that cuts through the sweetness of the honey. Now you have a complete, stunning Honey Soy Chicken Dinner that took less than 35 minutes to put together. Easy peasy!
Storage and Reheating Instructions for Leftover Sticky Honey Soy Chicken Thighs with Garlic
Honestly, I rarely have leftovers because my family attacks this dish the second it comes off the stove! But when I’m smart enough to make a double batch, storing this Sticky Honey Soy Chicken Thighs with Garlic is super easy. The key here is managing that beautiful glaze because honey and soy tend to solidify when cold, making things look, well, less sticky.
First, you need to let the chicken cool down a bit after it comes out of the pan. Don’t put piping hot food straight into the fridge, you know how that goes! Once it’s cooled to room temperature—which won’t take long since they are only thighs—transfer the chicken and any remaining sauce into an airtight container. I always try to scoop up every last bit of that thick sauce clinging to the pan bottom!
These leftovers will happily hang out in the fridge for about three to four days. Anything longer than that, and I start getting nervous, so try to eat them up!
The Best Way to Reheat for Maximum Stickiness
This is crucial if you want to keep that Garlic Glazed Chicken looking glossy and not dry. You absolutely cannot nuke this in the microwave if you want the skin integrity back. Microwaving heats unevenly and turns that crisp skin rubbery in a flash. No thank you!
For the best result, take the container out of the fridge about 20 minutes before you plan to eat. Then, use the stovetop! Put a medium-sized skillet over medium-low heat. If there’s a lot of sauce collected at the bottom of your storage container, pour that in first. Let it warm up until it’s just starting to bubble thinly.
Then, place the chicken thighs right into that warming glaze. Let them just heat through slowly for about 4 to 5 minutes, flipping them once or twice to coat them again. Keep the heat low! This gentle warming re-liquefies the honey and soy, bringing back that wonderful sticky texture without burning the garlic this time around. If it starts looking too thick, add just a teaspoon of water or chicken broth to loosen it up!
If you are in a mad rush (I get it!), you can reheat them in the oven at 300°F (150°C) on a foil-lined baking sheet, but you’ll need to brush a tiny bit of extra honey or soy sauce over them before baking for moisture retention.
Frequently Asked Questions About Sticky Chicken Thighs Recipe
I know you probably have questions running through your head while you’re chopping that garlic! This Recipe for Sticky Chicken is pretty straightforward, but chicken thighs can sometimes be tricky if you aren’t used to dealing with them. Here are the few things I get asked most often when people try this for the first time. If you’re curious about trying a different appliance, I have a great guide on air fryer chicken that might give you some ideas!
Can I use boneless, skinless chicken thighs or chicken breasts instead?
You absolutely *can*, but you need to change your whole strategy! If you use boneless, skinless thighs or breasts, you can’t afford that long sear time we use to crisp the skin—they’ll dry out right away. I recommend trimming them to a uniform size, searing them aggressively on both sides for just 3 to 4 minutes total, and then reducing the heat immediately when you add the glaze. For breasts, skip the initial long sear; just cook them until they hit about 155°F internally, then glaze quickly. They won’t have that amazing crisp skin texture, though, which is honestly such a shame!
How do I prevent that amazing honey soy glaze from burning?
This is the million-dollar question for any Sweet and Savory Chicken recipe involving honey! The trick, which I hammered home in the instructions, is timing the heat. Honey (being pure sugar) caramelizes and burns very fast, especially when it hits the hot pan surface. You cannot add the glaze while the heat is still cranked up from searing your chicken skin. You must reduce the heat to medium-low *before* pouring the sauce in. And critically, wait until the very last minute to add that cornstarch slurry—it thickens instantly, meaning you only need like 60 seconds on the heat before you pull the pan!
Can I bake this Sticky Honey Soy Chicken Thighs with Garlic recipe instead of pan-searing?
Sure, baking is a great hands-off option, especially if you’re busy prepping sides! When baking, you sacrifice some of that perfect, deep crust you get from direct contact with a hot skillet. For baking, season those thighs well and place them skin-side up on a wire rack set over a baking sheet (this lets air circulate for crisping). Bake at 400°F (200°C) until they are almost done—maybe around 20 minutes. Then, pull them out, pour that marvelous glaze over them, and return them to the oven for the last 5-7 minutes until the glaze is bubbly and thick. Just watch closely toward the end!
Can I make the glaze ahead of time?
Yes, absolutely! If you want this to be a true 15-minute meal, you can definitely mix up all your glaze ingredients—the soy, honey, vinegar, ginger, and garlic—the day before. Keep it covered in the fridge. Just know that the honey might firm up a bit. When you’re ready to use it, let it sit on the counter for 15 minutes or give it a quick 10-second zap in the microwave to loosen it up before pouring it over your partially cooked chicken. It’s a great time-saver for a fast Honey Soy Chicken Dinner!
Estimated Nutrition for Sticky Honey Soy Chicken Thighs with Garlic
Okay, now that your belly is rumbling from thinking about all that sticky, savory flavor, let’s talk numbers for the Sticky Honey Soy Chicken Thighs with Garlic. I pulled these estimates from my testing data, but remember, every chicken thigh is unique, right? The brand of your soy sauce, whether you used skin-on or cut off some fat—it all makes a difference!
These figures are based on using bone-in, skin-on thighs and serving one thigh per person, covered in the final glaze. I always advise people to use these numbers as a ballpark guideline, not gospel, especially since we aren’t using any weird fillers in this Recipe for Sticky Chicken!
- Serving Size: 1 thigh
- Calories: Approx. 380
- Protein: A solid 30 grams! That’s satisfying.
- Total Fat: Around 18 grams (remember, skin-on fat content is higher, but it’s where the flavor is!).
- Carbohydrates: About 25 grams, mostly coming from that fantastic honey in the glaze.
- Sugar: Roughly 18 grams of pure deliciousness.
- Sodium: About 750 mg. This is why I stressed using low-sodium soy sauce if you can!
A quick word of caution: Because we use a heavy-duty sauce made from honey and soy, the sugar and sodium content is higher than a basic grilled chicken breast. That’s what makes it taste so great, though! If you need to keep carbs low, you can definitely serve this chicken over cauliflower rice instead of regular rice. That’s a great swap!
PrintUltimate Sticky Honey Soy Garlic Chicken Thighs (Glazed & Pan-Seared)

Make tender chicken thighs coated in a thick, glossy glaze using honey, soy sauce, and fresh garlic. This recipe is quick enough for a weeknight dinner.
- Prep Time: 10 min
- Cook Time: 25 min
- Total Time: 35 min
- Yield: 4 servings
- Category: Dinner
- Method: Pan-Searing
- Cuisine: Asian-Inspired
- Diet: Low Fat
Ingredients
- 4 bone-in, skin-on chicken thighs (about 1.5 lbs)
- 1 tablespoon vegetable oil
- Salt and black pepper to taste
- 4 cloves garlic, minced
- 1/4 cup soy sauce (low sodium preferred)
- 1/4 cup honey
- 2 tablespoons rice vinegar
- 1 teaspoon grated fresh ginger
- 1 teaspoon cornstarch mixed with 1 tablespoon cold water (slurry)
Instructions
- Pat the chicken thighs dry thoroughly with paper towels. Season both sides generously with salt and pepper.
- Heat the vegetable oil in a large, oven-safe skillet over medium-high heat. Place the chicken thighs skin-side down in the hot skillet.
- Sear the chicken for 6 to 8 minutes until the skin is deeply golden brown and crisp.
- Flip the chicken thighs and cook for another 5 minutes on the second side. Reduce heat to medium-low.
- While the chicken finishes cooking, prepare the glaze: In a small bowl, whisk together the minced garlic, soy sauce, honey, rice vinegar, and ginger.
- Pour the glaze mixture over the chicken in the skillet. Bring the sauce to a simmer.
- Cook for 3 to 5 minutes, spooning the sauce over the chicken occasionally.
- Stir the cornstarch slurry and pour it into the simmering sauce. Stir constantly until the sauce thickens significantly and becomes sticky, about 1 minute. Do not let the sauce burn.
- Remove the skillet from the heat. Let the chicken rest in the sauce for 2 minutes before serving to allow the glaze to set.
Notes
- Serve immediately over steamed white or brown rice to soak up the extra sauce.
- Add a side of steamed broccoli or green beans for a complete meal.
- For extra shine, brush a little extra honey over the cooked chicken before serving.
Nutrition
- Serving Size: 1 thigh
- Calories: 380
- Sugar: 18
- Sodium: 750
- Fat: 18
- Saturated Fat: 5
- Unsaturated Fat: 13
- Trans Fat: 0
- Carbohydrates: 25
- Fiber: 0
- Protein: 30
- Cholesterol: 110