

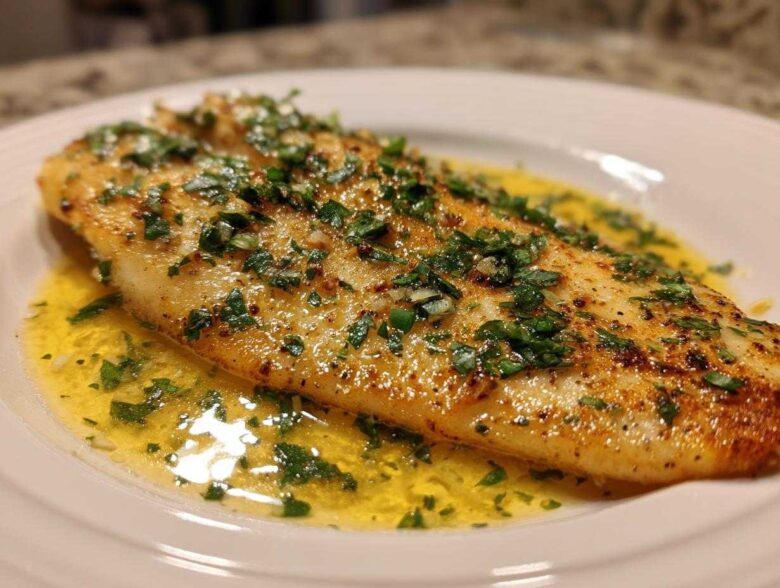
I love a sophisticated dinner that only takes about 20 minutes, and honestly, seafood is the ultimate secret weapon for those busy weeknights! Tilapia often gets a bad rap, but I’m telling you, when you treat it right, it transforms. I used to be terrified of cooking fish—it always ended up dry or sticking to the pan. Totally ruined the mood!
But not anymore! This recipe for Garlic Butter Tilapia with Lemon Sauce is my go-to when I need something impressive without stressing out. We’re going to pan-sear it quickly to get that gorgeous golden crust, and then we splash in the most vibrant, zesty lemon butter sauce you can imagine right in the same skillet. It reminds me a little bit of the rich flavor you get in my Cowboy Butter dipping sauce, honestly! You’ve got this!
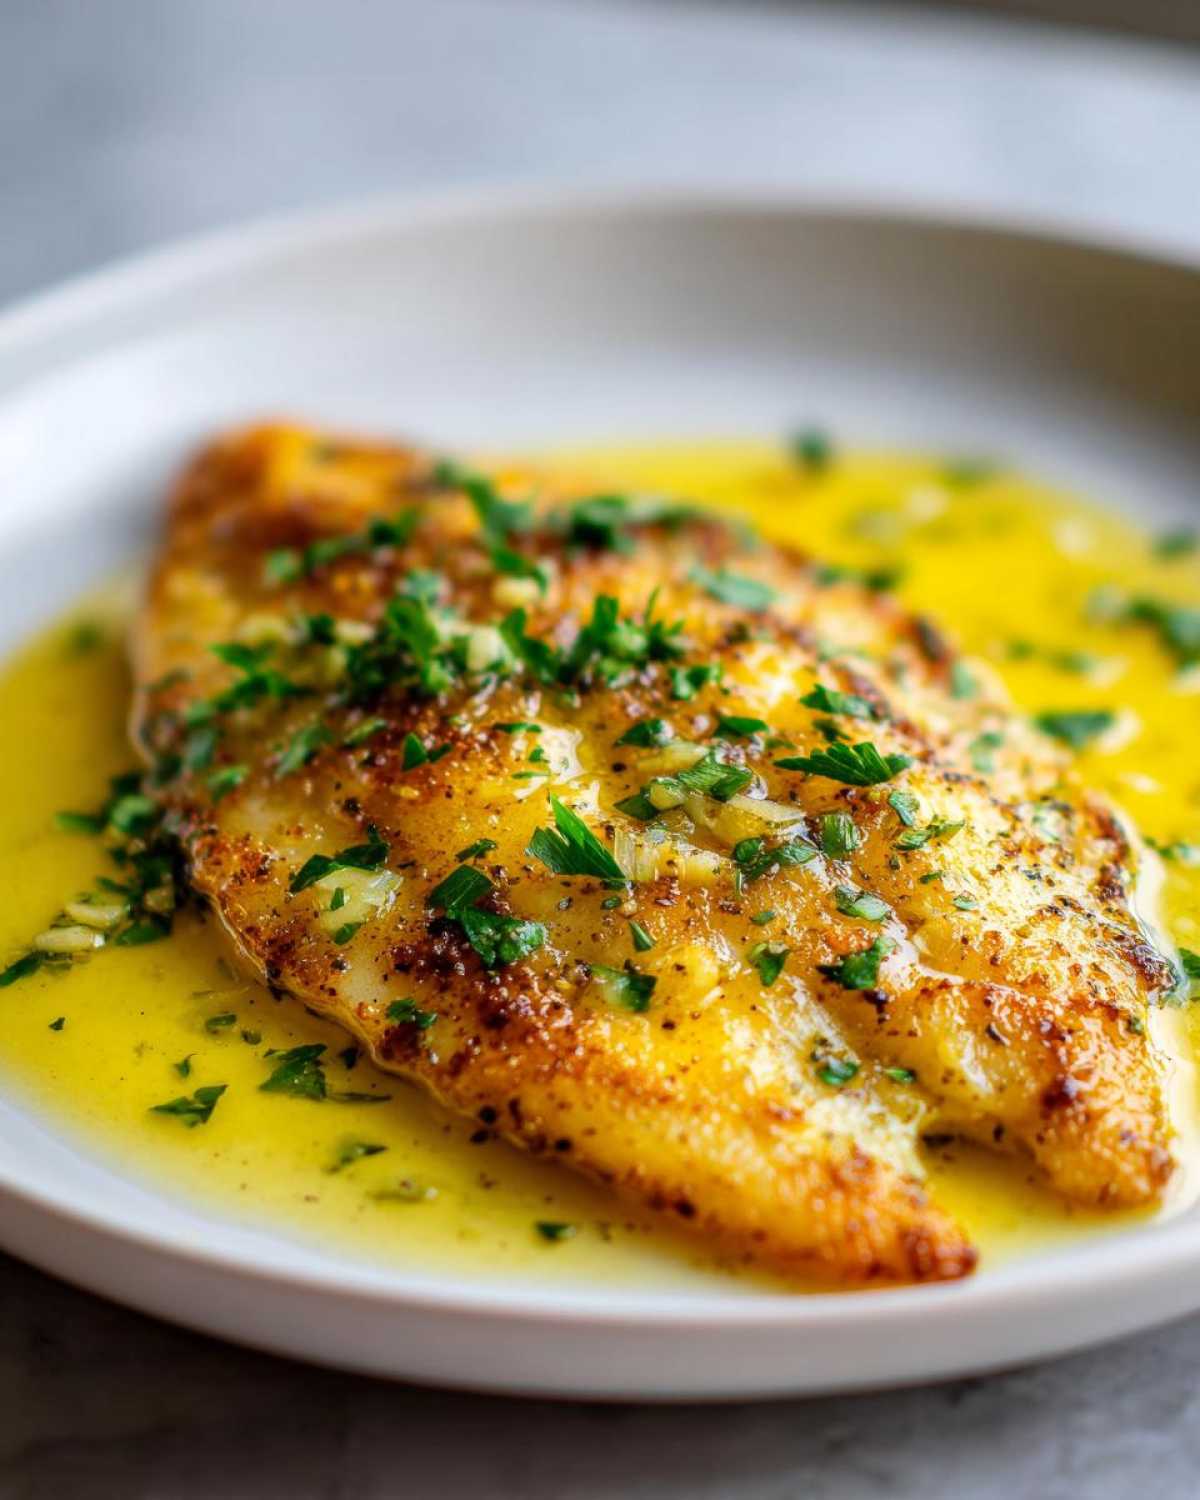
Why This Garlic Butter Tilapia with Lemon Sauce is Your New Weeknight Favorite
Listen, you need this recipe in your rotation. It’s all about maximum flavor with zero fuss. After you try this **easy tilapia recipe**, you won’t look back!
- It’s lightning fast! Seriously, we are talking about a complete **15 minute fish dinner** from start to finish.
- The flavor payoff is huge: rich garlic butter mixed with that bright, punchy lemon. It’s the **best garlic butter fish** around!
- Cleanup is basically nonexistent since we make the sauce right in the same pan you cooked the fish in. Hello, **healthy weeknight tilapia** satisfaction!
If you are looking for an amazing companion, check out my post on making a fantastic quick lemon fish dinner side dish!
Ingredients for the Perfect Garlic Butter Tilapia with Lemon Sauce
The key to making this so fast and flavorful is having everything ready to go *before* you even turn on the stove. Trust me on this one; fish cooks too fast for rummaging around for minced garlic!
Here’s what you need for four fantastic servings. Notice how I call for the butter to be divided? That’s how we multitask!
- 4 (6 ounce) tilapia fillets, thawed—make sure they are ready to go!
- 1 tablespoon olive oil
- 4 tablespoons unsalted butter, divided (We use 1 Tbsp for searing, 3 Tbsp for the sauce!)
- 4 cloves garlic, minced super fine
- 1/4 cup dry white wine or chicken broth—your choice!
- 3 tablespoons fresh lemon juice (Please use fresh, it makes a huge difference!)
- 1 tablespoon fresh parsley, finely chopped
- 1/2 teaspoon salt
- 1/4 teaspoon black pepper
You can find a great breakdown of how the lemon and herbs come together in my post about simple lemon butter sauce for fish ideas!
Preparing the Simple Lemon Butter Sauce for Fish
Even though we mix the sauce at the end, understanding those starring ingredients helps you appreciate the final product! We’re building flavor layers here.
The garlic needs to be fragrant, but never brown—that makes it bitter, and we want bright flavors here. The wine or broth is crucial; that’s what we use to lift all those yummy brown bits off the bottom of the pan for incredible depth of flavor. And that fresh lemon juice? It cuts right through the richness of the butter perfectly. That splash of parsley at the very end is just for color and that fresh, herbaceous finish.
Step-by-Step Instructions for Pan-Seared Garlic Butter Tilapia with Lemon Sauce
Okay, let’s get cooking! This is where most pan-seared fish goes wrong, but we aren’t going to let that happen. The recipe specifically calls for us to dry those fillets first, and that is non-negotiable if you want a good crust! Grab some paper towels and just pat, pat, pat until they feel dry to the touch. This ensures the fish sizzles instead of steams when it hits the hot pan.
Next, season them generously on both sides with that salt and pepper blend. Then, we get that skillet ripping hot over medium-high heat. We use the olive oil plus one tablespoon of that divided butter because the oil stops the butter from burning immediately. Once it’s foaming, gently lay your fish in there. Seriously, give them space! If you crowd the pan, the temperature drops, and you end up steaming your beautiful fish. We want golden perfection!
You can watch my video on how to cook tilapia perfectly if you need a visual for that sear. Once they look golden and delicious on the bottom, flip ’em and cook the other side. Then, pull them out immediately and set them on a warm plate while we whip up that incredible sauce!
Searing the Tilapia Fillets for a Golden Crust
I usually give the first side about 3 to 4 minutes. You want a nice, solid crust. Don’t be tempted to keep moving the fish around while it sears; let it sit and get happy on the pan bottom!
When you flip them, the second side usually cooks a tiny bit faster, maybe 3 minutes. The whole point is that the fish finishes cooking *in* the sauce, so we pull it out just slightly before it’s completely done—call it medium-rare for tilapia, which sounds weird, but the carryover heat will finish it off beautifully. Take them out! Don’t let them toughen up!
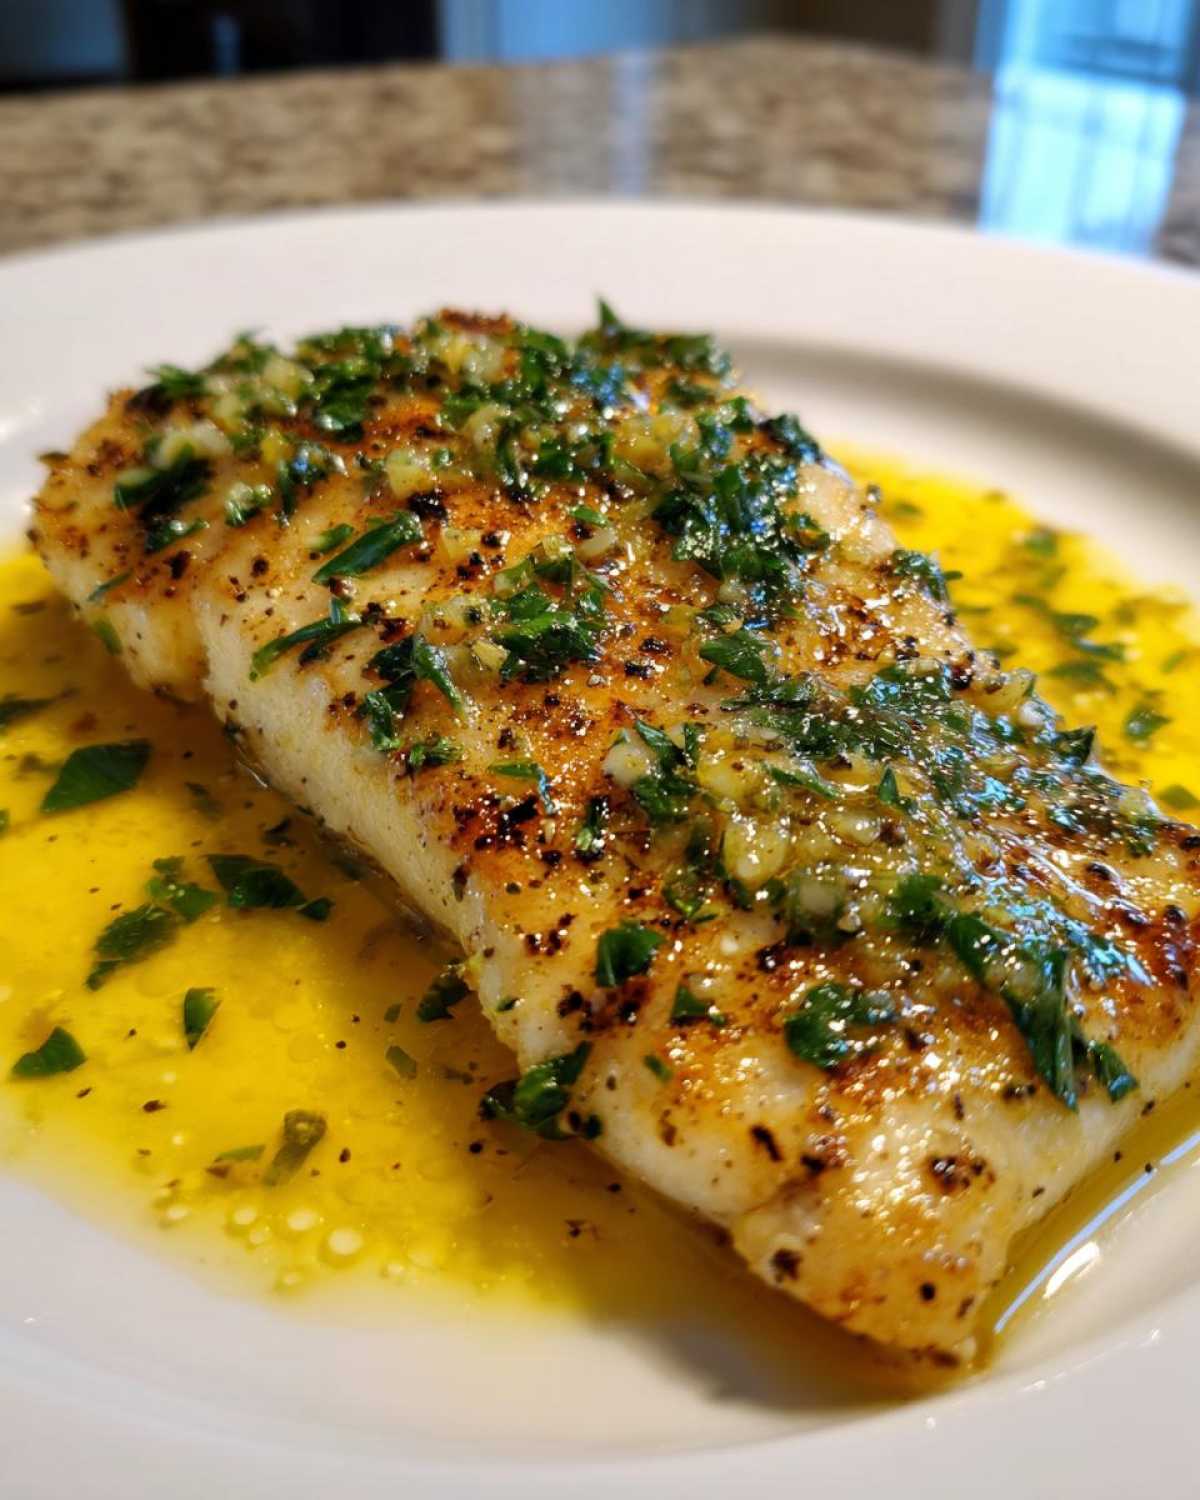
Building the Zesty Lemon Butter Sauce in the Pan
Now, this is the magic part. Turn the heat down to medium-low—we are not trying to burn anything now! Toss in the rest of that butter—the other three tablespoons—and your finely minced garlic. You only cook this for about 60 seconds until you can really smell that garlic fragrant aroma. If it starts turning brown, yank the pan off the heat immediately, seriously!
The next move is crucial: deglazing! Pour in that white wine or chicken broth. Use a spatula to scrape up all those tasty little brown bits stuck to the bottom of the pan. That’s concentrated flavor! Let that liquid bubble away and reduce for just a minute or so.
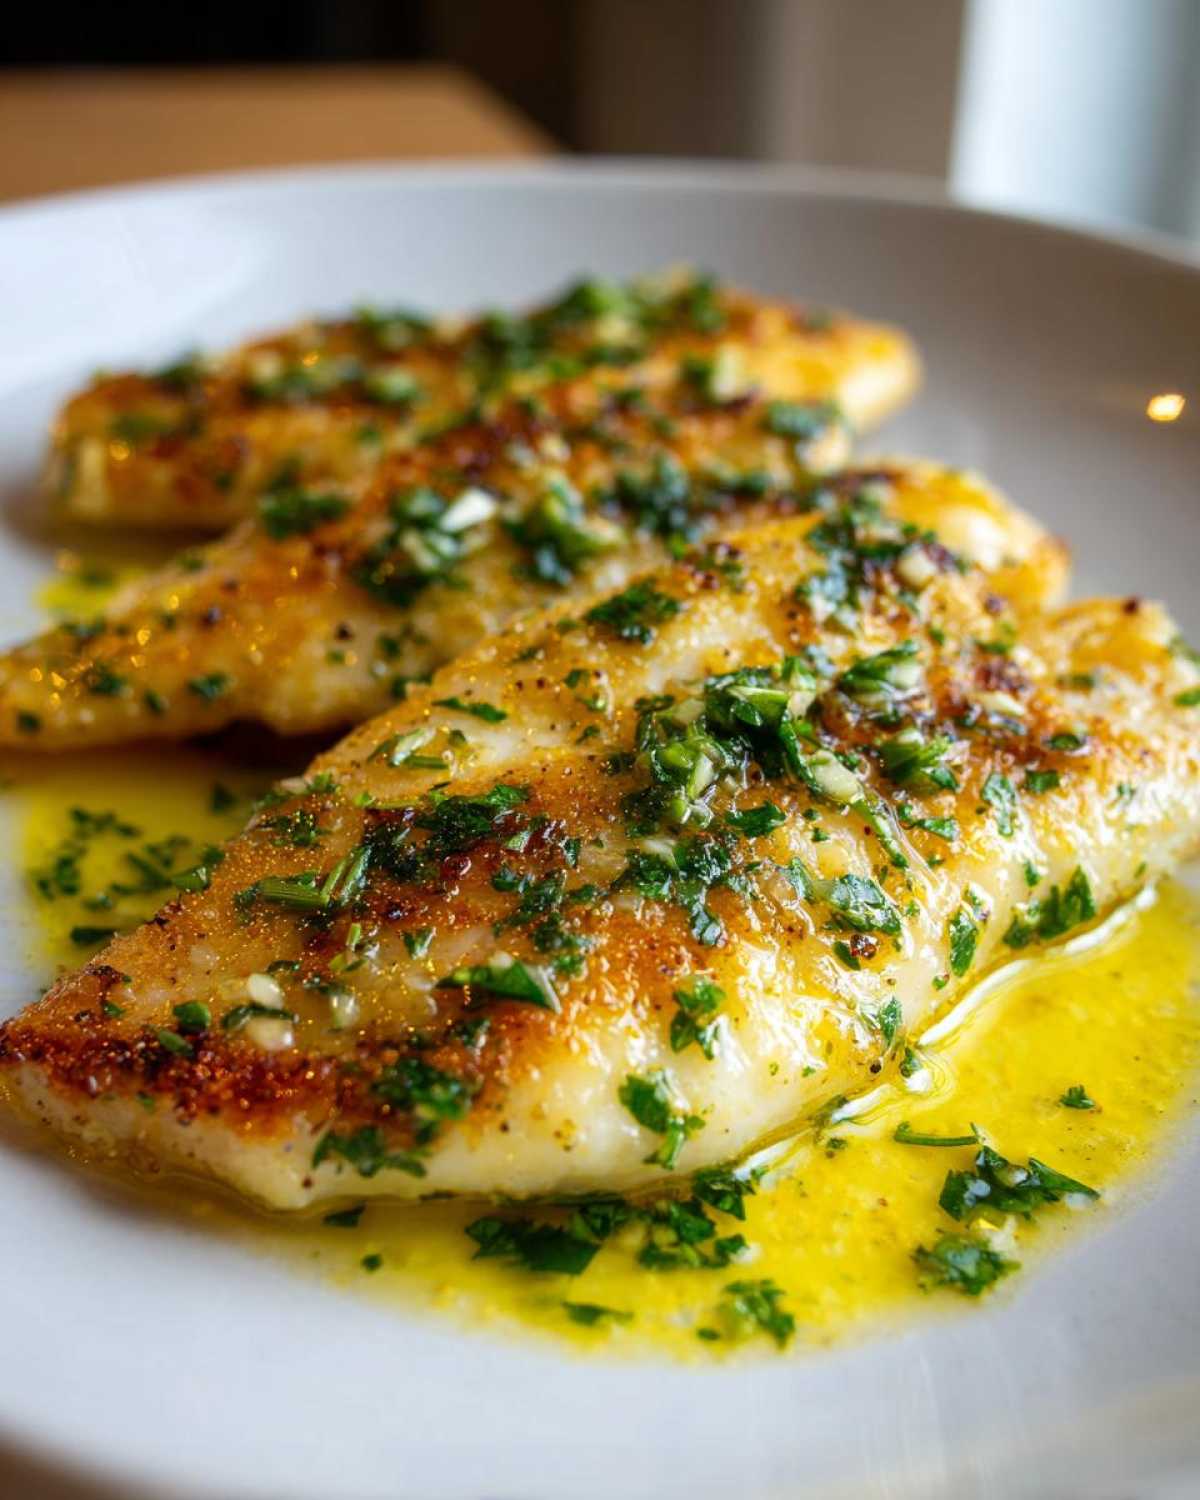
Finally, kill the heat completely. Whisk in the fresh lemon juice and parsley right off the burner. This keeps the sauce bright and prevents the lemon from cooking too aggressively. Then, you just nestle those cooked fillets right back into the pan and spoon that amazing sauce over the top. Dinner is served!
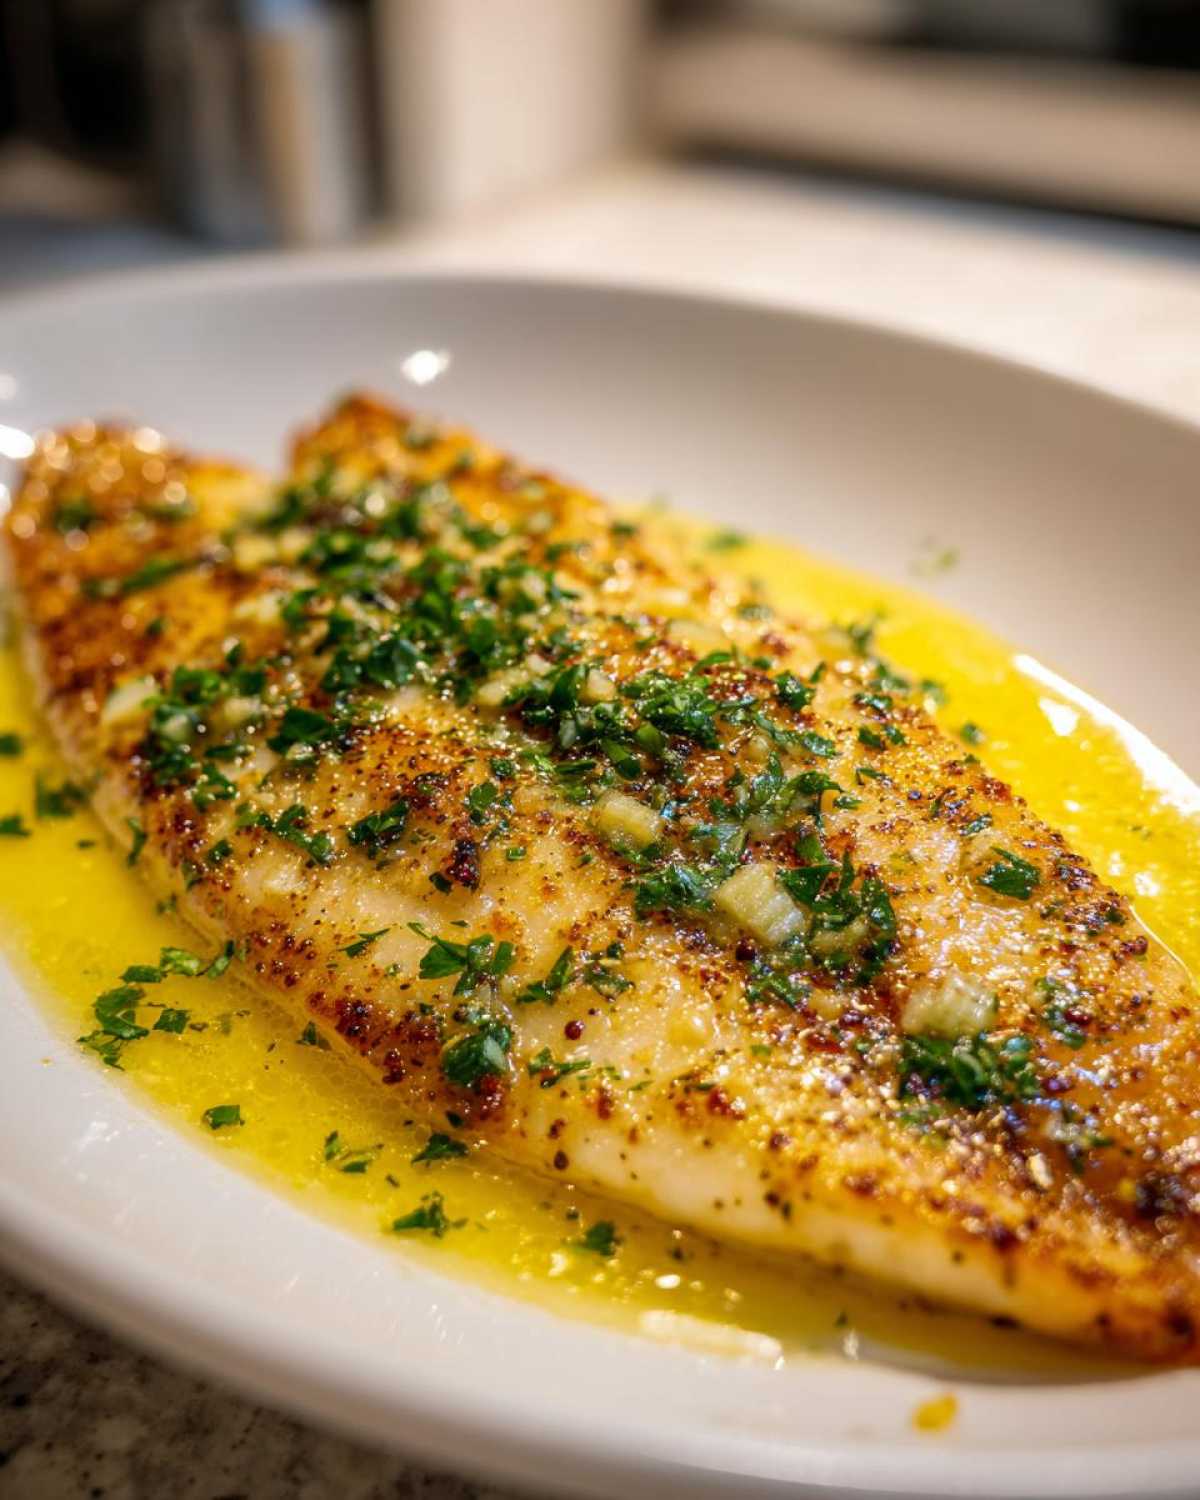
Expert Tips for Moist Baked Tilapia with Lemon
Okay, so pan-searing is my absolute favorite way to get that nice texture, but sometimes you just don’t want to fuss with the skillet cleanup, or maybe you’re making a huge batch! If that’s the case, I have you covered with the baking method. This is how you get that amazing flavor from our Garlic Butter Tilapia with Lemon Sauce using your oven!
This is perfect if you are looking for a truly hands-off approach to that **moist baked tilapia with lemon** we talked about. It uses less fat than the pan-sear if you load up on veggies, too, making it a fantastic option for a lighter meal.
I usually line a baking sheet with foil or parchment paper first—which is *essential* for easy cleanup later! We use that initial tablespoon of butter right over the fish like we did in the skillet. Pop those seasoned fillets into a hot oven set to 400°F (that’s 200°C). You’re generally looking at about 12 to 15 minutes, depending on how thick those fillets are. Keep an eye on them!
The best part is that you can make a shortcut sauce for this method. Instead of building the sauce on the stovetop, you can just mix your melted butter, minced garlic, lemon juice, and parsley right in a small bowl. Drizzle about half of that mixture over the fish when you put it in the oven, and then use the rest immediately once it comes out. Check out my full notes on getting the moist baked tilapia with lemon every single time!
Making This Garlic Butter Tilapia with Lemon Sauce a Complete Meal
Now we have this incredible **Garlic Butter Tilapia with Lemon Sauce**, but we can’t just eat fish alone, right? That’s not a meal!
The recipe notes suggest awesome pairings, and I wholeheartedly agree with them. Asparagus steamed quickly with a little salt is just perfect because it stays crisp. Rice pilaf is also a classic for soaking up any extra bits of that zesty lemon butter.
If you want something green that complements that garlic power, you have to try roasted broccoli! I actually have a recipe for one-pan honey garlic chicken and broccoli that you can adapt—just skip the honey part and toss the broccoli with olive oil, salt, and pepper. It comes out perfectly tender and slightly charred. Easy sides for an easy dinner!
Ingredient Notes and Substitutions for Garlic Butter Fish
Even though this is the **best garlic butter fish** recipe, I know you might not always have every single ingredient sitting in the fridge. Life happens! So, let’s talk about a couple of minor swaps you can make without ruining the magic of this dish. Flexibility is key in a busy kitchen!
The biggest question I always get is about that little splash of wine we use to deglaze the pan. If you aren’t into using wine, or maybe you just don’t have any white wine open, please don’t sweat it! Chicken broth works just as beautifully. It gives you that savory base to lift off the pan bits, and honestly, once you add the lemon, nobody can tell the difference. It’s a perfect, easy substitute.
Another common query is about the parsley. Fresh herbs truly sing with seafood, and I highly recommend running to the store for some if you can. But hey, if you only have dried parsley lurking in your spice drawer, you can absolutely use that instead. Just remember the rule: when swapping fresh for dried, you need much less. For the tablespoon of fresh parsley we call for, start with just half a teaspoon of the dried stuff. You can always add more, but you can’t take it out!
For more ideas on how to use those beautiful ingredients, you should check out my collection of garlic butter seafood ideas. It might inspire your next meal!
Storage and Reheating Instructions for Leftover Tilapia
Even though this dish is so quick that leftovers are rare in my house—my family usually devours every last bite—sometimes you make an extra portion! Tilapia is delicate, so you have to treat leftovers with a bit of gentle care to avoid that dreaded dry texture when reheating.
First thing: get it cooled down fast! Don’t leave the fish sitting out on the counter for ages. Transfer any leftover fillets, along with any remaining lemon butter sauce, into a shallow, airtight container. Keep it chilling in the fridge, and try to eat it within two days, tops. Fish really doesn’t keep long, so the sooner the better!
Now, when it comes time to reheat this delicate seafood, the microwave is usually the enemy of fish. It heats unevenly and turns that beautiful fillet tough in seconds. Instead, I highly recommend the gentle route.
Here’s my favorite technique for bringing it back to life: you want very low, moist heat. Place the fish in a small, oven-safe dish. Add just a tiny splash—maybe a teaspoon—of water or, even better, a few drops of fresh lemon juice right onto the bottom of the dish. Cover that dish tightly with foil. Bake it in a low oven, maybe 300°F (150°C), for only about 5 to 8 minutes. You’re just looking to warm it through, not cook it again!
If you absolutely must use the microwave because you’re in a hurry, use very short bursts—15 seconds at a time—on about 50% power. And definitely cover it! Adding that splash of moisture underneath the foil or paper towel makes a world of difference so you still get that lovely, tender texture from your quick fish dinner.
Frequently Asked Questions about Garlic Butter Tilapia with Lemon Sauce
I always get so many questions about cooking delicate fish like this, which is totally normal! If you’re aiming for that perfect **easy tilapia recipe** result, these little details really matter. Here are the questions I hear most often about making this dish shine!
Can I substitute the butter in the Garlic Butter Tilapia with Lemon Sauce?
That’s a great question about the richness! Butter is what gives the sauce that amazing texture and classic flavor, so if you can use it, please do. If you need to swap it out, you totally can use a high-quality light olive oil or even an avocado oil for the searing part. For the sauce, a mixture of oil and a little bit of vegetable shortening or margarine can work in a pinch, but I have to be honest—it changes the flavor profile quite a bit. Butter emulsifies so nicely when we add the wine and lemon; oil tends to separate a little more. It’ll still taste great, but maybe not quite as decadent as the **best garlic butter fish** version!
How do I know when this quick lemon fish dinner is fully cooked?
This is the most important part for anyone trying to avoid dry fish! Forget about sticking to one specific time on the clock; you need to watch the fish. When it’s done, the tilapia will turn completely opaque—no more clear, glassy look anywhere. The sure sign of perfection is when you gently poke it with a fork or the tip of a knife, and it flakes apart easily. That means it’s ready to come off the heat!
If you have a foolproof instant-read thermometer, the FDA recommends seafood reach an internal temperature of 145°F (63°C), but honestly, for tilapia, pulling it off the heat just before it hits that mark guarantees maximum moisture because of the residual heat.
Can I use frozen tilapia for this easy tilapia recipe?
Oh yes, I do this all the time when I forget to plan ahead! If you are starting with frozen fillets, you must thaw them correctly first. You can transfer them to the fridge the night before, or if you are in a rush, put them in a sealed plastic bag and submerge that bag in cold water. Change the water every 30 minutes until they are thawed.
Crucially, whether you thaw them naturally or quickly, you must still pat them bone-dry after thawing. Frozen fish tends to release a lot more moisture upon cooking, so patting them aggressively dry is even more essential here than with fresh fillets!
Can I add herbs other than parsley to my lemon herb fish?
Absolutely! The base of garlic, butter, and lemon is fantastic on its own, but it loves company. If you want a more herbal flavor profile for your **Garlic Butter Tilapia**, I’d swap out some or all of that fresh parsley for fresh dill or fresh thyme. Dill is classically paired with lighter fish and adds such a lovely, aromatic scent to that sauce.
If you use dried herbs, remember what I said earlier about reducing the amount drastically! If you use dried thyme, start with just a quarter teaspoon when you add the garlic to bloom the flavors.
Don’t forget to leave me a comment below after you try this easy tilapia recipe! I love hearing about your results and seeing how everyone tweaks these family favorites!
Share Your Best Garlic Butter Fish Creations
Wow, you made it! I truly hope you found this Garlic Butter Tilapia with Lemon Sauce recipe as easy and delicious as I do. Cooking fish doesn’t have to be a scary, complicated chore; it’s just about loving those ingredients right!
If you loved how quickly this came together and how flaky and moist your tilapia turned out, please do me a favor and leave a star rating right here on the page! Seriously, those ratings help other home cooks find this gem.
And if you took a picture of your beautiful pan-seared fish swimming in that bright lemon sauce, I want to see it! Tag me on social media with your creation. If you’re curious about who I am and why I love sharing these quick meals, you can peek at my About Me page.
Happy cooking, and I can’t wait to read your comments!
PrintPan-Seared Garlic Butter Tilapia with Zesty Lemon Butter Sauce
Prepare moist, flavorful tilapia fillets quickly using a simple pan-sear method finished with a bright garlic butter and fresh lemon sauce. This is an easy weeknight dinner.
- Prep Time: 5 min
- Cook Time: 15 min
- Total Time: 20 min
- Yield: 4 servings
- Category: Dinner
- Method: Pan-Seared
- Cuisine: American
- Diet: Low Fat
Ingredients
- 4 (6 ounce) tilapia fillets, thawed
- 1 tablespoon olive oil
- 4 tablespoons unsalted butter, divided
- 4 cloves garlic, minced
- 1/4 cup dry white wine or chicken broth
- 3 tablespoons fresh lemon juice
- 1 tablespoon fresh parsley, chopped
- 1/2 teaspoon salt
- 1/4 teaspoon black pepper
Instructions
- Pat the tilapia fillets completely dry using paper towels. Season both sides evenly with salt and pepper.
- Heat the olive oil and 1 tablespoon of butter in a large skillet over medium-high heat until the butter melts and foams.
- Carefully place the tilapia fillets in the hot skillet, ensuring not to overcrowd the pan. Sear for 3 to 4 minutes per side until golden brown and cooked through. Remove the fish from the skillet and set aside on a plate.
- Reduce the heat to medium-low. Add the remaining 3 tablespoons of butter and the minced garlic to the same skillet. Cook for about 1 minute until the garlic is fragrant; do not let it brown.
- Pour in the white wine or broth, scraping up any browned bits from the bottom of the pan. Let the liquid simmer and reduce slightly for 1 minute.
- Remove the skillet from the heat. Stir in the fresh lemon juice and chopped parsley. Whisk until the sauce is combined.
- Return the cooked tilapia fillets to the skillet. Spoon the lemon butter sauce over the fish. Serve immediately.
Notes
- For moist fish, do not overcook. Tilapia is done when it flakes easily with a fork.
- If you prefer baking, place seasoned fillets on a baking sheet, top with 1 tablespoon of butter, and bake at 400°F (200°C) for 12 to 15 minutes.
- Serve this dish over steamed asparagus or with a side of rice pilaf.
Nutrition
- Serving Size: 1 fillet
- Calories: 280
- Sugar: 1
- Sodium: 350
- Fat: 18
- Saturated Fat: 9
- Unsaturated Fat: 9
- Trans Fat: 0
- Carbohydrates: 2
- Fiber: 0
- Protein: 26
- Cholesterol: 75