

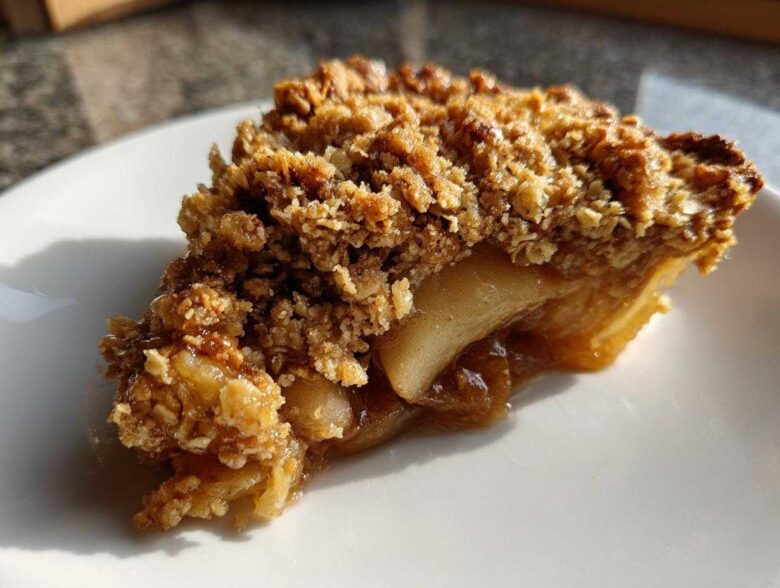
There is just something about a bubbly, warm fruit dessert that instantly says, “Settle in, this is going to be good.” Julian and I spend all day arranging pixels and snapping photos, trying to curate the perfect layout. But honestly? When we clock out, we need zero curation. That’s why this simple baking always wins.
I’m so thrilled to share my absolute favorite quick comfort food: the Easy Brown Sugar Cinnamon Pear Crisp with Buttery Oat Topping. This isn’t fussy; it’s just tender, spiced pears under a golden crunch. If you need a *pear crisp* that tastes like it took ages but actually comes together in minutes, you’ve found the feature story for your evening. Trust me, this one is a keeper.
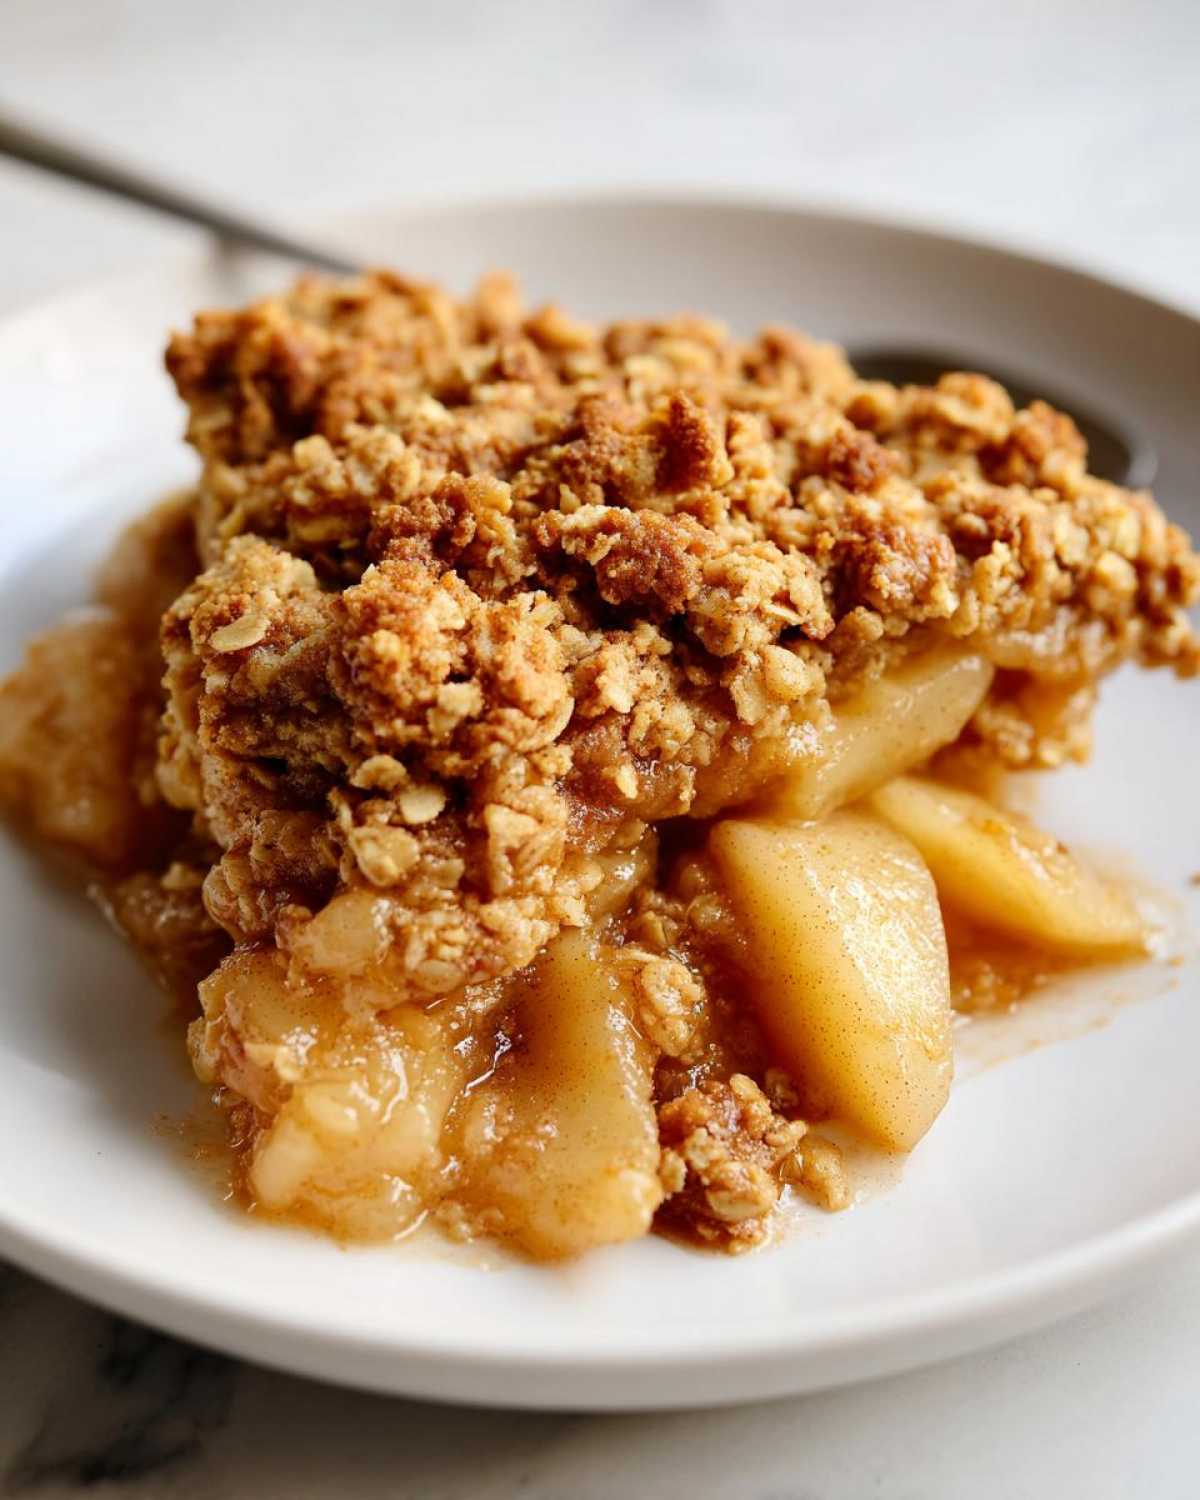
Why This Easy Pear Crisp Recipe is Your New Go-To Fall Dessert
When you’re craving something warm but don’t have hours to spend tinkering, this is the one you reach for. It’s the definition of a relaxed, **cozy fruit crisp** that doesn’t compromise on flavor. We made this **Easy Pear Crisp Recipe** last week when we were supposed to be finalizing proofs, and honestly, the smell alone was better than any finished design project!
Here’s why this recipe earned a permanent spot on our rotation:
- It’s the quintessential **fall pear dessert**: warm, spiced, and comforting without being heavy.
- The topping is perfectly balanced—not too sweet, just wonderfully crunchy.
- It looks stunning bubbling in the oven, making even a Tuesday night feel special.
Speed and Simplicity for a Cozy Fruit Crisp
Seriously, you need about 15 minutes of active time, max. Julian usually handles the pears while I measure the topping ingredients, and we’re already popping it in the oven before the kettle boils. With only 55 minutes total, this **pear crisp** is pure payoff for minimal effort. It’s the definition of **simple fruit baking**!
Flavor Profile: Brown Sugar Cinnamon Pear Crisp Perfection
We leaned hard into the warm spices here. The combination of fresh pears baked down with dark brown sugar and cinnamon just screams autumn comfort. It creates this incredibly rich, slightly caramelized sauce at the bottom. If you love a truly fragrant dessert, this **cinnamon pear crisp** is going to knock your socks off. It’s just that perfect marriage of tart fruit and sweet warmth.
Gathering Ingredients for the Best Pear Crisp
Okay, for any **best pear crisp**, sourcing the right fruit is step one. I’m really particular about this! We focus on pears that are ripe but still have a little fight left in them—you don’t want mush that turns to applesauce in the oven. My favorite types for this are Bartlett or Bosc. They hold their shape beautifully, which is key when you’re making this **pear crisp**.
If you have those, the rest of the list is incredibly straightforward. Julian often says that the beauty of this recipe is how few heavy-duty ingredients it requires, but the flavor payoff is huge. Remember, we’re aiming for cozy, not complicated!
For the Tender Spiced Pear Filling
This part comes together faster than you can clean your cutting board. Make sure everything is ready to toss before you start mixing, because once those spices hit the pears, you want them in the oven!
- 6 medium ripe pears (Bartlett or Bosc are my top picks), peeled, cored, and sliced
- 1/4 cup granulated sugar
- 2 tablespoons all-purpose flour (this helps thicken the juices!)
- 1 teaspoon ground cinnamon
- 1 tablespoon lemon juice (don’t skip this; it keeps the color bright)
For the Buttery Oat Topping Dessert
This is where the crunch happens. The technique here is crucial: the butter needs to be rock solid cold when you start. Cold butter creates those amazing, jagged crumbs that toast up golden brown in the oven. If your butter is soft, you’ll end up with one giant cookie sheet instead of a crumbly **oat topping dessert**!
- 1/2 cup unsalted butter, cold and cubed
- 1 cup old-fashioned rolled oats
- 1/2 cup packed light brown sugar (use packed! it adds that deep molasses flavor)
- 1/2 cup all-purpose flour
- 1/4 teaspoon salt
Step-by-Step Instructions for Your Homemade Pear Crisp
Julian always says that the instructions are the “layout” for the entire experience, right? If you lay out the steps correctly, the final product—your beautiful **homemade pear crisp**—will look flawless. We follow these stages very strictly to ensure that perfect, bubbly fruit bubble up around that crisp, golden top. It’s easier than you think, but precision matters when baking for that ‘Magazine Meal’ feeling! For more baking inspiration that feels just as intentional, check out this easy apple cobbler recipe.
Preparing the Fruit Base and Baking Dish
First things first: get that oven fired up! We need the heat nice and steady, so preheat your oven to 375 degrees Fahrenheit right away. While it warms up, lightly grease that 8×8 inch baking dish—no sticking allowed!
Now for the good stuff. In a big bowl, get those sliced pears mixed up. You want them coated perfectly. Combine the sliced pears, the granulated sugar, two tablespoons of your flour (this is sneaky thickening magic!), that teaspoon of cinnamon, and your squeeze of lemon juice. Toss everything gently, making sure every single slice is wearing that cinnamon coating. Once they are all happy, just spread them out in an even layer across your prepared baking dish. Easy peasy!
Creating the Classic Pear Crisp Topping
Once the pears are settled, it’s topping time! Grab a second, separate bowl for this. We’re building texture here, so dump in your rolled oats, that packed light brown sugar, the remaining half-cup of flour, and the tiny pinch of salt. Give that a quick whisk so the dry things are incorporated.
Here is the technique part: Take that cold, cubed butter and start cutting it in. You can use a pastry blender if you’re feeling fancy, but honestly, your fingertips work the best, I think! You’re working the butter into the dry mix until it looks like coarse crumbs. You want some variation—some larger, pebbly bits and some fine dust. That variation is what gives you the crunch! We all love a crunchy **pear crisp** topping.
Baking and Resting the Cozy Fruit Crisp
Into the oven it goes! Bake this beauty for 35 to 45 minutes. How do you know it’s done, our editors often ask? You’re looking for visual cues! The topping needs to be deeply golden brown, and you should see the fruit filling bubbling up vigorously around the edges. That vibrant bubbling means the fruit is tender and caramelized down underneath.
Don’t rush this next part, please! Once it comes out, you MUST let the **cozy fruit crisp** cool off for at least 15 minutes on a wire rack. If you skip this, the moment you try to serve it, the filling will run everywhere. Letting it rest allows those juices to thicken up just enough so you get that beautiful, set layer of bubbling fruit beneath the crunch. Patience is the final ingredient!
Expert Tips for the Ultimate Pear Crisp Success
Julian and I always talk about how recipes shouldn’t be rigid rules; they should be starting points! We love going back to the notes we took while testing this delicious **pear crisp** because they hold the secrets to taking it from great to absolutely unforgettable. These tips aren’t about complication, they are about dialing in that perfect, rich flavor profile readers expect from a truly intentional baked dessert.
Flavor Boost: Brown Butter Pear Crisp Technique
If you really want this **pear crisp** to sing—to have that deep, nutty, sophisticated base note—you have to brown some butter in the topping. We have an entire post dedicated to how to brown butter, but for this, just take about two tablespoons of the topping butter and melt it slowly in a light-colored pan. You’re looking for it to foam, then smell nutty, and then turn amber brown on the bottom. When it starts to smell like toasted hazelnuts, pull it! Let it cool down slightly so it solidifies a bit, then toss it in with the rest of your oat mix.
This takes your **Brown Butter Pear Crisp** from simple to something truly special, adding depth that just regular melted butter can’t touch. It makes the oat topping taste richer and more complex!
Making the Apple Pear Crisp Variation
We know sometimes you open your fruit drawer and you have pears *and* apples hanging around waiting to be baked. Good news! This recipe is incredibly forgiving. If you want to swap things up and make an **Apple Pear Crisp Variation**, just swap out half of the sliced pears for apples that hold their shape well, like Honeycrisp or Granny Smith.
You don’t need to change anything else—the sugar and cinnamon ratio works perfectly for both fruits together. It adds a tiny bit of extra tartness, which I personally love in a fall dessert, since it cuts through the sweetness of the brown sugar topping so nicely. It’s a fantastic way to use up everything that needs baking!
Serving Suggestions for Your Rustic Pear Dessert
This rustic pear dessert is absolutely perfect straight from the oven, but remember what Julian and I always say? Our kitchen is where we stop designing perfect, flawless things and start making *real* things that deserve attention. Serving this **pear crisp** should feel intentional, even if the baking was effortless. It’s about styling your moment!
Of course, you can just grab a spoon and eat it standing over the sink—I won’t judge! But if you’re serving this to company, or if you just want to elevate your Tuesday night, think about the temperature contrast. Nothing beats that hot, bubbly fruit filling and crisp topping next to something cold and creamy.
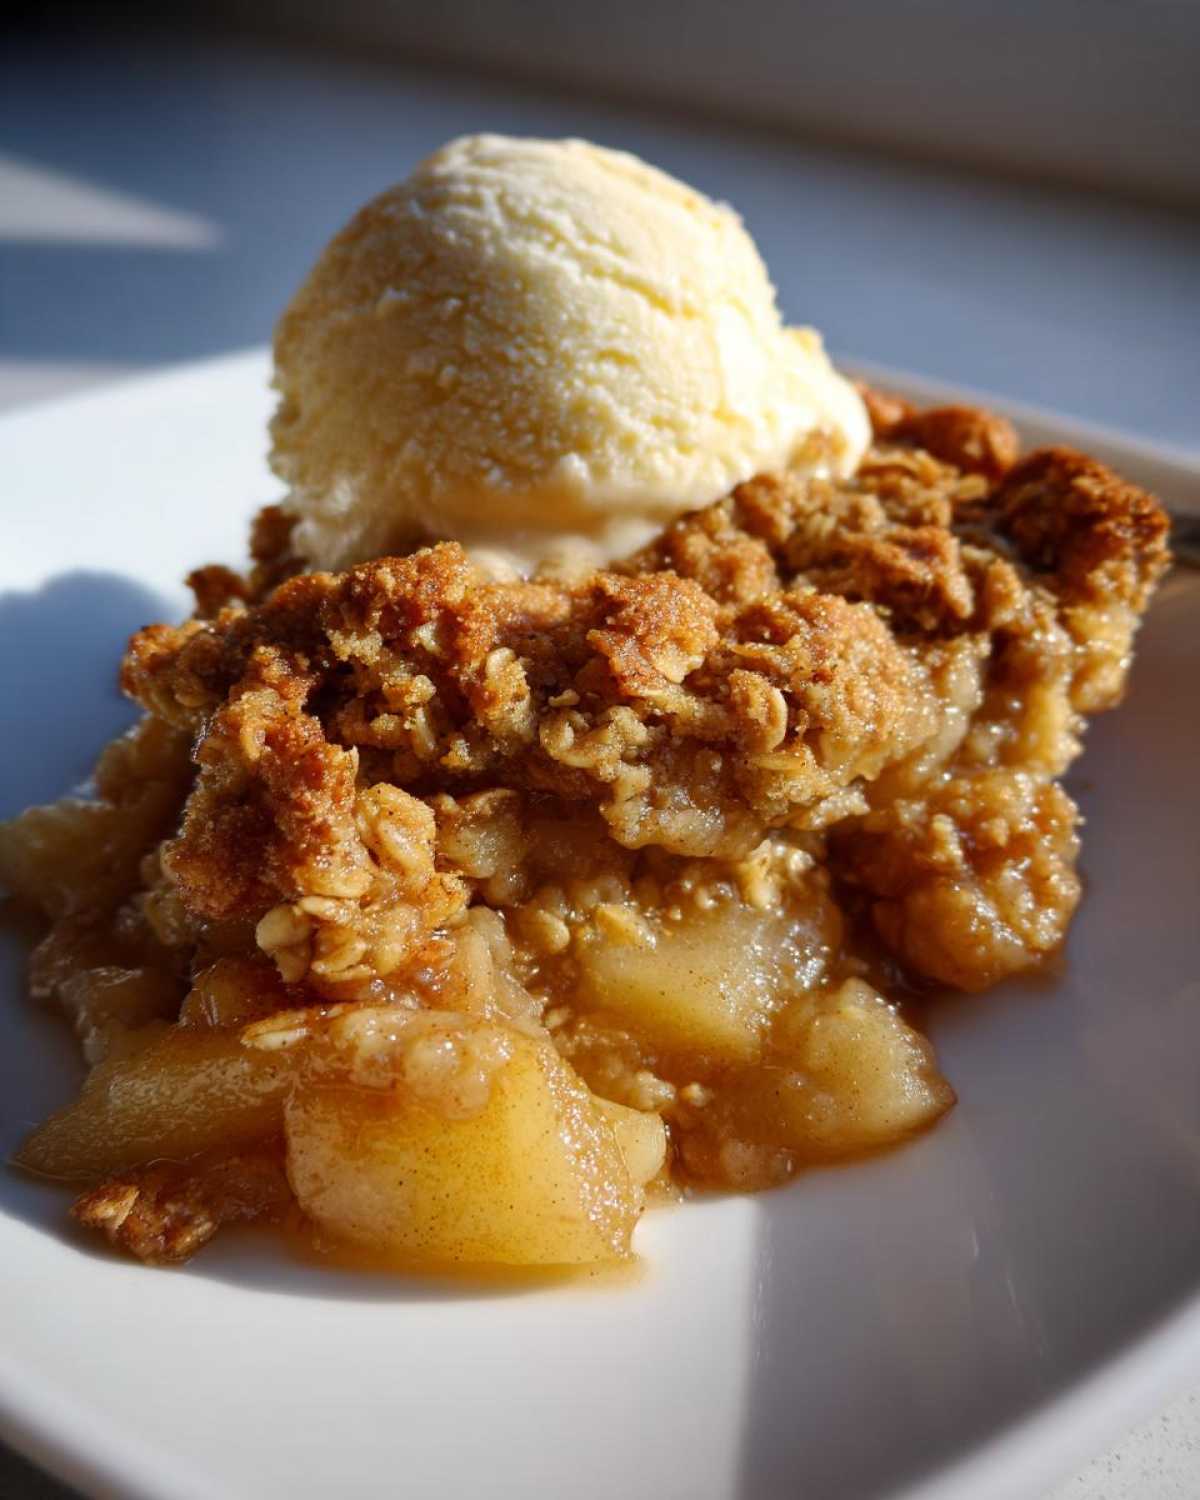
Our favorite way to serve this is warm, paired with something chilly. A scoop of high-quality vanilla bean ice cream is heavenly because it melts right down into all those cinnamon-brown sugar crevices. If you’re not feeling ice cream, a fresh dollop of homemade whipped cream is fantastic. We sometimes try to get fancy and make homemade whipped cream the day before, or if we’re truly lazy, we’ll go for a quick no-churn version. The point is the contrast!
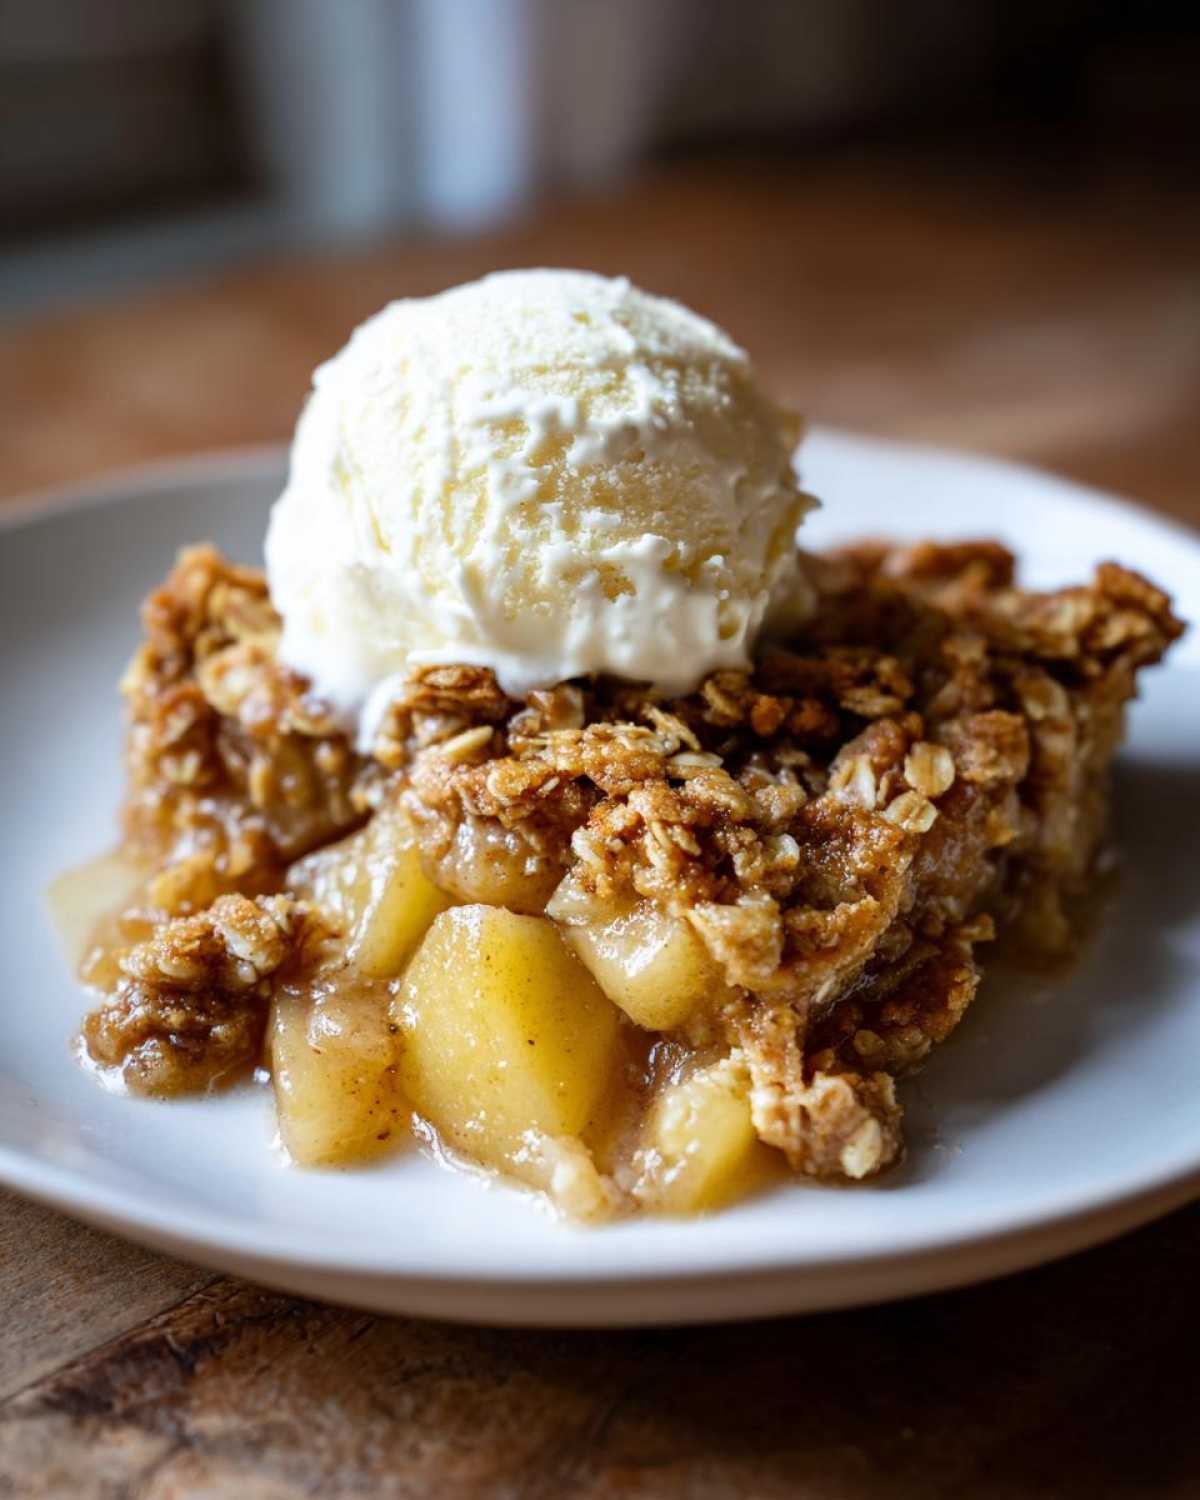
If you want to keep it strictly dairy-free or prefer something less sweet, a tiny drizzle of high-quality maple syrup or even a dollop of plain Greek yogurt works wonderfully to cut through the richness of the buttery oat topping. Whatever you choose, make sure you scoop deep enough to get both the tender spiced pears and that glorious crunchy texture from the top. That makes this **pear crisp** worth every second!
Storage and Reheating Instructions for this Pear Crisp
Listen, the chances of having leftovers of this **pear crisp** are slim to none, but just in case you do—or if you’re one of those smart planners who bakes ahead—we need to talk about how to keep that topping from going completely soggy. We want that lovely texture we worked so hard for in the oven to last!
If you have any of this amazing **pear crisp** left, the best thing you can do is let it cool completely on the counter first. Don’t cover it when it’s warm, or you’ll trap steam and basically steam the crisp topping right into mush. Once it’s totally cooled to room temperature, cover the dish tightly with plastic wrap, or better yet, transfer the leftovers to an airtight container.
You can keep it sitting on the counter for about a day if your kitchen isn’t too hot, but for long-term storage—like past 24 hours—it absolutely needs to go into the fridge. It should be good for three or maybe four days in there. That buttery crumble will soften up a bit, but that’s okay! We have a trick for bringing it back to life.
Reheating to Preserve the Crunch
If you just toss a slice of this leftover **pear crisp** in the microwave, you’re trading crunch for mush—and we absolutely do not want that! The microwave is great for reheating things like soup, but for anything with a crispy topping, we need dry heat to revive the texture.
My go-to method is the oven or, if you’re feeling speedy, the toaster oven. Pop your serving or a bigger section right onto a baking sheet. Heat it up to about 325 degrees Fahrenheit for about 8 to 10 minutes. You’re not actually cooking it; you’re just drying out the topping slightly and warming the pears through. You’ll smell that cinnamon and brown sugar again, and the topping will be delightfully crisp again. It’s a game-changer for leftovers!
If you absolutely must use the microwave because you don’t have five minutes for the oven, try this: Microwave the slice for just 20 seconds to warm the fruit, and then put it under the broiler for 30 seconds *while watching it constantly*! This mimics oven heat really fast, but be careful—the brown sugar can burn quickly under the broiler.
Frequently Asked Questions About Simple Fruit Baking
I totally get it—sometimes you have questions before you even start assembling, and that’s smart! Getting the technical bits right makes the whole process feel less intimidating. Julian and I try to think through every messy stage so you don’t have to. Here are a few things people often ask about this **pear crisp** and other similar fruit bakes. If you have more questions after you make it, feel free to check out our main blog archive!
What is the difference between a pear crisp and a pear crumble recipe?
This is a classic baking question! In the world, the difference really boils down to the topping ingredients. For a true **pear crisp**, you absolutely need oats in the topping. The oats give it that signature rugged, toothsome texture that crisps up in the oven. A **pear crumble recipe**, on the other hand, usually relies only on flour, sugar, and butter to make the topping. The crumble is often softer and more uniform, whereas the crisp has that lovely, chewy bite.
Since this recipe relies on those rolled oats for that signature golden crunch, we always call it a crisp. But hey, if you leave the oats out, congrats, you’ve made a crumble! It’s still delicious either way, but I prefer the oats for texture.
Can I make this recipe ahead of time?
Yes, you totally can prep sections ahead, which is handy if you’re trying to get dinner done fast! I recommend doing the fruit filling preparation first. Peel, core, and slice those pears, toss them with the sugar and spice, and keep them covered tightly in the fridge. They stay vibrant for about 24 hours.
For the topping? Keep that completely separate! Mix the dry ingredients and cut in the cold butter, then store the coarse crumb mixture in a separate airtight container in the fridge. Do NOT assemble the crisp until you are ready to bake it. If you combine the topping and filling too early, the moisture from the fruit will soak all the butter out of the topping, and you won’t get that great crunch we talked about. Assemble in the dish just before preheating the oven!
What are the best pears to use for Quick Baked Pears?
When you are making **quick baked pears** for a crisp, you are looking for firmness. You want pears that are sweet enough, but structurally sound enough to hold their slice shape against the heat. As I mentioned earlier, my top choices are Bosc or Bartlett. Bosc travels very well, flavor-wise, and stays firm. Bartlett gets very soft and sweet, which is amazing, but it can break down faster if you overbake it.
Avoid incredibly soft pears, like the very ripe Comice, unless you want a very, very saucy filling. If the pears are slightly firm to the touch when you buy them, they are usually perfect for this **pear crisp** after about two days on the counter!
Estimated Nutritional Data for this Cinnamon Pear Crisp
Since we are not running this **pear crisp** through a lab or anything—we’re busy editing photos and layouts, remember?—this nutritional information is purely an estimate based on the ingredients we listed in the recipe above. Think of this more as a helpful guide than a contractual obligation! It breaks down why this **cinnamon pear crisp** is so satisfying, offering a good balance of fruit sugars and energy from the buttery oat topping.
If you are counting macros, know that these numbers reflect one of the six servings listed. Julian often looks at the fat content and then says, “Well, we definitely earned that scoop of ice cream,” referencing the serving suggestion! Enjoying food with intention means knowing what’s in it, but also knowing when to let the numbers go!
Here is the breakdown for one serving of our **pear crisp**:
- Serving Size: 1 serving
- Calories: Approximately 350
- Fat: 18g (including 11g Saturated Fat)
- Carbohydrates: 48g
- Fiber: 5g
- Sugar: 35g (This is where those lovely brown sugar and pear juices land!)
- Protein: 4g
- Sodium: 110mg
- Cholesterol: 45mg
Remember, if you are adding toppings like ice cream, those numbers will obviously go up! That is why we always treat the dessert base itself as the main feature, and any topping is just the optional styling we add on top.
Share Your Magazine Meal Moment
Now that you have this incredible, easy **pear crisp** cooling in the kitchen, it’s your turn to make it the main feature! Julian and I live for seeing how our recipes transform into genuine “Magazine Meals” at your house. We want to see the steam rising off that buttery oat topping, or maybe you’ve paired it with a homemade vanilla topping—show us your style!
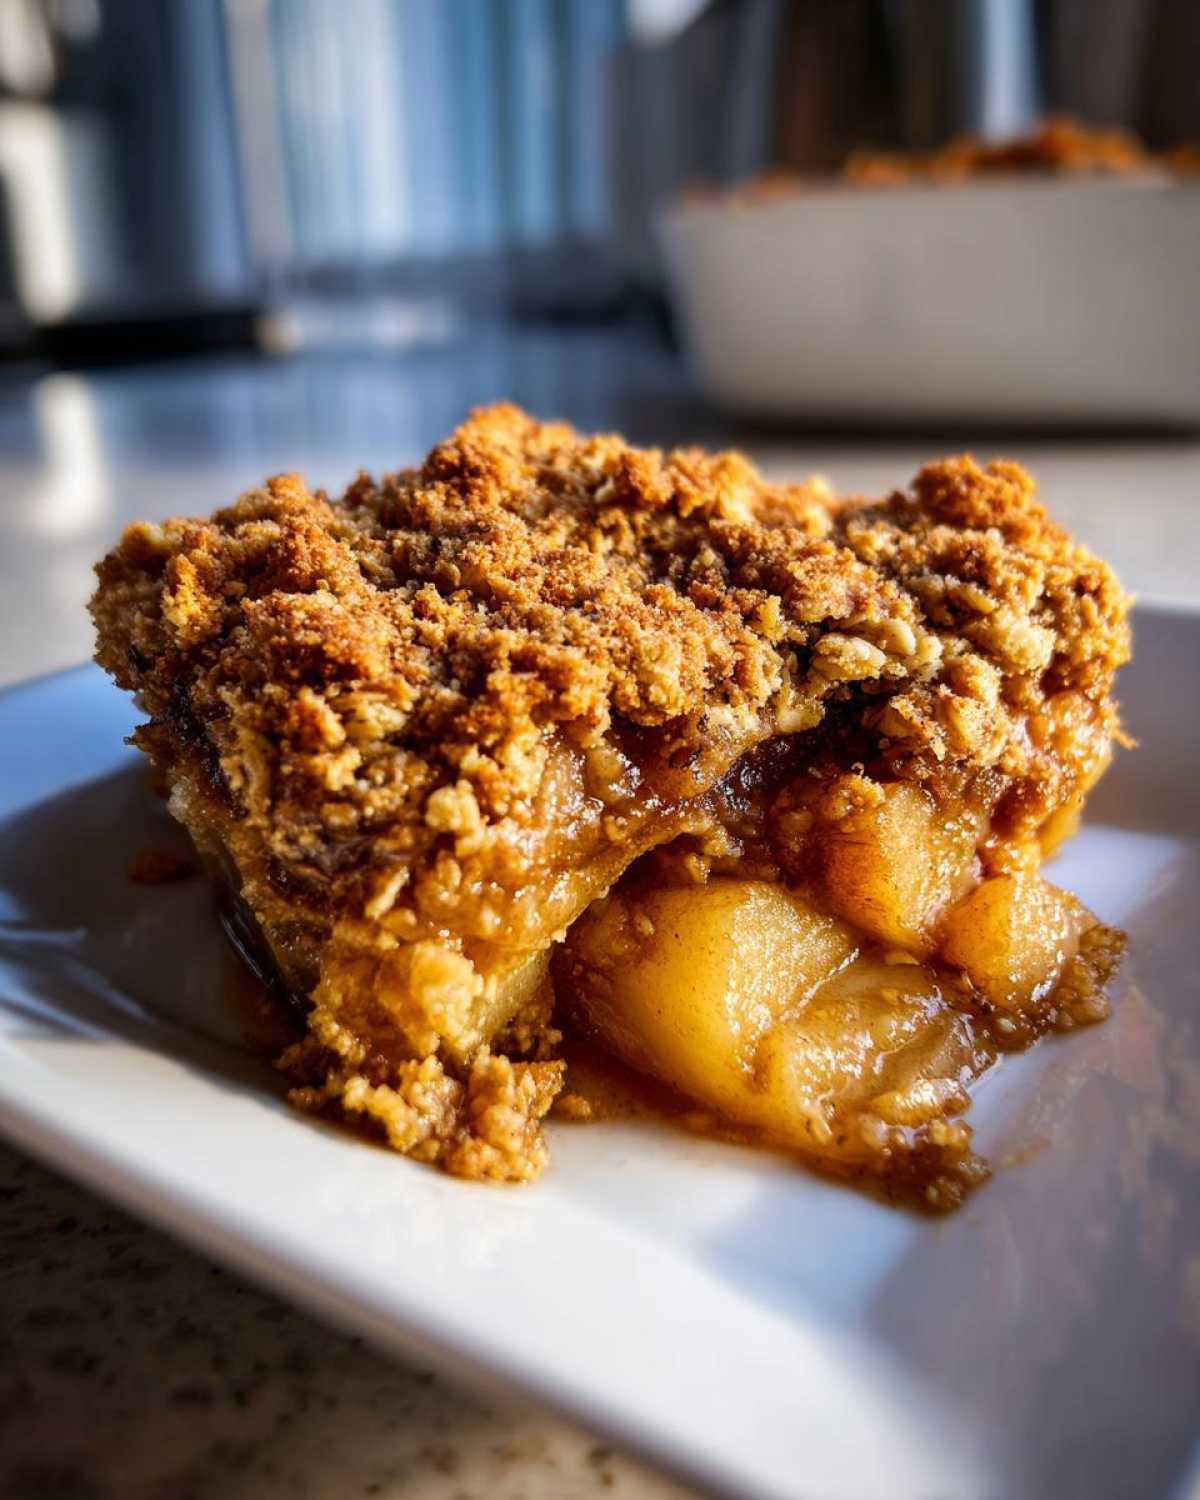
Don’t just scroll away—click over to our contact page and let us know how it went. Did you try the browned butter trick? Did you manage to snag a photo before the family dove in? Drop us a comment right here on the post and leave a star rating. Seriously, those ratings guide what we decide to shoot and feature next month!
Baking this simple fruit dessert is about leaning into the process, not achieving perfection, so capture the genuine, cozy moment this **pear crisp** creates. If you shared a photo online, tag us! We always love seeing your plating and styling choices—seeing your creation makes our whole week worth it. Maybe we’ll even feature a reader shot in our next issue! We’re pinning inspiration everywhere, like this highly-saved treat we found over here: Easy Brown Sugar Cinnamon Pear Crisp. Go make some magic, and then come tell us all about it!
PrintEasy Brown Sugar Cinnamon Pear Crisp with Buttery Oat Topping

Make this easy pear crisp featuring tender, spiced pears under a golden, crunchy oat topping. It is a comforting fall dessert ready with minimal effort.
- Prep Time: 15 min
- Cook Time: 40 min
- Total Time: 55 min
- Yield: 6 servings
- Category: Dessert
- Method: Baking
- Cuisine: American
- Diet: Vegetarian
Ingredients
- 6 medium ripe pears (like Bartlett or Bosc), peeled, cored, and sliced
- 1/4 cup granulated sugar
- 2 tablespoons all-purpose flour
- 1 teaspoon ground cinnamon
- 1 tablespoon lemon juice
- 1/2 cup unsalted butter, cold and cubed
- 1 cup old-fashioned rolled oats
- 1/2 cup packed light brown sugar
- 1/2 cup all-purpose flour
- 1/4 teaspoon salt
Instructions
- Preheat your oven to 375 degrees Fahrenheit. Lightly grease an 8×8 inch baking dish.
- In a large bowl, combine the sliced pears, granulated sugar, 2 tablespoons of flour, cinnamon, and lemon juice. Toss gently until the pears are evenly coated.
- Spread the pear mixture into the prepared baking dish in an even layer.
- In a separate medium bowl, prepare the topping. Combine the rolled oats, brown sugar, 1/2 cup flour, and salt.
- Cut in the cold, cubed butter using a pastry blender or your fingertips until the mixture resembles coarse crumbs.
- Sprinkle the oat topping evenly over the pears.
- Bake for 35 to 45 minutes, or until the topping is golden brown and the fruit filling is bubbling around the edges.
- Let the pear crisp cool for at least 15 minutes before serving. This allows the filling to set slightly.
Notes
- For an extra layer of flavor, substitute 2 tablespoons of the butter in the topping with browned butter. Cool the butter slightly before mixing it into the dry ingredients.
- You can substitute half of the pears with apples for an Apple Pear Crisp variation.
- Serve this cozy fruit crisp warm with vanilla ice cream or a dollop of whipped cream.
Nutrition
- Serving Size: 1 serving
- Calories: 350
- Sugar: 35g
- Sodium: 110mg
- Fat: 18g
- Saturated Fat: 11g
- Unsaturated Fat: 7g
- Trans Fat: 0.5g
- Carbohydrates: 48g
- Fiber: 5g
- Protein: 4g
- Cholesterol: 45mg