

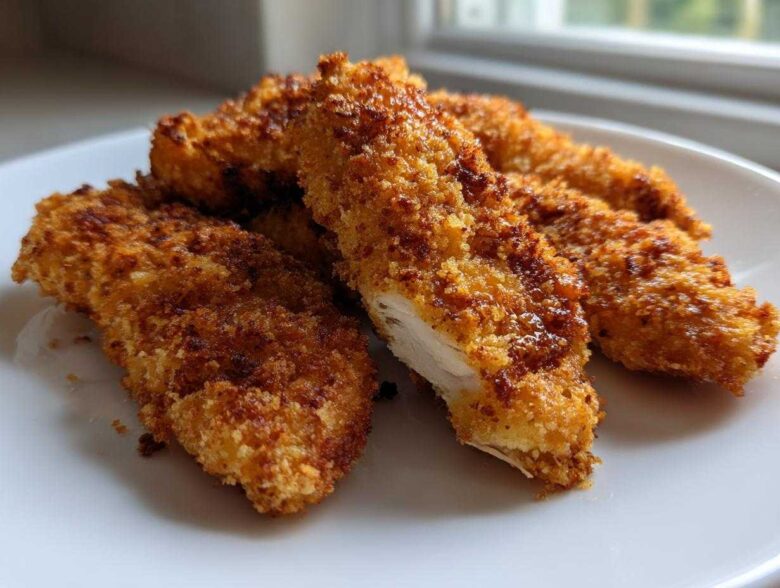
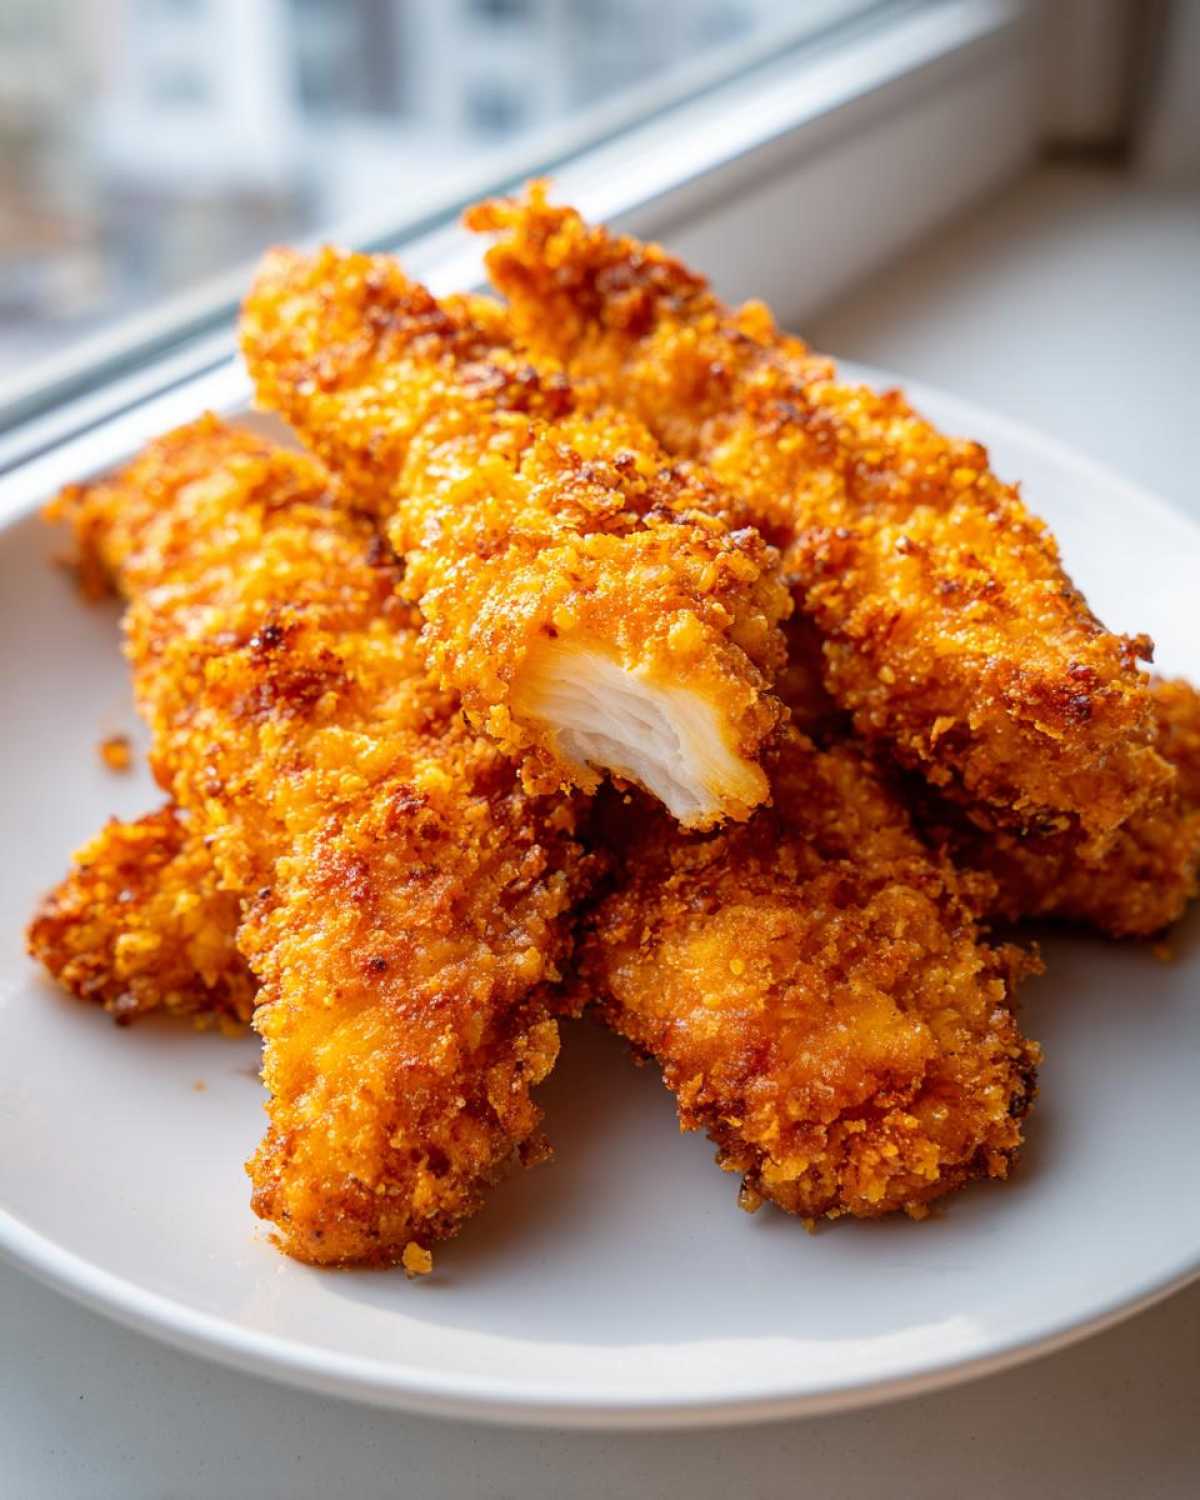
If you’ve tried making baked chicken tenders before, chances are you ended up with something disappointing. You know the drill: the coating slides off, or worse, you get that dreaded soggy bottom! Frying is messy, but I finally cracked the code for achieving truly Crispy Oven Baked Chicken Tenders Extra Juicy. It comes down to three things: a ridiculously dry surface, the right kind of coating, and a genius baking setup.
I spent ages testing different breadcrumbs and spraying angles. We’re using a special trick tucked right into the coating that reacts with the high oven heat. If you’ve been searching for that foolproof oven baked tenders magic, you’re about to find your new favorite weeknight chicken tender recipe. Before you roll up your sleeves, make sure your chicken is super dry—that’s step one! If you ever want to try marinating tenders for even more flavor later on, check out my tips for a best chicken marinade recipe for juicy flavor. Seriously, prepare for the best homemade chicken strips oven baked you’ve ever made!
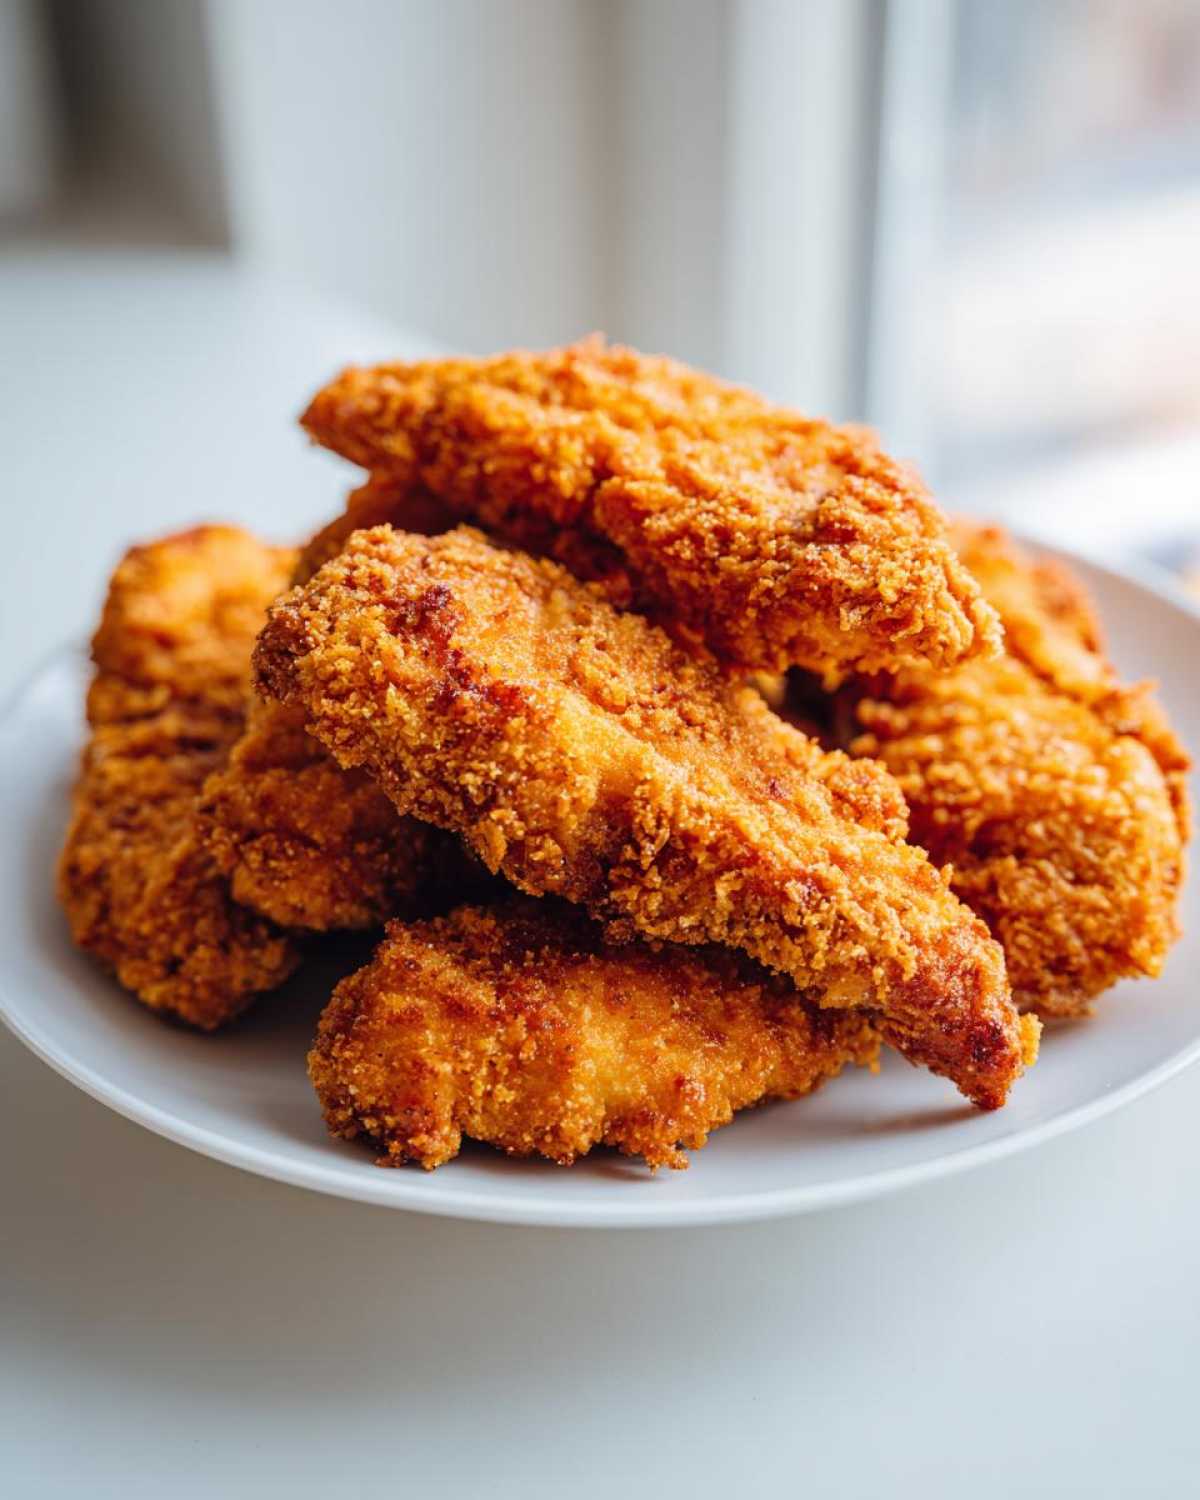
Why This Recipe Delivers Crispy Oven Baked Chicken Tenders Extra Juicy
So, why are these better than every other mediocre recipe promising crispy oven baked chicken tenders extra juicy? It’s all about engineering that crunch without the bucket of oil. We’re working smart, not hard, to get that beautiful texture.
- Achieves a true fried-like crunch, making them the ultimate healthy baked chicken tenders alternative.
- Retains incredible moisture, so you never end up with dry, sad strips of chicken breast.
- The method is simple enough for any weeknight, giving you that comfort food fix fast.
- No sink full of grease to deal with afterwards—just easy cleanup!
The Secret to Extra Crispy Baked Chicken
Okay, let’s talk crust. We rely heavily on Panko breadcrumbs. They are flaky and airy, unlike regular breadcrumbs, which results in a much better, shatteringly crisp texture when baked. But the real game-changer? Baking powder! I mix just a couple of tablespoons right into the Panko.
When that baking powder hits the high heat of the oven, it creates tiny air bubbles inside the coating as it crisps up. This lightens the whole layer and pushes it away from the chicken just enough to mimic deep-frying results. It’s pure genius, honestly.
Techniques for Juicy Baked Chicken Tenders
Juiciness comes primarily from respecting the meat and managing the environment. You absolutely must pat the chicken tenders bone dry before they even *think* about meeting any flour. Any surface moisture turns into steam, and steam means soggy crust and dry meat.
The second part of the juice equation is the wire rack. By elevating the tenders, we allow hot air to circulate underneath them—this prevents that awful stewing effect that happens when the bottom of the tender sits in its own juices on a flat pan. It’s the key to making sure you get that perfectly cooked juicy chicken breast tenders experience every time.
Gathering Ingredients for Crispy Oven Baked Chicken Tenders Extra Juicy
You don’t need a ton of fancy stuff to nail this recipe. Seriously, we keep it straightforward so you can grab everything on a quick grocery run. You’re focusing on creating the ultimate crust around that excellent, moist chicken. The stars here are definitely the Panko and the secret weapon, baking powder. Don’t skimp on these essentials—they’re what keep these from being just another sad, baked-and-bland attempt!
Here’s what you’ll need for about four servings:
- 1.5 lbs boneless, skinless chicken breast tenders (or strips cut from breast)
- 1 cup all-purpose flour
- 2 large eggs, lightly beaten
- 1.5 cups Panko breadcrumbs
- 2 tablespoons baking powder (aluminum-free recommended)
- 1 teaspoon salt
- 0.5 teaspoon black pepper
- 0.5 teaspoon garlic powder
- Cooking spray or 1 tablespoon olive oil (for the top coating)
If you want to explore another easy cooking adventure once you master these tenders, I highly recommend my easy chicken cobbler recipe!
Ingredient Notes and Substitutions
Stick with chicken tenders if you can—they are naturally uniform in thickness, which helps them cook evenly during that quick bake time. If you’re cutting your own strips from a breast, just try to make them roughly the same size. When it comes to the baking powder, I swear by aluminum-free. While regular works, sometimes the aluminum kind can leave a slightly metallic aftertaste, and we want pure, crispy flavor here!
Step-by-Step Instructions: How to Make Crispy Oven Baked Chicken Tenders Extra Juicy
Alright, let’s get cooking! We need to move fast once we start dredging, so have everything set up before you touch the chicken. Remember, setting up the right environment is what makes this method a winner for that truly crispy oven baked chicken tenders extra juicy result.
Preparation: Preheating and Drying the Chicken
First things first: crank that oven up! We need it piping hot at 425 degrees Fahrenheit (that’s 220 Celsius). While it heats up, get your baking sheet ready. Line it with parchment paper, and then you absolutely MUST place a wire rack on top. This rack setup is crucial because it lets air flow underneath, stopping the bottoms from steaming. And remember that number one rule? Grab your paper towels and pat those chicken tenders until they feel like suede—totally dry on the surface.
Mastering the Three-Stage Coating for Crispy Oven Baked Chicken Tenders
Time for the big dredge! Set up three dishes in a line. Dish one is flour only. Dish two is your beaten eggs. Dish three is the payoff: Panko, baking powder, salt, pepper, and garlic powder, mixed really well. Take each dry tender, dust it in the flour first, shake off the excess, dip it in the egg, and then press it firmly—and I mean *firmly*—into that Panko mix. You want that coating to stick tight so it doesn’t fall off mid-bake!
Baking Technique for Perfectly Cooked Juicy Chicken Breast Tenders
Place those fully coated beauties on the wire rack, making sure they aren’t touching. Now, grab your cooking spray or drizzle that small amount of olive oil right over the tops. Pop them in the oven for about 12 to 15 minutes. After that first blast of heat, flip every single one of them over. They go back in for another 5 to 8 minutes. Pull them out when the coating is deeply golden and you hit that perfect internal temperature of 165 degrees Fahrenheit. If you want more crispy coating ideas for baking, you can check out my baked ranch chicken recipe for inspo!
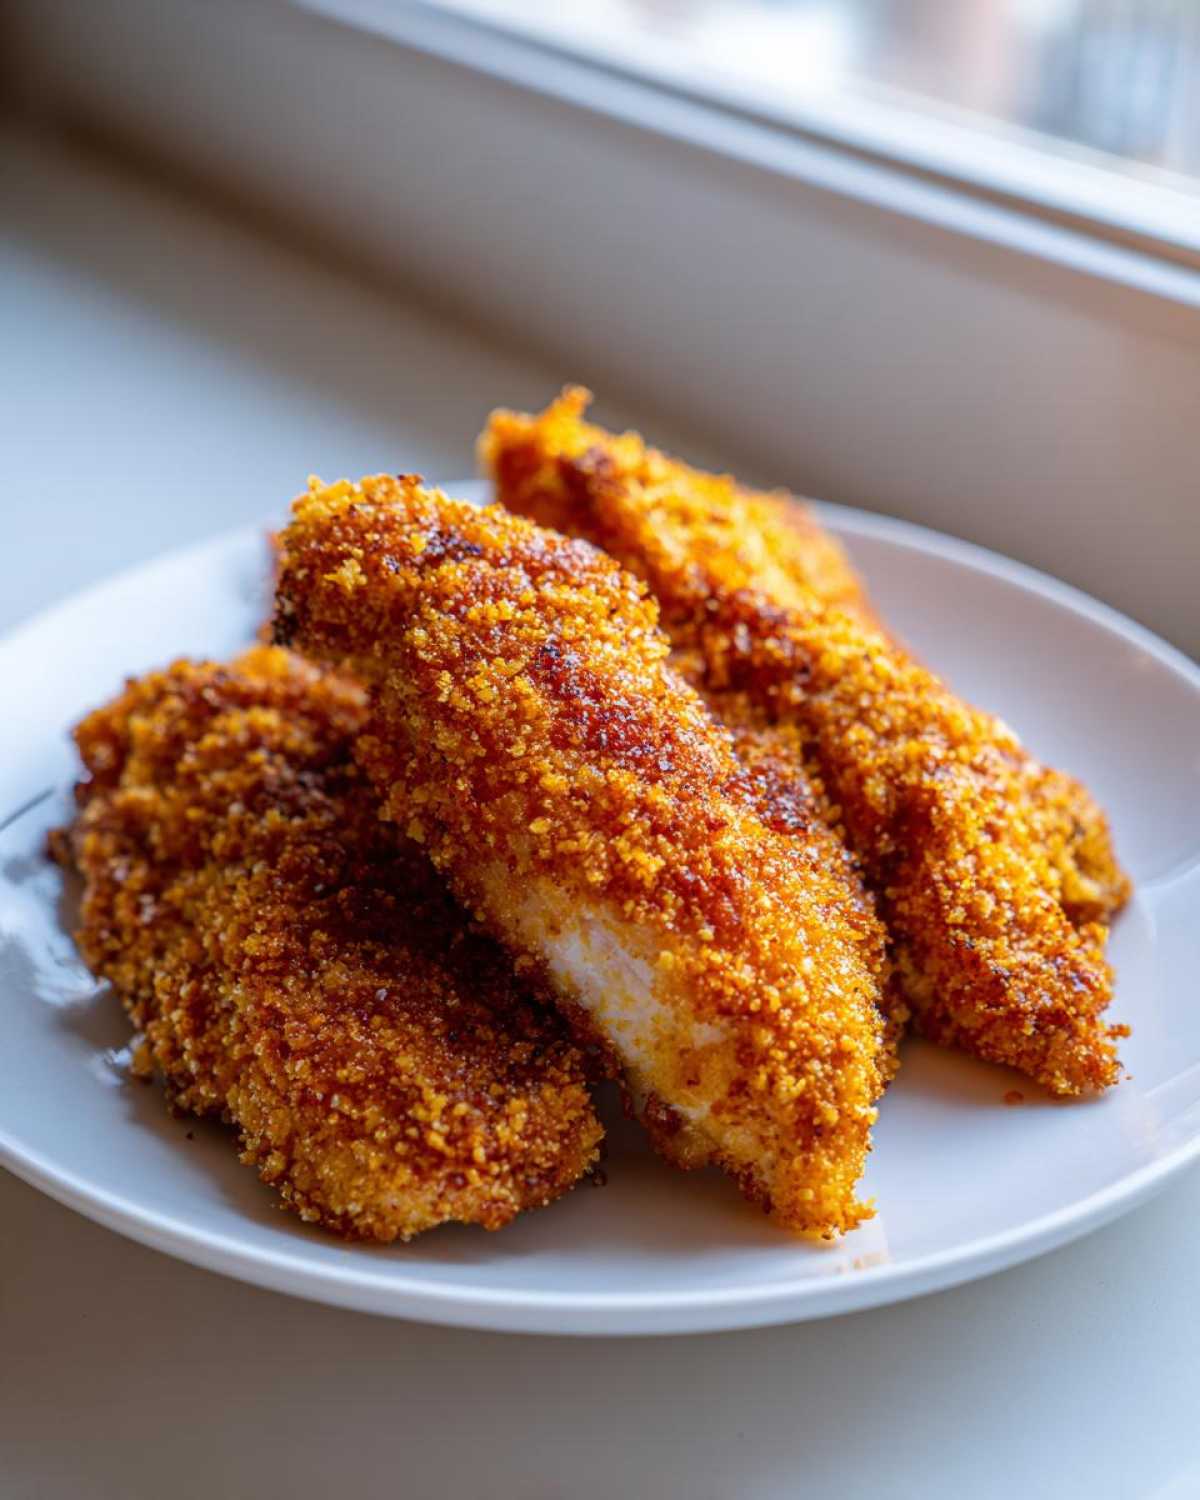
Tips for Success When Making Crispy Oven Baked Chicken Tenders Extra Juicy
We’ve covered the main steps, but there are a few little secrets I learned the hard way that will guarantee you incredible results every single time. Getting this right means you finally stop settling for okay when you want amazing, healthy baked chicken tenders. Trust me, these little adjustments make the difference between good and spectacular!
Avoiding Overcrowding on the Baking Sheet
This is probably the biggest way people accidentally sabotage their crispy oven baked chicken! You might think cramming more tenders onto the sheet saves time, but it’s a trap! When you pack them too close together, the hot air can’t circulate properly around the sides of each piece. That lack of airflow traps steam rising off the chicken, and steam is the arch-enemy of crispiness—it basically makes your crust soggy right away.
If you have a lot of chicken, just do two batches. The extra ten minutes is worth it because you guarantee airflow and keep that oven temperature pegged right where we need it. While you wait for the second batch, maybe steam some veggies or whip up a great side like my one-pan honey garlic chicken and broccoli!
Serving Suggestions for Your Crispy Oven Baked Chicken Tenders Extra Juicy
Now the tricky part is over—you have these beautiful, crunchy tenders! What do you serve them with? Since these are already so satisfyingly crispy and relatively healthy, I like to pair them with things that keep the meal bright and simple. Think about dipping sauces; you absolutely have to try them with my incredible Cowboy Butter dipping sauce recipe; it’s rich and zesty and just perfect for dunking.
For sides, you can’t go wrong with a crisp, tangy coleslaw to cut through the richness. If you want something warm, roasted sweet potato wedges are fantastic because they bake at the same temperature! Or, just keep it classic with some steamed green beans tossed with a little lemon zest. They are so versatile!
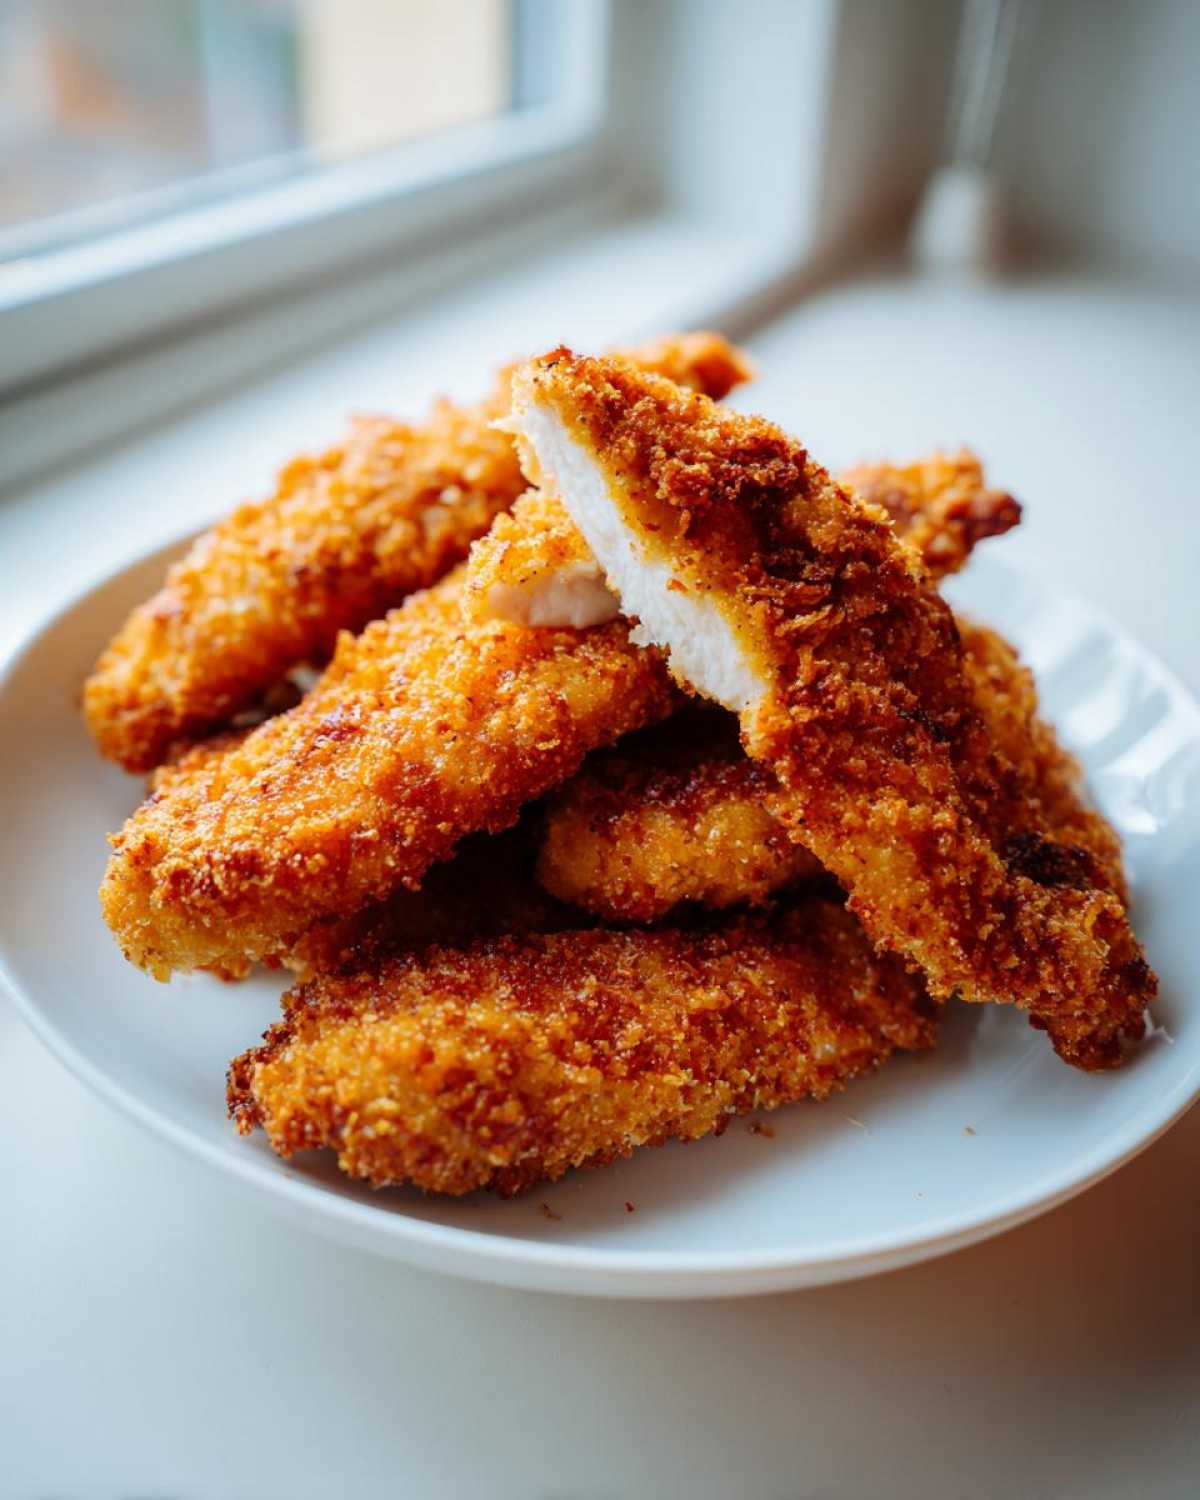
Storage and Reheating Instructions for Leftover Crispy Oven Baked Chicken Tenders
We all hope these disappear on the first night, but hey, leftovers happen! If you have any of these magnificent tenders left, you need to treat them right so they stay crispy. Don’t even think about the microwave—that’s instant sogginess, and we worked too hard for that!
Store your cooled leftovers in an airtight container lined with a paper towel for up to three days in the fridge. To bring back that amazing crunch, pop them into a toaster oven or an air fryer for just a few minutes at about 375 degrees. They reheat fast and get that crispiness back like magic!
Frequently Asked Questions About Oven Baked Chicken Tenders Recipe
I know you might still have questions about getting these to work perfectly the first time. It happens to all of us when we try a new coating method! These are the questions I always get, especially the ones about breadcrumbs and temperature control.
Can I use regular breadcrumbs instead of Panko for this oven baked chicken tenders recipe?
You absolutely can, but you won’t get the exact same result for that extra crispy baked chicken. Regular breadcrumbs are much finer and tend to absorb moisture and pack down more densely. Panko, because it’s flakier, creates those beautiful airy pockets when baked, which is exactly what gives us that superior crunch we’re aiming for when we try to make crispy oven baked chicken tenders extra juicy without frying. If regular crumbs are all you have, use them, but just know they might not feel quite as light!
What internal temperature confirms the chicken tenders are done but still juicy?
This is essential for the ‘juicy’ part of the equation! You need to hit 165 degrees Fahrenheit (74 degrees Celsius). I strongly recommend using a meat thermometer inserted into the thickest part of the tender. If you wait until the juices run totally clear, you’ve gone too far, and you’ve cooked all the moisture out! Pull them as soon as that thermometer reads 165°F. If you’re interested in other methods, you can check out my guide on what works best in an air fryer, though this oven method is a powerhouse!
Nutritional Estimate for Healthy Baked Chicken Tenders
You want comfort food without the guilt, right? That’s why this recipe is categorized as low-fat! Keep in mind these numbers are just an estimate based on standard pantry items we used. Remember, exact amounts of oil or the brand of chicken you choose can change things slightly, so call it a great starting point!
- Serving Size: 4 tenders
- Calories: 320
- Fat: 8g
- Protein: 38g
- Carbohydrates: 25g
If you want a fantastic, lighter side to pair with these, you absolutely have to try my avocado chicken salad recipe with no mayo! It keeps the whole meal feeling light.
Share Your Perfect Crispy Oven Baked Chicken Tenders Extra Juicy
Now you have all the keys to making chicken tenders that are actually crispy on the outside and stay delicious and juicy inside, bake after bake! I truly hope you try out this foolproof oven baked tenders method this week. I get so much joy seeing your results, so please drop a rating below and let me know!
If you snapped a picture of your perfectly cooked juicy chicken breast tenders, share it on social media and tag me—I always love seeing your creations! And if you have any lingering questions about technique or just want to chat about the best coating ideas for baking, leave a comment below. You can also reach out directly on my contact page anytime!
PrintCrispy Oven Baked Chicken Tenders Extra Juicy

Bake chicken tenders in the oven until they are very crispy outside and remain moist inside using a special coating technique.
- Prep Time: 15 min
- Cook Time: 20 min
- Total Time: 35 min
- Yield: 4 servings
- Category: Main Course
- Method: Baking
- Cuisine: American
- Diet: Low Fat
Ingredients
- 1.5 lbs boneless, skinless chicken breast tenders
- 1 cup all-purpose flour
- 2 large eggs, lightly beaten
- 1.5 cups Panko breadcrumbs
- 2 tablespoons baking powder (aluminum-free recommended)
- 1 teaspoon salt
- 0.5 teaspoon black pepper
- 0.5 teaspoon garlic powder
- Cooking spray or 1 tablespoon olive oil
Instructions
- Preheat your oven to 425 degrees Fahrenheit (220 degrees Celsius). Line a baking sheet with parchment paper and place a wire rack on top of the sheet.
- Pat the chicken tenders very dry using paper towels. This step is key for crispiness.
- Set up a three-stage dredging station. In the first shallow dish, place the flour. In the second, place the beaten eggs. In the third, combine the Panko breadcrumbs, baking powder, salt, pepper, and garlic powder. Mix the dry ingredients well.
- Dredge each tender first in the flour, shaking off excess. Dip it into the egg mixture, letting excess drip off. Finally, press the tender firmly into the Panko mixture to coat completely.
- Place the coated tenders on the prepared wire rack. Lightly spray the tops of the tenders with cooking spray or drizzle with a small amount of olive oil.
- Bake for 12 to 15 minutes. Flip the tenders over and bake for another 5 to 8 minutes, or until the internal temperature reaches 165 degrees Fahrenheit (74 degrees Celsius) and the coating is golden brown and crisp.
- Remove from the oven and let rest for 2 minutes before serving.
Notes
- Using a wire rack allows air to circulate completely around the tenders, which helps the bottom crisp up like frying.
- Baking powder in the coating reacts during baking to create extra bubbles, leading to a lighter, crispier crust.
- Do not overcrowd the baking sheet; work in batches if necessary to maintain oven temperature and crispness.
Nutrition
- Serving Size: 4 tenders
- Calories: 320
- Sugar: 1
- Sodium: 450
- Fat: 8
- Saturated Fat: 2
- Unsaturated Fat: 6
- Trans Fat: 0
- Carbohydrates: 25
- Fiber: 1
- Protein: 38
- Cholesterol: 110