

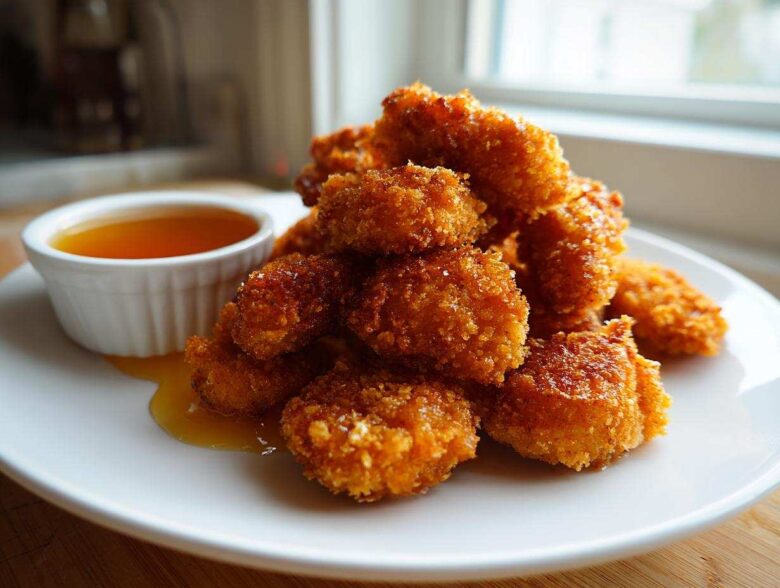
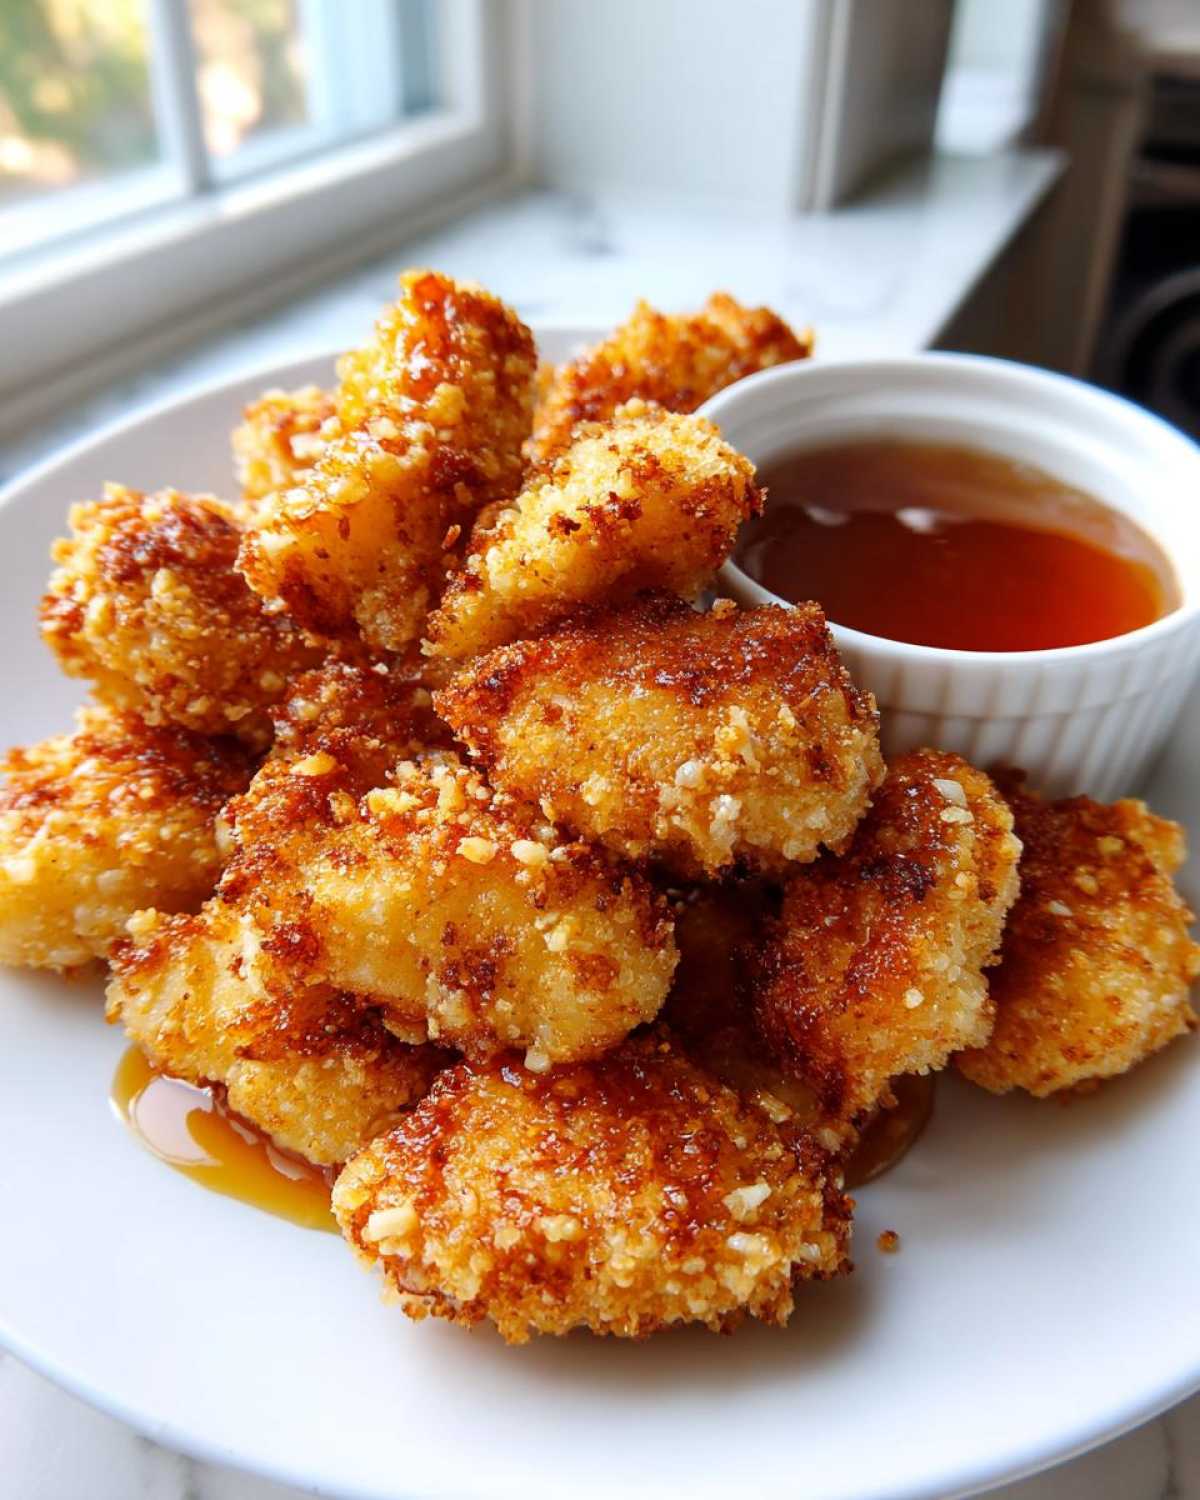
Oh my gosh, you know those moments when only a perfectly crunchy, golden nugget will do? Forget the freezer bags, friend, because I finally cracked the code on the Crispy Chicken Nuggets with Honey Dip that put every fast-food version to shame. I’m talking about real, honest-to-goodness crunch that lasts! It’s wild how much better they taste when you skip the weird additives and just use fresh ingredients. I swear, once you try this homemade version, you won’t look back. We’ve tested every breading trick in the book, and I’m showing you the easiest way to get that satisfying snap every single time.
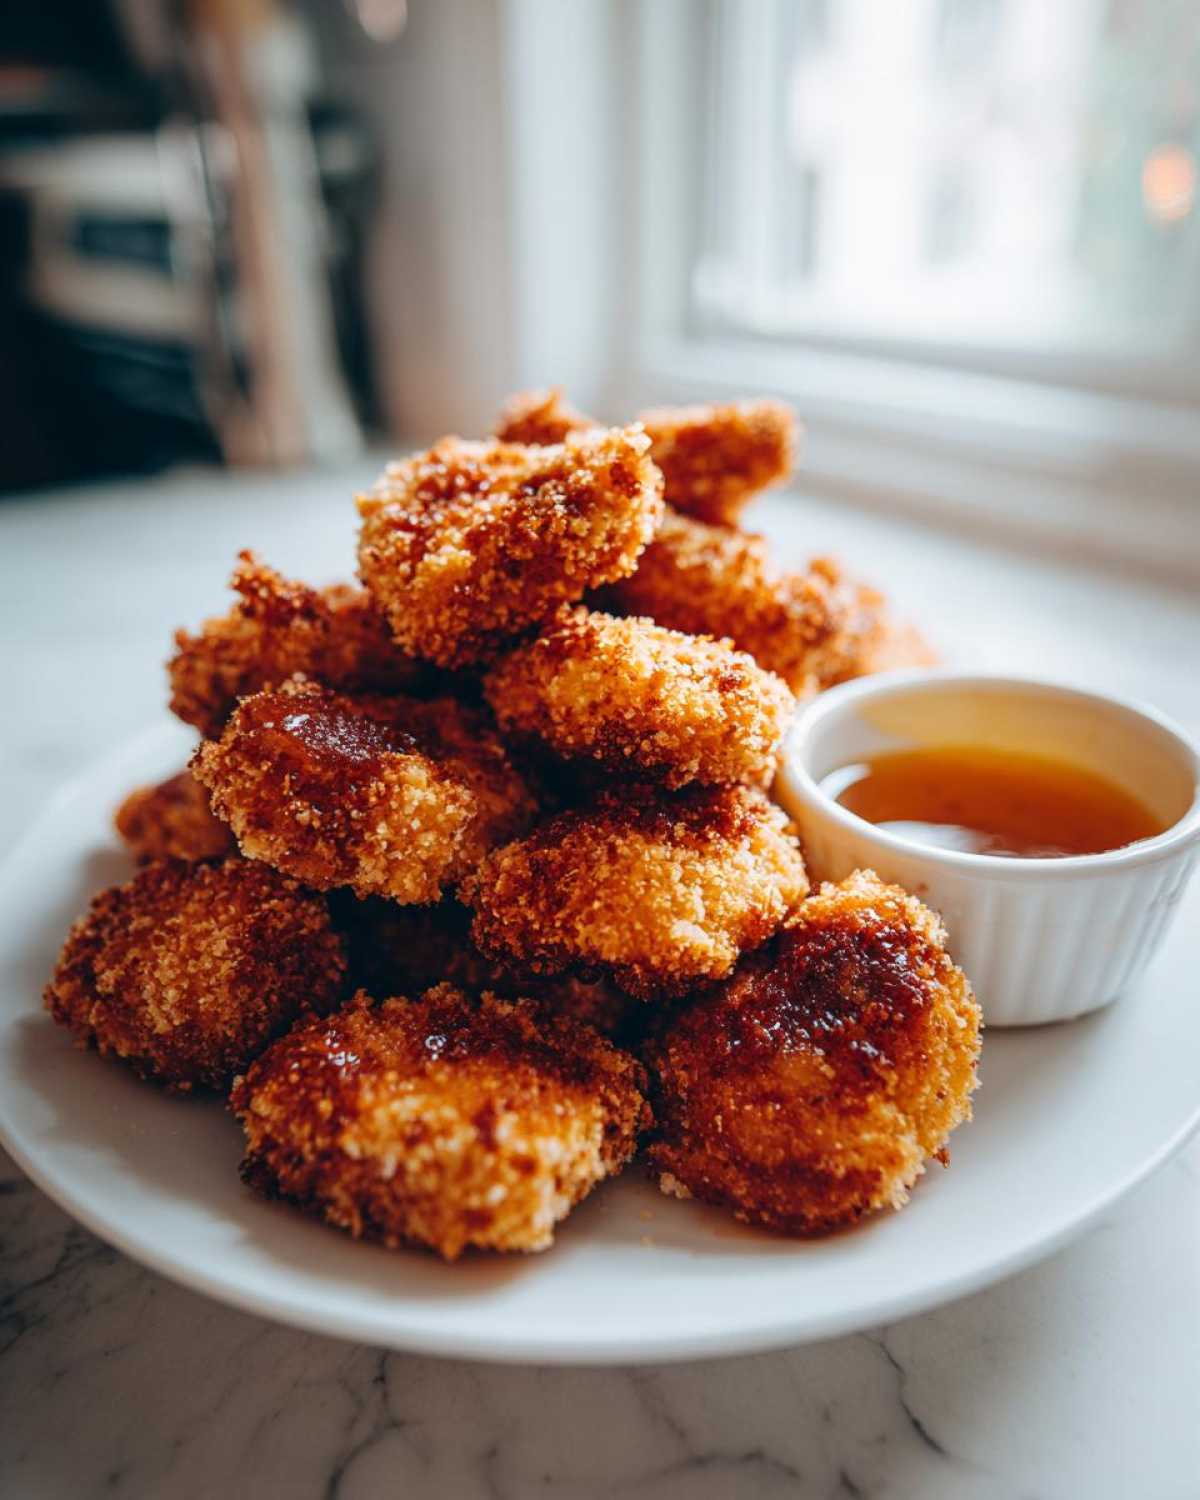
Why You Will Make This Crispy Chicken Nuggets with Honey Dip Recipe Often
Listen, I know weeknights are chaos, but I promise you, this recipe is worth sacrificing five extra minutes for. These aren’t just nuggets; they are an *experience*. I wouldn’t share them if I hadn’t tested them until they were perfect—and by perfect, I mean they are still crunchy half an hour later!
- The texture is absolutely unbelievable. We found the one layering technique that locks the crust in place, making these the Best Crispy Fried Chicken Nuggets you’ve ever had that didn’t come from a drive-thru speaker.
- The honey dip is just the right amount of sweet and tangy to cut through the savory chicken. It’s so simple, you’ll never buy the bottled stuff again.
- Honestly, this is such a winner for picky eaters. It’s my favorite go-to for a reliable weeknight chicken dinner that actually gets eaten without complaint.
Achieving the Ultimate Crunch
The secret weapon here is the panko breadcrumbs, plain and simple. But you have to treat them right! We’re using a triple dredge method—flour, egg, panko—and you must press that last layer of panko onto the chicken. Don’t just gently roll it; actually press it in like you’re trying to make sure it sticks forever. That pressure is what keeps the coating robust, whether you fry them up or go the healthier air fryer chicken route!
Kid Friendly Dinner Ideas
If you struggle finding appealing and relatively whole-food-based meals for the kids, stop right here. These are nuggets, but made with real chicken breast, and they taste miles better. This recipe quickly becomes one of those Kid Friendly Dinner Ideas you pull out when you need a guaranteed win. They are bite-sized, dunkable, and totally irresistible. Trust me, I’ve got two little critics at home, and they approve!
Ingredients for Homemade Chicken Nuggets Recipe
Okay, gathering your gear is half the battle! Laying everything out makes the breading process fly by. Don’t try to wing it; set up three distinct, shallow dishes. Trust me, when the chicken is coated in egg, you want that glorious panko waiting right there to grab onto it! For the chicken itself, you’ll need about 1.5 lbs of boneless, skinless chicken breast, trimmed and cut into nice, nugget-sized 1-inch pieces. These are the stars of the show, of course.
When you’re done assembling your breading stations, don’t forget the oil! You need about two inches of vegetable oil ready to go for frying. If you’re baking, you’ll just need a little cooking spray, which is nice and easy! If you need some inspiration for what to serve alongside these beauties, check out my ideas for using up veggies in a Chicken Zucchini Stir Fry!
The Secret to Crispy Breading Components
This is where the magic happens! You need three stations for the coating process. For your first flour dredge, you’re mixing one cup of all-purpose flour with one teaspoon of salt, half a teaspoon of black pepper, and half a teaspoon of paprika. Just standard pantry spices to give that crust some backbone!
Next up, your wet binder: two large eggs, beaten well until nice and frothy. And finally, the crunch factor: one full cup of panko breadcrumbs! Panko is key here, folks; those flaky Japanese crumbs give you the texture that regular breadcrumbs just can’t match. We also need another half cup of plain flour just for the initial dredging step, so make sure you have enough set aside.
Ingredients for the Tangy Honey Dip
This dip is so easy, but it tastes like it took way more effort. It’s the perfect sweet-meets-sour partner for a rich, fried nugget. You are literally just whisking these four things together in a tiny bowl!
- Half a cup of good quality honey—use the nice sweet stuff!
- Two tablespoons of Dijon mustard. This is what gives it that mustard-y little bite.
- One tablespoon of apple cider vinegar. This is crucial for the tang!
- One teaspoon of water, just to smooth out the texture so it pours nicely.
Whisk it until it’s all one beautifully uniform, golden sauce. That’s it! You’re ready to dip!
How to Prepare Crispy Chicken Nuggets with Honey Dip
Getting that professional, rock-hard crust on homemade nuggets takes a little system, but once you have your production line set up, you’ll be blazing through these in no time. If you’ve ever tried marinating your chicken first for maximum flavor, you might want to try my favorite chicken marinade recipe next time, but for this super quick nugget recipe, we’re keeping it simple and focusing purely on the crunch!
Setting Up Your Breading Station
This is vital! Think of it like an assembly line. You need three shallow dishes lined up in order. Dish one is your seasoned flour (the one with the paprika). This is your initial moisture grabber. Dish two holds your beaten eggs—the glue! And dish three? That’s your glorious, flaky panko breadcrumbs. I always place a clean rack over an empty sheet pan nearby where the fully coated nuggets can rest. This setup prevents cross-contamination and keeps your fingers cleaner!
Perfecting the Coating Technique for Crunchy Chicken Bites Recipe
Now we coat! Take one piece of your seasoned chicken and dip it completely into that first flour mixture. Seriously, make sure it’s coated, then gently shake off any huge clumps—we don’t want big pockets of raw flour in the end. Next, plunge that floured piece into the egg wash, letting the excess drip off for a second. Finally, transfer it straight into the panko!
This is the most important part for that Crunchy Chicken Bites Recipe texture: Press the panko onto the chicken firmly. Don’t be shy! Really press those flakes into the surface of the wet egg. This pressure is what locks that crust on so tightly, ensuring it doesn’t fall off when it hits the hot oil or the oven heat. Place the finished, perfectly crusted nugget onto your holding rack and repeat until all your chicken pieces are ready for cooking. You won’t believe how sturdy they look!
Cooking Methods for Your Crispy Chicken Nuggets with Honey Dip
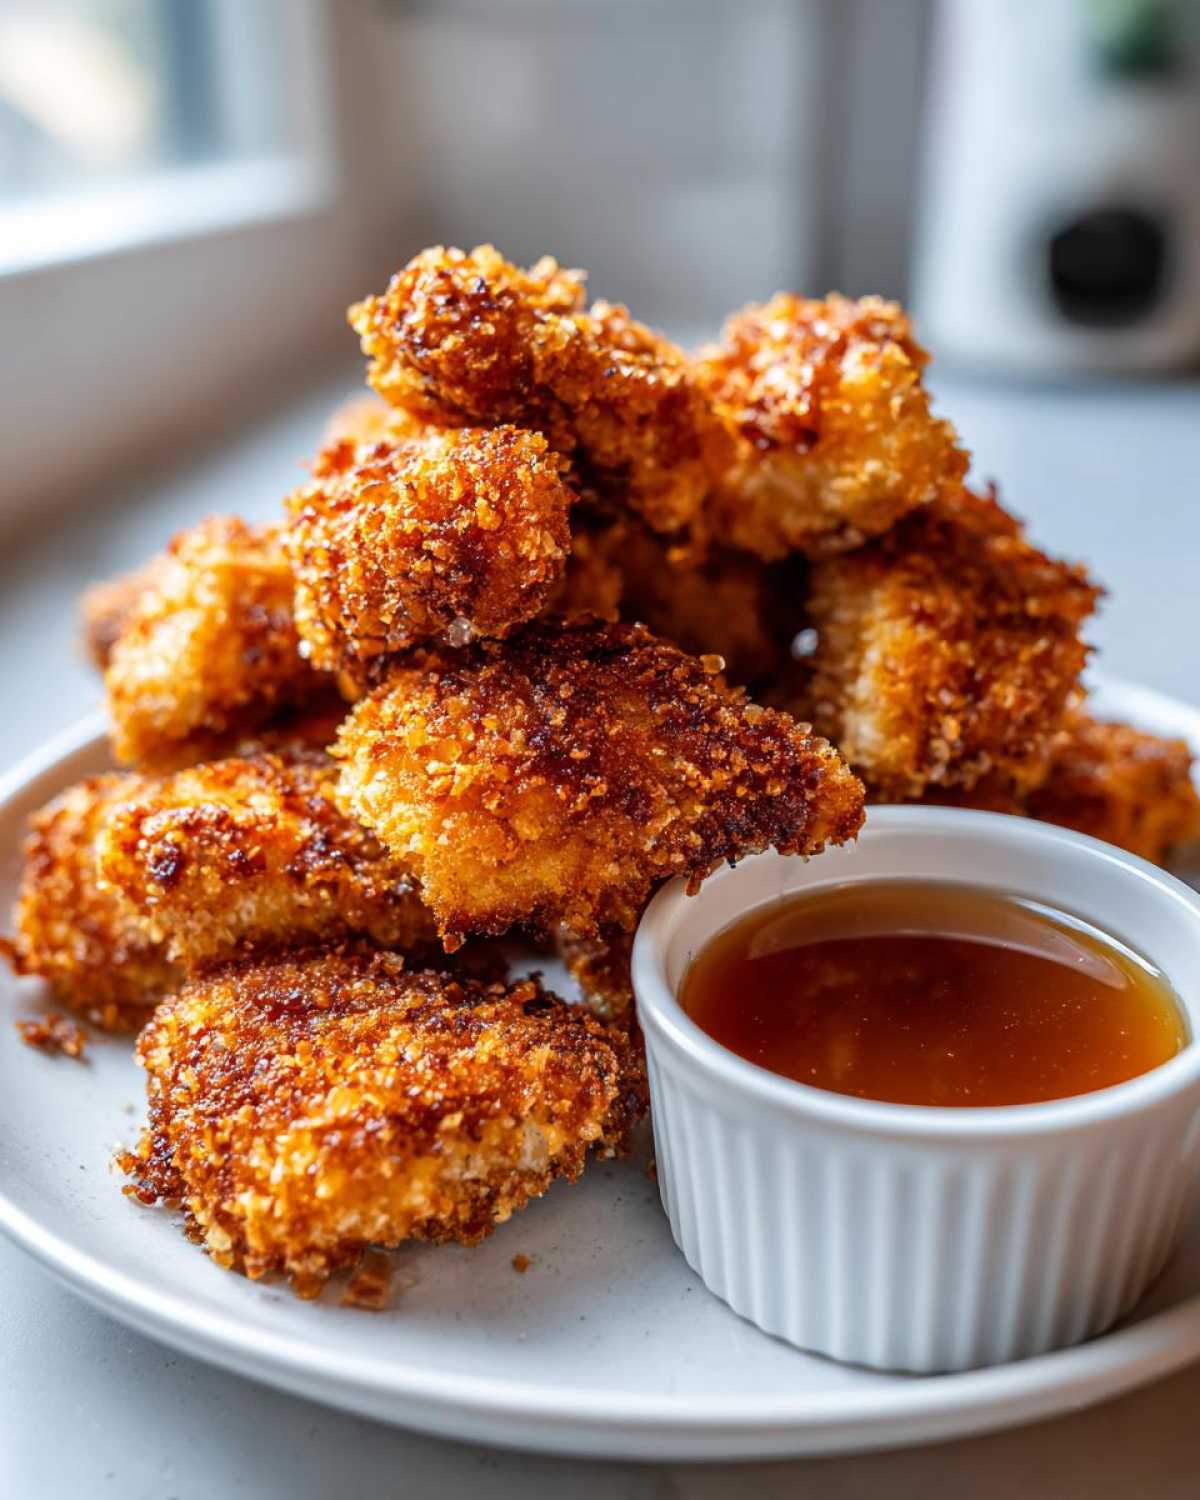
Now for the fun part—cooking them! Whether you want the maximum indulgent crunch from frying or a slightly lighter, but still super crispy, baked version, I’ve got the exact times and temps to make sure these come out golden brown and perfectly safe to eat. Safety first, always! We need that internal temperature to hit 165°F (74°C) for the chicken breast.
Best Crispy Fried Chicken Nuggets Method
If you’re going classic, get your oil ready! You need a deep, heavy-bottomed pot—or a dedicated fryer if you have one—filled about two inches deep with vegetable oil. Heat that oil up until it hits a steady 350°F (175°C). Getting the temperature right is everything; too cool and they get greasy, too hot and the outside burns before the inside cooks! Carefully drop your breaded nuggets in, but please, work in small batches! Overcrowding drops the oil temperature way too fast.
Let them fry for about 3 to 4 minutes total, turning them gently halfway through until they are that gorgeous deep golden color. When they look done, scoop them out with a slotted spoon immediately. Don’t dump them onto paper towels alone—that traps steam and instantly ruins the crisp! Instead, drain them right onto a wire rack set over a baking sheet. They’ll stay crispier while you finish the rest of the batch! They come out even better if you transfer them later onto a rack, similar to how we handle potatoes when making air fryer baked potato wedges!
Oven Baked Crispy Chicken Nuggets Instructions
If you want to keep things a little lighter, the oven works wonders, especially if you use that panko base recommended earlier. Preheat your oven to a nice hot 400°F (200°C). Line a baking sheet with parchment paper (or even better, use a cooling rack placed on top of the sheet pan—that allows air circulation all the way around!).
Take those breaded nuggets and give them a good, light spray with cooking spray or oil. Don’t skip that spray; it mimics the fat in the fryer and helps the crumbs crisp up beautifully! Bake them for 15 to 20 minutes. The key here is the flip! You absolutely must flip them halfway through so both sides get that golden, crunchy finish. They are ready when they look deeply browned and are cooked all the way through!
Making the Dipping Sauce for Chicken
You’ve got these gorgeous, crispy nuggets ready to go, but honestly? They are only half the experience without the perfect dipping companion. Forget those sad, thin little packets you get at a restaurant. I’m going to show you how to whip up the best Dipping Sauce for Chicken—our signature sweet and tangy honey dip—in about two minutes flat. It’s so easy it feels like cheating!
Seriously, you don’t even need to turn on the stove for this! Grab a small bowl. We are just going to whisk everything together until it forms one cohesive, shiny sauce. This specific balance of sweet honey, sharp Dijon, and that little kick of vinegar is exactly what makes these Crispy Chicken Nuggets with Honey Dip the ultimate treat. I feel like I need to make a double batch of this dip every time, because everyone dives in!
If you’re feeling adventurous and want to add in something smoky next time, I highly recommend checking out the flavors in my recipe for Cowboy Butter Dipping Sauce Recipe—but for now, keep it simple with this duo!
Tips for Success with Your Easy Chicken Nuggets from Scratch
Okay, so you’ve mastered the breading station and you know how to get that perfect golden crunch whether you fry or bake. But let’s talk about the little things that turn a great batch of Easy Chicken Nuggets from Scratch into an absolutely legendary batch. I’ve picked up a few tricks over the years to make sure every nugget is a winner, and that you can cook ahead when life gets busy!
My biggest piece of advice, which wasn’t even in Grandma’s notes but totally applies here, is this: After you bread those nuggets, if you have time, stick them on that holding rack in the freezer for about 15 minutes before cooking! It seems weird, I know, but chilling the outside crust helps it set up rock solid. When that cold crust hits the hot oil or oven, it doesn’t shrink or fall apart as easily. It’s the secret handshake of a truly crispy coating!
Freezer Friendly Chicken Nuggets Storage
Life happens, right? Sometimes you have a sudden burst of energy and bread fifty nuggets, or maybe you just want dinner ready to go on a chaotic Tuesday. These are fantastic for freezing uncooked! After you finish breading all your pieces, lay them out in a single layer on that baking sheet—make sure none of them are touching! Pop that whole sheet pan into the freezer until the nuggets are completely solid. We’re talking rock hard, maybe an hour or two.
Once they are frozen solid, you can just toss them all into a heavy-duty freezer bag. Make sure you squeeze out as much air as possible before sealing them up! They stay great like this for a couple of months. The best part? You cook them straight from frozen! You just need to add a few extra minutes to your cooking time until they reach that safe 165°F internal temp. So easy for a quick weeknight meal!
Ingredient Adjustments for Flavor Balance
Since no two batches of honey are exactly alike, and some of us like things genuinely tangy, you should know how to tweak that dip! We used one tablespoon of apple cider vinegar in the main recipe, but if you find yourself wanting that zip to be stronger—maybe you’re serving these to some of the adults who don’t like things overly sweet—just go ahead and add an extra teaspoon of that vinegar. Whisk it in well, taste it, and add a tiny splash more if needed!
If you end up with extra dip (which, let’s be honest, you probably will because you made it perfectly smooth!), you can save it in the fridge for about a week. It’s also amazing drizzled over leftover chicken or even stirred into a homemade salad dressing! If you like smoky flavors with your chicken, you might also want to try making a batch of my easy homemade BBQ sauce sometime soon!
Storage & Reheating Instructions for Crispy Chicken Nuggets with Honey Dip
So, you made too many—which, if you’re anything like me, is always the plan! Great news: leftover nuggets are still delicious the next day, provided you treat them right when reheating. The golden rule here is to absolutely avoid the microwave. I know it’s tempting for speed, but the microwave warms them up by steaming the coating, and hello, soggy nuggets! We want to bring that glorious crunch back to life, and microwaves simply don’t understand the concept of crispiness!
For storing the leftovers, make sure the nuggets are completely cooled down after their first cooking session. Pop them into an airtight container or a sealed Ziploc bag. They’ll keep happily in the refrigerator for about three to four days. The honey dip is good for about a week in the fridge, too—it separates a little, so just give it a good whisk before serving.
When it comes to reheating, you have two fantastic options to bring back that fresh-out-of-the-fryer texture. The absolute best tool for this resurrection job is an air fryer if you have one. Set it to 375°F (190°C) and cook the cold nuggets for about 5 to 7 minutes, shaking the basket halfway through. They get perfectly hot and crunchy again!
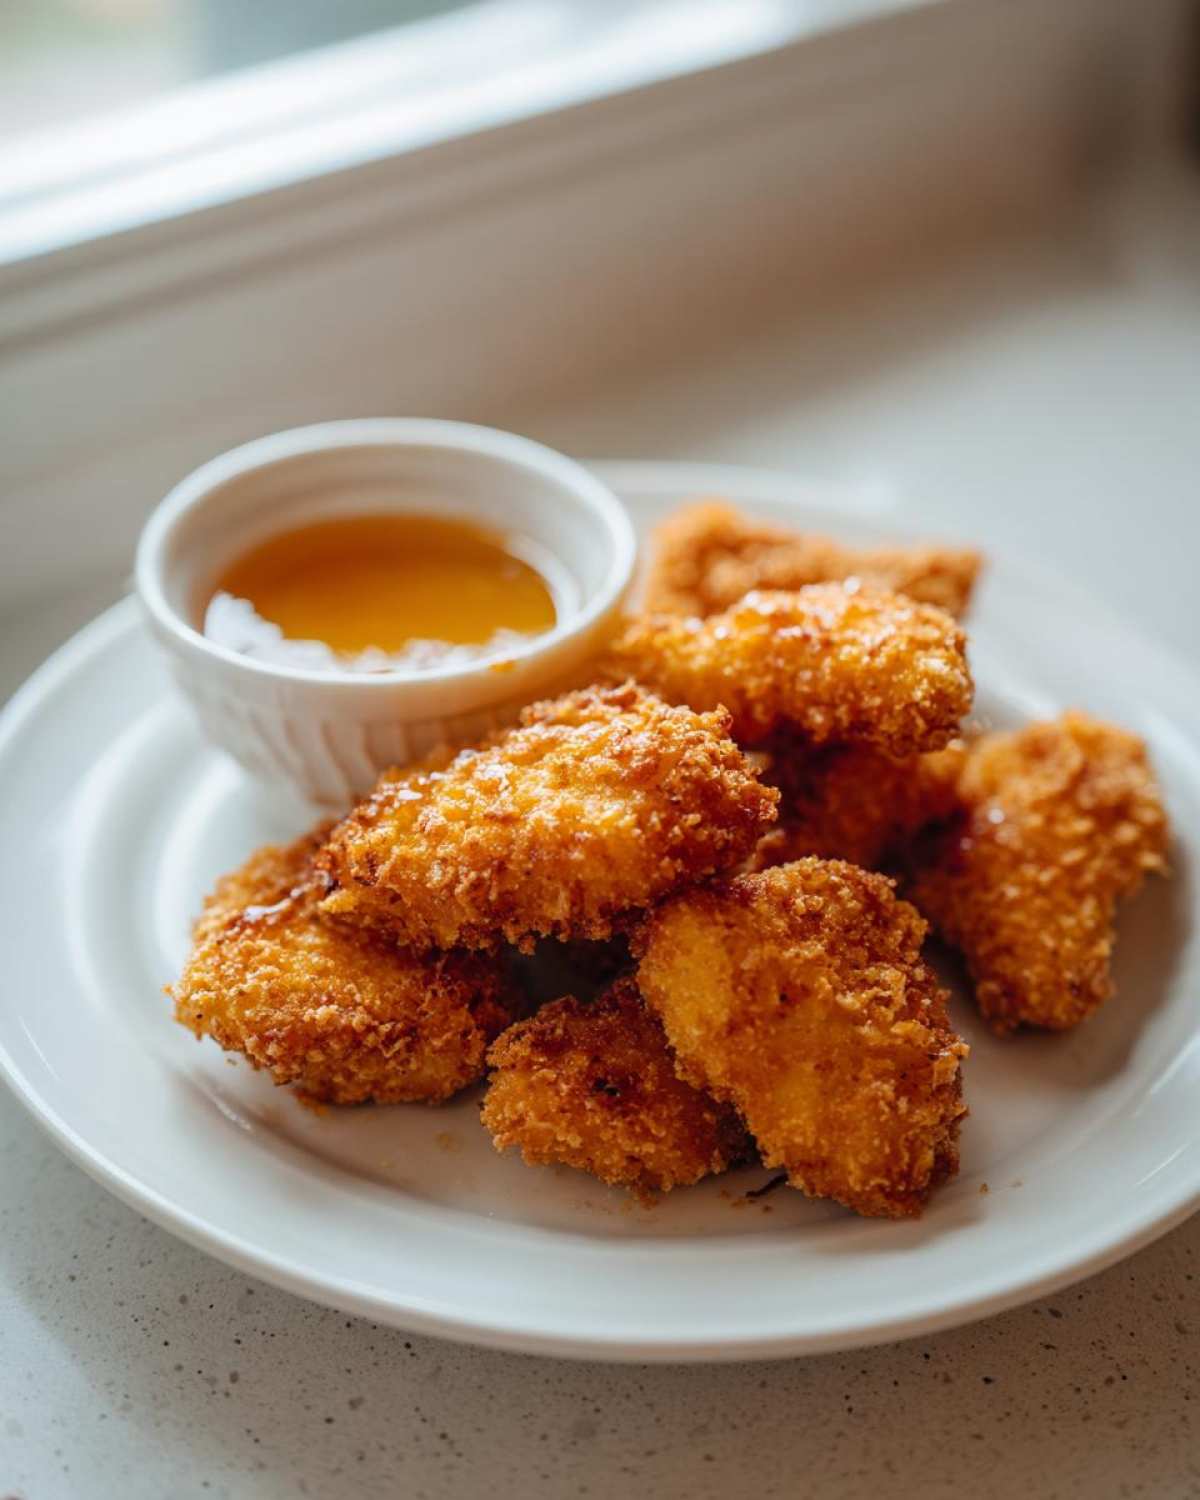
If you don’t have an air fryer, the regular oven is your next best friend. Preheat your oven to 375°F (190°C) as well. Lay the cooled nuggets in a single layer on a parchment-lined baking sheet—again, no overlapping! Bake them for about 10 to 12 minutes. You might want to flip them over once near the end just to ensure both sides crisp up evenly. Either way, when they are hot and crunchy, they are ready to dunk back into that sweet honey dip!
Frequently Asked Questions About Making Crispy Chicken Nuggets
I totally get it; sometimes you need a quick answer before you even start prepping! Cooking is about intuition, yeah, but having the right facts handy makes the whole process smoother. I’ve gathered the most common questions I get about turning out the best Homemade Chicken Nuggets Recipe possible. Let’s knock these out so you can get back to the dipping action! If you end up having tons of leftover chicken, you might want to try my easy chicken cobbler recipe next time!
Can I use chicken thighs instead of breast meat for these nuggets?
Oh, absolutely you can! Chicken breast is my go-to because it stays nice and white, and it’s leaner, but thighs bring so much more flavor because of the extra fat they have running through them. If you swap them in, just keep an eye on the cooking time, especially if you’re frying. Thigh meat might need an extra minute or two to ensure it hits that safe 165°F internal temp because it’s denser. You won’t regret the extra richness!
What is the secret to crispy breading when baking?
This is the number one question for anyone trying to make a Healthy Chicken Nuggets Recipe! The secret is twofold, really. First, you *have* to use panko breadcrumbs—the regular kind just doesn’t give you that satisfying texture. Second, and this is non-negotiable for baking: you must spray the breaded nuggets generously with oil! Don’t just lightly dust them; spray them until they look glistening. That oil is what activates the crispiness in the oven, mimicking the deep fry process. It works like a charm!
Can I make a Homemade Honey Mustard Dipping Sauce variation?
Of course! If you want to kick up the flavor profile of that dip, you have total freedom. My favorite way to switch things up is by adding a pinch of smoked paprika along with a small dash of garlic powder when you whisk everything together. That smoky sweetness pairs surprisingly well with the brightness of the apple cider vinegar! It turns it into something closer to a spicy-sweet glaze without losing the classic honey note. If you’re looking for more sauce ideas, I’ve got a whole collection of fantastic Homemade Chicken Tenders Dipping Sauce recipes for you to experiment with next time!
Serving Suggestions for Your Chicken Dinner
So, you’ve got the crispiest nuggets ever and a giant bowl of that addictive honey dip ready to go. Awesome! But what else is going on the plate? Since we’re aiming for something that works great for a quick family meal—those happy Kid Friendly Dinner Ideas—we want sides that are easy, speedy, and generally beloved by everyone, even the pickiest eaters. You can’t just serve nuggets alone, even though my kids would happily try!
For me, the decision usually comes down to how I cooked the nuggets. If I’m shallow-frying them, I like to balance that richness with something fresh and bright on the side. If I’ve baked them or put them in the air fryer, I feel like I can get away with a slightly heavier starch!
If you’re looking for the ultimate upgrade to your potato game—something creamy but still uses sweet potatoes, which your kids might actually eat because they’re naturally sweet—you absolutely have to try my go-to recipe for mashed sweet potatoes. They are amazing alongside savory chicken!
Here are a few quick pairing ideas that always disappear fast at my house:
- Sweet Potato Fries: Whether you bake them or air-fry them, the sweetness is a natural match for the honey dip. A little cinnamon on the fries doesn’t hurt either!
- Simple Crunchy Slaw: Shredded cabbage and carrots tossed lightly with a teaspoon of vinegar and a drizzle of olive oil. It adds that necessary fresh crunch that contrasts beautifully with the warm nuggets.
- Steamed Green Beans: Super quick, just a sprinkle of salt and maybe a tiny pat of butter at the end. It adds necessary green, and they’re quiet eaters—no complaints!
- Macaroni and Cheese: Okay, sometimes you just need comfort food beside comfort food. It’s a classic for a reason! If you make it from scratch, you can control the saltiness, which is always a bonus.
Honestly, half the time I just cut up some apples, and that’s it. The important thing is getting these amazing nuggets on the table while they are still hot!
Recipe Estimation and Disclaimer
Okay, before you jump into that glorious plate of crunchy goodness, I just need to chat quickly about the numbers. I always try my best to calculate the nutritional information for convenience, but you know how it is when we cook from scratch—things change a little bit every time!
The values you see mentioned elsewhere on the site are only estimates, based on what I used in my kitchen that specific day. Things like the fat content of your chicken breast, the brand of honey you choose for your dip, or whether you decide to deep-fry versus baking will seriously change the final count. Seriously, if you baked them instead of frying, the fat content will drop considerably!
The most important thing is that you followed the steps to get the Best Crispy Fried Chicken Nuggets or the baked version—the taste definitely matters more than the perfect calorie count here! If you need the full lowdown on how we handle recipe analysis and disclaimers across the site, you can pop over and read the details here: recipe estimation and disclaimer. Just use these figures as a general guideline, and focus on enjoying these amazing, homemade nuggets!
Share Your Crispy Chicken Nuggets with Honey Dip Experience
Whew! Now that you have the secret to the best, crunchiest nuggets in your arsenal, the only thing left to do is get cooking! I genuinely cannot wait to hear what you think. I poured so much time into perfecting that breading station so you wouldn’t have to go through the trial-and-error I did!
Did you go the deep-fried route for maximum indulgence, or were you a champion of the oven-baked method this time? And please tell me you made a massive batch of that tangy honey dip! I always seem to run out of dip before I run out of nuggets, which is a serious culinary emergency, so let me know if you made a double batch!
If you loved how simple this recipe was for a quick family meal, please take a minute and leave a rating down below. Your feedback helps other cooks know this recipe is the real deal for achieving fantastic results with their Crispy Chicken Nuggets with Honey Dip. If you had any little tweaks that made them perfect for *your* family, drop them in the comments too—we all help each other out in the kitchen!
If you have questions about substitutions or techniques, or just want to share a picture of your gorgeous, golden nuggets, feel free to connect with me directly! You can easily reach out via my contact page. Happy dipping, everyone!
PrintCrispy Chicken Nuggets with Honey Dip
Make crunchy homemade chicken nuggets using a double-dip breading method for extra crispiness, served with a simple sweet and tangy honey dip.
- Prep Time: 20 min
- Cook Time: 15 min
- Total Time: 35 min
- Yield: 4 servings
- Category: Main Course
- Method: Frying or Baking
- Cuisine: American
- Diet: Low Fat
Ingredients
- 1.5 lbs boneless, skinless chicken breast, cut into 1-inch pieces
- 1 cup all-purpose flour
- 1 teaspoon salt
- 1/2 teaspoon black pepper
- 1/2 teaspoon paprika
- 2 large eggs, beaten
- 1 cup panko breadcrumbs
- 1/2 cup all-purpose flour (for dredging)
- Vegetable oil, for frying (about 2 inches deep)
- 1/2 cup honey
- 2 tablespoons Dijon mustard
- 1 tablespoon apple cider vinegar
- 1 teaspoon water
Instructions
- Prepare the chicken: Place the cut chicken pieces in a bowl. Season lightly with salt and pepper.
- Set up the breading station: Place 1 cup flour, salt, pepper, and paprika in a shallow dish. In a second shallow dish, place the beaten eggs. In a third shallow dish, place the panko breadcrumbs.
- Dredge the chicken: Take one piece of chicken and coat it completely in the seasoned flour mixture. Shake off excess.
- Dip in egg: Dip the floured chicken piece into the beaten egg, letting excess drip off.
- Coat with panko: Immediately press the egg-coated chicken firmly into the panko breadcrumbs, ensuring full coverage. Press the crumbs onto the chicken to adhere well. Place coated nuggets on a plate. Repeat for all pieces.
- Cook the nuggets (Frying Method): Heat oil in a deep, heavy-bottomed pot or deep fryer to 350°F (175°C). Carefully place nuggets into the hot oil, working in batches to avoid overcrowding. Fry for 3-4 minutes, turning occasionally, until golden brown and cooked through (internal temperature reaches 165°F or 74°C). Remove with a slotted spoon and drain on a wire rack lined with paper towels.
- Cook the nuggets (Baking Method): Preheat your oven to 400°F (200°C). Lightly spray the breaded nuggets with cooking spray. Bake for 15-20 minutes, flipping halfway through, until golden and cooked through.
- Make the honey dip: While the nuggets cook, whisk together the honey, Dijon mustard, apple cider vinegar, and water in a small bowl until smooth.
- Serve the hot nuggets immediately with the prepared honey dip.
Notes
- For extra crispiness when baking or air frying, lightly spray the breaded nuggets with oil before cooking.
- You can freeze uncooked, breaded nuggets on a baking sheet until solid, then transfer them to a freezer bag for later use. Cook directly from frozen, adding a few extra minutes to the cooking time.
- If you prefer a tangier dip, increase the apple cider vinegar by one teaspoon.
Nutrition
- Serving Size: 6 nuggets
- Calories: 350
- Sugar: 15
- Sodium: 450
- Fat: 18
- Saturated Fat: 4
- Unsaturated Fat: 14
- Trans Fat: 0
- Carbohydrates: 25
- Fiber: 1
- Protein: 22
- Cholesterol: 85