

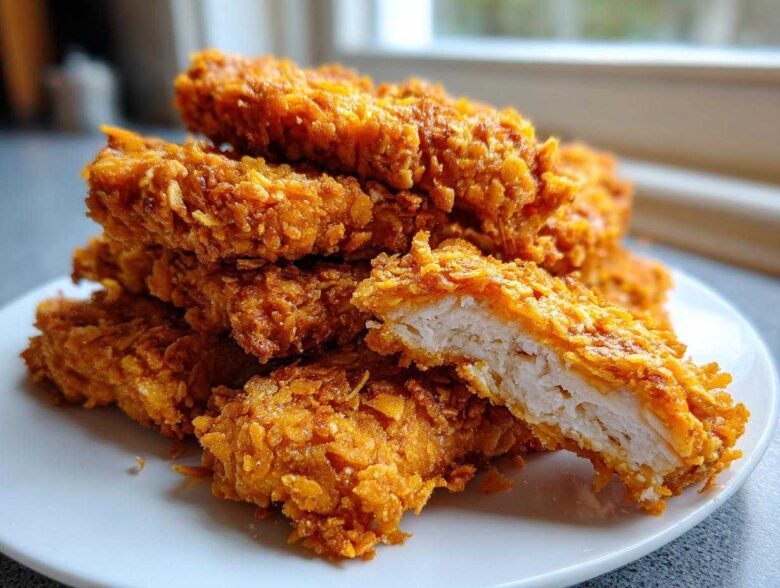
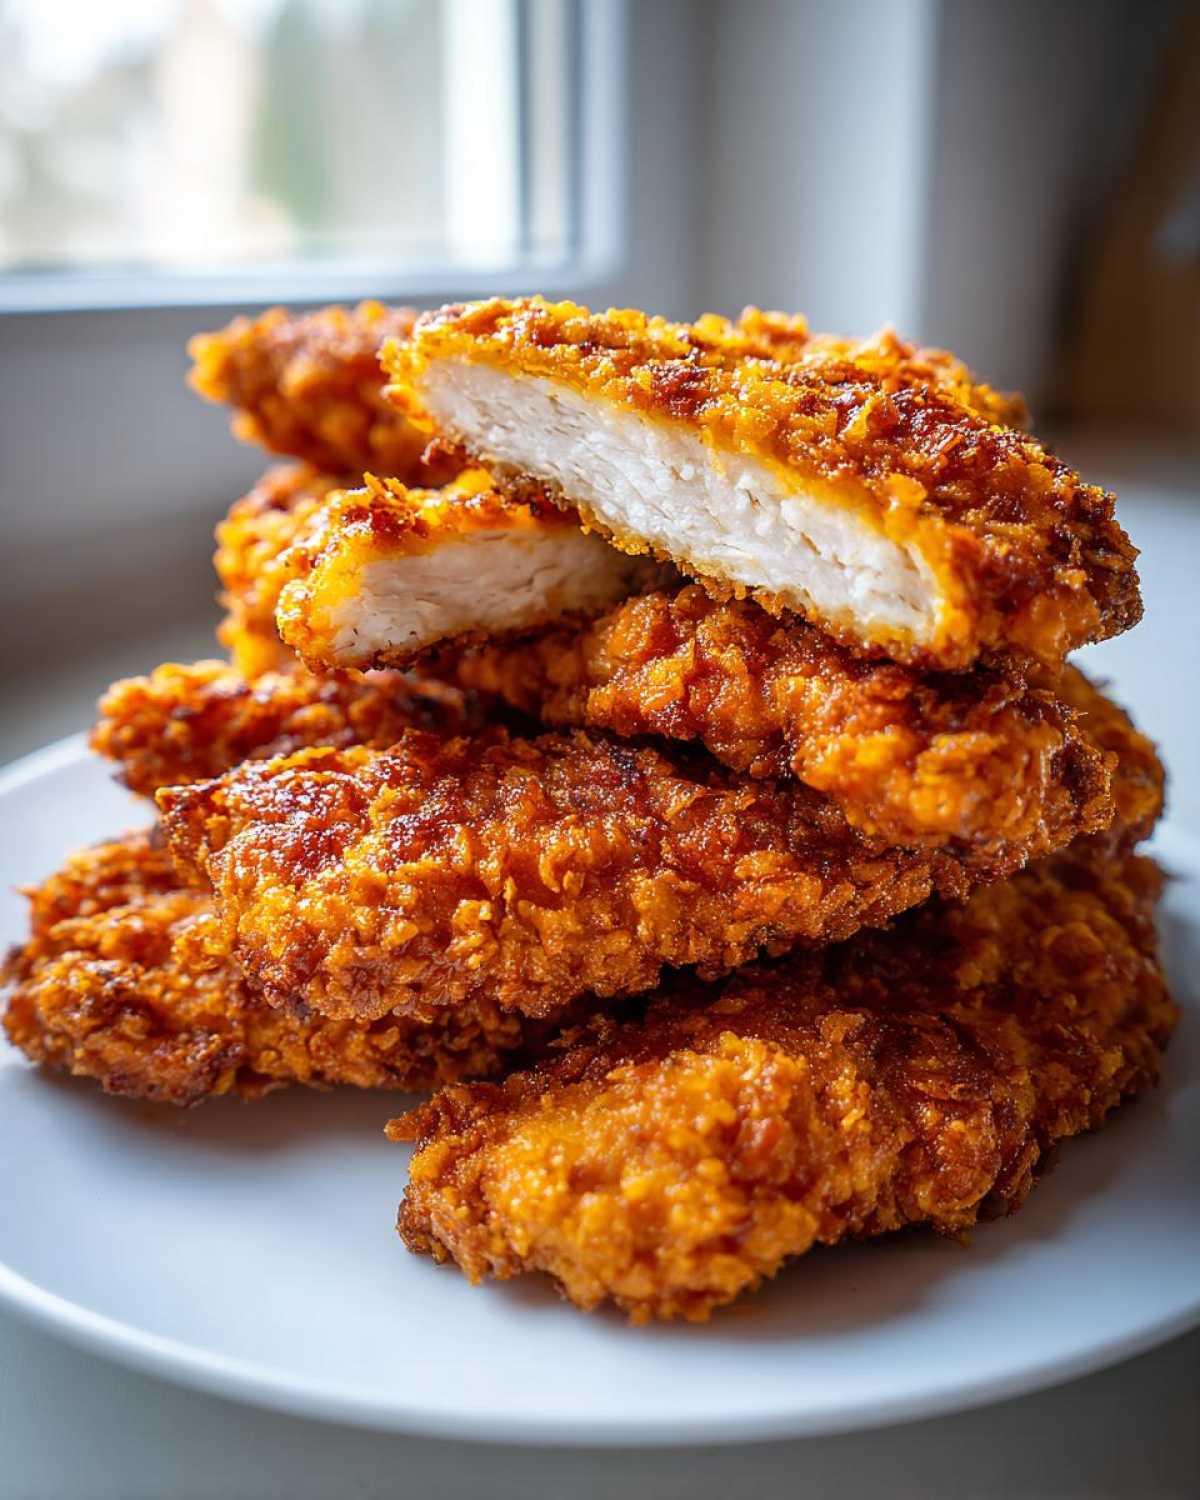
Oh, I know that feeling! You’re staring down a craving for something deeply crunchy and savory—that glorious sound of fried chicken—but you really, truly don’t want to deal with a vat of hot oil. Trust me, I’ve been there hundreds of times! That’s why I spent way too many weekends messing around with different coatings until I cracked the code on texture in the oven. The result? My very favorite Crispy Baked Chicken Tenders with Cornflake Crust. This isn’t some sad, weak imitation of fried chicken; this is legitimate, golden-brown, hold-your-shape crunch that happens entirely in your normal oven! It’s healthier, super easy, and honestly, makes for a fantastic quick weeknight chicken dinner idea.
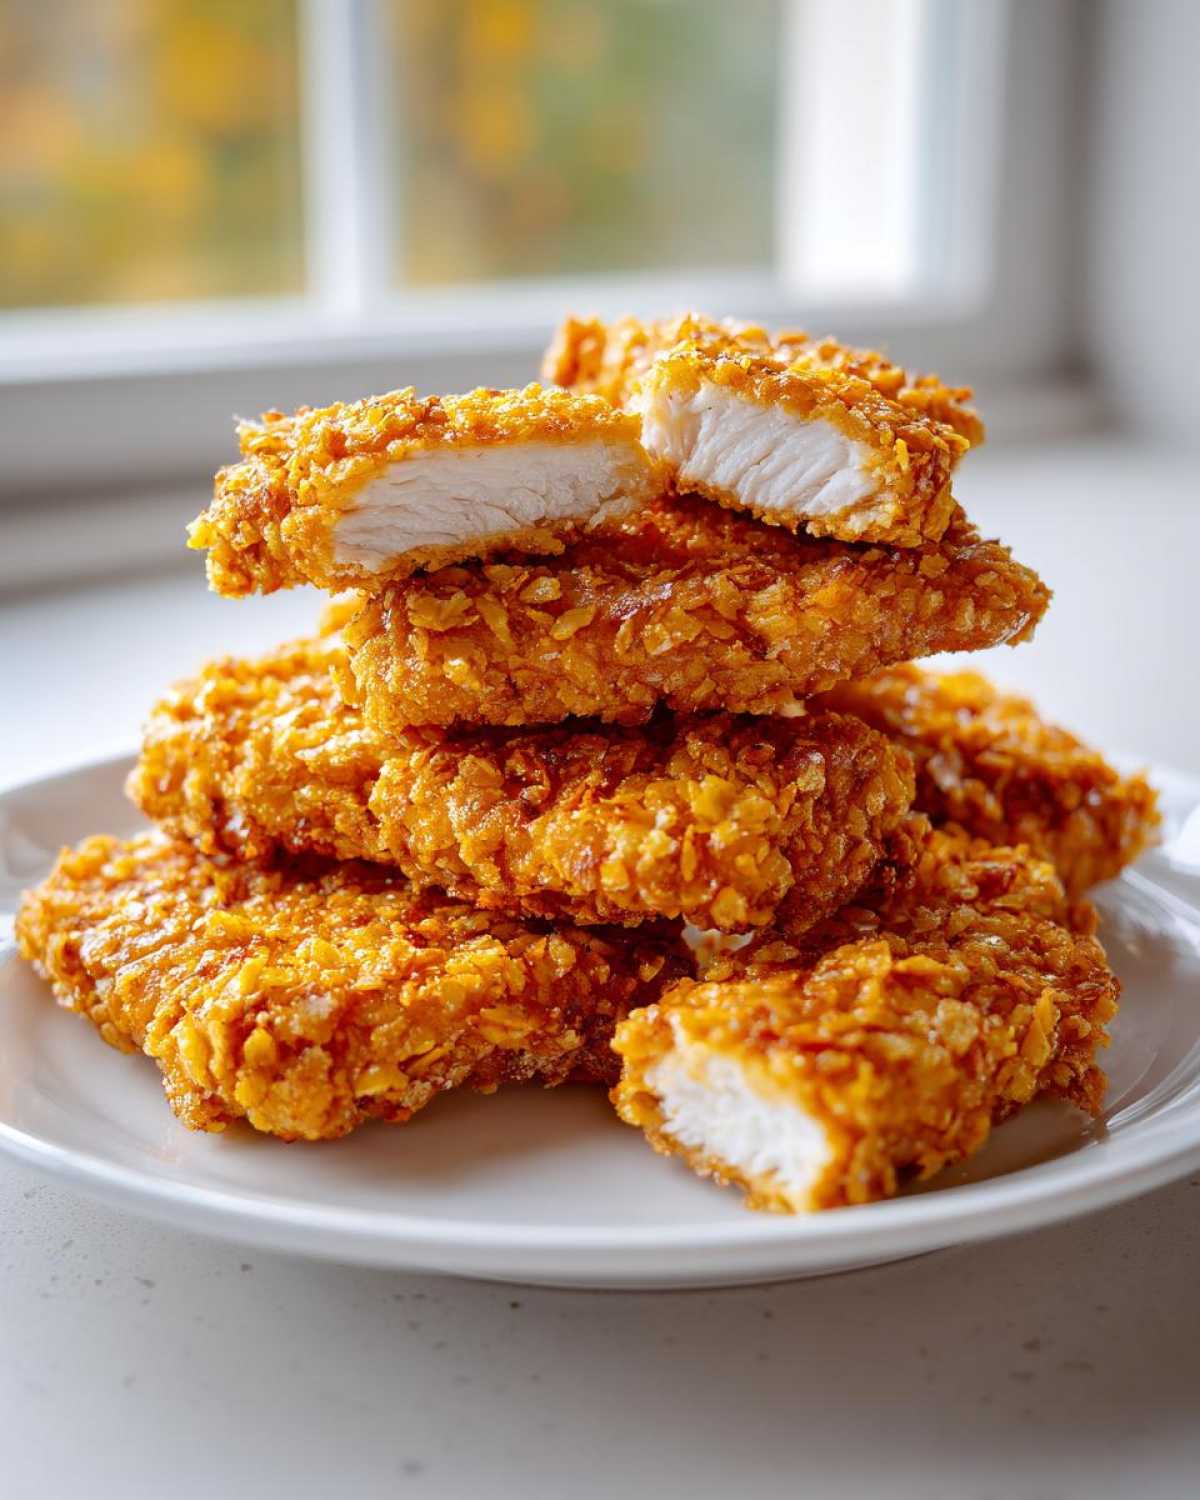
Why You Will Love This Crispy Baked Chicken Tenders with Cornflake Crust Recipe
- Serious Crunch Factor: We use triple coating, pressing those cornflakes firmly so you get that satisfying, loud crunch every single bite—zero sogginess here!
- Healthier Swap? Absolutely! You get that ‘oven fried’ effect without splashing oil everywhere. It’s a win for feeling good about what you’re eating.
- Kid Approved: These are simple, familiar, and fun to eat. They disappear fast, making this a true kid friendly baked chicken strips favorite.
- Speedy Dinner: Prep is quick, and since they bake hot and fast, this is a perfect Quick weeknight chicken dinner idea when you need something fast that tastes special.
- Buttermilk Magic: That short soak in buttermilk tenderizes the chicken beautifully, ensuring the inside stays juicy while the outside crisps up perfectly.
- Easy Cleanup: Because we aren’t deep frying, cleanup is just washing a few bowls and your baking sheet—no greasy sink mess!
Honestly, making something this crunchy in the oven feels like cheating a little bit, but in the best way possible. You’re going to find yourself making these every week!
Ingredients for the Best Cornflake Chicken Crust
Getting the crust right is half the battle, and the ingredients listed here are the tried-and-true combination that works every time. Remember, don’t skimp on the buttermilk soak; that’s where the flavor starts! And seriously, for that Best cornflake chicken crust, you need to crush those flakes finely, almost like coarse sand. That’s the secret to maximum surface area adhesion.
- 1.5 lbs boneless, skinless chicken breasts, cut into 1-inch strips
- 1 cup buttermilk
- 1 teaspoon salt
- 0.5 teaspoon black pepper
- 1 teaspoon garlic powder
- 2 cups cornflakes, crushed finely
- 0.5 cup all-purpose flour
- 2 large eggs, lightly beaten
- Cooking spray
We rely on that buttermilk soak, which you can read more about if you love creamy, tangy bases, just like in my famous pie! But for the tenders, these ratios are perfect for four hungry people.
How to Prepare Crispy Baked Chicken Tenders with Cornflake Crust
This is where the magic happens, and I want you to think of this like painting a masterpiece, but instead of paint, we’re using flour, egg, and the glorious cornflake mixture. Follow these steps closely, and you’ll nail that crunch factor every time you make these Crispy Baked Chicken Tenders with Cornflake Crust. It’s all about building those layers properly. If you want deep, juicy flavor even before we coat them, check out my thoughts on seasoning right here!
Preheating and Marinating for Flavor
First things first: get that oven humming! We need it hot, 400°F (200°C) is the spot. Now, here’s a little trick I learned: place your empty baking sheet right inside the oven while it heats up. That scorching hot metal hits the bottom of the tender immediately, which locks in crispiness right from the start—a huge step for any Crunchy baked chicken tutorial.
While that’s happening, mix up your buttermilk bath with the salt, pepper, and garlic powder. Dump the chicken strips in and let them chill for at least fifteen minutes. This liquid doesn’t just flavor the chicken; it softens the proteins, guaranteeing those beautiful, juicy centers.
Setting Up the Oven Fried Chicken Tender Coatings Station
This assembly line needs to be organized! Use three shallow dishes for your standard breading process—think flour first, then the beaten egg wash, and finally those crushed cornflakes. Once your chicken comes out of the bath, let the excess buttermilk drip off for a second. First, dredge it in the flour, shake off the excess—we don’t want clumps! Then a quick dip in the egg.
The crucial part for holding everything together and supporting your Oven fried chicken tender coatings? Push that egg-coated strip firmly into the cornflakes on both sides. I mean *press* it on there! Those flakes need to make good contact with the chicken so they don’t just fall off halfway through baking.
Baking for Maximum Crunch
Carefully place your coated beauties onto that hot baking sheet you left waiting in the oven—they should sizzle a bit! Now, grab your cooking spray. You absolutely *must* spray the tops generously. This oil helps cook down the cornflakes evenly and drives that golden-brown color. Bake for about 18 to 22 minutes total. Don’t forget to flip them halfway through! We are looking for an internal temperature of 165°F (74°C). If they look done but you’re nervous, check the thickest piece!
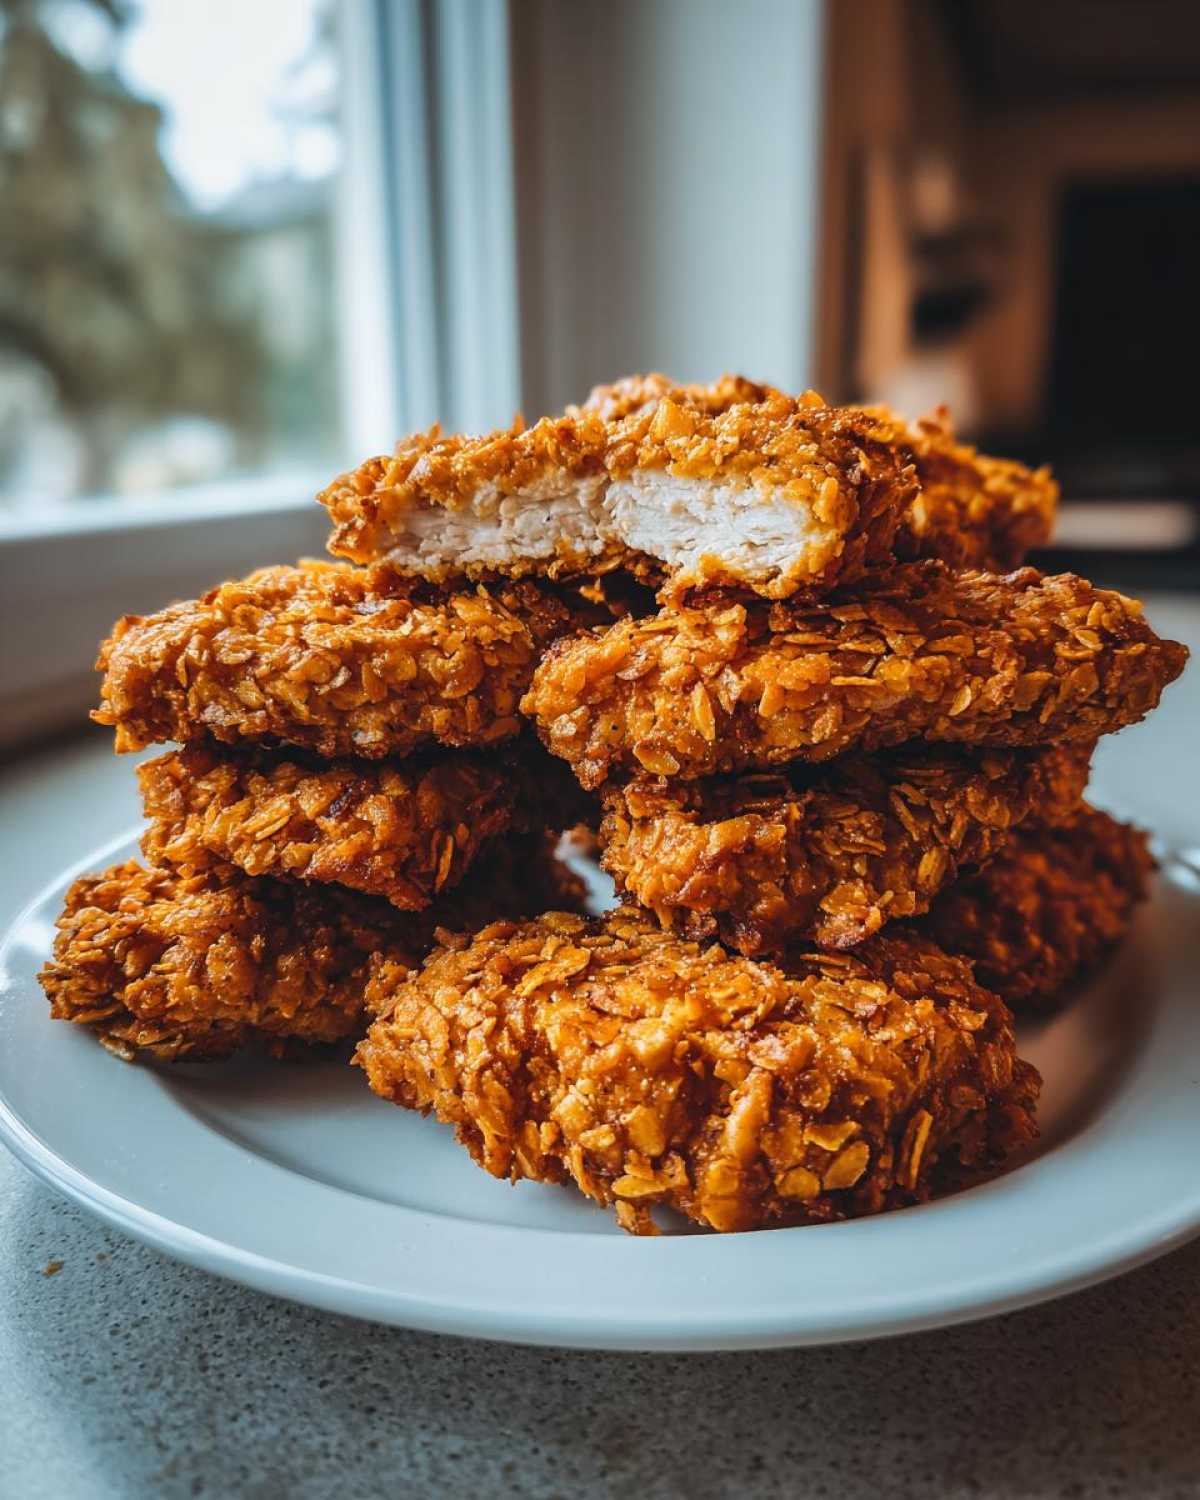
Tips for Achieving the Ultimate Crispy Baked Chicken Tenders with Cornflake Crust
So you’ve set up your station, you’ve marinated the chicken, but you’re thinking, “How do I guarantee these are actually crispy and not just crunchy-on-the-outside-soggy-in-five-minutes things?” Having baked thousands of chicken strips in my life, I realized it comes down to moisture control and heat transfer. When I’m serious about crunch, these are the extra steps I always take to make my Crispy Baked Chicken Tenders with Cornflake Crust absolutely unbeatable.
The single biggest mistake people make is skipping the step where you let the buttermilk drip off! If you move a sopping wet piece of chicken straight from the marinade into the flour, that flour clumps up, and the cornflakes have nothing dry to grip onto, leading to crumbly, pale coatings. Give it a good shake after the egg bath, too.
Also, let’s talk about those cornflakes again. If you’re using whole flakes, they might brown too fast on the edges before the rest of the tender is cooked. You want to crush them until they are about 70% fine dust and 30% small, pea-sized pieces. If you have an air fryer, you can actually use a food processor for this, but pulse it gently! We need texture, not powder, but we need it consistent for that deep golden color.
One more thing that just screams ‘authority’ in the kitchen: parchment paper is great, but if you are *obsessed* with bottom crispness, use a wire cooling rack set inside your prepared baking sheet! This lets hot air circulate underneath the tenders, so the bottom doesn’t steam against the metal. It’s a tiny adjustment, but it makes the tenders evenly crisp from top to bottom. You’ll thank me later when you realize there are no pale, soft bellies on your chicken!
Ingredient Notes and Substitutions for Your Coating
I get so many questions about ingredient swaps, and honestly, I totally get it—sometimes you’re out of buttermilk or you only have a slightly stale box of flakes hiding in the pantry. Don’t sweat it! While I stand by the original combination for the crunch potential, we can certainly work around minor kitchen emergencies. If you’re missing that key tangy base, for instance, don’t panic about finding buttermilk!
If you’re fresh out of buttermilk, you can make a super quick substitute right at home. Just take regular milk—any kind works, though 2% or whole milk is best—and stir in one tablespoon of white vinegar or lemon juice for every cup of milk you need. Let that sit on the counter for about five minutes until it starts to look slightly curdled or thickened. It won’t have that exact fermented depth that cultured buttermilk has, but it works perfectly well for tenderizing and binding the coating!
As for the cornflakes, this is where texture truly shines. Plain, unsweetened cornflakes are my absolute go-to because they create that classic, sturdy crunch. However, if you’re using frosted flakes (maybe the kids hid them?), you’re going to get a slightly sweeter crust and they might brown a tiny bit faster because of the extra sugar. Keep an eye on them in the oven if you go that route!
Also, people often ask if they can use panko breadcrumbs instead. You *can*, but you completely lose that specific, familiar texture that the cornflake crust delivers—Panko is lighter and sharper while cornflakes offer a more robust, almost nutty crunch. If you decide to use Panko, you might have to press them on even harder because they don’t generally adhere as well as the rougher texture of crushed flakes.
When it comes to the flour and eggs, those are less flexible points in the structure. The flour helps the egg stick, and the egg is the glue for the final coating. If you need to make these gluten-free, you’ll need to swap that flour for rice flour or a good GF all-purpose blend, and then use gluten-free cornflakes (which are usually easy to find, but always double-check ingredients!). For more ideas on general substitutions and ingredient troubleshooting, I love this resource on baking swaps!
Serving Suggestions for Crispy Baked Chicken Tenders with Cornflake Crust
You’ve done the hard work, you’ve nailed the crunch, and now we have the perfect Crispy Baked Chicken Tenders with Cornflake Crust sitting hot on the rack. But what are we eating them *with*? A perfect crunchy tender deserves an equally amazing partner on the plate, and honestly, the possibilities are endless!
For dipping, you can go classic or get a little fancy. My absolute favorite for this style of chicken is a homemade honey mustard. It cuts through the savory crust perfectly. If you’re a fan of deeper, smokier flavors, you can whip up a batch of my homemade BBQ sauce—it’s way better than anything bottled, I promise!
Here are a few of my go-to pairings that turn strips into a full, satisfying dinner:
- The Speedy Kid Meal: Serve these alongside sweet potato fries baked right on the same sheet pan (just give the fries a head start by 10 minutes!). A side of raw carrot sticks and celery keeps the crunch theme going.
- The Grown-Up Plate: I love tossing these tenders over a bed of crisp greens, maybe some romaine or spring mix, and drizzling everything lightly with a poppyseed vinaigrette. It feels like a salad, but it tastes like comfort food.
- Starch & Veg Combo: They are fantastic next to some creamy mashed potatoes or even healthier, some roasted, slightly charred broccoli. The richness of the potatoes is just heavenly with the crispy coating.
Remember, it’s all about contrast! Since the chicken is savory and salty, bringing in something sweet (like those sweet potato fries) or tangy (like a good dipping sauce) just elevates the whole experience. Enjoy making your dinner look as good as it tastes!
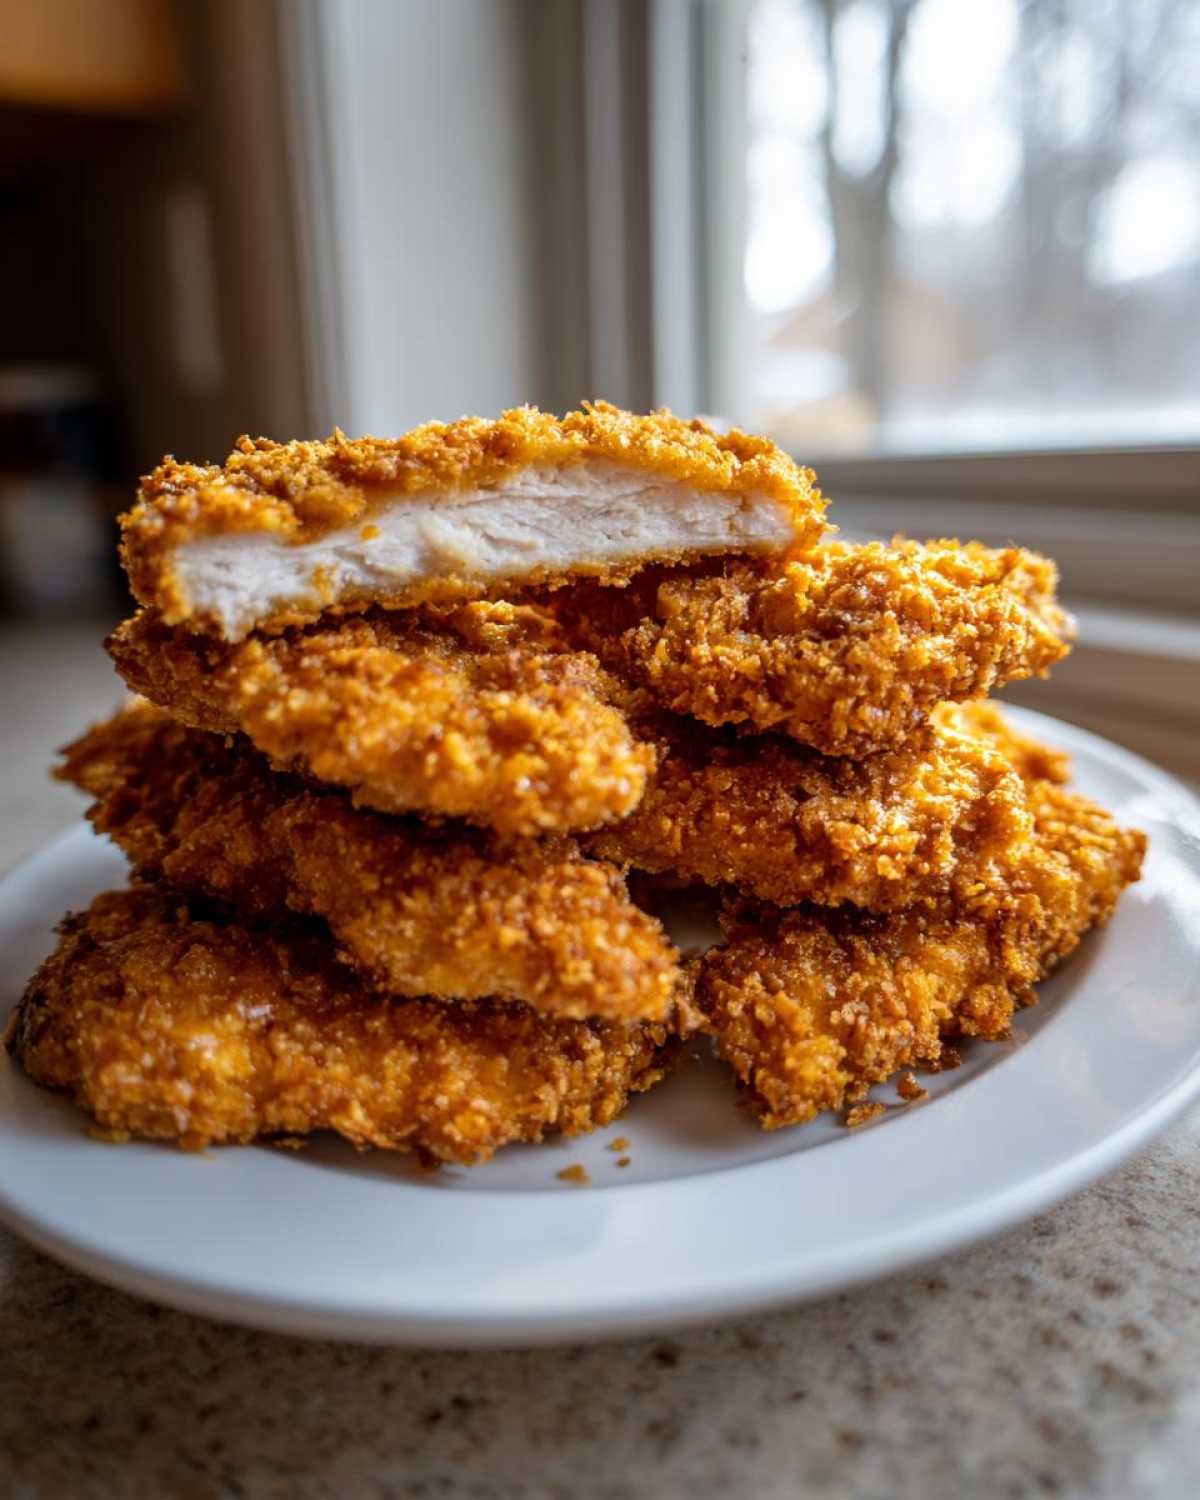
Make Ahead and Storage for Crispy Baked Chicken Tenders
I love having these chicken tenders ready to go, especially during those evenings when the fridge looks empty but you need something fast. Being able to pull these out of the freezer and have dinner on the table in under thirty minutes is a total lifesaver. You can absolutely prepare the coating steps ahead of time, which is a huge time-saver for parents!
If you want to prep these for the freezer, you need to follow the breading process exactly as written in the steps—flour, egg, cornflakes—and press that crust on super firmly. Don’t bake them at all! Arrange the coated strips in a single layer on a baking sheet. Stick that sheet in the deep freeze until the tenders are completely solid. This usually takes about an hour or two depending on how cold your freezer runs. Once they are frozen solid, you can pop them off the tray and stash them together in a proper freezer bag. I keep bags of these ready to go all the time; you can read about how I organize my freezer meals over here!
When you are ready to cook them directly from frozen? Just add about five to seven minutes onto the baking time we normally use. They need that extra time to thaw internally before the crust can crisp up properly. Still spray the tops with cooking spray before they go in, as that helps tremendously!
Storing Leftovers to Keep Them Crunchy
Now, let’s talk about leftovers—because if you have any, that means you didn’t eat enough the first night! If you’ve already baked them, you need to store them carefully if you want that crunch to survive the night in the fridge. First, let them cool completely on a wire rack before wrapping them up. If you seal them while they are warm, the steam gets trapped, and that is the number one cause of soggy chicken.
Once they are totally cool, you can store them in an airtight container, but here’s a crucial trick for reheating: never, ever microwave them if you want them restored to their former glory. The microwave brings back moisture, making them soft again.
Your best bet is the toaster oven or your main oven set to about 375°F (190°C). Arrange the leftover tenders in a single layer on a small baking sheet (maybe line it with foil just in case). Bake them for about 8 to 10 minutes. You’ll hear that cornflake crust start to get loud again. That smell tells you they are back to being crispy and delicious!
Frequently Asked Questions About Crispy Baked Chicken Tenders with Cornflake Crust
How do I make sure my chicken tenders get extra crispy in the oven?
This is my favorite topic! To get that ‘fried’ level of crunch, you have to follow a few rules for your Crispy healthy chicken tenders oven. First, the hot baking sheet trick mentioned earlier is non-negotiable—it shocks the bottom crust immediately. Second, you must spray the tops heavily with cooking spray right before they go in. That fat helps them brown evenly! Finally, never skip the flip halfway through. Giving both sides direct heat contact ensures uniform crispness. If you want amazing full meal ideas for these, check out how I pair everything together right here!
Can I adjust the cooking time if my chicken strips are thicker or thinner?
Absolutely, you can! The recipe gives you a range (18-22 minutes) because chicken strips are never exactly the same size. If you cut yours significantly thinner—say, almost like tiny straws—you’ll want to reduce that baking time closer to 16 minutes and keep a very close watch. Thicker, chunkier strips, maybe 1.5 inches wide, might need closer to 25 minutes. The rule of thumb is always to rely on the internal temperature: 165°F (74°C) is done. Visual and temperature checks beat the clock every time!
What if I don’t have buttermilk? Can I use milk alone for the marinade?
You can, but it won’t be quite the same! Buttermilk does two important things: it adds a slight tang that cuts the richness, and its acidity actually helps tenderize the meat fibers, resulting in a juicier bite. If you absolutely must use plain milk, use the substitution I mentioned earlier: one tablespoon of white vinegar or lemon juice per cup of regular milk, let it sit for five minutes, and then use that mixture. It does a surprisingly good job mimicking the tenderness factor!
Can I use Panko breadcrumbs instead of cornflakes for an alternate coating?
You certainly can try Panko, but you’re going to get a completely different result. Panko breadcrumbs are lighter and flakier, and they adhere best directly to the egg wash if you skip the flour step entirely. However, they don’t provide that specific, hearty, almost earthy crunch that we get from the crushed cornflakes. If you use Panko, you might need less baking time, often around 15-18 minutes, because they cook faster. It’s a fine coating, but if you specifically want that cornflake crunch, stick to the plan!
Is it okay to bake these tenders on wax paper instead of parchment?
Please, no wax paper! This is a safety and texture point. Wax paper is coated with a vegetable wax that has a much lower melting point than the silicone coating on parchment paper. If you put wax paper in a 400°F oven, especially if it touches the hot metal sheet, that wax can melt and potentially smoke or even ignite. Always use parchment paper or aluminum foil for baking at high temperatures. Parchment paper is your friend for easy cleanup and safe, crispy bottoms!
Estimated Nutritional Information for Crispy Baked Chicken Tenders
Okay, so nobody is making chicken tenders because they are looking for a low-sugar, low-fat miracle snack, but these baked versions are certainly much better for you than their deep-fried cousins! I’ve done the best I can to calculate the macros based on the exact ingredient amounts listed earlier. Keep in mind that this breakdown is an estimate, as factors like how much buttermilk actually drips off or the brand of cornflakes you use can make small differences. For the full legal scoop, you can always check out my general kitchen disclaimer page.
This serving size is based on roughly 4 tenders per person. I always think it’s helpful to see where the nutrition comes from. The high protein count definitely makes this a satisfying meal!
- Serving Size: 4 tenders
- Calories: 320
- Protein: 38g
- Fat: 7g (with 1.5g saturated fat)
- Carbohydrates: 25g
- Sugar: 3g
- Sodium: 450mg
See? Nearly 40 grams of protein per serving! That makes this a fantastic, simple meal for growing kids or anyone trying to keep their energy up. The fat is low because we aren’t soaking it in oil during the cooking process—we are just spraying the top for color. Pretty sweet deal for how incredibly crunchy these turn out!
PrintCrispy Baked Chicken Tenders with Cornflake Crust

A simple recipe for making crispy, oven-baked chicken tenders using a crunchy cornflake coating. This method avoids frying for a healthier result.
- Prep Time: 20 min
- Cook Time: 22 min
- Total Time: 42 min
- Yield: 4 servings
- Category: Dinner
- Method: Baking
- Cuisine: American
- Diet: Low Fat
Ingredients
- 1.5 lbs boneless, skinless chicken breasts, cut into 1-inch strips
- 1 cup buttermilk
- 1 teaspoon salt
- 0.5 teaspoon black pepper
- 1 teaspoon garlic powder
- 2 cups cornflakes, crushed finely
- 0.5 cup all-purpose flour
- 2 large eggs, lightly beaten
- Cooking spray
Instructions
- Preheat your oven to 400°F (200°C). Lightly grease a baking sheet or line it with parchment paper.
- In a medium bowl, combine the buttermilk, salt, pepper, and garlic powder. Add the chicken strips and let them marinate for at least 15 minutes, or up to 4 hours in the refrigerator.
- Set up a standard breading station with three shallow dishes. Place the flour in the first dish. In the second dish, place the lightly beaten eggs. In the third dish, place the finely crushed cornflakes.
- Remove the chicken from the buttermilk, letting excess drip off. Dredge each strip first in the flour, shaking off any excess.
- Next, dip the floured strip into the egg mixture, allowing excess to drip away.
- Finally, press the strip firmly into the crushed cornflakes, coating all sides completely. Press the flakes onto the chicken to help them adhere.
- Place the coated tenders on the prepared baking sheet, ensuring they do not touch.
- Spray the tops of the coated tenders generously with cooking spray to promote browning and crispiness.
- Bake for 18 to 22 minutes, flipping the tenders halfway through the cooking time, until the internal temperature reaches 165°F (74°C) and the crust is golden brown and crisp.
Notes
- For extra crispiness, place the baking sheet in the oven while it preheats. This provides an immediate hot surface when the chicken is placed down.
- If you prefer a finer crust, pulse the cornflakes in a food processor until they resemble coarse breadcrumbs.
- If you want to make these ahead, coat the tenders completely, arrange them on a tray, and freeze them solid. Once frozen, transfer them to a freezer bag. Bake directly from frozen, adding 5-7 minutes to the cook time.
Nutrition
- Serving Size: 4 tenders
- Calories: 320
- Sugar: 3
- Sodium: 450
- Fat: 7
- Saturated Fat: 1.5
- Unsaturated Fat: 5.5
- Trans Fat: 0
- Carbohydrates: 25
- Fiber: 1
- Protein: 38
- Cholesterol: 110