

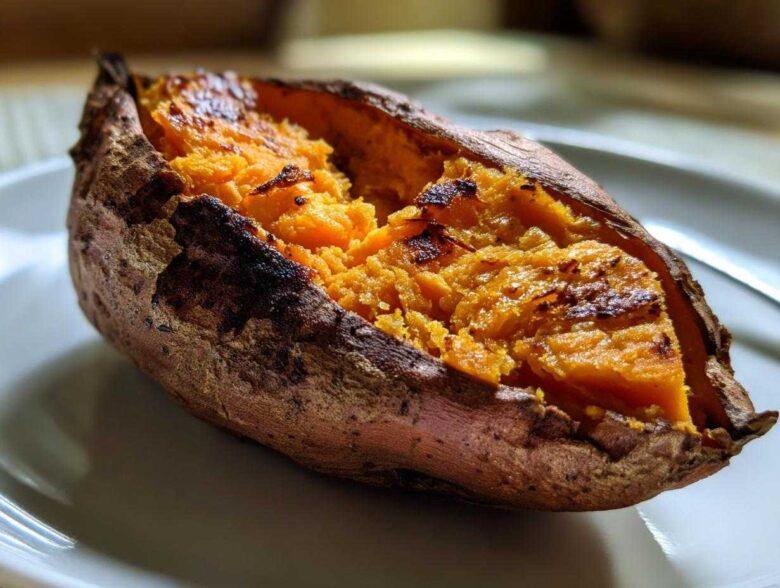
Oh, the sad, lackluster baked potato. You know the one—the skin feels soggy, the insides are just a little bit gummy, and you end up drowning it in toppings just to mask the disappointment. Julian and I totally used to settle for that, thinking that was just the reality of roasting potatoes. But we learned something vital when we decided to make our weeknight dinners the feature story of our day. We realized that even the simplest side dish deserves intentional technique. If you want to know more about how we find that intention in our cooking, check out our philosophy over at our About page!
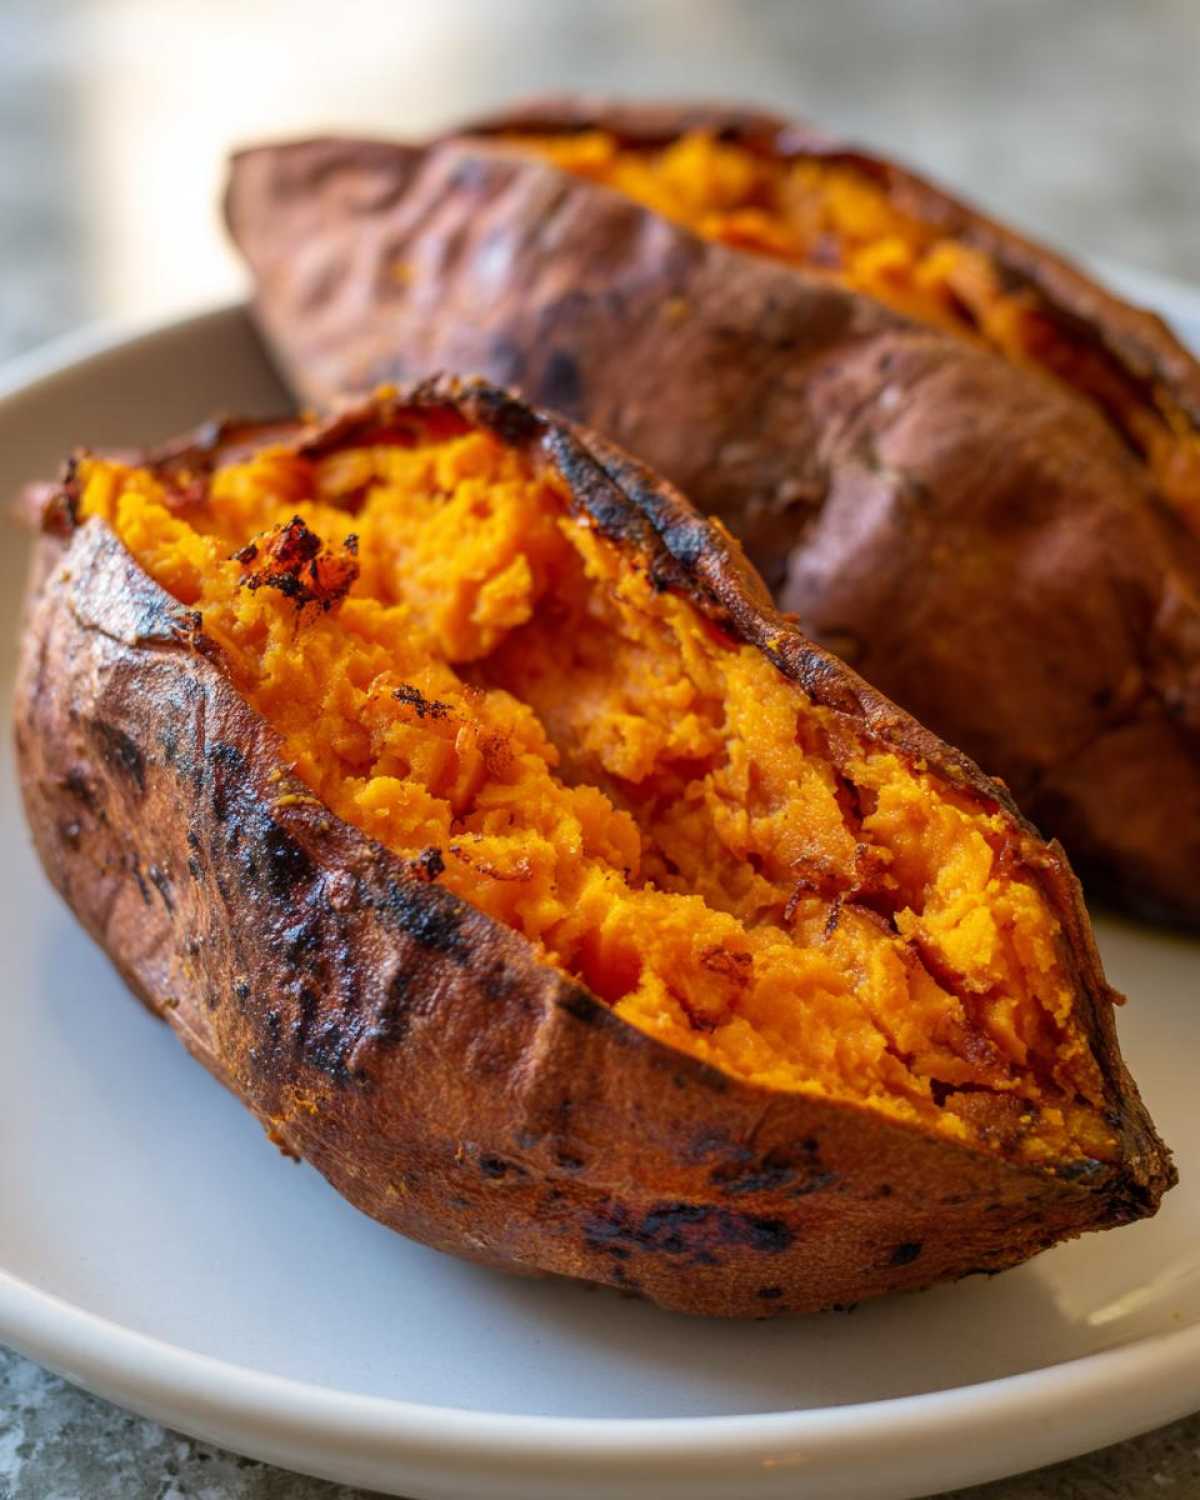
That’s why we cracked the code on these baked sweet potatoes. We’re talking textbook perfection here: skin that cracks slightly when you squeeze it, and an interior so unbelievably fluffy it practically floats. Forget wrestling with aluminum foil; we’re using a straightforward, no-foil method that lets you achieve those beautifully caramelized edges. This is how you turn a basic vegetable into a true Magazine Meal moment, ready for whatever toppings you dream up.
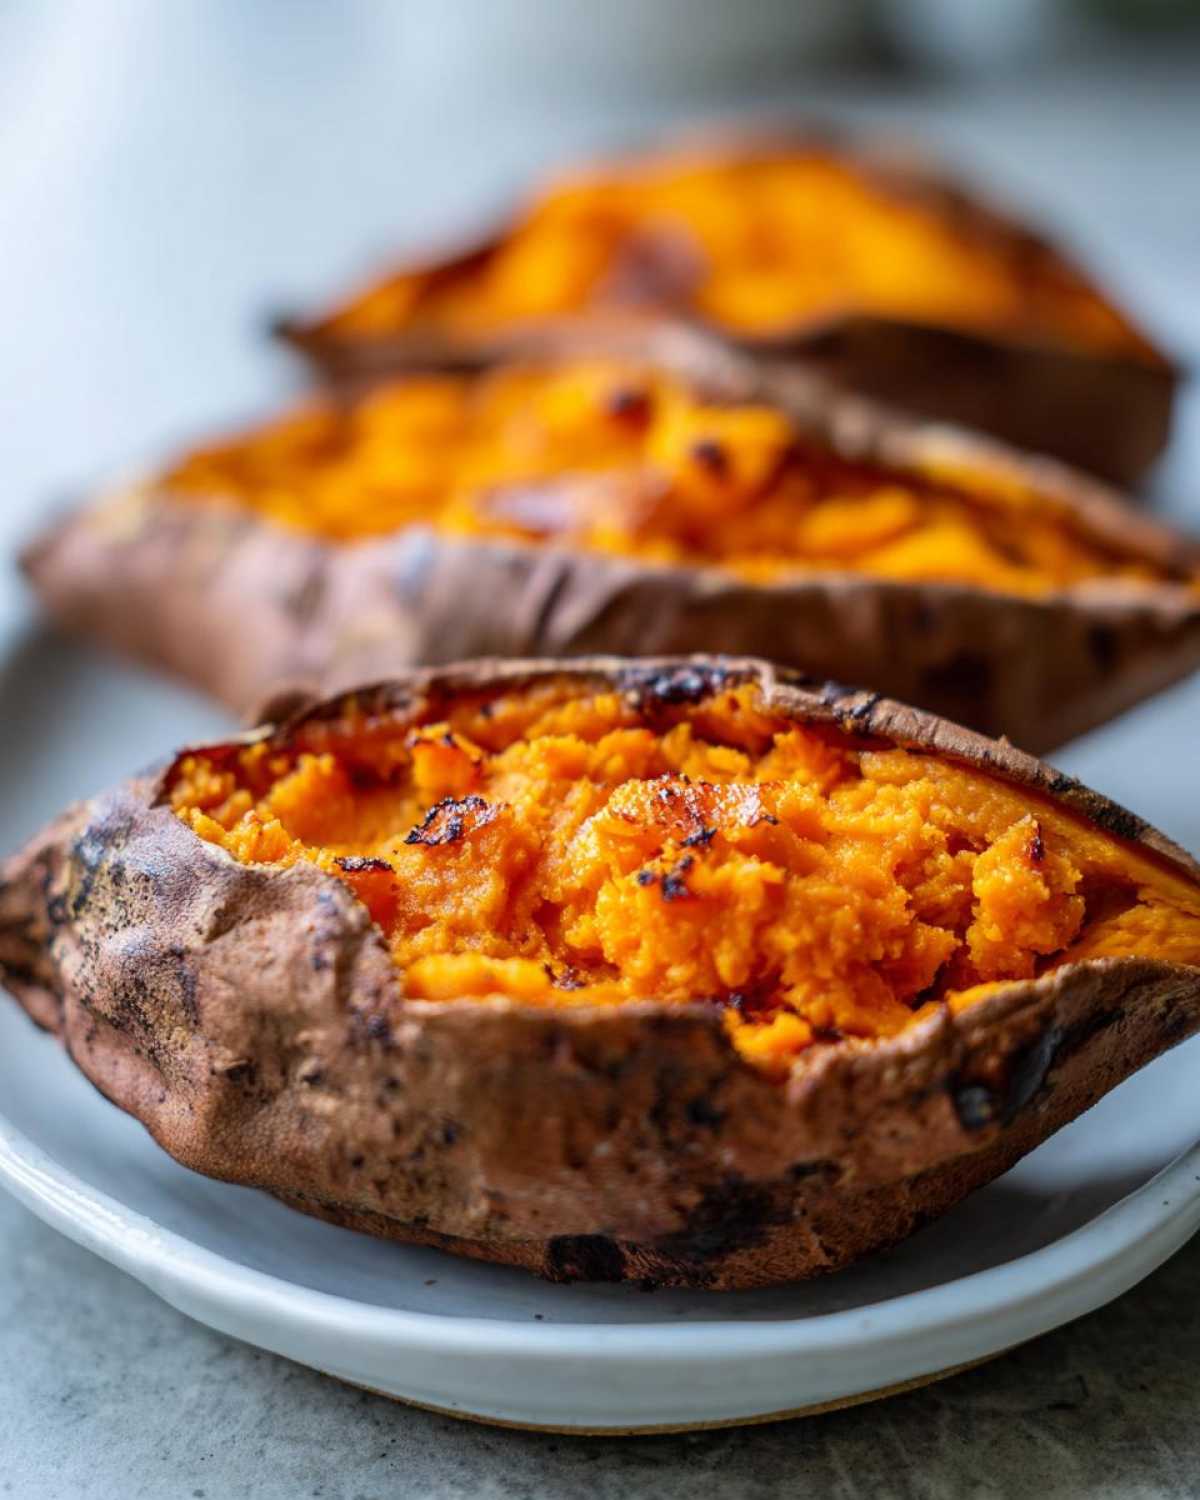
Why This Is The Best Baked Sweet Potato Method
Honestly, if you’re still wrapping your baked sweet potatoes in foil, you’re missing out on the main feature! Foil is great for holding moisture in, sure, but that moisture is the enemy when we’re chasing true crispiness. This method skips the foil entirely because we want that oven air to circulate right around the skin, giving the potatoes a fantastic, dehydrated crunch. For more on why a specific cooking method can transform a simple dish, check out our deep dive on technique!
When you treat this simple side dish with this much intention—just a little oil and salt placed right on the skin—you get incredible results. It’s the best baked sweet potato method because it handles both texture goals perfectly. We break down the science below, but trust me, ditching the aluminum foil is going to change how you approach all your oven baked sweet potatoes.
Achieving Crispy Skin Sweet Potatoes
Crispy skin is all about managing moisture saturation. If you want crispy skin sweet potatoes, you have to start dry. After scrubbing them clean, dry them with a kitchen towel—I mean *really* dry. Then, you need that coating of olive oil. The oil acts like armor, helping the skin blister and crisp up under the high heat. Placing them directly on the middle rack is key; this lets the heat hit the bottom as well as the top. No trapped steam means maximum crispness!
The Secret to a Fluffy Sweet Potato Recipe
The fluffiness comes entirely from the steam trapped *inside* the potato. If the steam can’t get out, it just ends up steaming the flesh until it’s dense. That’s why the piercing step is non-negotiable. You need those fork holes—four to six deep jabs all over—to give the internal steam a release valve. When the steam escapes through those vents, the inside collapses into that airy, cloud-like texture we love in a fluffy sweet potato recipe. High heat (400°F) pushes that process along beautifully!
Ingredients for Perfect Oven Baked Sweet Potatoes
You’ll be shocked how few things you actually need for these baked sweet potatoes. When you nail the technique, the natural sweetness of the potatoes shines through, and you don’t have to fuss with a ton of extras. Julian always insists on keeping it clean here because he says busy ingredients dilute the main feature—the potato itself!
- 4 medium sweet potatoes (about 8-10 ounces each)
- 1 tablespoon olive oil
- 1 teaspoon coarse salt
- 1/2 teaspoon black pepper
That’s it! Four simple players combining perfectly for an amazing result. We aren’t messing around with complicated spice rubs when we want that true best baked sweet potato method.
Ingredient Notes and Substitutions
A quick note on ingredient selection, because even in simple recipes, quality matters. When you are picking out your sweet potatoes, try to keep them roughly the same size. If you have one tiny guy and one giant monster, they won’t finish at the same time, and you’ll end up with either a dried-out small one or an undercooked big one—not what we want for our simple potato recipes!
Now, about the fat. We use olive oil here, not butter, on the outside of the skin. Butter is creamy and delicious, yes, but we want the skin to crisp up like a cracker, and oil handles that high heat better without burning instantly. You’ll save the butter for *after* the bake, spread right inside when you fluff it open. If you are out of olive oil, avocado oil works too; just avoid things like coconut oil unless you love that specific flavor profile mingling with your potato!
How to Prepare Baked Sweet Potatoes Perfectly: Step-by-Step
This is where we take our ingredients and apply the intentional technique Julian dreams up! We’re serious about getting the texture right here, which means we need to focus on preheating properly and making sure those potatoes have clear escape routes for steam. If you follow these steps for how to bake sweet potatoes perfectly, you won’t need another recipe, trust me. For those who prefer speed over the oven, don’t forget we have an air fryer version you can check out too!
Prepping and Seasoning Your Whole Baked Sweet Potatoes
First things first: Oven needs to be screaming hot. Preheat to 400 degrees Fahrenheit. That high heat starts the skin-crisping process immediately. Next, scrub those guys until every speck of dirt is gone. This is crucial, because we are leaving the skin on! After the wash, and this is an Iris-level non-negotiable, you must dry them completely. Moisture equals steam, and steam equals soggy skin, which defeats the entire purpose of this recipe for baked sweet potatoes.
Once dry, it’s time for the steam vents. Take a sharp fork and poke deep holes, maybe 4 to 6 times per potato, getting right down toward the center. This is the main ticket to a fluffy interior! Now, rub them down with that olive oil—don’t be shy—and then sprinkle on your coarse salt and pepper evenly. Don’t miss any spots!
Here’s the final prep move: Place the seasoned potatoes directly onto the middle oven rack. Seriously, no sheet pan, no foil underneath. We are letting the heat kiss the whole surface to make those skins beautiful and snappy.
Baking Time and Testing for Doneness
Bake them for about 40 to 55 minutes. That’s a bit of a range, I know, but the size of your sweet potatoes makes all the difference. Don’t just walk away and assume they’re done when the clock hits 40 minutes!
The best way you can test for doneness is with a gentle squeeze. If the potato yields easily and feels soft all the way through when you gently press the sides, it’s likely done. If you’re nervous, stab one with a fork; it should slide in with zero resistance. If you feel *any* hard spot, pop them back in for 5-minute increments. We want soft, fully cooked centers, not partially raw potatoes that look done on the outside!
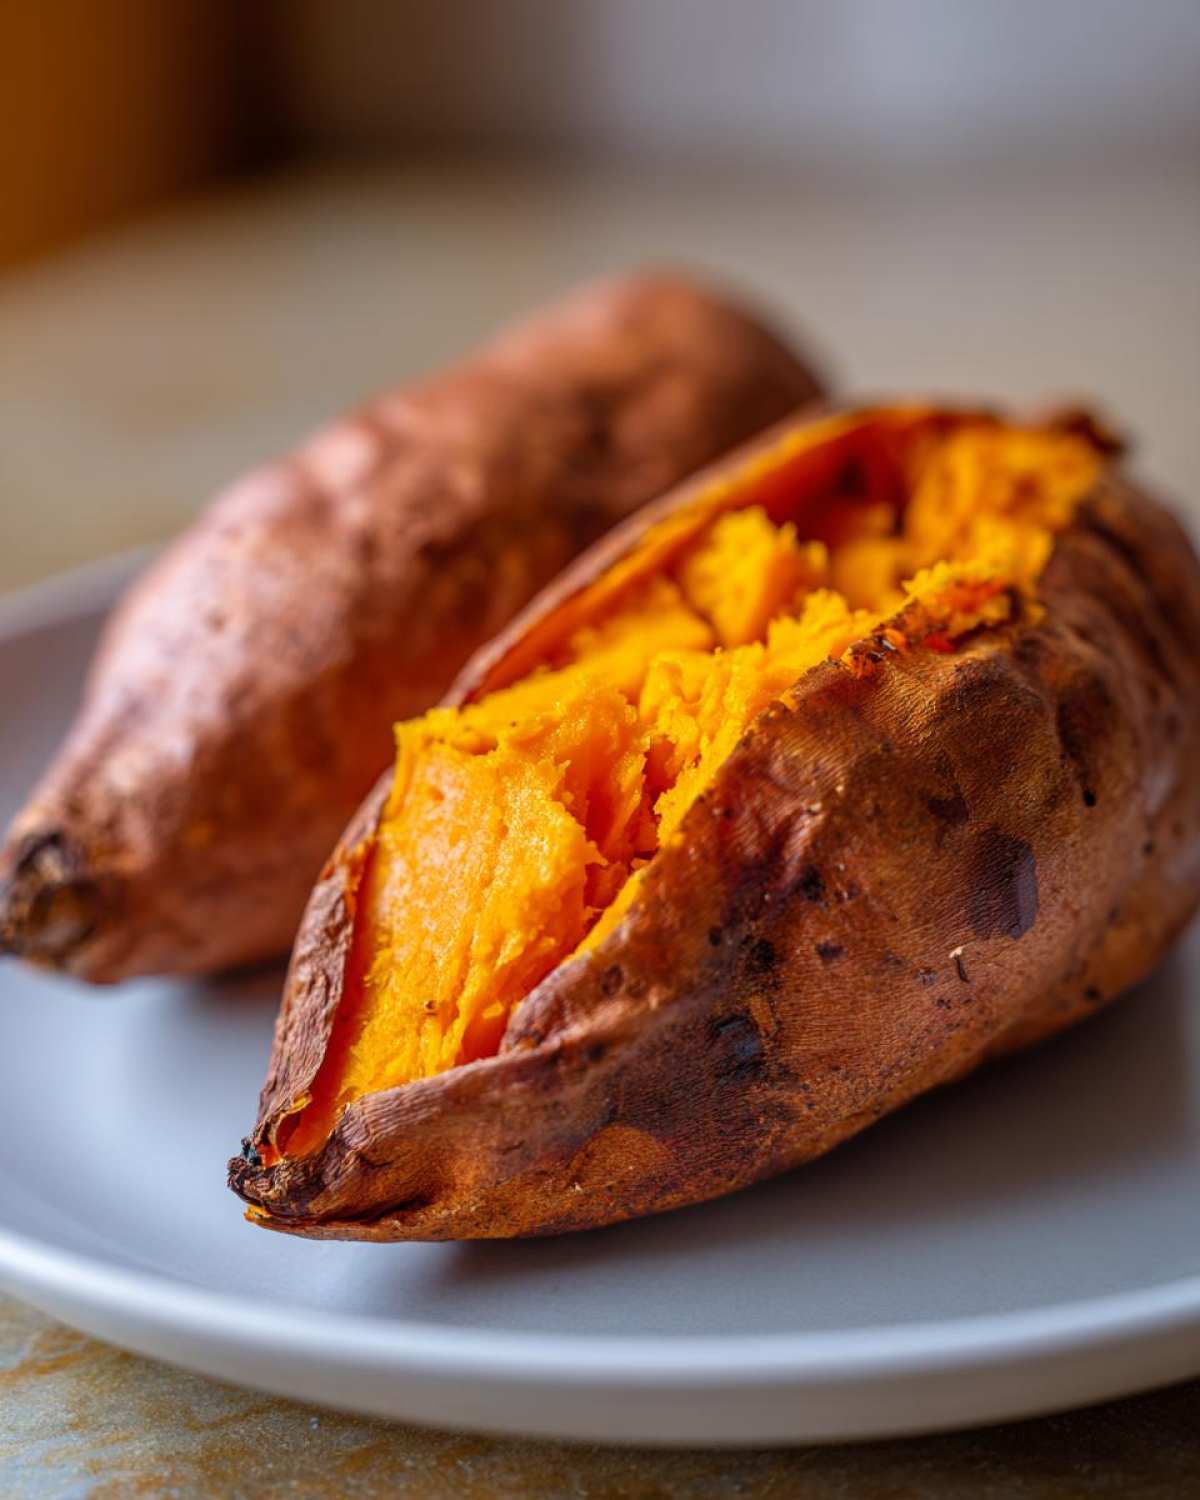
Tips for Success When Making Baked Sweet Potatoes
Okay, so you’ve mastered the 400°F, no-foil technique. That’s the foundational layer for truly great baked sweet potatoes, but I have a couple of little secrets—some things Julian figured out after too many rushed weeknight dinners—that take these from great to the actual cover story of your evening.
First, if you are using slightly older potatoes that are a little less firm, don’t worry! They might need a few extra minutes on the clock, maybe creeping toward that 60-minute mark, depending on how large they are. Always trust the fork test over the timer, especially when you’re trying to achieve that ultimate fluff.
Julian is obsessed with this next bit because he sees the visual appeal in everything. He calls it chasing the “caramelized sweet potato edges.” If you notice the potatoes are nearly done—say, fork-tender—but the skin isn’t quite crinkly enough for your liking, you can nudge the heat up to 425°F for the last 5 to 7 minutes. This intense burst of dry heat really pulls the moisture out of the surface seasonings without overcooking the inside flesh. Watch them closely, though; we want beautiful dark spots, not charcoal!
Another vital tip related to serving, which helps keep that texture contrast going, is the immediate fluffing. As soon as you pull these beauties out, you *must* slice them open right away and give the steam a chance to escape after you squeeze them. If you let them sit tucked away in a closed container before fluffing, all that wonderful dry heat dissipates, and the residual steam softens the skin again. We want those layers separate—crispy outside, fluffy inside—so slice and serve immediately, whether you are looking for an easy side dish or the base for something more elaborate.
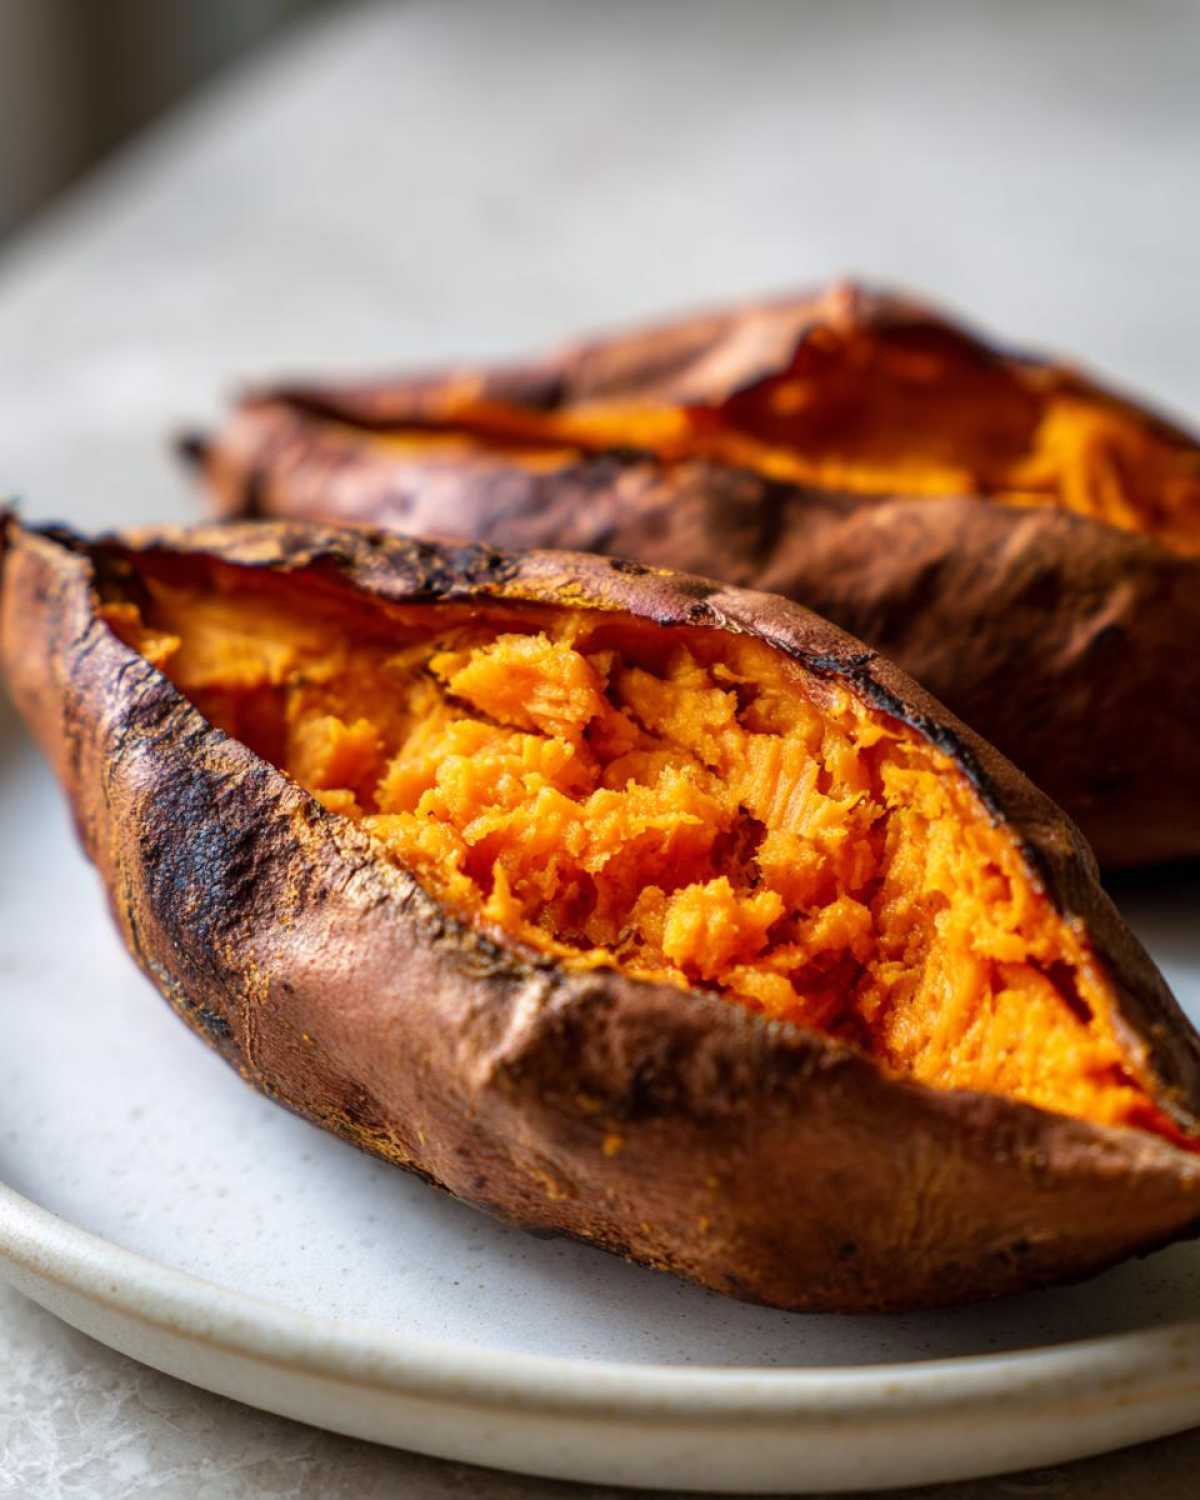
Serving Suggestions: Transforming Sweet Potatoes
You’ve done the hard work: the skin is crisp, the inside is pure fluff, and the aroma filling your kitchen is absolutely incredible. Now for the fun part—deciding how to make these baked sweet potatoes the absolute headline of your meal! Because they are so naturally sweet, they work beautifully as a sweet comfort food, but honestly, they shine just as brightly when leaning savory.
This base is perfect for any night of the week. If you need a genuinely easy side dish potatoes recipe that elevates a simple protein, just slice it open, add a pad of butter, and sprinkle on some cinnamon or maybe a dash of brown sugar. Boom. Instant classic. But don’t let the natural sweetness limit you; these potatoes are an amazing platform for bolder flavors too. We love using them as a base when we need quick dinner side dish inspiration.
Simple Stuffed Baked Sweet Potatoes Ideas
If you want to take one of these perfectly baked sweet potatoes and push it into the main event category, you just have to scoop some of that fluffy flesh out and mash it with savory ingredients before returning it to the skin shell. This is how you create amazing stuffed baked sweet potatoes ideas!
For a simple savory filling, take half the flesh out and mash it with a dollop of sour cream or Greek yogurt, some finely chopped chives, salt, and pepper. You can even fold in some cooked bacon or shredded rotisserie chicken if you have leftovers hanging around. Julian once loaded his with leftover smoked brisket and a tiny drizzle of our Cowboy Butter—talk about a feature story meal! (If you want the recipe for that sauce, you have to check it out, but keep it separate from the potato prep for now!). Mix your filling gently, pile it back into the skin cups, and pop them back in the oven for just 5 minutes to reheat the filling. Easy, right?
Storage and Meal Prep Sweet Potatoes
If you’re like us, taking the time to bake four perfect baked sweet potatoes means you should absolutely reap the rewards later in the week! This method is fantastic for meal prep sweet potatoes because the structure holds up so well. You bake them perfectly once, and then you have a versatile, healthy base ready to go for lunches or quick dinners.
The key here is cooling. You cannot, under any circumstances, seal them up hot. All the steam we worked so hard to get *out* of the potatoes during baking will condense inside the container, and guess what? That beautiful crispy skin will turn instantly soft. We don’t want that!
Let them cool down completely on the counter first. Once they are room temperature, you have two options for storage. If you want maximum longevity and the crispiest possible skin when reheating, store them whole. Pop those cooled, whole sweet potatoes into an airtight container or a large zip-top bag. They should keep beautifully in the fridge for about 4 days. This is perfect if you plan to reheat them whole and slice them open fresh each time.
If you’re short on time later in the week, you can slice them open, gently scoop out the flesh, and store the flesh separately from the skins. Store the scooped flesh in a sealed container for up to 3 days. When you reheat it (it warms up faster this way!), just spoon it back into the empty skins before eating. It’s a little extra step, but it ensures you get that wonderful contrast whenever you pull a quick healthy meal out of the fridge.
Frequently Asked Questions About Baking Potatoes
When we first started trying to get these baked sweet potatoes right, I had a million questions swirling around. It’s easy to get stuck on timing or texture, hoping for that perfect result every single time. Since you’ve got the core technique down now, here are a few things readers often ask us about achieving that perfect finish for their simple potato recipes.
Can I use foil when making baked sweet potatoes?
I know this is a common instinct, especially if you’re thinking about insulating heat, but please, resist the urge to wrap them! Using foil is the fastest way to get damp, steamed skins, and that completely ruins our goal of achieving those fantastic crispy skin sweet potatoes. The whole point of this method is drying out the exterior using high, direct heat while letting the inside steam itself fluffy. Foil traps that moisture right against the skin, making it soft and leathery. If you want an extraordinary side dish, you have to let the air circulate!
How do I ensure my baked sweet potatoes are naturally sweet?
This is one of my favorite results of this high-heat method! The natural sugars inside the sweet potato caramelize wonderfully when they bake at 400°F for a solid 45 minutes or more. That caramelization is what makes the edges look slightly wrinkly and deep amber—those are your little pockets of intense flavor. You don’t need to add tons of sugar to get that effect; you just need time for the heat to work its magic on the natural starches. That high-heat treatment is key to achieving truly naturally sweet potatoes that taste rich, even before you add butter!
We get asked all the time if they need complex preparation, but really, once you master the high heat and the no-foil rule, they are one of the easiest, most delicious sides available. They feel like such a treat, and yet they are such an easy side dish potatoes recipe to pull off.
Nutritional Snapshot of Baked Sweet Potatoes
Since we are all about intention here at Magazine Meal, I’m sharing the nutritional breakdown for these incredible baked sweet potatoes. We consider these a cornerstone of our healthy baked vegetables rotation because, let’s be real, they are packed with goodness. The fats listed are primarily from the olive oil we use on the outside for that crucial crisp!
It’s super important to remember these numbers are just an estimate. They are based on one medium potato from the recipe batch (using 4 potatoes total), and they don’t include any toppings like butter or cinnamon—you’ll need to factor those in separately! But look at that fiber content; that’s what keeps you feeling full and satisfied long after dinner is over.
Here’s a quick look at what just one of these awesome, fluffy potatoes brings to your table:
- Serving Size: 1 medium potato
- Calories: 180
- Sugar: 13g (Mostly natural sugars!)
- Sodium: 250mg (Mostly from the coarse salt we added)
- Fat: 3g
- Carbohydrates: 38g
- Fiber: 6g
- Protein: 3g
See? It’s amazing what simple, real ingredients can do when you treat them right. Julian loves pointing out how much better these are than heading to a restaurant where they might smother them in butter or sugar. Keeping them simple means you keep control over the nutrition while still achieving maximum flavor. It really is the best way to feature this amazing vegetable!
Share Your Magazine Meal Creations
Alright, friends, that’s the full rundown on how we make our favorite baked sweet potatoes—perfectly fluffy on the inside and delightfully crisp on the outside every single time. We put so much heart into developing this technique because we believe the side dish should never be an afterthought; it deserves to be the star of the show sometimes!
Now that you’ve mastered the essential technique, we absolutely want to see your results! Are you keeping yours simple with just salt and pepper, or did you lean into the savory side with Julian’s smoked brisket idea? Maybe you went full comfort food with heaps of butter and cinnamon? Tell us everything!
Head over to our contact page to send photos or just leave a comment below. We love seeing how you make this recipe the main feature of your dinner table. Don’t forget to let us know your absolute favorite way to dress up your perfect baked sweet potatoes—your topping suggestion might just inspire our next Magazine Meal cover story! Happy baking!
PrintFoolproof Oven Baked Sweet Potatoes: Crispy Skin & Fluffy Inside

Learn the simple, no-foil method to bake whole sweet potatoes perfectly every time. You will achieve a wonderfully fluffy interior and delightfully crispy skin, making this the best baked sweet potato method for an easy side dish or meal prep staple.
- Prep Time: 5 min
- Cook Time: 50 min
- Total Time: 55 min
- Yield: 4 servings
- Category: Side Dish
- Method: Baking
- Cuisine: American
- Diet: Vegetarian
Ingredients
- 4 medium sweet potatoes (about 8-10 ounces each)
- 1 tablespoon olive oil
- 1 teaspoon coarse salt
- 1/2 teaspoon black pepper
Instructions
- Preheat your oven to 400 degrees Fahrenheit. This high heat helps crisp the skin.
- Scrub the sweet potatoes well under running water to remove any dirt. Dry them completely with a paper towel; moisture prevents crispy skin.
- Pierce each sweet potato deeply 4 to 6 times all over using a sharp fork. This allows steam to escape, which is key for a fluffy interior.
- Rub the entire surface of each potato with olive oil. Distribute the salt and pepper evenly over the oiled skins.
- Place the seasoned sweet potatoes directly onto the middle oven rack. Do not use foil or a baking sheet underneath. Baking directly on the rack allows air to circulate, ensuring crispy skin.
- Bake for 40 to 55 minutes. Cooking time depends on the size of your potatoes.
- Check for doneness by squeezing the potato gently; it should yield easily, or insert a fork with no resistance. The skin should look slightly wrinkled and crisp.
- Remove from the oven. Let them cool for 5 minutes before slicing them open lengthwise down the center. Gently squeeze the sides to fluff the inside flesh.
- Serve immediately with your favorite toppings, like butter, cinnamon, or brown sugar.
Notes
- For extra caramelized edges, you can place the potatoes on a wire rack set over a baking sheet, but placing them directly on the oven rack yields the crispiest skin.
- If you plan to use these for meal prep, let them cool completely before storing them whole in an airtight container in the refrigerator for up to 4 days.
- To turn this into a stuffed baked sweet potato base, scoop out half the flesh after baking, mix it with spices or cheese, and return it to the skin before serving.
Nutrition
- Serving Size: 1 medium potato
- Calories: 180
- Sugar: 13
- Sodium: 250
- Fat: 3
- Saturated Fat: 0.5
- Unsaturated Fat: 2.5
- Trans Fat: 0
- Carbohydrates: 38
- Fiber: 6
- Protein: 3
- Cholesterol: 0