

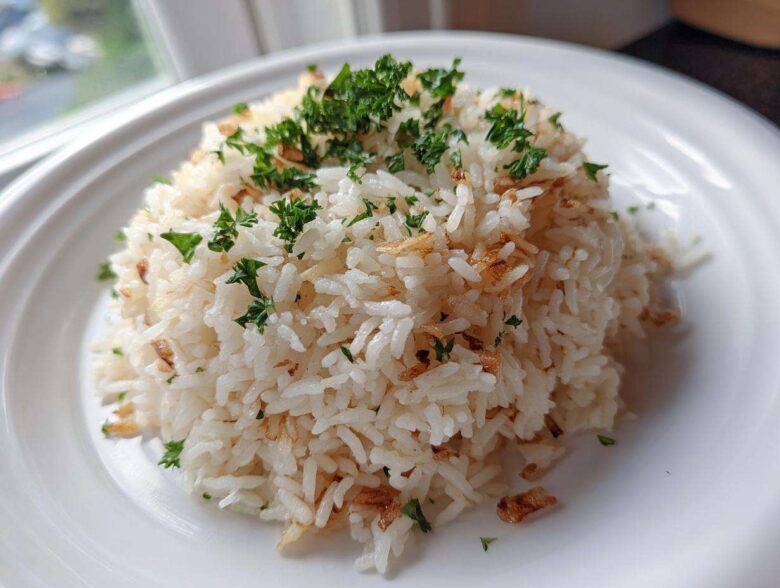
Oh, the mushy rice nightmare! I swear, opening a box mix feels like admitting defeat, doesn’t it? Julian and I spent years chasing that perfect, separate-grain texture we used to get at those fancy Mediterranean restaurants. Well, we cracked the code, and I’m so excited to share this guide to truly magnificent, fluffy **rice pilaf**, ready in under 40 minutes! This happens because we take the time to toast the rice and orzo—it’s a simple step, but it changes everything. Julian conceptualizes the overall flavor profile, and I spend ages testing the timing so you don’t have to guess. Forget sticky sides; this is the feature story you want on your plate tonight. As we talk about in our story, getting intentional about dinner matters!
Why This Homemade Rice Pilaf Recipe Deserves the Headline
Listen, there’s no comparison between this technique and tearing open a crinkly box. If you’re tired of bland, gummy grains, this is your ticket to a fantastic **rice pilaf** every single time. We’ve designed this to be the ultimate comfort food side dish that actually tastes like you put effort in.
- It’s a genuine Healthy Rice Pilaf Alternative—no weird powders here, just real butter, aromatics, and quality broth!
- It feels fancy, but it’s totally accessible. See our take on making a healthier boxed favorite for similar vibes.
Speed and Simplicity: Your Weeknight Rice Side
Part of the magic here is the timing. You’re looking at a total time under 40 minutes, which makes this a superstar Quick Rice Side. It’s an incredibly Easy Side Dish Recipe that cooks almost unattended once it starts simmering. Perfect for those evenings when you need the main feature (say, a roast chicken!) to shine, and the side just needs to deliver.
The Secret to Fluffy Rice Pilaf Texture
The thing that sets this apart from every other attempt you’ve made is the dedication to the toast. We’re not just heating the oil; we are actively browning the orzo and then gently coating every single grain of rice in fat before it ever meets liquid. This single step locks in the starch, which is the core of the Fluffy Rice Pilaf Recipe. Then, we let it rest, giving the steam a chance to finish the cooking without stirring it into submission.
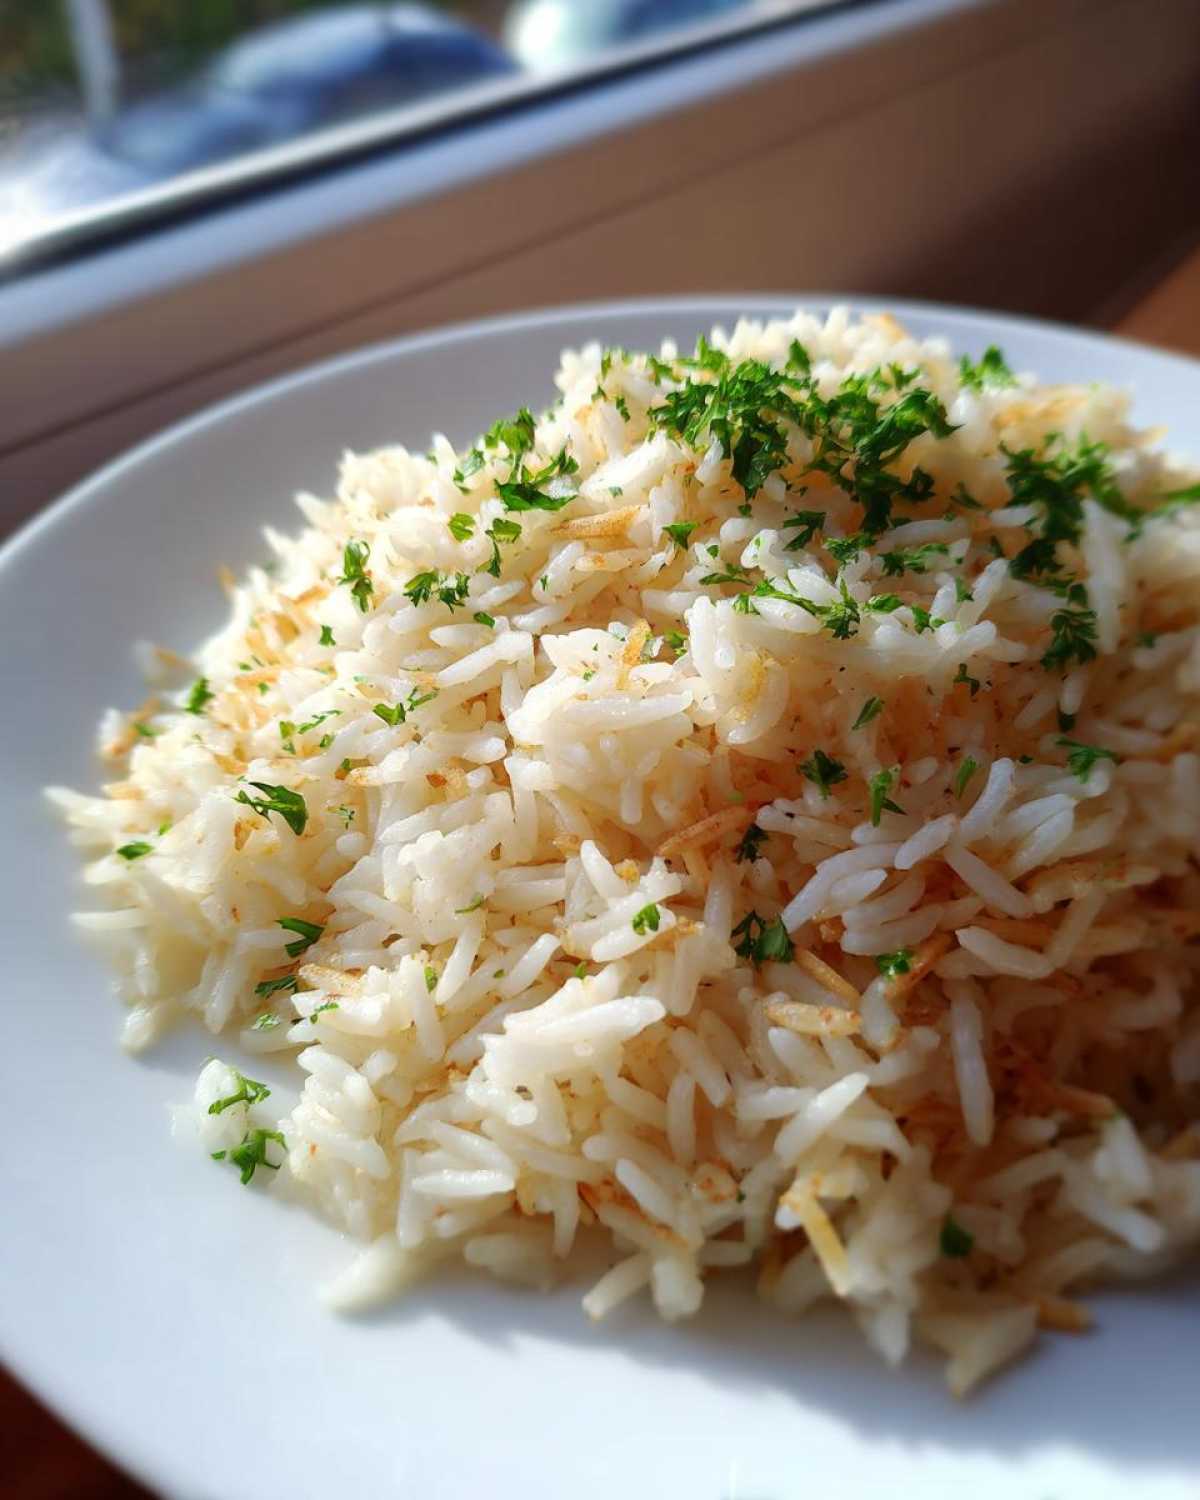
Gathering Ingredients for Perfect Rice Pilaf
When we’re staging a meal—which we do every night, let’s be honest—the supporting cast has to be top-notch! Getting the right ingredients here is like choosing the perfect subtle backdrop for a portrait. You don’t need a huge shopping list, but what you *do* need must be good quality. Specifically, that broth is everything; we always reach for high-quality Rice Pilaf with Chicken Broth because it instantly deepens the savoriness. Remember to rinse your rice really well—we want separate grains, not gloppy rice pudding! Also, chop your onion finely; we want it to melt into the background texture.
Ingredient Notes and Substitutions for Your Rice Pilaf
The duo of rice and pasta is what gives us that wonderful texture, so don’t skip the orzo! That’s the whole point of a fantastic Toasted Orzo Rice Pilaf. We rely on long-grain white rice because it holds its shape beautifully when toasted, which is fantastic for maintaining that fluff. If you’re cooking for a vegetarian (which happens sometimes, even around here!), simply swap out the chicken broth for a robust vegetable broth. It still carries the flavor profile, just in a different key. Trust me, these simple choices make the difference between a side dish and the main feature it deserves to be.
The Best Rice Pilaf Technique: Step-by-Step Instructions
Okay, this is where the real art direction comes in! If you follow these steps closely, I promise you’ll never have to worry about sticky rice again. This whole method is about coaxing flavor out of every single grain before we add the steam. Julian always stands right there watching the orzo turn that gorgeous, almost chestnut brown. It’s the most active part of making this Classic Rice Pilaf, and it sets the stage for everything else. We talk a lot about intentional flavor layering over on the blog, and for a simple side, I love seeing how much flavor we can pull out before we even add the liquid. For another idea on building flavor with fat, check out our recipe for French Onion Butter Rice!
Sautéing Aromatics and Toasting the Grains for Rice Pilaf
First things first: get your fat hot over medium heat. Toss in the orzo—that’s the little pasta that adds body—and stir constantly! We want the orzo to get golden brown, not black. Keep it moving. Once it looks toasted (maybe 4 minutes), toss in your finely chopped onion until it softens up, which is just a few minutes. Then, that fragrant garlic goes in for just 60 seconds—don’t scorch it, or the whole batch is ruined! Now, this is the crucial part of the Best Rice Pilaf Technique: add your rinsed, dried rice and stir non-stop for two full minutes. You’re coating every piece in fat, which seals the exterior. That’s our insurance policy against mush! This preparation is what makes it such a stunning Aromatic Rice Side. Trust me, learning to toast the grains like this makes all the difference, just like the folks over at Home Cooks Classroom suggest for their perfect version.
Simmering and Resting: The Key to Fluffy Rice Pilaf
Once everything is toasted, add your broth, salt, and pepper, and bring that pan to a roiling boil. Now, here’s the absolute, non-negotiable rule: the second it hits that boil, you drop the heat down to the absolute lowest setting your stove allows. Pop that lid on tight! For the next 15 minutes, you cannot peek. I mean it! Don’t lift that lid, don’t prod it, don’t even look at it sternly. The steam trapped inside is doing the heavy lifting. When the timer goes off, turn the burner completely off. Leave it alone, still covered, for another 10 minutes. This resting period is what allows the grains to fully absorb the remaining moisture evenly. It’s the final polish that makes this a showstopper!
Tips for Restaurant Style Rice Pilaf Success
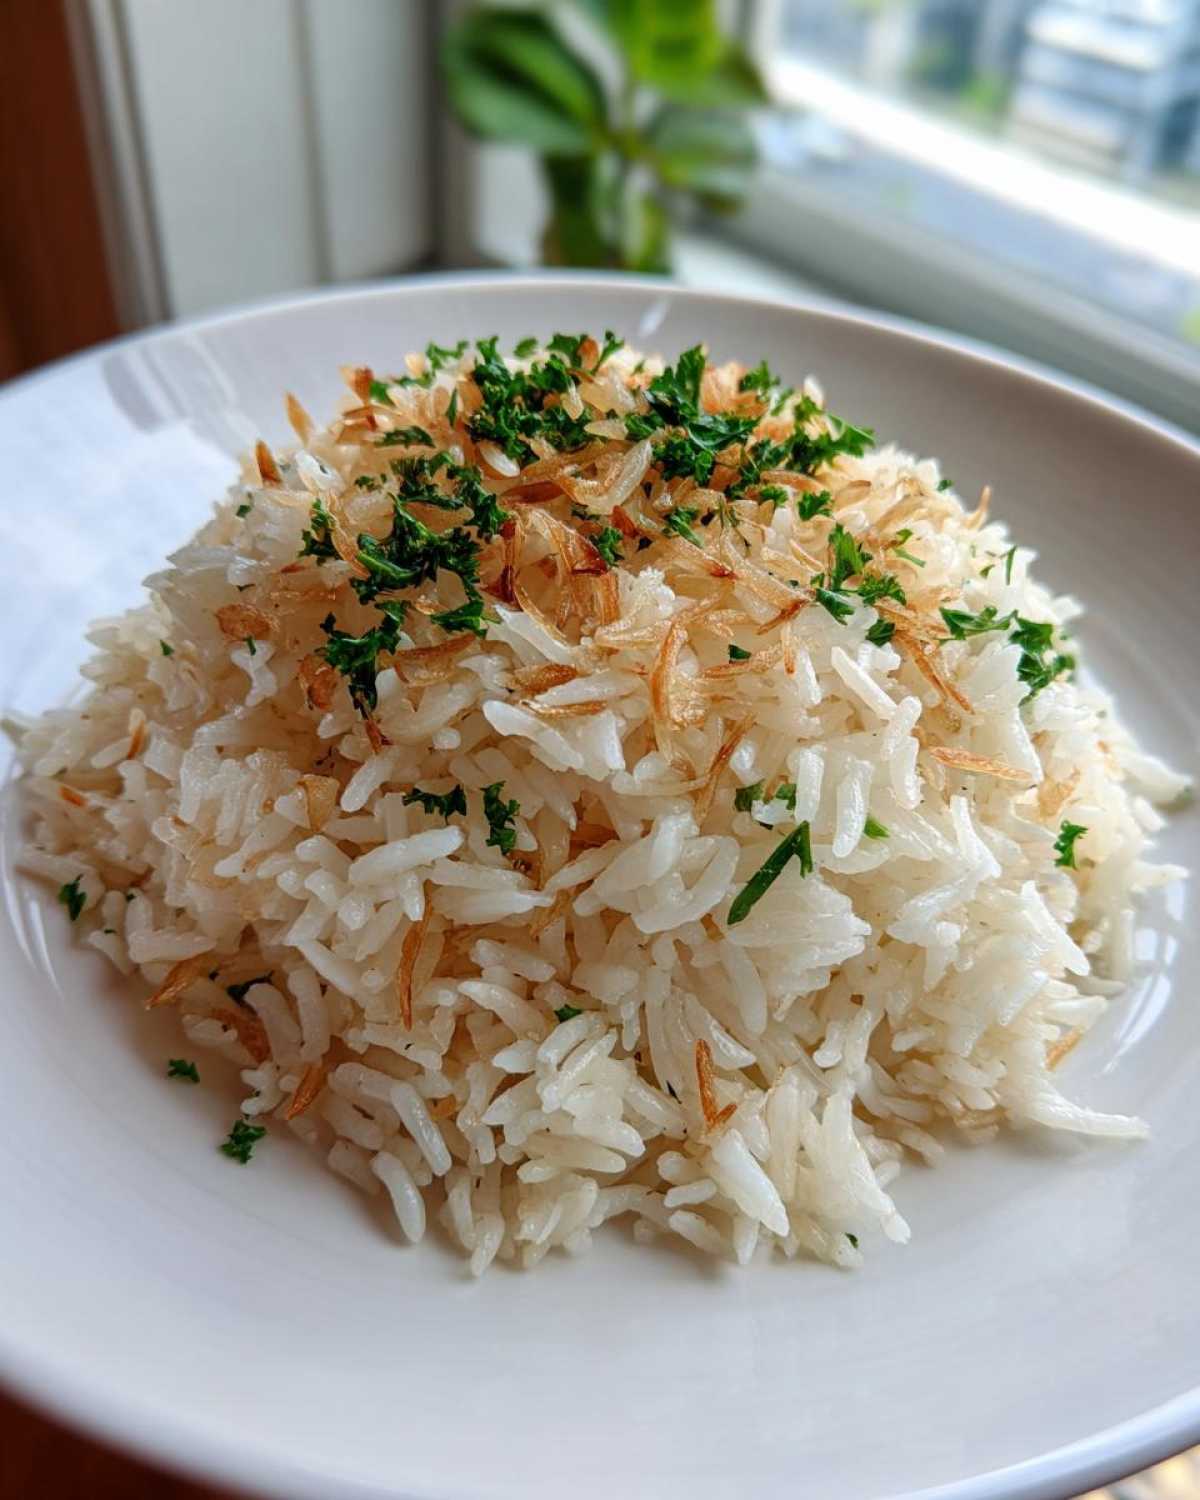
If you want that gorgeous, separate-grain texture you see in professional photos—the kind that makes you pause before taking a bite—it comes down to mastering just two small details before you even start cooking. My goal is always to deliver a Restaurant Style Rice Pilaf right here in our cozy kitchen, and avoiding sticky mess is 90% of the battle! Julian says presentation starts with perfect structure, and I agree. These little tweaks are how we get that magazine-worthy finish every time.
First, let’s talk about that rinse. Seriously, don’t skip it! You need to rinse the rice until the water runs mostly clear. That cloudy starch floating off? That’s the enemy of fluffiness. Wiping that away ensures the grains cook independently. Second huge tip: broth quality matters more than anything else here. Water tastes flat, but a deeply flavored, high-quality chicken broth turns this into a deeply satisfying side. If you’re looking for incredible flavor pairings, our garlic aioli is fantastic drizzled over finished pilaf.
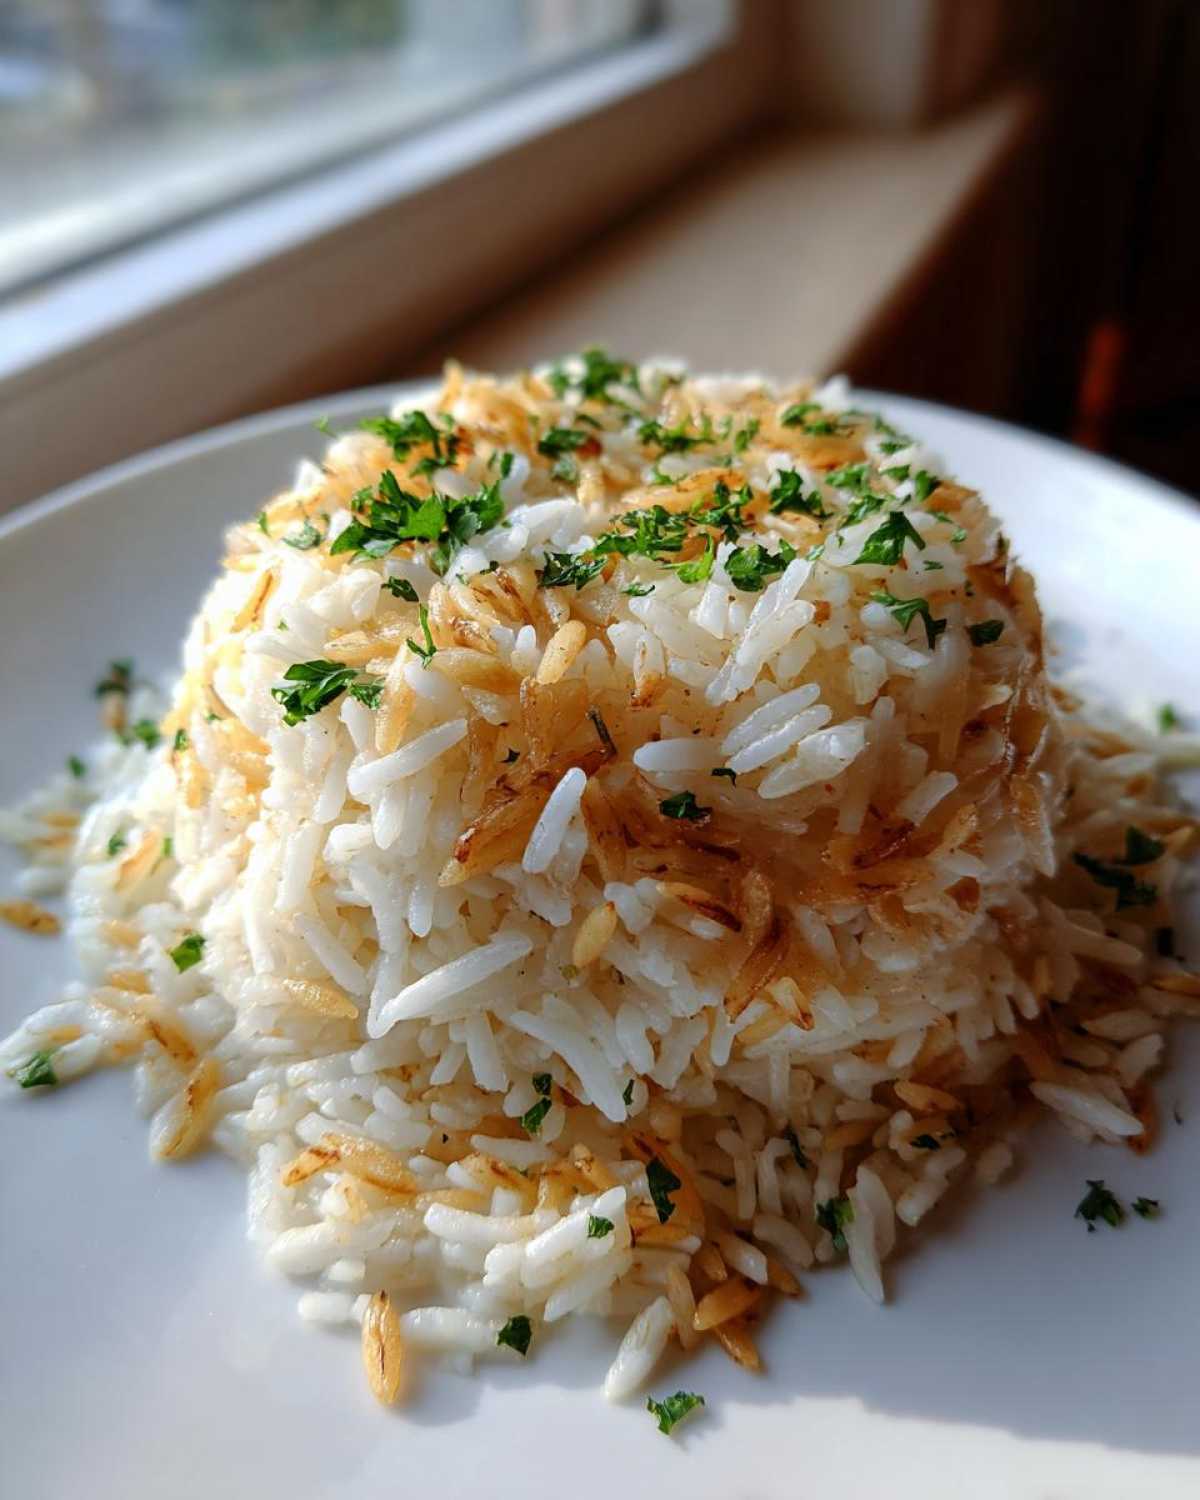
Honestly, following the toasting and resting methods perfectly is crucial, just like the folks over at Taste Meal Time preach about their quick recipes. Those two steps do the heavy lifting, but fresh ingredients ensure the foundation is strong!
Pairing Your Savory Rice Side Dish
This **savory rice side** is such a workhorse in our rotation! Because the flavor of the pilaf is warm and aromatic without being aggressive, it never fights with the main course. It’s honestly the perfect complement to almost anything we bring home from the market.
When we make roasted chicken, this pilaf slides right in as the star supporting actor. It’s fantastic alongside simple pan-seared pork chops, too. If Friday night means seafood, try serving a scoop next to some grilled shrimp or flaky white fish. Seriously, for a great pairing idea that keeps everything on one pan, Julian’s Greek Chicken Sheet Pan is my go-to, and this pilaf soaks up all those delicious pan juices beautifully.
Rice Pilaf Variations for Creative Home Cooks
Once you master the basic technique for this **rice pilaf**, you realize it’s just a fantastic canvas begging for some artistic flair! We love taking this **Simple Grain Recipe** and pushing it just a little further depending on what main dish we’re plating up. It’s so adaptable; it works just as well next to seafood as it does chicken!
If you want to lean into those brighter flavors, try adding a big squeeze of fresh lemon juice and maybe some zest right at the end when you fluff it. That little bit of acid wakes everything up! For a texture surprise—and this is great if you’re making it ahead of time—toss in some toasted slivered almonds or pine nuts right before serving. Julian often experiments with incorporating different herbs; rosemary totally transforms it into a perfect side for pork, for example. If you’re curious about regional twists, their Lebanese take on rice is absolutely gorgeous; check out the style over at Silk Road Recipes for inspiration.
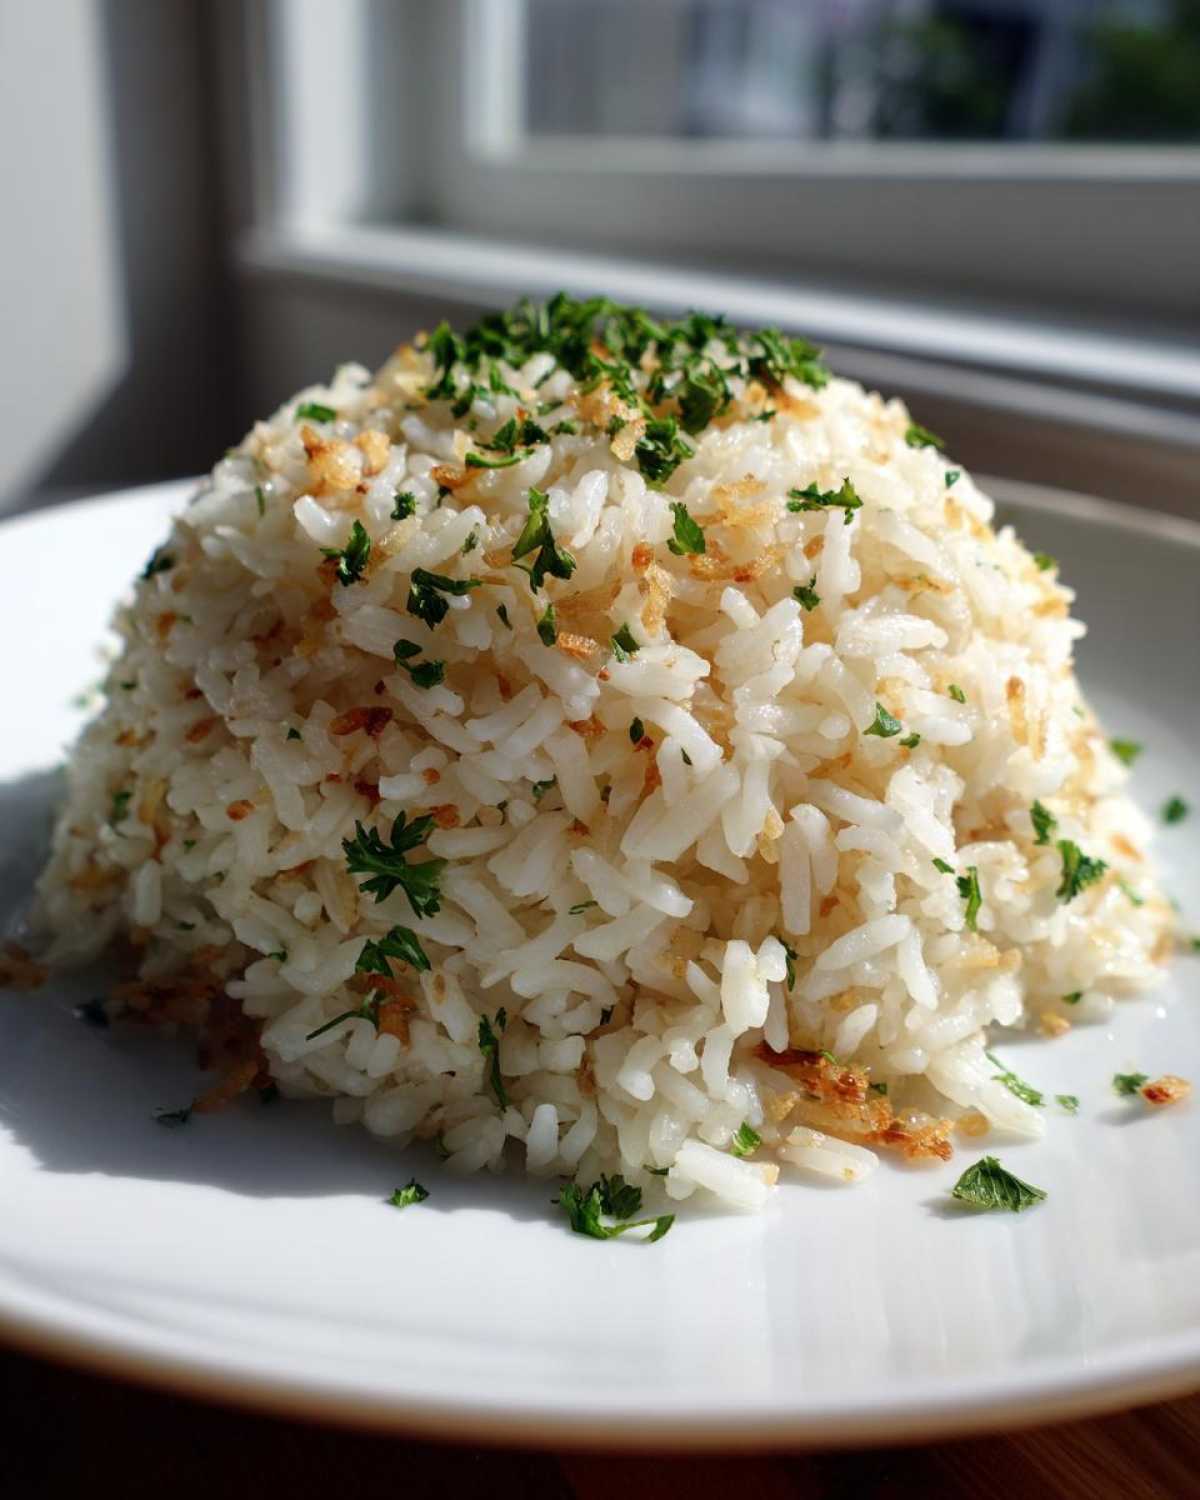
You can also easily turn this into meatball accompaniment—try serving it alongside my Easy Greek Chicken Meatballs! The savory base just sings with those herbaceous flavors.
Storing and Reheating Your Fluffy Rice Pilaf
I love that this is one of those Make Ahead Rice Sides that actually holds up well, which is a lifesaver on busy workweeks! If you have leftovers, just let them cool completely before tucking them into an airtight container. I find that this pilaf holds its texture beautifully in the fridge for about three days. Seriously, you don’t want to compromise that fluffiness!
When you’re ready to eat it, the key is gentle reheating. Please, no nuking it until it’s steaming hot, or you’ll bring back the mush! Instead, sprinkle a teaspoon or two of water over the portion you want to eat, cover it loosely with a damp paper towel—or use my trick for reheating potatoes in the Air Fryer Baked Potato, just lightly misted—and microwave it in short 30-second bursts. Fluff generously with a fork between bursts until it’s warm through. It’ll be almost as perfect as when it first came off the stove!
Frequently Asked Questions About Rice Pilaf
We get so many questions about this pilaf! It’s understandable—getting the texture just right can feel like a secret society handshake sometimes. I’m happy to share the troubleshooting secrets we learned while developing this ultimate **rice pilaf** recipe, so you can master how to make fluffy rice right away.
Why is my simple grain recipe turning out sticky instead of fluffy?
Nine times out of ten, if your **Homemade Rice Pilaf** is sticky, it means you didn’t toast the grains enough, or you lifted the lid during the simmer period! That toasting step is non-negotiable for sealing the outside of the rice grains. Also, make sure you’re rinsing the rice thoroughly before you start; removing that surface starch is key to keeping the texture light. For more insights on avoiding the clump, check out the great breakdown on Recipe CS!
Can I use brown rice instead of long-grain white rice?
You absolutely can, but you have to adjust your expectations and your liquid ratios! Brown rice needs significantly more liquid because the bran layer takes much longer to soften. If you switch, don’t use the exact liquid amounts listed here right away. Also, you’ll need to increase your simmer time to at least 40 minutes, covered, followed by that crucial 10-minute rest. It won’t have that exact light texture of this recipe, but it will be wonderfully hearty.
Is this rice pilaf good for meal prepping?
Yes, this is a fantastic Make Ahead Rice Side! It reheats really well. Just store it in the fridge for up to three days. When reheating, add just a splash of water or broth per serving, cover it tightly, and heat it gently. We cover the best low-and-slow reheating methods for grains in our post about Air Fryer Gnocchi—the concept of low heat and trapped moisture is the same!
Can I make this in the Instant Pot?
You certainly can try! The Instant Pot is great for speed, but you lose that essential toasting/browning flavor profile we worked so hard to build on the stovetop. If you must use the pot, still toast the orzo and aromatics on the Sauté setting first! Then, add the rice and liquid and cook on High Pressure for 4 minutes, followed by a Natural Pressure Release (NPR) for 10 minutes before venting. Keep in mind, achieving *my* exact level of fluff usually requires staying on the stovetop!
Nutritional Estimates for This Savory Rice Side
It’s good to know what’s going into your main feature, right? While we focus more on flavor than counting every tiny point over here at Magazine Meal, we always track the general data for our recipes. Think of these numbers as a guideline; they reflect the recipe as written, using standard packaging sizes. Since we keep this dish clean and focus on fresh ingredients, it’s a wonderfully savory side that pairs well with almost anything, whether you’re serving chicken, pork, or keeping it vegetarian!
Here are the estimates based on the recipe details above:
- Serving Size: 3/4 cup cooked
- Calories: 280
- Fat: 6g (with 2g Saturated Fat)
- Carbohydrates: 50g
- Protein: 7g
- Sodium: 450mg (This can change a ton based on your broth choice!)
- Sugar: 1g
A quick note: Since we rely heavily on the quality of store-bought chicken broth, and everyone measures their butter slightly differently, these values are approximate. If you use low-sodium broth or skip the butter for oil only, your numbers will shift! But overall, this is a flavorful, honest **savory rice side** that feels good to serve.
PrintThe Ultimate Fluffy Homemade Rice Pilaf (Quick & Never Mushy)
Make restaurant-style rice pilaf at home. This recipe uses the secret technique of toasting the rice and orzo with aromatics before cooking in broth, resulting in light, fluffy grains every time. It is a healthy alternative to boxed mixes and pairs well with chicken or pork.
- Prep Time: 10 min
- Cook Time: 25 min
- Total Time: 35 min
- Yield: 4 servings
- Category: Side Dish
- Method: Stovetop
- Cuisine: American
- Diet: Vegetarian
Ingredients
- 1 tablespoon olive oil
- 1 tablespoon unsalted butter
- 1/2 cup orzo pasta
- 1 small yellow onion, finely chopped
- 2 cloves garlic, minced
- 1 1/2 cups long-grain white rice, rinsed
- 2 1/4 cups high-quality chicken broth
- 1/2 teaspoon salt
- 1/4 teaspoon black pepper
- 2 tablespoons fresh parsley, chopped (for garnish)
Instructions
- Heat the olive oil and butter in a medium saucepan over medium heat.
- Add the orzo to the pan and toast, stirring often, until it turns golden brown, about 3 to 5 minutes. Watch closely to prevent burning.
- Add the chopped onion to the pan and cook until softened, about 4 minutes.
- Stir in the minced garlic and cook for 1 minute until fragrant.
- Add the rinsed rice to the pan. Stir constantly for 2 minutes to toast the grains. This step is key for fluffy rice pilaf.
- Pour in the chicken broth, salt, and pepper. Bring the mixture to a boil.
- Once boiling, immediately reduce the heat to the lowest setting, cover the saucepan tightly with a lid, and simmer for 15 minutes without lifting the lid. Do not stir during this time.
- Remove the pan from the heat and let it stand, covered, for an additional 10 minutes. This resting period creates the perfect texture.
- Fluff the rice gently with a fork. Garnish with fresh parsley before serving as an easy side dish.
Notes
- Rinsing the rice removes excess starch, which helps prevent the final dish from becoming sticky.
- Using chicken broth instead of water adds significant savory flavor, making this a restaurant style rice pilaf.
- For a variation, substitute half the broth with water if you prefer a lighter flavor.
- This pilaf is an excellent weeknight rice side that can be made ahead and reheated gently.
Nutrition
- Serving Size: 3/4 cup cooked
- Calories: 280
- Sugar: 1
- Sodium: 450
- Fat: 6
- Saturated Fat: 2
- Unsaturated Fat: 4
- Trans Fat: 0
- Carbohydrates: 50
- Fiber: 1
- Protein: 7
- Cholesterol: 5