

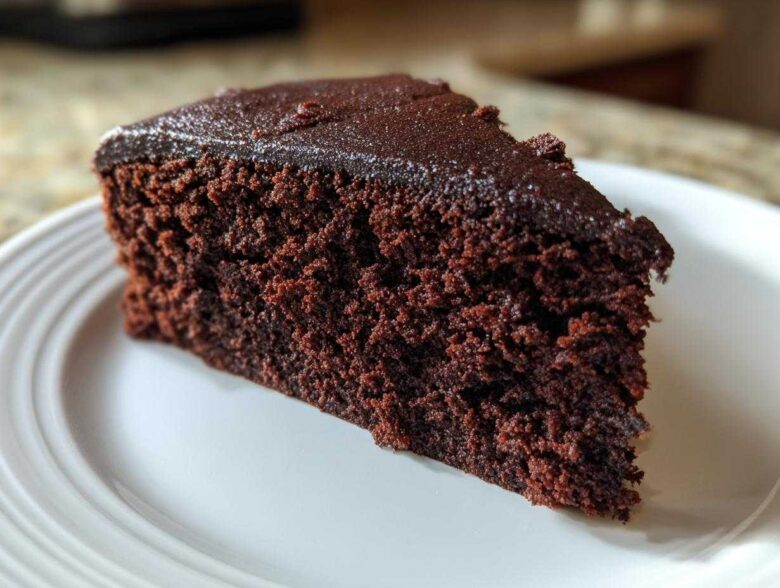
Oh my gosh, let me tell you, finding a truly amazing **Gluten-Free Chocolate Cake** used to feel like searching for a unicorn in a cardboard box. Right? I spent years dealing with crumbly messes—cakes that tasted more like gritty sand than rich dessert. I remember one birthday where I tried to swap in almond flour, and the whole thing just deflated into a sad, oily puddle. Disaster!
But listen, I finally cracked the code. This recipe eliminates all that stress. I promise you, this is the one that gives you that deep, dark, fudgy texture you crave, where you wouldn’t even know wheat flour was missing. It stays moist for days, which is a miracle in gluten-free baking!
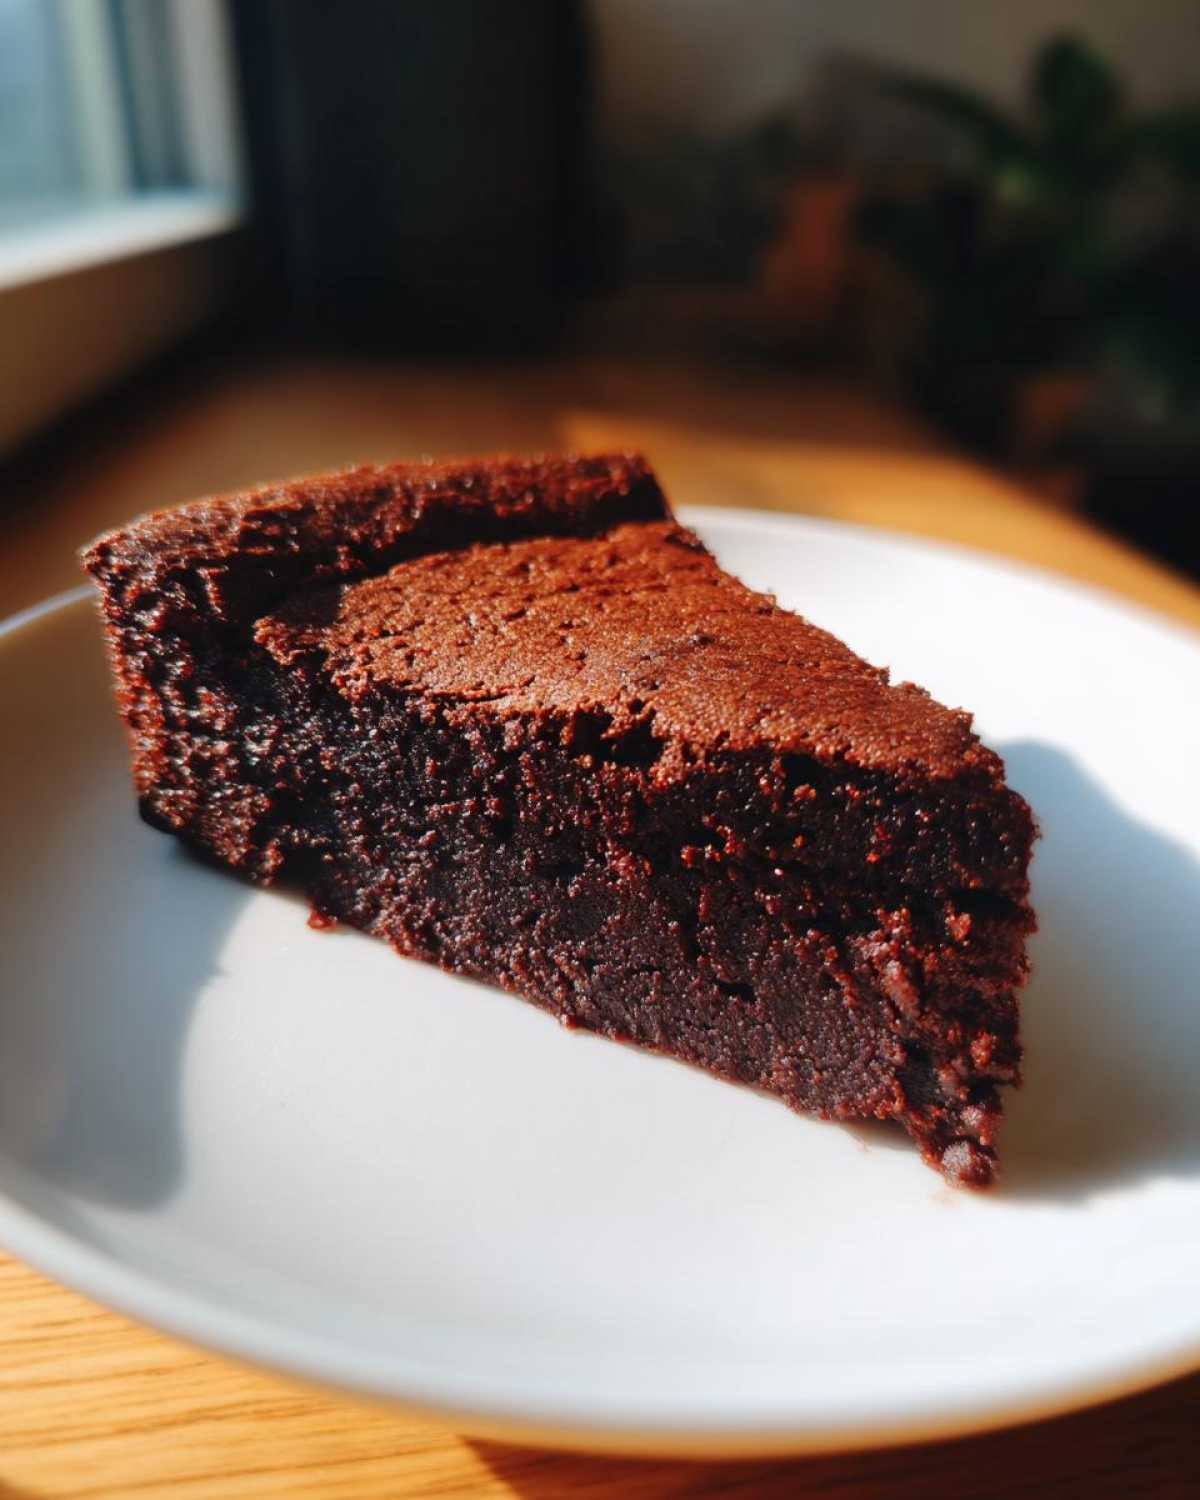
I’m sharing this because after so many kitchen experiments, I want you to have instant success. My favorite part is using boiling water—it seems crazy, but trust me, it completely changes the structure. I feel like I’ve finally conquered the GF baking challenge, and you are going to nail it too. You can learn a little more about my approach to baking at our little corner of the internet.
Why This is the Best Gluten Free Chocolate Cake Recipe You Will Make
Honestly, forget every dry, disappointing cake you’ve had labeled as gluten-free before. This specific method produces what I lovingly call the Moist Gluten Free Chocolate Cake that even my non-GF friends beg me to bake for potlucks. The crumb structure is unbelievably tender—it almost melts in your mouth!
The secret sauce, besides the perfect flour blend, is that hot addition near the end. Pouring in that cup of boiling water (or hot coffee, shhh!) blooms the cocoa powder. This activates the starches in the gluten-free flour blend perfectly and creates steam inside, ensuring the cake sets up rich instead of brittle. It’s pure magic, and it means you don’t have to worry about weird gummy spots or that sandy texture that ruins everything.
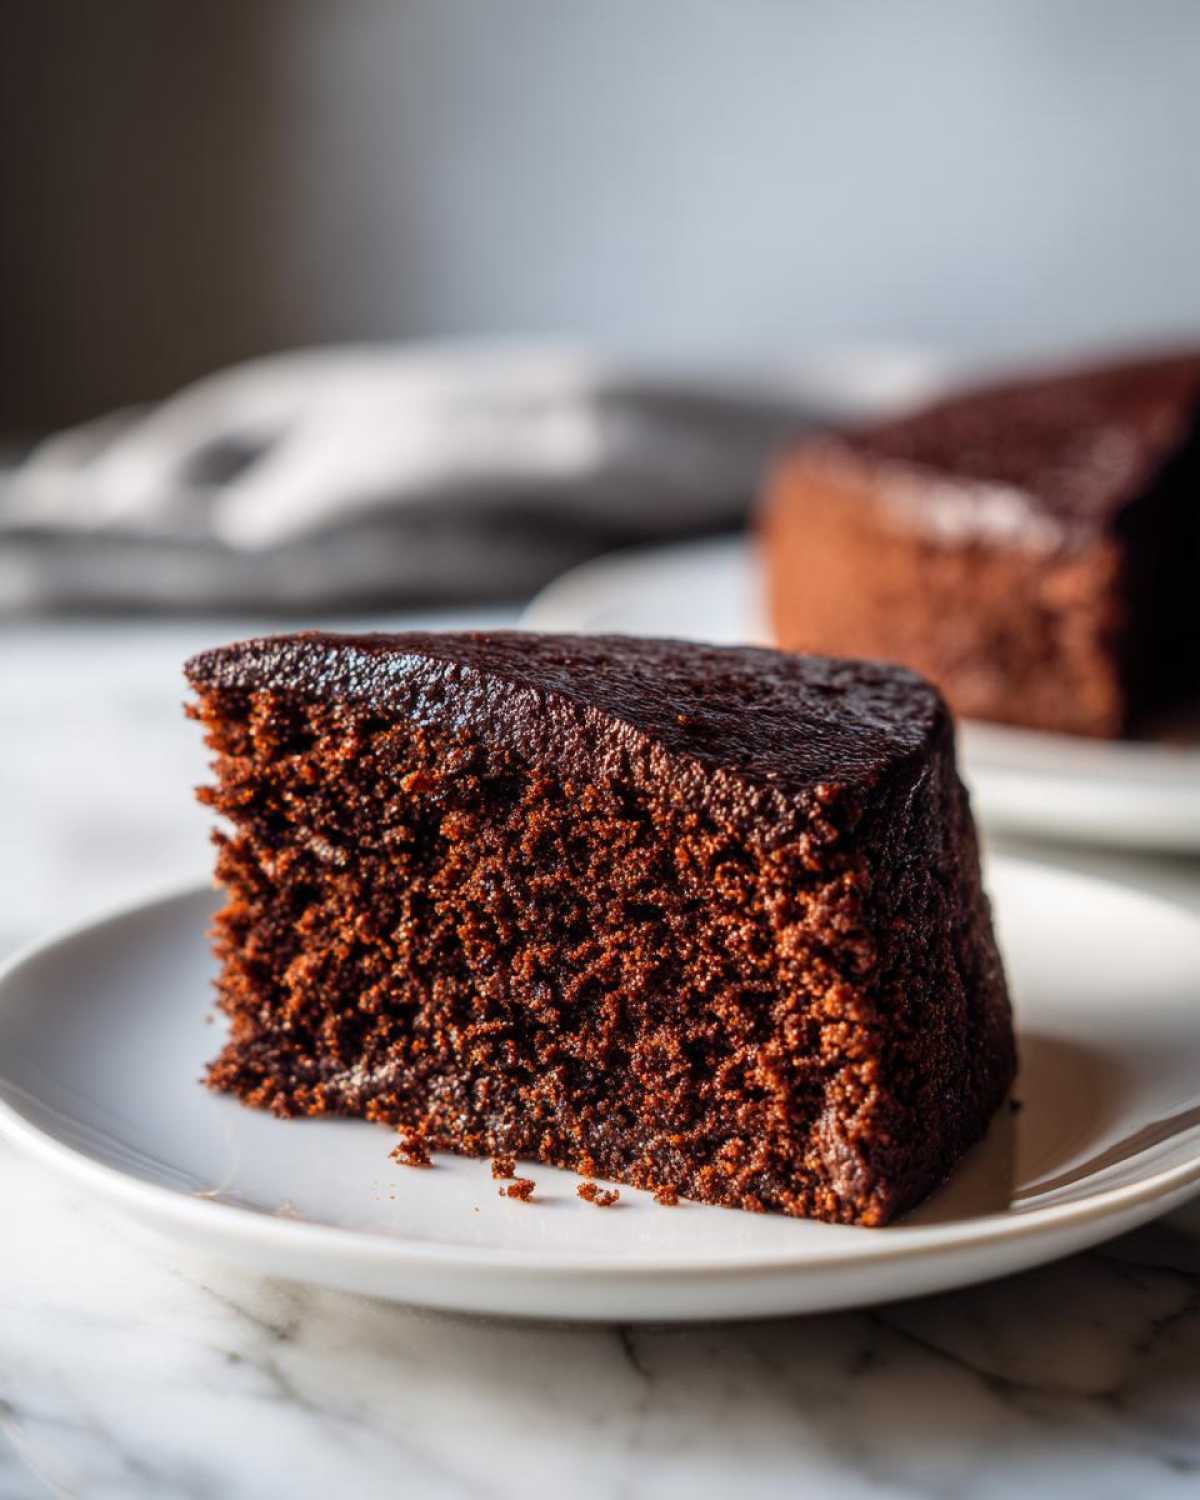
If you love my famous chocolate chip cookies, you’ll recognize this commitment to texture! You can see how I approach other simple baking challenges over at my recipe for the absolute best chocolate chip cookies.
Key Features of Our Gluten Free Chocolate Cake
- Unbelievably moist texture that lasts for days, seriously!
- Deep, dark chocolate flavor that satisfies any craving.
- Simple mixing process—no fancy techniques needed for this layer cake.
- Completely safe and reliable for those with gluten sensitivities.
Gathering Ingredients for Your Gluten Free Chocolate Cake
Okay, bread lovers, here’s where precision really pays off when we ditch the wheat. We are making a cake that needs help holding its shape, so the ingredients matter—a lot! Don’t just grab any old bag of flour off the shelf; we need the right stuff for this Gluten Free Chocolate Cake to truly shine.
The absolute most critical thing you need to eyeball on your bag is the xanthan gum situation. Because we aren’t using traditional gluten structure, that gum acts as our binder. If your gluten-free all-purpose blend doesn’t already list it, you absolutely must add one teaspoon separately. It keeps this beautiful thing from crumbling into crumbs the second you try to frost it. Trust me on this one; I learned the hard way!
Precise Ingredient Measurements
Get out your measuring cups and glasses! We need exact amounts for this tender result. Here is precisely what goes into the bowl:
You will need one and three-quarter cups of that gluten-free all-purpose flour blend (don’t forget that xanthan gum if it isn’t pre-mixed in!). Next up is three-quarters of a cup of unsweetened cocoa powder for that rich color. We sweeten it with one and three-quarter cups of granulated sugar. For lift, grab one and a half teaspoons of baking soda and one teaspoon of baking powder, plus one teaspoon of salt to balance the sweetness.
For the wet stuff, we’re adding two large eggs. Then, one full cup of milk—I use whole milk, but oat or soy works great too! Half a cup of vegetable oil provides essential moisture, and two teaspoons of vanilla extract wakes everything up. The final kicker, the ingredient that makes this cake so famously moist, is one full cup of boiling water, which you add last.
Essential Equipment for Making Gluten Free Chocolate Cake
Okay, before you even think about preheating that oven, let’s make sure your kitchen is armed and ready! Since GF cakes can be a little more delicate during handling, having the right gear makes the difference between a perfect layer cake and a total kitchen disaster. You don’t need a hundred gadgets, but these few things are non-negotiable.
You absolutely must have two 9-inch round cake pans. Don’t try to cram it all into one deep pan; it will never cook evenly! An electric mixer—either hand-held or stand mixer—is your best friend for getting that batter whipped up quickly. And please, please, have a sturdy wire cooling rack ready. Letting the cake cool flat on the counter traps steam underneath, and we want everything light and airy! If you’re prepping for other meals, check out how I use my gadgetry for easy air fryer gnocchi, but honestly, the mixer is the star here!
Step-by-Step Guide: How to Make Gluten Free Chocolate Cake
Alright, let’s get down to the fun part! Learning exactly how to make Gluten Free Chocolate Cake that tastes like it came from a high-end bakery is all about following these steps in order. Don’t rush the mixing, and especially don’t skip the cooling time in the pan—that’s where the magic happens for us GF bakers!
Preparing Pans and Mixing Dry Ingredients for Gluten Free Chocolate Cake
First thing’s first, get that oven fired up—we need it at 350°F (175°C) nice and hot before the batter is ready. Now for the pans—since we don’t want any sticking whatsoever, grease your two 9-inch round pans really well. Then, dust them lightly with your gluten-free flour blend. Think of it like dusting with flour, but we make sure every nook and cranny is covered to prevent that frustrating sticking!
Next, grab a big bowl. We’re combining everything dry before we add the liquid. Whisk together your gluten-free flour blend, the cocoa powder, the sugar, the baking soda, baking powder, and salt. You want this mixture totally uniform before moving on; just whisk it until there aren’t any lingering lumps of cocoa powder.
Combining Wet Ingredients and Achieving the Perfect Gluten Free Chocolate Cake Batter
Now we introduce the wet friends! Add the two eggs, the cup of milk (whatever you decided on!), the vegetable oil, and the vanilla extract right into that bowl of dry ingredients. Turn on your electric mixer and let it go on medium speed for a solid two minutes. This whipping action is important; it starts building the aeration we need in place of standard gluten structure.
This next part needs a careful hand. Once that’s mixed, you are going to carefully pour in that cup of boiling water. Yes, boiling! Mix it on low speed just until everything is combined. Don’t over-mix once the water goes in, or it can get tough! You will look at the bowl and think, “Whoops, this is way too thin.” Stop worrying right there—that thin batter is exactly what we want for the most incredible crumb. If you check out my recipe for moist zucchini banana bread, you’ll see that thin batters often bake up the best!
Baking and Cooling Your Gluten Free Chocolate Cake Layers
Time to bake! Divide that thin batter evenly between your two prepared pans. Pop them into the preheated oven for about 30 to 35 minutes. Don’t just trust the clock blindly, though. Use the classic wooden pick test: insert it right into the center, and it should come out clean or with just a few moist crumbs attached. If you see wet batter, give it another two minutes.
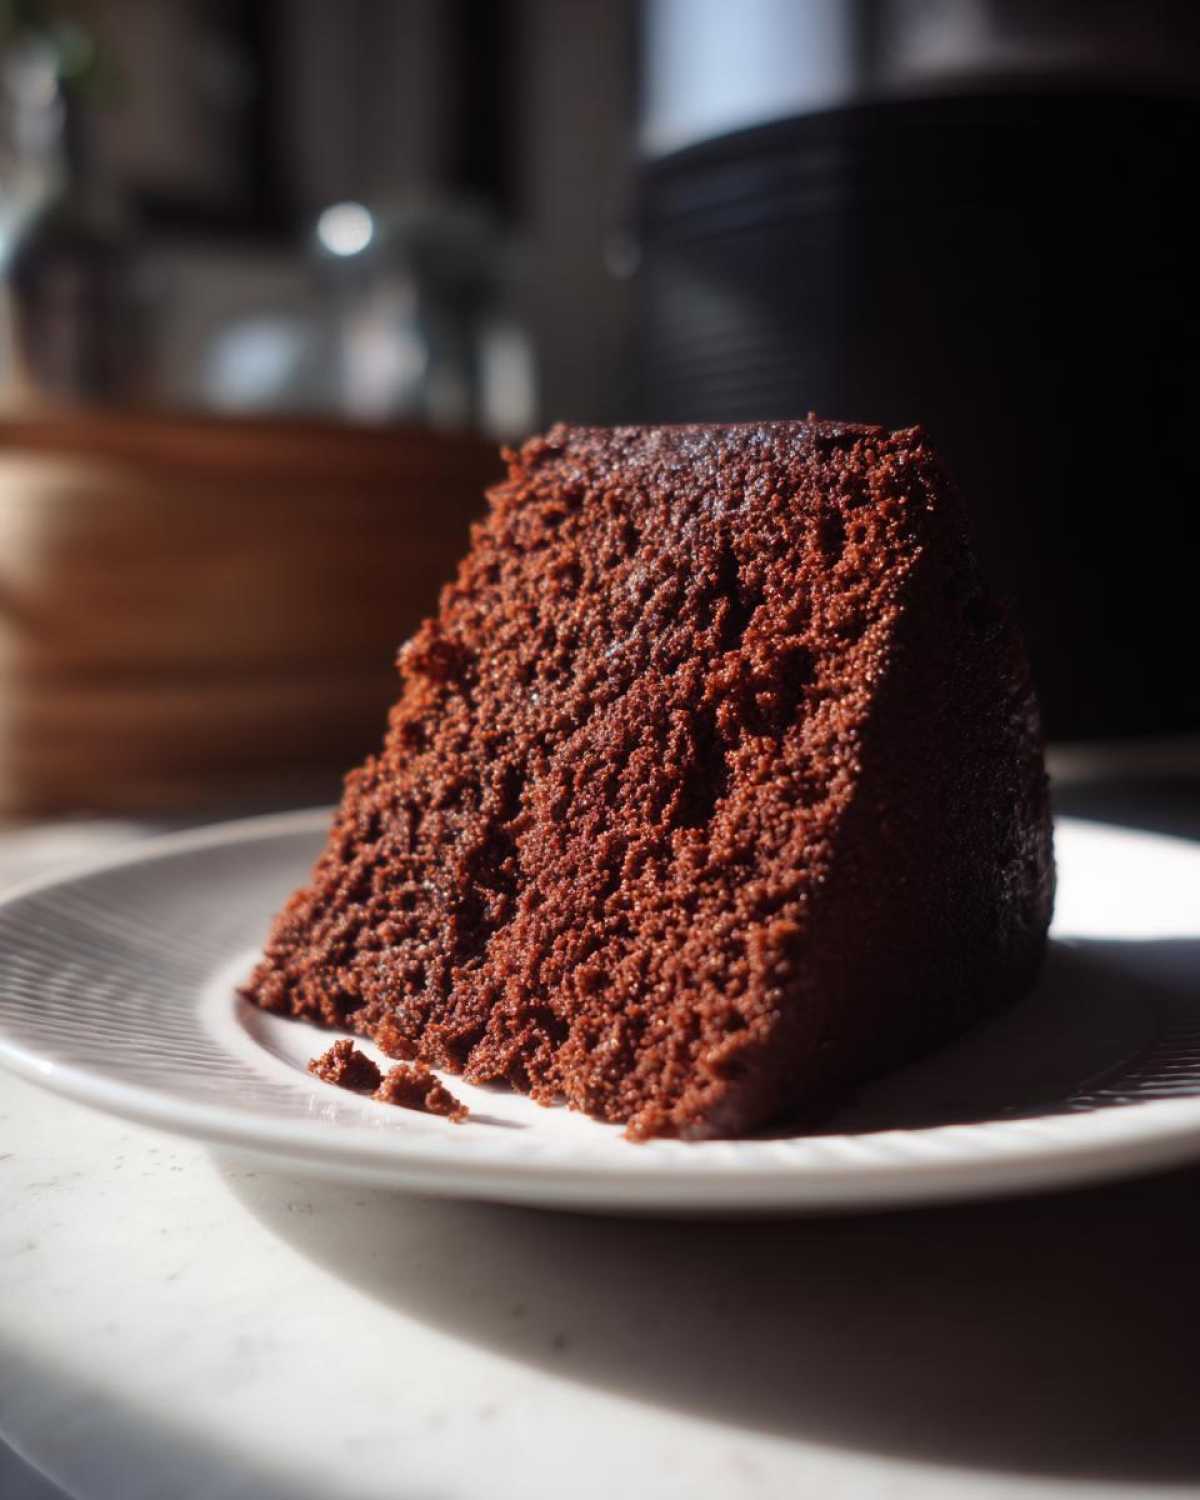
The hardest part comes now: patience! Let those beauties cool right in their pans for exactly 10 minutes. If you try to flip them out immediately, they might crack or crumble—we need those first 10 minutes for the edges to firm up slightly. After the rest, carefully invert them onto a wire rack. They must cool down completely before you even *think* about frosting them, or you’ll have a chocolate puddle on your counter!
Tips for Success with Your Moist Gluten Free Chocolate Cake
I’ve learned a few tricks over the years that take this already fantastic recipe and make it absolutely bulletproof. When you’re working with a Gluten Free Cocoa Powder Cake, sometimes the smallest step makes the biggest difference in texture and flavor depth.
First, let’s revisit the xanthan gum. If you forgot to check your flour, just grab that gum, measure out one teaspoon, and whisk it right in with the sugar and cocoa before you add any liquid. Seriously, don’t skip that if your blend is pure flour!
For an extra layer of decadent flavor, try swapping out that cup of boiling water for hot, strong brewed coffee. You won’t taste the coffee, but it deepens the chocolate flavor like nothing else. It’s my little cheat code for a richer cake!
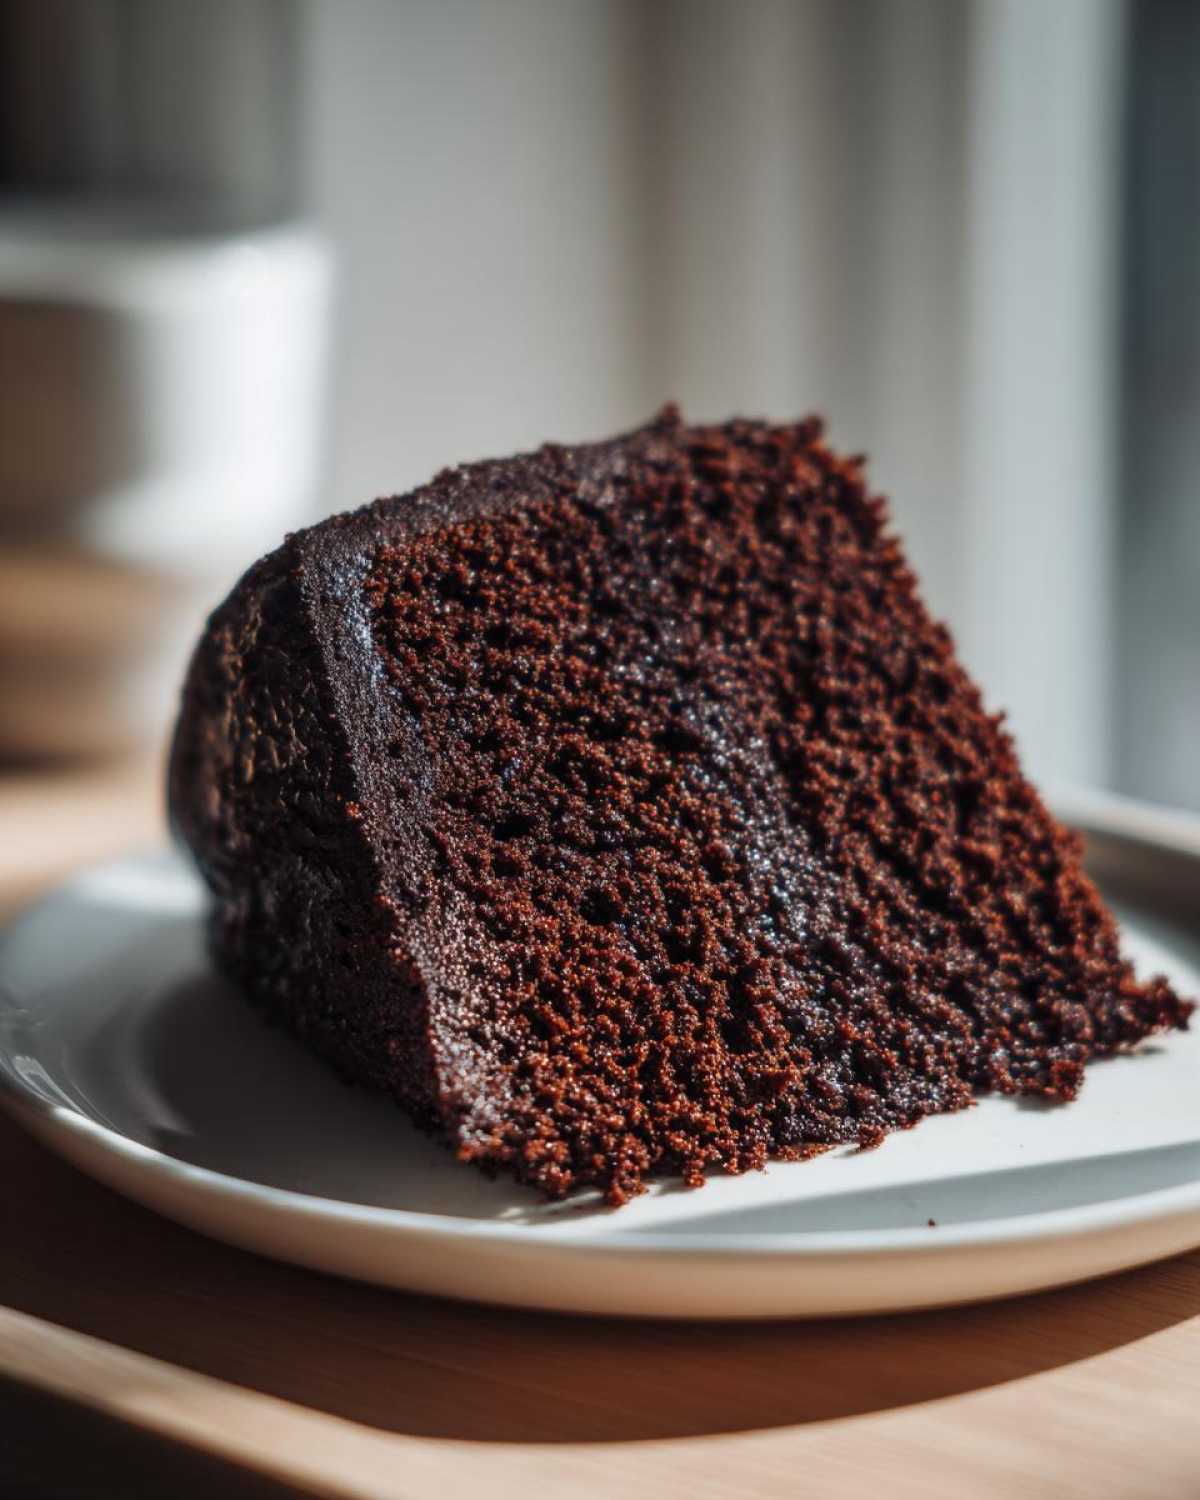
Here’s my extra pro tip: make sure your eggs and milk are at room temperature before you mix them in. Room temperature ingredients emulsify much better with the oil, which creates a smoother, more stable batter overall. This really helps prevent any strange separation in the batter. It’s a rule I stick to for all my favorites, even my brown butter chocolate chip cookies!
Variations: Making a Rich Dairy Free Chocolate Cake Gluten Free
Now, this recipe is pretty adaptable, which I love because everyone should be able to enjoy a spectacular chocolate cake! If you need to keep things strictly dairy-free on top of being gluten-free, don’t sweat it. You can easily transform this into a spectacular Rich Dairy Free Chocolate Cake Gluten Free.
The swap is simple: just use any non-dairy milk you prefer—oat milk or almond milk work beautifully in place of regular milk. That already takes care of the main issue for a dairy-free diet!
The trickiest part is the frosting, since traditional buttercream relies heavily on butter. When you go to frost, just use a high-quality vegan butter substitute or a coconut oil-based frosting instead. The cake’s structure itself is so perfect, the dairy-free version is just as moist and delicious. If you’ve had success with my easy vegan banana bread, you already know how simple swapping milk can be!
Serving Suggestions for Your Gluten Free Chocolate Cake
The cake layers are finally cool—congratulations, you earned this! Now, we have to decide what glorious crown this beauty deserves. Since this cake is so wonderfully rich on its own, it doesn’t need much fuss, but I love dressing it up for celebrations.
If I’m making a spectacular triple-layer Gluten Free Chocolate Cake with Ganache, I whip up a dark chocolate ganache—it just drips perfectly down the sides. For a simpler, single-layer version, sometimes I just pile on fresh raspberries or strawberries; the tartness cuts through the richness so nicely.
Honestly though, my favorite easy pairing is just a simple scoop of good vanilla ice cream or even a dollop of whipped cream with a sprinkle of flaky sea salt on top. It’s decadent without being overwhelming. If you’re looking for a lighter chocolate finish, maybe check out my ridiculously easy three-ingredient chocolate mousse to serve alongside it!
Storing and Reheating Your Gluten Free Chocolate Cake
Storing this cake is actually a breeze, which is wonderful because it means less stress after the big bake day! Because this recipe is naturally so moist, it holds up really well. If you just have a slice or two leftover, keep them airtight at room temperature for up to two days. Just stick a cake dome or a tightly sealed container over it.
If you made the full layer cake and want it to last longer, wrap the individual layers tightly (I mean *tightly*!) in plastic wrap, and then freeze them. They keep beautifully for about a month this way. They thaw out perfectly on the counter.
Now, here is my favorite little trick for reheating a slice that maybe sat in the fridge a bit too long. Pop that piece on a small microwave-safe plate and heat it for just 10 to 15 seconds. It brings the moisture right back up and makes it taste like it just came out of the oven. For more tips on keeping your bakes perfect, check out how I keep my lemon loaf incredibly moist!
Frequently Asked Questions About This Gluten Free Chocolate Cake
I always get so many questions when people try this recipe for the first time! It’s completely normal, especially when stepping into the world of gluten-free baking where things can sometimes feel a little delicate. I’ve grouped the burning questions here so you can bake with total confidence.
Can I use almond flour instead of a blend in this Gluten Free Chocolate Cake?
That’s a really common idea! While almond flour makes fantastic, dense baked goods, for this specific recipe—which relies on that thin, cocoa-rich liquid structure—using a 1:1 gluten-free all-purpose blend is much safer. Almond flour doesn’t absorb liquid the same way, and if you just swap it in, you’ll likely end up with a greasy, heavy cake instead of that wonderfully light crumb we are aiming for. Stick to a blend that has a mix of starches and rice flours to mimic that structure!
How do I ensure my cake is a Single Layer Gluten Free Chocolate Cake?
That’s so easy to do! If you don’t want two layers, just use one 9×13 inch baking pan. Make sure you grease and line the bottom with parchment paper, just like we talked about for the rounds. Since the batter is more spread out, it won’t take as long to bake. Instead of 30 to 35 minutes, start checking it around the 25-minute mark. You want that toothpick to come out clean, but check the center a few times!
If you are looking for more advice or just want to say hello after you bake it, feel free to reach out to me through the contact page!
Estimated Nutritional Data for Gluten Free Chocolate Cake
I know some of you are tracking macros or just curious about what you’re serving up, so here is the estimated nutritional breakdown per slice for this big, beautiful cake. Remember, every single brand of gluten-free flour out there is a little different with its specific mix of rice and potato starches, so these numbers are just a general guide, okay?
Don’t take these figures as gospel; use them as a ballpark, especially since whether you choose regular milk or oat milk really changes the fat content! For the official rundown on how I handle different disclaimers on my site, you can check out my full policy here: My site’s disclosure statement.
- Serving Size: 1 slice
- Calories: 320
- Sugar: 35g
- Sodium: 280mg
- Fat: 15g
- Saturated Fat: 3g
- Unsaturated Fat: 12g
- Trans Fat: 0g
- Carbohydrates: 45g
- Fiber: 3g
- Protein: 5g
- Cholesterol: 55mg
Moist Gluten-Free Chocolate Cake
Bake a rich and moist chocolate cake using a gluten-free flour blend. This recipe yields a tender crumb perfect for any occasion.
- Prep Time: 15 min
- Cook Time: 35 min
- Total Time: 50 min
- Yield: 12 servings
- Category: Dessert
- Method: Baking
- Cuisine: American
- Diet: Gluten Free
Ingredients
- 1 3/4 cups gluten-free all-purpose flour blend (with xanthan gum)
- 3/4 cup unsweetened cocoa powder
- 1 3/4 cups granulated sugar
- 1 1/2 teaspoons baking soda
- 1 teaspoon baking powder
- 1 teaspoon salt
- 2 large eggs
- 1 cup milk (dairy or non-dairy)
- 1/2 cup vegetable oil
- 2 teaspoons vanilla extract
- 1 cup boiling water
Instructions
- Preheat your oven to 350°F (175°C). Grease and flour two 9-inch round cake pans with gluten-free flour or line with parchment paper.
- In a large bowl, whisk together the gluten-free flour blend, cocoa powder, sugar, baking soda, baking powder, and salt.
- Add the eggs, milk, oil, and vanilla extract to the dry ingredients. Beat with an electric mixer on medium speed for two minutes.
- Carefully pour the boiling water into the batter and mix on low speed until just combined. The batter will be thin.
- Divide the batter evenly between the prepared cake pans.
- Bake for 30 to 35 minutes, or until a wooden pick inserted into the center comes out clean.
- Let the cakes cool in the pans for 10 minutes before inverting them onto a wire rack to cool completely before frosting.
Notes
- If your gluten-free flour blend does not contain xanthan gum, add 1 teaspoon to the dry ingredients.
- For an extra rich flavor, substitute the boiling water with hot brewed coffee.
- This recipe works well for cupcakes; bake for 18-20 minutes.
Nutrition
- Serving Size: 1 slice
- Calories: 320
- Sugar: 35g
- Sodium: 280mg
- Fat: 15g
- Saturated Fat: 3g
- Unsaturated Fat: 12g
- Trans Fat: 0g
- Carbohydrates: 45g
- Fiber: 3g
- Protein: 5g
- Cholesterol: 55mg