

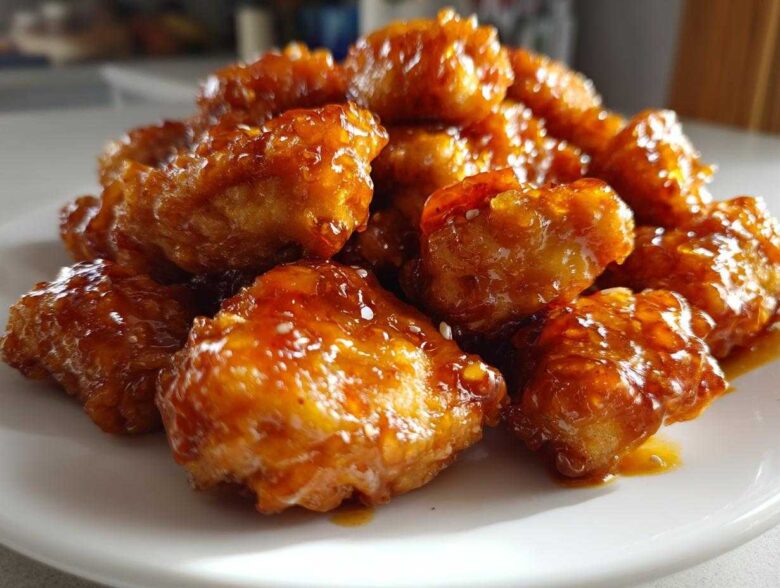
I don’t know about you, but sometimes I get that intense craving for sticky, sweet, tangy takeout Orange Chicken that only crispy fried goodness can fix. But dragging out the deep fryer just for a weeknight dinner? Absolutely not! That’s where my trusty air fryer steps in, and trust me, after about twenty attempts, I finally figured out the secret coating for truly crispy pieces. You can check out some of my other tips for air fryer chicken success too!
This Air Fryer Orange Chicken recipe is a game-changer. Seriously, you get that perfectly rendered, slightly chewy texture on the outside and juicy chicken breast on the inside, all without submerging anything in oil. Once you nail this coating technique, you’ll never look back. It’s fast, it’s healthier, and honestly? It tastes way better than delivery. I’m so excited to share exactly how I get it right every single time!
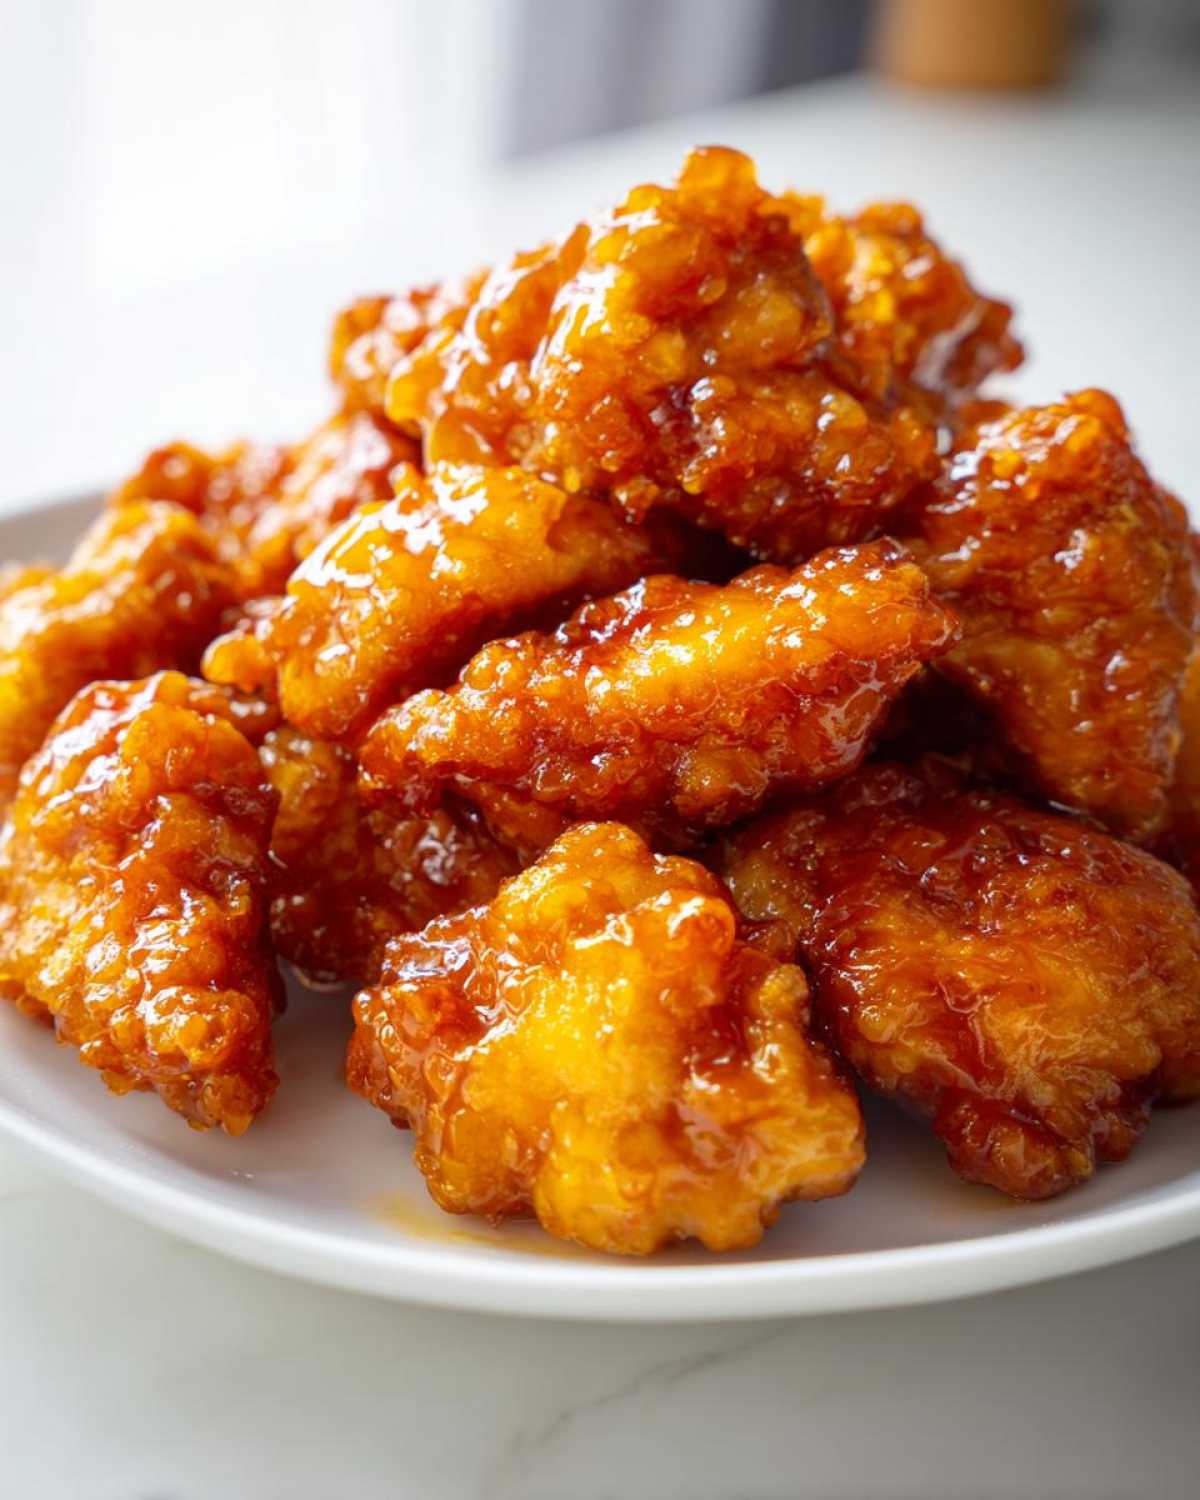
Why This Air Fryer Orange Chicken Recipe Works (Easy Homemade Orange Chicken)
If you’re like me, the whole point of Orange Chicken is that crisp shell clinging to the chicken, right? This Easy Homemade Orange Chicken delivers that crunch without all the hassle. We skip the messy deep fryer, but we don’t skip the flavor or texture. It’s incredibly fast, which is perfect for those busy nights when you swear you’re ordering Chinese food. I even tested this breading against my air fryer gnocchi recipe, and this one is a clear winner for crispiness! You can see how I prep gnocchi, but this chicken method is different!
- We nail the texture because we use twice the cornstarch in the dredge—that’s the real trick!
- The sauce is bright and tangy; it tastes fresh, not like it came from a bottle.
- Total cook time is under 30 minutes. Seriously!
Achieving Crispy Coating for Air Fryer Chicken
The biggest fear with air frying meat is that it turns out soggy. Nope! We fight that by using a specific flour and cornstarch blend—that’s our secret weapon for the Crispy Coating for Air Fryer Chicken. Also, listen to me carefully: you absolutely must not overcrowd the basket. If those pieces are piled up, the hot air can’t circulate, and you’ll steam the chicken instead of crisping it. Don’t be greedy; cook in batches!
Ingredients for the Best Air Fryer Orange Chicken
Okay, getting the right ingredients is half the battle, and I learned this the hard way when I tried substituting bottled orange juice once. Big mistake! For the actual chicken, you want nice, manageable, 1-inch chunks of boneless, skinless breast. That size cooks evenly and gets that perfect coating. I love seeing all the ingredients laid out before I start mixing—it just makes the process feel so much smoother. If you’re looking for other great chicken dinner ideas, you should check out my chicken zucchini stir-fry!
Here’s what you need to pull this off:
- 1.5 lbs boneless, skinless chicken breasts, cut into 1-inch pieces
- 1 large egg
- 1/4 cup all-purpose flour
- 1/4 cup cornstarch (this is non-negotiable for crispiness!)
- 1/2 teaspoon salt
- 1/4 teaspoon black pepper
- Cooking spray (your best friend in the air fryer!)
Ingredients for the Sweet and Tangy Orange Sauce
This is where the magic happens. The sauce needs that bright punch of citrus mixed with deep savory notes. We need fresh ginger and zest here if you can swing it—it makes all the difference in that authentic flavor profile. This combination creates the absolute best Sweet and Tangy Orange Sauce that clings just right!
- 1/2 cup orange juice, fresh or bottled (I prefer fresh!)
- 1/4 cup soy sauce
- 1/4 cup packed brown sugar
- 2 tablespoons rice vinegar
- 1 tablespoon grated fresh ginger
- 1 teaspoon sesame oil
- 1 clove garlic, minced
- 1 teaspoon orange zest
- 1 tablespoon cornstarch mixed with 2 tablespoons cold water (we call this the slurry!)
- Optional: Sesame seeds and sliced green onions for garnish—don’t skip the green onion sprinkle right before serving!
Step-by-Step Instructions for Crispy Air Fryer Chicken
Alright, time to get cooking! This is where we take those coated, waiting pieces of chicken and turn them into golden nuggets of flavor. Remember, the game plan here is fast cooking with high heat to lock in that crispiness—we want that Crispy Air Fryer Chicken we talked about. If you have time, let those coated pieces sit on the counter for about 10 minutes before they hit the basket. It really helps the coating set!
- First, we get that dredge party started. Dip every piece of chicken into the egg bath, letting the extra drip off naturally. Then, press it firmly into your flour/cornstarch mix. Make sure you really pat that coating on there!
- Get your air fryer ready. Lightly spray that basket—don’t skip the spray, or things stick! Arrange your chicken in a single layer. I’m telling you, if you pile it up, you’ll end up with sad, flabby chicken. Cook in batches!
- Air fry at 380°F (195°C) for 10 minutes straight. Then, carefully flip every piece over and give them just one more light spritz of cooking spray. Pop them back in for another 5 to 8 minutes until they look gorgeous and are cooked through to 165°F inside.
Preparing the Chicken Coating and Cooking
That first 10-minute blast at 380°F is essential. It sets the crust so it doesn’t fall off later when we toss it in the sauce. When you flip them, you’ll notice they are already getting beautiful and golden brown. If they look a little pale, you can sneak another 2 or 3 minutes in there, but watch them closely! Always double-check that internal temperature, especially if you’re using a marinade before dredging (check out my favorite marinade guide!).
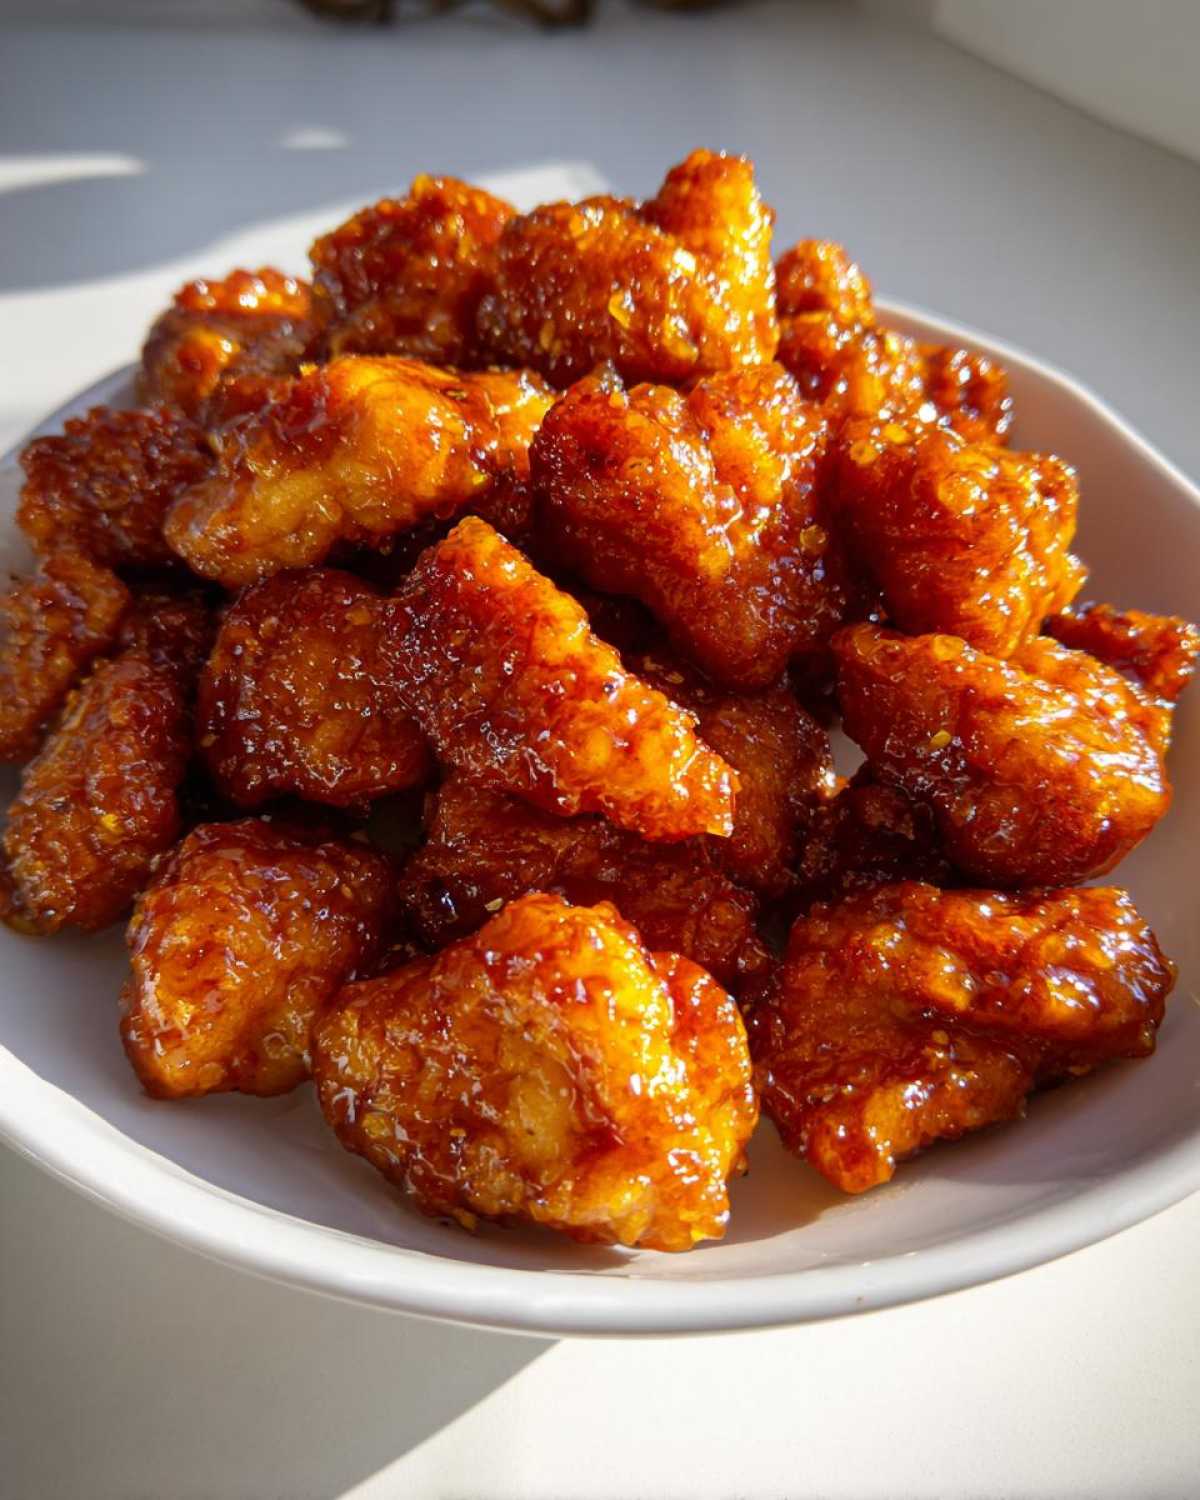
Making the Glazed Chicken Breast Air Fryer Sauce
While the second batch of chicken is cooking, attack the sauce! Get that orange juice, soy sauce, brown sugar, ginger, garlic, and zest into a saucepan. Bring it to a gentle simmer over medium heat, just enough to dissolve all the sugar. Now, for the thickening: whisk that cornstarch slurry really well right before you pour it in slowly while stirring constantly. You’re making a Glazed Chicken Breast Air Fryer coating here, so you want it thick enough to stick. Let it cook for about 1 to 2 minutes until it coats the back of your spoon.
Tips for Perfect Air Fryer Orange Chicken Every Time
You’ve made the chicken, you’ve made the sauce, but now we polish it off! Getting that restaurant-quality result for your Air Fryer Orange Chicken Recipe isn’t just about hitting the temperature; it’s about knowing how to fix the little things that go wrong. My kitchen saw its fair share of slightly soggy chicken before I figured out these finishing touches. If you’re hunting for top-tier air fryer advice, you can always browse through my general blog archives for more inspiration!
Troubleshooting Common Issues with Boneless Orange Chicken Air Fryer
Things rarely go perfectly straight out of the gate, but we can fix almost anything back here in the real kitchen! Don’t sweat it if your first batch isn’t flawless. The most common complaint I get about Boneless Orange Chicken Air Fryer recipes is either the coating softening up too fast or the sauce being way too runny when you toss it all together.
If your chicken coating looks a little pale or soggy right out of the basket, don’t panic. Just put those pieces back into the air fryer for another 2 to 4 minutes at 400°F. Sometimes the breast pieces are thicker than you think, and they just need that extra blast to crisp up beautifully. Since the sauce is already mixed, it won’t make the chicken soggy in those last few minutes.
Now, let’s talk about sauce that won’t thicken. If you poured your slurry in and it’s still watery, put the sauce back on low heat. Whisk in just a tiny bit more cornstarch slurry—maybe half a teaspoon of cornstarch mixed with a teaspoon of cold water—and stir constantly for 60 seconds. Remember, the sugar in the sauce makes it thicken as it cools, so aim for a slightly thinner consistency when it’s hot off the stove. It should coat a spoon easily, not run off like water!
Serving Suggestions for Your Quick Weeknight Orange Chicken
You’ve got this incredible, glazed chicken ready to go! Now what? Since this is designed to be a super Quick Weeknight Orange Chicken solution, we want sides that are just as easy, right?
My go-to pairing is always simple steamed jasmine rice. It soaks up every last bit of that extra sauce you tossed the chicken in—don’t let that sticky goodness go to waste!
If you need a veggie boost, keep it light so the orange flavor shines through. A quick steam of broccoli or maybe a simple sauté of snow peas works perfectly. If you want to sneak in some zucchini, you can check out how I manage that when I make my stir-fries too, like in this chicken and zucchini stir-fry guide. That way, dinner is on the table fast!
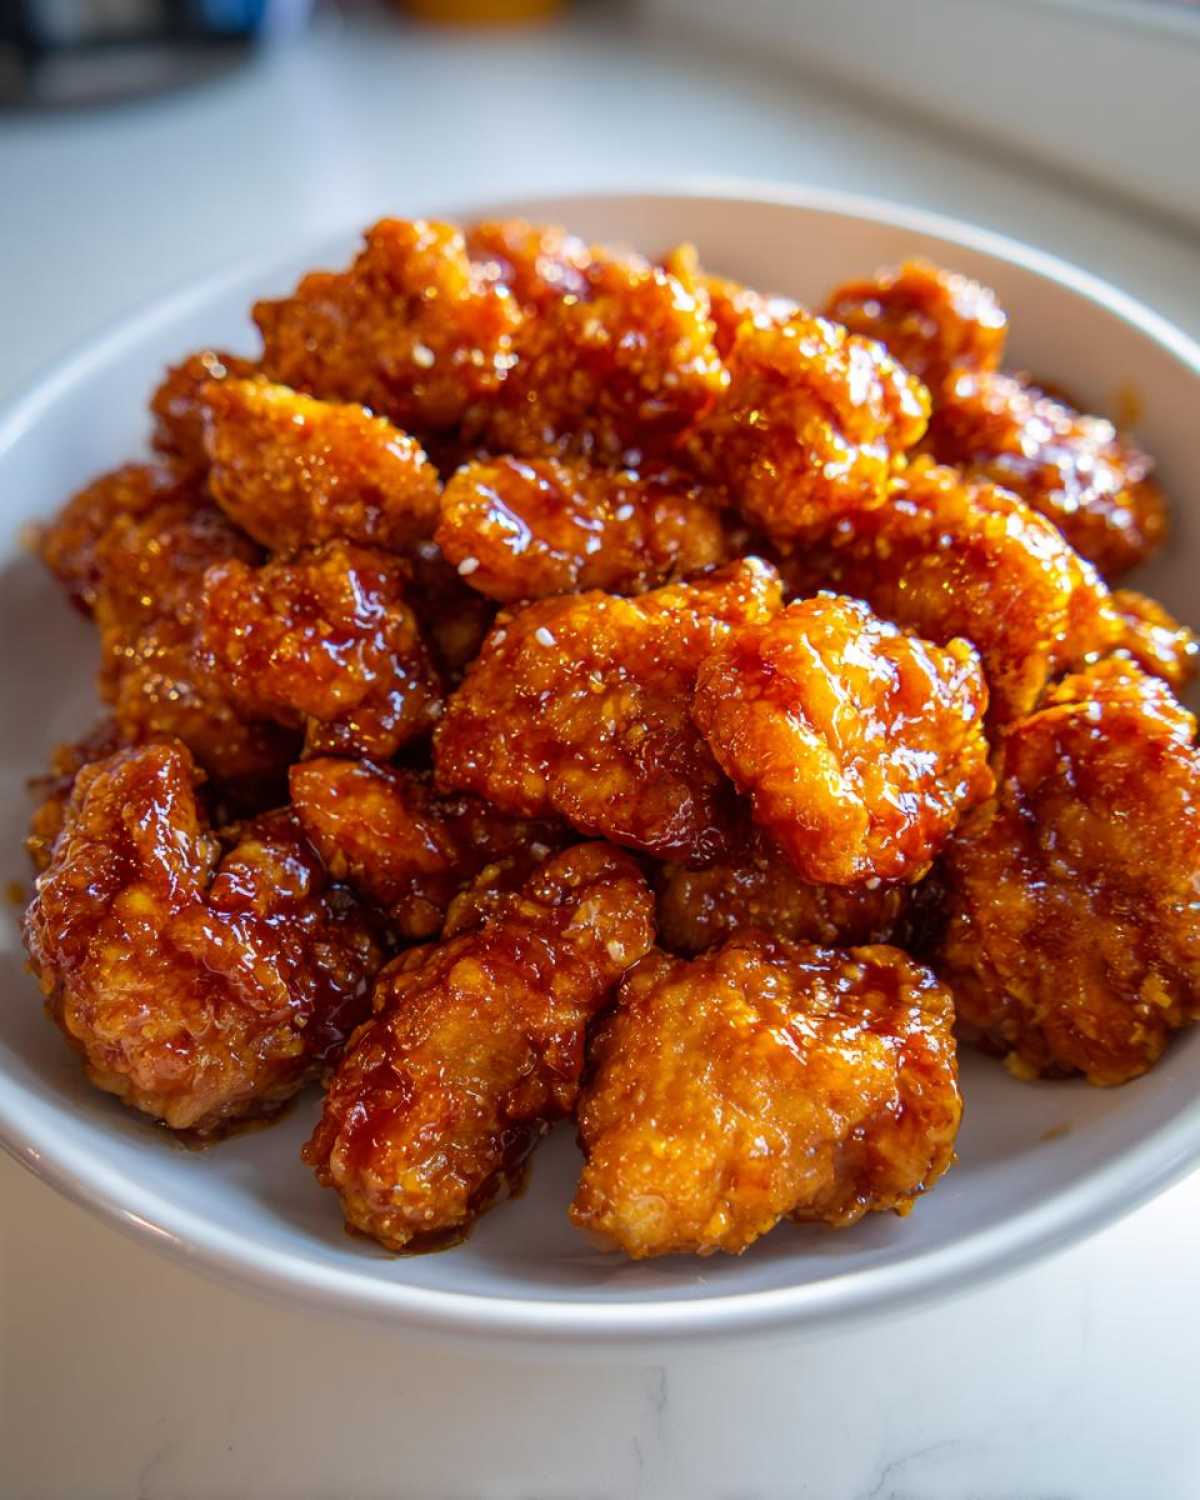
Storage and Reheating Instructions for Air Fryer Chinese Food Recipes
So, what happens when you manage to have leftovers of this amazing Air Fryer Chinese Food Recipes masterpiece? Don’t worry, this stuff reheats surprisingly well! Store the coated, sauced chicken in an airtight container in the fridge. Honestly, it’s good for about three days, but you want to eat it sooner rather than later for peak texture.
When you’re ready to eat the next day, skip the microwave! That’s a recipe for soggy chicken. Instead, I reheat the pieces in the air fryer again for about 4 minutes at 375°F. This brings back most of the crispiness. If you saved some sauce separately, toss the reheated chicken with a little fresh sauce right before serving. If you didn’t save sauce, you can always whip up a tiny batch of the glaze using the quick method I detailed in the sauce steps—just check out my tips on air fryer baked potatoes for quick reheating ideas!
Make Ahead Orange Chicken Sauce Options
One of my absolute favorite things about this recipe is how much prep you can sneak in ahead of time! I swear, having the sauce ready to go basically guarantees you’ll have dinner on the table in under 15 minutes later in the week. You can definitely whip up a batch of that Make Ahead Orange Chicken Sauce when you have a free moment. Just remember, because of all that lovely brown sugar, you have to treat it gently when reheating!
I usually double the sauce recipe when I make it the first time, because who doesn’t want extra sticky sauce? Store it in a small jar or an airtight container in the fridge. It keeps really well for a couple of days. I actually have a similar technique for my BBQ sauce, which you can find here if you are interested—the principles are similar!
When it’s time to serve the chicken, you need to reheat that sauce slowly. Don’t just crank the heat to high! The sugars can scorch quickly. Put the sauce in a tiny saucepan over low or low-medium heat. Stir it constantly until it’s fluid again and warmed through. If it seems too thick after reheating (which happens because of the cornstarch cooling down), you can splash in just a teaspoon or two of water or even a tiny bit of fresh orange juice to loosen it up while you stir.
Once it’s warm and perfectly smooth, toss your freshly air-fried chicken right in, give it a good coat, and serve it immediately. It’s nearly as good as making it all at once, and it saves so much time on a busy Tuesday night!
Frequently Asked Questions About Air Fryer Orange Chicken
Even the best recipes can bring up questions when you’re trying something new in a different appliance! I always get asked a few things about making this specific Air Fryer Orange Chicken Recipe. I’m happy to jump in and clear up any confusion so you get that perfect texture, just like you’d hope for when aiming for takeout quality!
Can I use chicken thighs instead of breasts for this Air Fryer Orange Chicken Recipe?
Oh yes, you absolutely can! Chicken thighs are amazing because they have more fat, which means they stay super juicy. The only thing you’ll need to adjust is the time. Thighs are generally a little thicker and take longer to cook through than the breast pieces. I’d start checking them around the 15-minute mark total and keep going until they hit 170°F internal temperature, just to be safe.
How do I make this a Healthier Takeout Chicken Recipe?
Since we are already swapping deep frying for the air fryer, we’ve already made a great step towards a Healthier Takeout Chicken Recipe! If you want to refine it even more, try cutting the brown sugar in the sauce by about a quarter. You still get plenty of sweetness, but it dials down the overall sugar content. Also, using low-sodium soy sauce helps keep the sodium in check, which is always good!
What is the best coating for Air Fryer Chicken to keep it crispy?
This is my favorite question because getting that crunch is the entire mission! The best coating is that double-duty dredge: flour followed by cornstarch. But here’s the real pro-tip I keep coming back to—let that coated chicken rest on the counter for 10 minutes before it goes into the basket. That resting period activates the starches and helps form a proper crust. Do that, and I promise you’re on your way to achieving that Better Than Delivery Orange Chicken texture. It truly pays off!
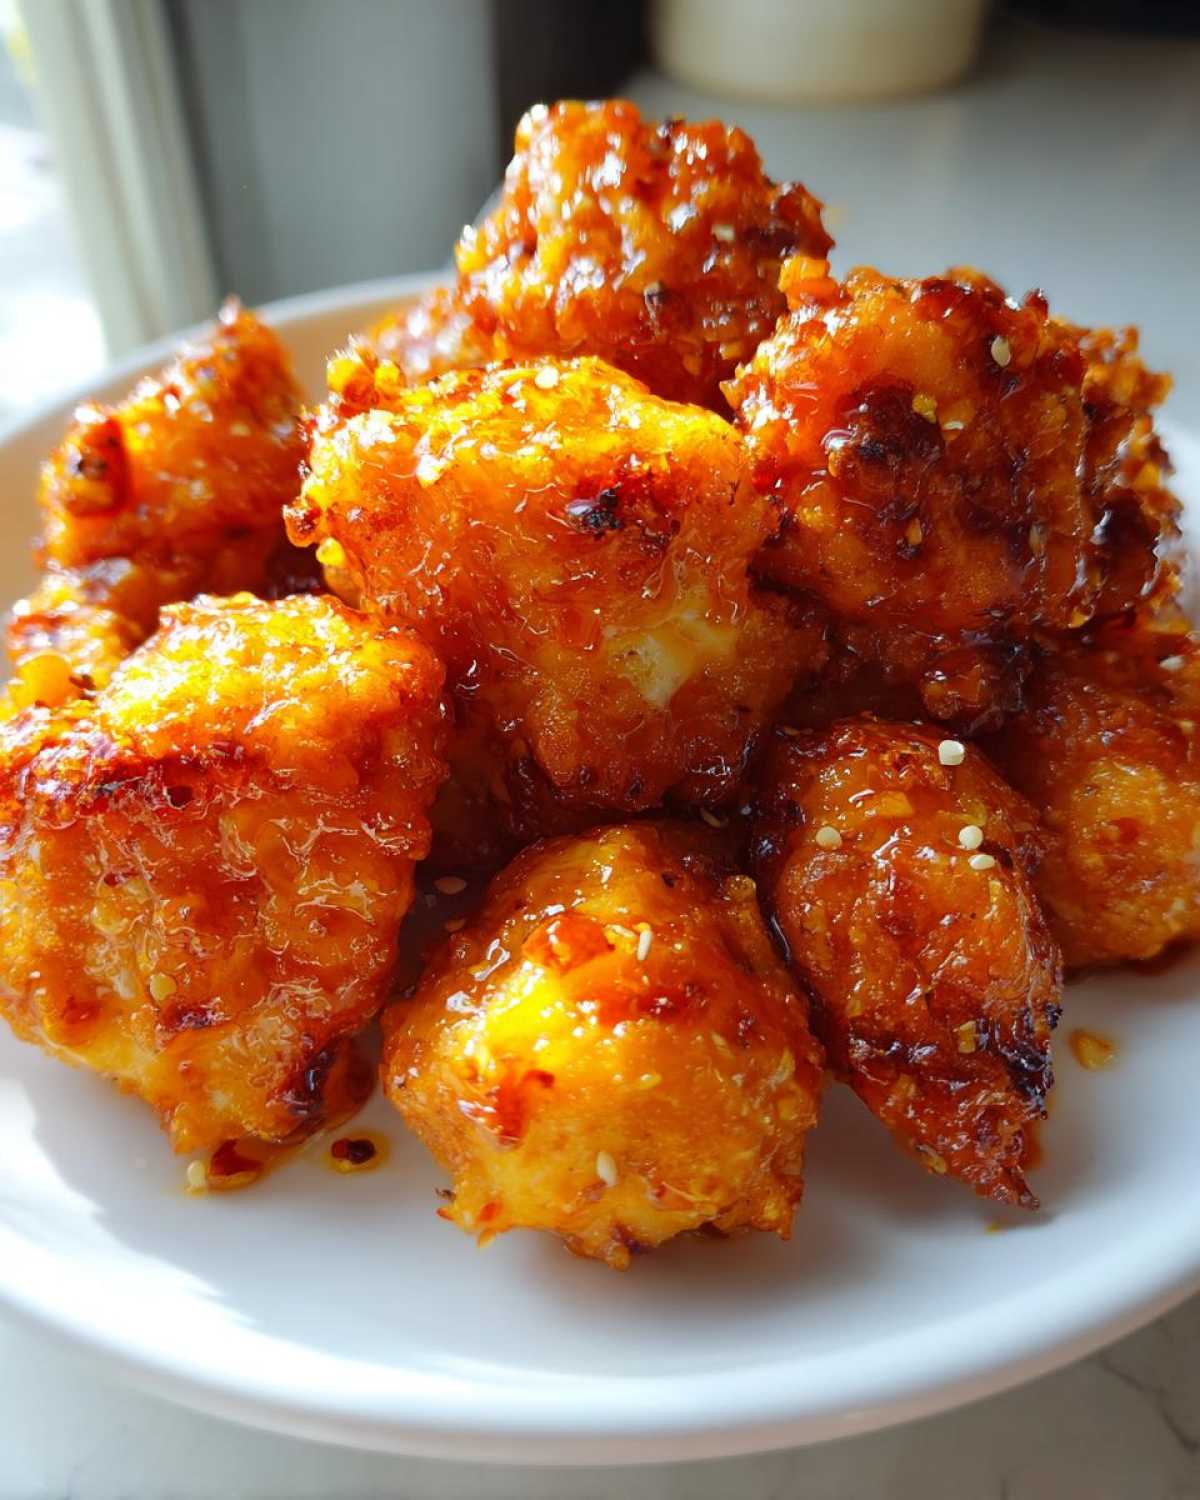
If you have any other lingering questions about cooking times or sauce consistency, feel free to reach out on my contact page. Happy cooking!
Nutritional Estimates for This Simple Citrus Chicken
I know some of you are trying to keep track while enjoying those amazing flavors, so I pulled together the estimates for this Simple Citrus Chicken recipe. Isn’t it great that we can get that takeout taste while keeping things relatively light? Remember, these are just starting points, okay? We all pour sauces a little differently, and brands vary!
These figures are based on the ingredients listed, calculated for 4 generous servings. If you serve yours up with a mountain of white rice, you’ll want to adjust for those extra carbs, of course! For full details on how these numbers are calculated, you can always read my official site disclaimer page.
- Serving Size: 1 serving
- Calories: 380
- Protein: 38g (Wow, great protein!)
- Fat: 6g (And low in fat too!)
- Saturated Fat: 1g
- Carbohydrates: 40g
- Sugar: 25g (That’s where the flavor comes from!)
- Sodium: 650mg
We try to keep the fat down by using the air fryer instead of deep frying, which is a huge win for keeping this delicious meal firmly in the ‘healthy takeout’ category. Enjoy every sticky, citrusy bite!
PrintAir Fryer Orange Chicken

Make crispy, takeout-style orange chicken using your air fryer. This recipe provides a sweet and tangy glaze for tender chicken pieces.
- Prep Time: 15 min
- Cook Time: 20 min
- Total Time: 35 min
- Yield: 4 servings
- Category: Dinner
- Method: Air Frying
- Cuisine: Chinese-American
- Diet: Low Fat
Ingredients
- 1.5 lbs boneless, skinless chicken breasts, cut into 1-inch pieces
- 1 large egg
- 1/4 cup all-purpose flour
- 1/4 cup cornstarch
- 1/2 teaspoon salt
- 1/4 teaspoon black pepper
- Cooking spray
- 1/2 cup orange juice, fresh or bottled
- 1/4 cup soy sauce
- 1/4 cup packed brown sugar
- 2 tablespoons rice vinegar
- 1 tablespoon grated fresh ginger
- 1 teaspoon sesame oil
- 1 clove garlic, minced
- 1 teaspoon orange zest
- 1 tablespoon cornstarch mixed with 2 tablespoons cold water (slurry)
- Optional: Sesame seeds and sliced green onions for garnish
Instructions
- In a medium bowl, whisk the egg. In a separate shallow dish, mix the flour, 1/4 cup cornstarch, salt, and pepper.
- Dip each chicken piece first into the egg, letting excess drip off, then dredge thoroughly in the flour mixture. Press the coating onto the chicken.
- Lightly spray the air fryer basket with cooking spray. Arrange the coated chicken pieces in a single layer in the basket, working in batches if necessary. Do not overcrowd the basket.
- Air fry at 380°F (195°C) for 10 minutes. Flip the chicken pieces and spray lightly with cooking spray. Continue to air fry for another 5 to 8 minutes, or until the chicken is golden brown and cooked through (internal temperature of 165°F).
- While the chicken cooks, prepare the sauce. In a small saucepan, combine the orange juice, soy sauce, brown sugar, rice vinegar, ginger, sesame oil, garlic, and orange zest.
- Bring the mixture to a simmer over medium heat, stirring until the sugar dissolves. Let it simmer for 2 minutes.
- Whisk the cornstarch slurry one more time and slowly pour it into the simmering sauce while stirring constantly. Cook for 1 to 2 minutes until the sauce thickens enough to coat the back of a spoon. Remove from heat.
- Place the cooked, crispy chicken pieces in a large bowl. Pour the prepared orange sauce over the chicken and toss gently until all pieces are evenly coated.
- Serve immediately, garnished with sesame seeds and green onions if desired.
Notes
- For extra crispiness, let the coated chicken rest for 10 minutes before air frying.
- You can make the sauce up to two days ahead and store it in the refrigerator. Reheat gently before tossing with the chicken.
- Use fresh orange juice for the best flavor in the sauce.
Nutrition
- Serving Size: 1 serving
- Calories: 380
- Sugar: 25
- Sodium: 650
- Fat: 6
- Saturated Fat: 1
- Unsaturated Fat: 5
- Trans Fat: 0
- Carbohydrates: 40
- Fiber: 1
- Protein: 38
- Cholesterol: 110