

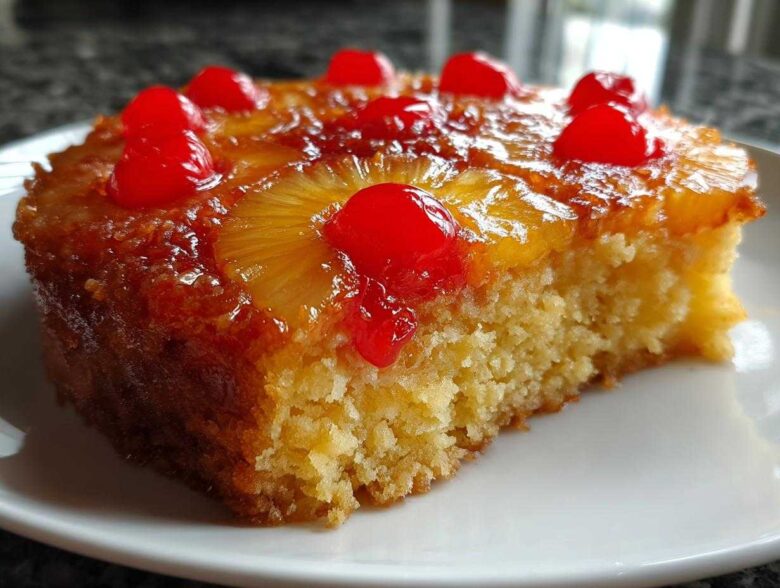
Every time I see those glossy, sun-colored rings of pineapple sitting perfectly caramelized on top of a cake, I’m instantly transported back to my childhood kitchen. It’s just the most beautiful, happy dessert, isn’t it? Well, Julian and I spent weeks perfecting this recipe because, frankly, too many versions end up sticky messes. You deserve the very best **pineapple upside-down cake** experience—one with a deeply rich caramel that releases flawlessly, holding up a cake crumb that is beyond moist and sweet. This isn’t just a recipe; it’s the feature story of our week, and we’re so excited to share the art direction behind it with you, as editors Iris and Julian. If you want to know more about our philosophy of making life the feature, check out our About Us page!
Why This Classic Pineapple Upside Down Cake Is Your New Favorite
You’ve seen these cakes a thousand times, but trust me, making this version from scratch changes everything. We didn’t just follow a recipe; we styled it for success! This isn’t just good; it’s the **best pineapple upside-down cake** you will ever make. Why? Because we obsessed over the details so you don’t have to worry.
- That caramelized fruit topping? Ours locks in so perfectly it practically slides right out of the pan. No wrestling required!
- The crumb is unbelievably moist and tender—never dry or gummy. It’s what you dream about when you want that nostalgic, sunny flavor.
- Since we make every component from scratch, the buttery pineapple cake flavor is just richer and deeper than anything store-bought.
If you love finding deeply satisfying recipes, you need to check out our favorite cookie recipe next!
Ingredients for the Best Pineapple Upside Down Cake From Scratch
Okay, let’s get down to the essentials for this beautiful, **buttery pineapple cake**. Julian always reminds me that quality ingredients make the difference when you’re not relying on a box mix, especially that butter! We use real, unsalted butter throughout because it gives the best texture and flavor for both the topping and the cake itself. This ingredient list covers everything needed for a stunning, full-sized **pineapple upside-down cake** featuring those iconic cherries.
- 1/2 cup unsalted butter, softened (for the caramel layer)
- 1 cup packed light brown sugar
- 1 (20 ounce) can pineapple slices in juice, drained (make sure you reserve 3 tablespoons of that juice!)
- 10 maraschino cherries, stems removed
- 1 1/2 cups all-purpose flour
- 1 1/2 teaspoons baking powder
- 1/4 teaspoon salt
- 1/2 cup (1 stick) unsalted butter, softened (for the cake batter)
- 3/4 cup granulated sugar
- 2 large eggs
- 1 teaspoon vanilla extract
- 1/2 cup whole milk
- 3 tablespoons reserved pineapple juice
Mastering the Caramelized Fruit Topping Cake Layer
This preparation step, honestly, is where most people get nervous, and they end up serving a cake that looks like it survived a wrestling match! But fear not, because we are going to set this foundation for success. Getting this base perfect ensures that when you flip this beautiful **pineapple upside down cake**, the caramel cascades down just right. Julian is adamant that the secret isn’t just the cooling time later, but how meticulously you prepare the bottom of the pan now. If you love deep flavor in your butter elements, you should absolutely check out Julian’s technique for brown butter chocolate chip cookies!
Pan Preparation and Brown Sugar Base
First things first: grab your 9-inch round cake pan or your trusty 10-inch cast iron skillet. If you are anything like me and stress over that one corner sticking, take this advice directly from the design studio: line the bottom with a circle of parchment paper cut exactly to fit the base. It’s insurance! Then, take that half-cup of softened butter and the cup of brown sugar and just mash them together right in the pan until they form a thick, cohesive paste. Press that firmly and evenly across the surface. That buttery, sugary foundation is what transforms into liquid gold later!
Arranging the Pineapple and Cherries
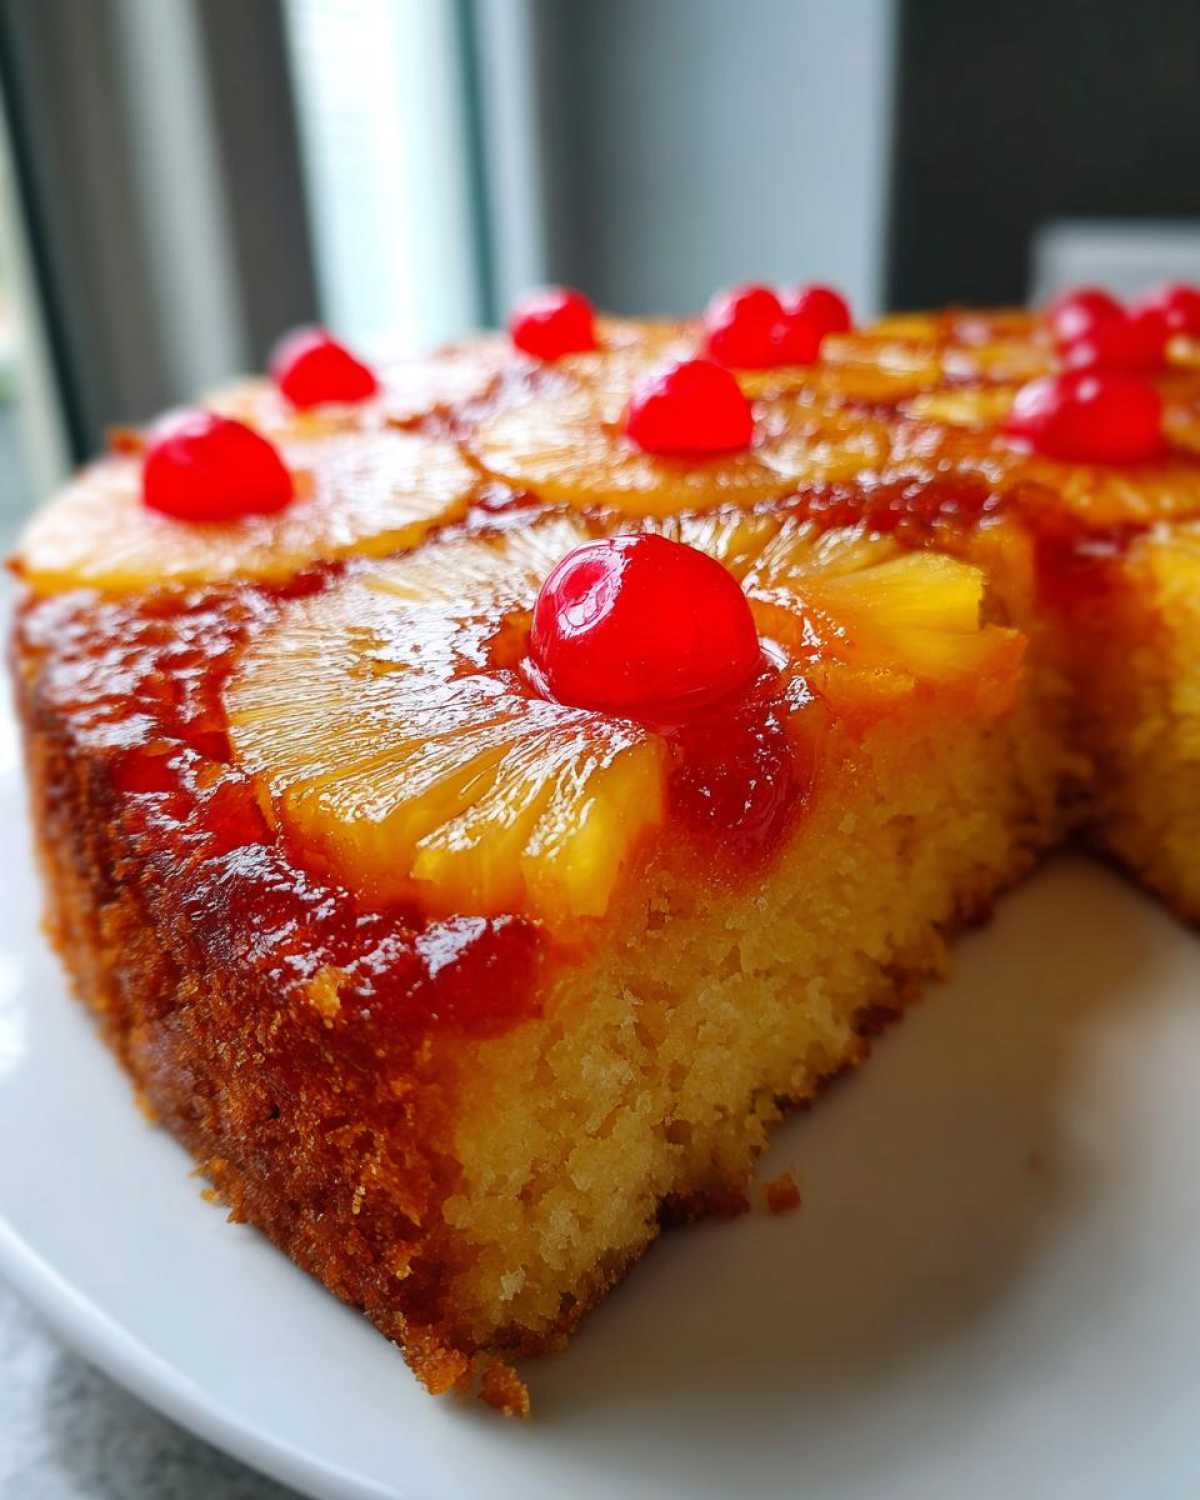
Now for the fun part—the visual design! This is where the cake earns its name. Take those beautiful drained pineapple slices and lay them right over that brown sugar layer. Sometimes, I’ll even overlap them slightly if the slices are small—don’t be shy! Then, tuck a maraschino cherry right into the center hole of every single slice. Arrange the remaining cherries wherever they look best around the perimeter. Seeing this pattern laid out is what makes this look like the classic **retro pineapple cake** we all grew up loving. It’s decoration and flavor built right in!
Creating the Moist Pineapple Cake Recipe Batter
Once the visual elements are set for your **caramelized fruit topping cake**, we move onto the actual batter, which is where the magic happens to guarantee a **moist pineapple cake recipe**. This is the part where we build structure, but we have to be careful not to work it too hard! If you want that perfect, sweet, and tender crumb, the trick is all in how you combine things. We are aiming for airy and light here, not dense and chewy—that’s the beauty of a great homemade recipe over something quick. If you are ever struggling with dryness in cakes, you should take a look at my favorite recipe for a famously moist vanilla cake; the creaming method is similar!
Combining Dry Ingredients
We start small by gathering all our dry elements. In a separate, medium-sized bowl, just give the flour, baking powder, and that tiny pinch of salt a good whisk together. I like to whisk them for about 30 seconds because it’s just like sifting—it breaks up any clumps and helps the leavening agents distribute evenly. It’s a small step, but it prevents those random pockets of baking soda in your final slice!
Building the Creamed Base and Adding Eggs
Remember the butter and **granulated sugar** in your main bowl? This is the most important step for true moisture. You need to beat that mixture until it is genuinely light and fluffy—it should look almost white and significantly increased in volume. This captures all those tiny air bubbles we need! Now, add your eggs one at a time, making sure each one is fully incorporated before the next joins the party. Finally, mix in your vanilla for that warm aroma. This whole process sets the stage for that wonderful, tender texture that characterizes the **best pineapple upside down cake**.
Baking and The Crucial Inversion for Your Pineapple Upside Down Cake
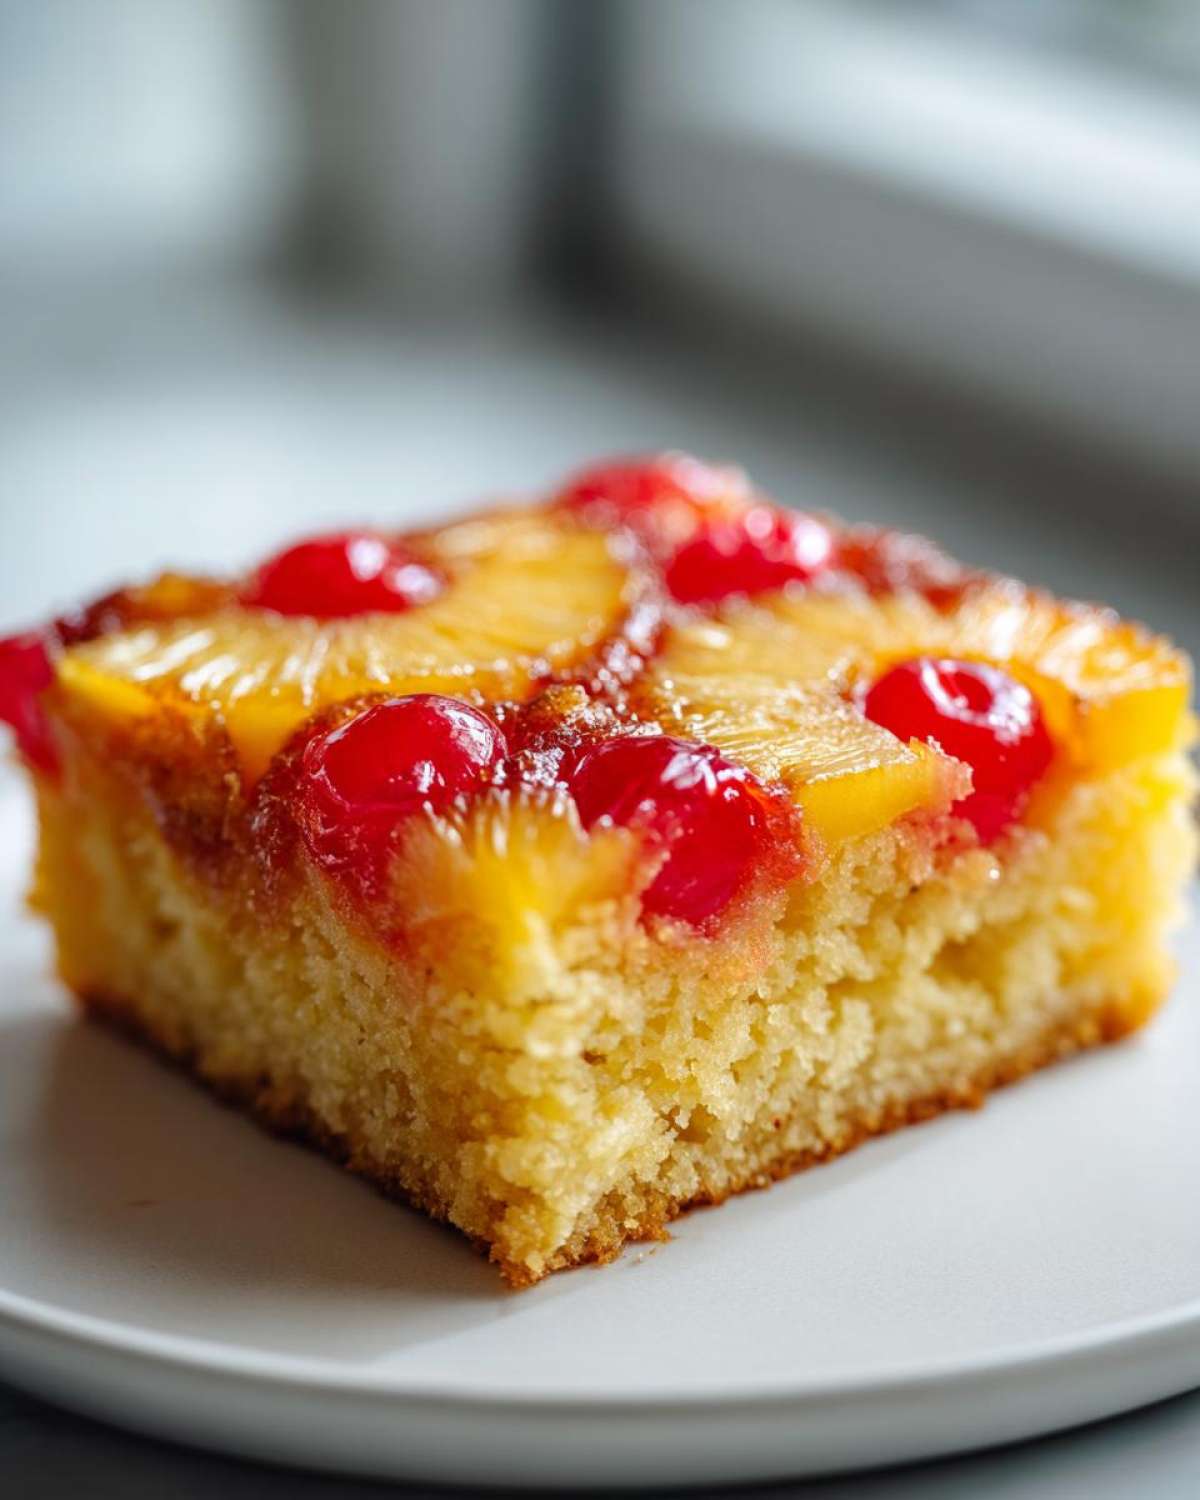
Okay, deep breath! We’ve mixed the wet and dry ingredients, and now it’s time to pour that beautiful batter right over your meticulously arranged fruit layer, being careful not to knock the design out of place. This is the moment where this **homemade pineapple cake recipe** truly comes together visually. You’ll bake it at 350°F (175°C) until it’s done, which usually clocks in between 35 to 40 minutes. We are aiming for that glorious moment when the cake is golden brown and springs back nicely when you touch it.
We aren’t worried about internal thermometers here; the visual cues are just as important! For me, the true sign of success is being able to slide a wooden pick right into the center and have it come out clean, maybe with just a few *moist crumbs* clinging to it. If you are using a 10-inch cast iron skillet, you might need an extra minute or two because that iron holds onto heat, but trust me, the skillet makes the best **skillet pineapple upside down cake** on the block!
Baking Time and Testing Doneness
Seriously, keep an eye on it starting at the 35-minute mark. We are looking for perfectly baked, not overdone, which is critical for that juicy, **sweet and tender cake recipe** result. Insert a wooden pick right into the center—if it comes out totally clean, you are golden. If it has wet batter, let it go another 3-5 minutes and test again. Don’t forget, that beautiful caramel layer beneath needs just a moment to firm up so it doesn’t run everywhere when we flip it!
The Quick Flip Technique
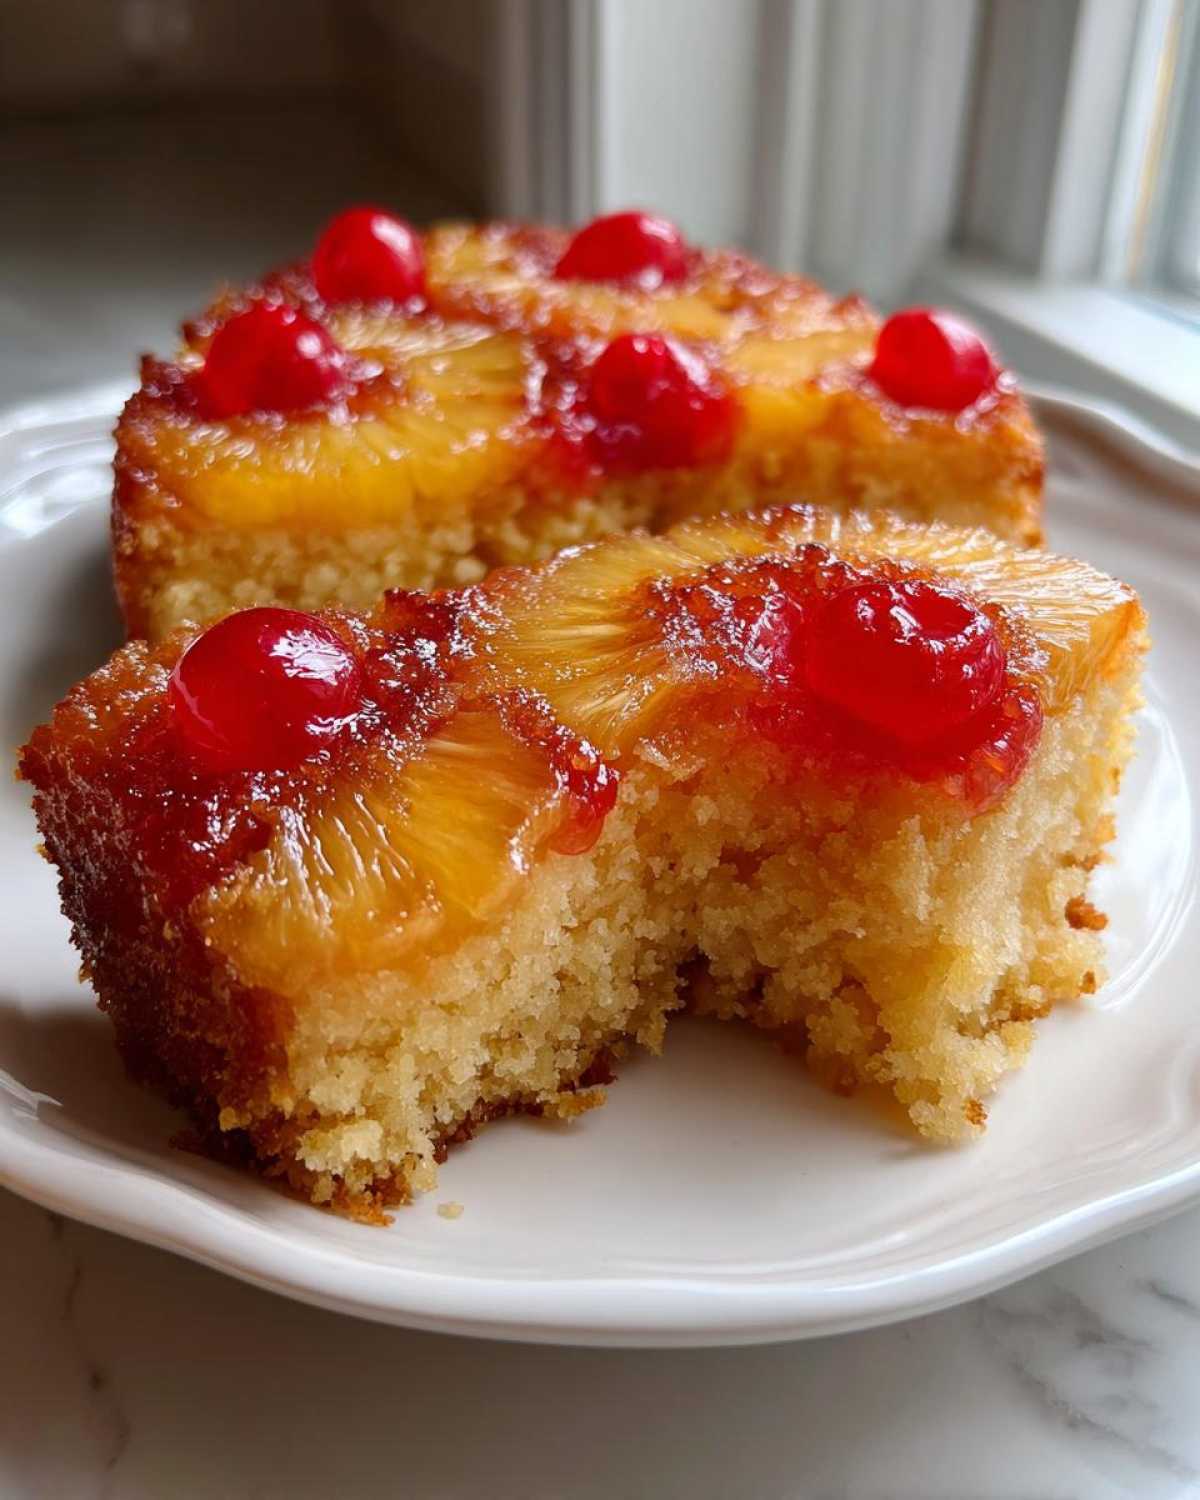
This next part requires speed and confidence, so don’t hesitate! Let the cake cool in the pan for exactly 10 minutes. Not 5, not 15—ten! This is the magic window. Julian always handles the heavy lifting, but I’m in charge of stabilizing. While he holds the pan firmly, I place the serving platter upside down over the top. Then, in one swift, confident motion, you flip them both over! Now, lift that cake pan straight up. If any rogue pineapple sticks, don’t panic! Just use a small offset spatula to gently coax it back into place. You’ve just made something incredible! If you need visual practice before you try this, check out this guide: Classic Pineapple Cherry Upside-Down Cake.
Don’t forget, if you’re looking for other simple fruity delights, my recipe for easy apple cobbler is another great, low-stress winner!
Ingredient Notes and Substitutions for Pineapple Upside Down Cake
I get asked all the time about swapping ingredients, especially since this **pineapple upside down cake** hinges on that canned pineapple. Honestly, while using fresh pineapple sounds great, the syrup and texture from the canned slices are what you need for that signature caramelization. Don’t toss that juice! The reserved three tablespoons are crucial for adding just a hint of tropical acidity right into the cake batter, which keeps the crumb incredibly soft. If you really want to make this a showstopper **pineapple cherry cake**, keep the cherries in there—they look so vibrant against the amber caramel!
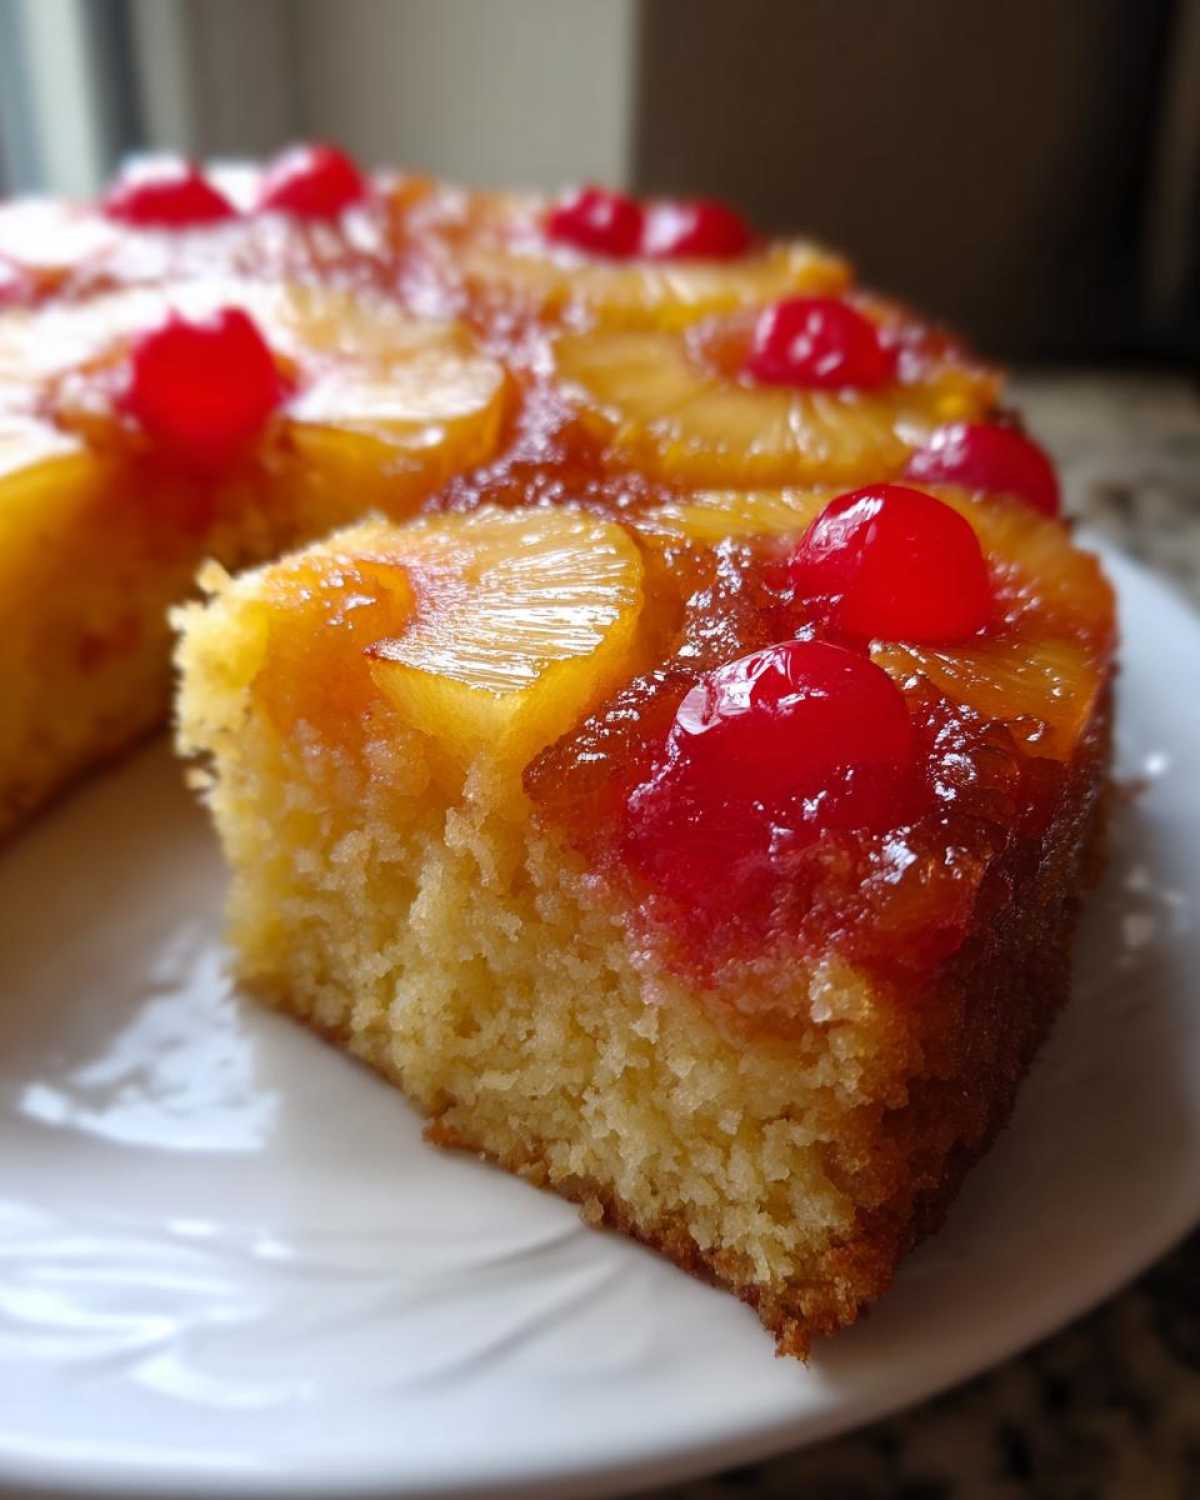
If you aren’t a fan of maraschino cherries, though, you can skip them entirely, or try substituting them with dried apricots that you’ve soaked in a little warm water first. Either way, you’ll end up with a wonderfully bright, **easy moist lemon loaf recipe** level of tender cake. For more tips on keeping cakes beautifully moist, check out my thoughts on the easy moist lemon loaf recipe!
Serving Suggestions for This Tropical Dessert Recipes
A cake this gorgeous deserves a beautiful presentation! I always serve this warm because the caramel topping is just meltier and more delicious when it’s fresh out of that crucial 10-minute cooling window. It is heavenly on its own, but you know Julian loves a classic scoop sitting right next to it. We usually pair it with really cold, high-quality vanilla ice cream—the temperature contrast is everything!
If you want something lighter, a dollop of freshly whipped cream works beautifully to cut the richness of the brown sugar. Or, if you’re feeling adventurous, check out how we make our own no-churn vegan ice cream; it’s fantastic with this tropical dessert!
Storage and Reheating Instructions
The really great thing about this cake is that it’s almost better the next day, which is rare for such a delicate, moist crumb! Julian and I always argue over the best way to store leftovers. If you plan to eat the remainder within two days, just cover the cake plate tightly, maybe with a big overturned bowl if you don’t have a proper dome, and leave it right there on the counter at room temperature. All that sugar and butter keep it surprisingly fresh.
If you need to keep it longer, say up to a week, pop it into the fridge. Just make sure it’s covered well so it doesn’t dry out in the cold air. Don’t worry if it seems a little firm once chilled; that’s normal!
When you’re ready for another slice, the reheating process is key to getting that gooey caramel back. I find the microwave works best for a single slice—just about 15 to 20 seconds is all it takes to bring the moisture back and get that topping soft again. If you’re reheating a larger piece, wrapping it loosely in foil and warming it in a 300°F oven for about 8 minutes works miracles. It heats it gently without turning the edges hard!
Frequently Asked Questions About Pineapple Upside Down Cake
We get so many questions after people try our recipe, which is fantastic! It just goes to show how much we all love this stunningly beautiful dessert. Here are a few things I hear most often about making the absolute **best pineapple upside down cake**.
Can I use a cast iron skillet for this pineapple upside down cake recipe?
Absolutely, yes! If you have a 10-inch cast iron skillet, please use it! Julian loves pulling out the skillet for this because it acts like a giant, wonderfully heavy baking surface that cooks incredibly evenly. It gives you that slight crust on the bottom that caramelizes beautifully, making the end result a truly spectacular **skillet pineapple upside down cake**. Just remember that cast iron holds heat well, so keep a close eye on the baking time!
What is the secret to preventing the caramel from sticking?
Oh, this is the make-or-break moment, isn’t it? There are two secrets here, and you have to execute both perfectly. First, make sure that initial layer of softened butter and brown sugar is pressed down firmly and evenly across the whole bottom of the pan. No gaps! Second, and this is vital for the release, you must let the cake cool in the pan for exactly 10 minutes after it comes out of the oven. If you flip it too early, the caramel is liquid and runs everywhere. If you wait too long, it hardens like cement. Ten minutes is the sweet spot where it tightens up just enough for a graceful flip.
Is this a good candidate for a holiday pineapple dessert?
I think it’s one of the best! This cake screams celebration—it looks so polished and vibrant! While some people go totally traditional for the holidays, this **retro pineapple cake** style is always a showstopper on a buffet table. For a seasonal twist, especially around Christmas, I love skipping the maraschino cherries and using dried cranberries soaked in orange juice instead. Then, instead of plain whipped cream on top, warm up some heavy cream and whisk in a tiny bit of cinnamon and nutmeg. It makes it feel instantly festive!
If you want to read more of our thoughts on why we love sharing these recipes, head over to the Magazine Meal Blog!
PrintThe Best Classic Pineapple Upside Down Cake From Scratch

Bake this classic pineapple upside down cake from scratch for a moist, tender crumb and a perfectly caramelized fruit topping. This recipe focuses on achieving a beautiful, non-stick release every time.
- Prep Time: 20 min
- Cook Time: 40 min
- Total Time: 60 min
- Yield: 8 servings
- Category: Dessert
- Method: Baking
- Cuisine: American
- Diet: Vegetarian
Ingredients
- 1/2 cup unsalted butter, softened
- 1 cup packed light brown sugar
- 1 (20 ounce) can pineapple slices in juice, drained (reserve 3 tablespoons juice)
- 10 maraschino cherries, stems removed
- 1 1/2 cups all-purpose flour
- 1 1/2 teaspoons baking powder
- 1/4 teaspoon salt
- 1/2 cup (1 stick) unsalted butter, softened
- 3/4 cup granulated sugar
- 2 large eggs
- 1 teaspoon vanilla extract
- 1/2 cup whole milk
- 3 tablespoons reserved pineapple juice
Instructions
- Preheat your oven to 350°F (175°C). You will bake this cake in a 9-inch round cake pan or a 10-inch cast iron skillet.
- Prepare the topping: In a small bowl, mix the 1/2 cup softened butter and 1 cup brown sugar until combined. Press this mixture evenly into the bottom of your prepared pan.
- Arrange the fruit: Place one pineapple slice over the brown sugar mixture in the center of the pan. Place one maraschino cherry in the center hole of each pineapple slice, and arrange the remaining cherries around the edges.
- Make the cake batter: In a medium bowl, whisk together the flour, baking powder, and salt. Set this aside.
- In a large bowl, beat the 1/2 cup softened butter and 3/4 cup granulated sugar with an electric mixer until light and fluffy. This step builds the structure for your moist cake.
- Beat in the eggs one at a time, mixing well after each addition. Stir in the vanilla extract.
- Combine the wet and dry ingredients: Gradually add the flour mixture to the butter mixture, alternating with the milk and the 3 tablespoons of reserved pineapple juice. Mix until just combined. Do not overmix the batter.
- Pour the cake batter evenly over the fruit layer in the pan. Spread gently with a spatula.
- Bake for 35 to 40 minutes, or until a wooden pick inserted into the center comes out clean.
- Cool the cake in the pan on a wire rack for exactly 10 minutes. This cooling time is crucial for the caramel to set slightly but remain pourable.
- Place a serving plate or platter upside down over the cake pan. Carefully and quickly invert the pan and plate together. Lift the pan off the cake. If any fruit sticks, gently place it back onto the cake.
- Let the cake cool slightly before slicing and serving warm.
Notes
- For the best release, line the bottom of the cake pan with parchment paper before adding the brown sugar mixture, cutting the paper to fit the circle exactly.
- If you do not have a 9-inch round pan, a 10-inch cast iron skillet works perfectly for this recipe and adds a nice rustic touch.
- If the caramel seems too thick when pouring the batter, warm the reserved pineapple juice slightly before adding it to the batter.
Nutrition
- Serving Size: 1 slice
- Calories: 380
- Sugar: 35
- Sodium: 250
- Fat: 18
- Saturated Fat: 11
- Unsaturated Fat: 7
- Trans Fat: 0.5
- Carbohydrates: 53
- Fiber: 1
- Protein: 4
- Cholesterol: 85