

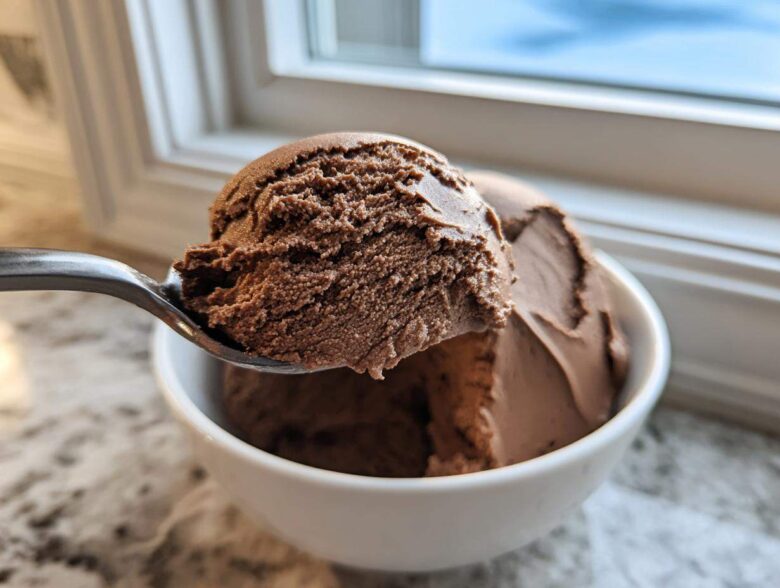
Oh my goodness, you have to stop scrolling! I know we all want those decadent, restaurant-worthy desserts sometimes, but who has the time, right? Especially when you suddenly realize you need a fabulous dinner party dessert *tonight*. That’s why I’m obsessed with this recipe. Forget complicated egg tempering and hours of chilling—this is The Easiest, Most Luxurious 3-Ingredient Silky Chocolate Mousse Recipe (No Eggs, No Cook). Seriously, just three things get you this unbelievably smooth, light chocolate mousse that tastes like you spent all afternoon fussing over it. I whipped this up last Saturday when my brother dropped by totally unannounced, and he swore I bought it from a fancy French bakery. It’s my secret weapon for rich chocolate indulgence!
If you’re currently dreaming of a quick party food that feels incredibly elegant, you should absolutely check out my recipe for No-Bake Peanut Butter Pie too—it’s just as fast!
Why This 3-Ingredient Chocolate Mousse Recipe Is The Best
When I tell people how simple this recipe is, they rarely believe me! But here’s the honest truth: this is the easiest chocolate mousse you will ever make. It checks all the boxes for a perfect, stress-free dessert. We’re focusing only on what matters: speed and amazing texture.
- It’s outrageously quick—prep time is only about 15 minutes! This makes it the ultimate quick chocolate dessert when you need something fancy fast.
- It’s reliable. Since we skip the eggs and the stove time, you cut out all the tricky parts where a traditional chocolate mousse usually fails.
Speed and Simplicity of This Chocolate Mousse
Seriously, just count them: chocolate, cream, and a whisper of optional sugar. That’s it! Cleanup is minimal, and because it’s no bake chocolate mousse, you aren’t tied to the stove waiting for temperatures to rise. It’s quick party food perfection.
Achieving That Velvety Chocolate Treat Texture
The secret to this silky chocolate dessert is all in the technique, not complicated ingredients. By using high-quality chocolate with the cream, we get that luxurious base. Then, we fold in beautifully whipped cream to create a light and airy dessert that melts in your mouth. That’s how you get that truly velvety chocolate treat without any fuss!
Gathering Ingredients for Your Silky Chocolate Mousse
Okay, if you’re going to make a dessert this good with only three things, those things have to be the right things, right? Don’t skimp on the chocolate here; it’s the star! For this creamy chocolate recipe, you only need 200 grams of really good quality dark chocolate. I always aim for at least 60% cocoa solids; those cheaper bars just don’t give you the depth.
Next up is the engine of our mousse: the cream. You need a full 400ml of heavy whipping cream, and it absolutely must be ice cold to whip up properly! Finally, I keep 1 tablespoon of powdered sugar on hand, but I only use it if my dark chocolate is really bitter. It’s totally optional, but sometimes a little lift is nice.
Step-by-Step Instructions for Perfect Chocolate Mousse
Following these steps is non-negotiable if you want that incredibly smooth result. Trust me, I used to rush the sitting phase, and I ended up with bits of unmelted chocolate stuck everywhere! We’re building a foundation here for the ultimate creamy chocolate recipe, so take your time during the folding part specifically.
Melting the Chocolate Base for Your Creamy Chocolate Recipe
First things first, get your 200g of lovely dark chocolate chopped up small and sitting patiently in its bowl. Now, grab just 100ml of that heavy cream—the small amount—and heat it gently on the stove. You want it hot enough that tiny little bubbles are just forming at the edges, but please, don’t let it boil! Pour that hot cream right over the chocolate chunks. This is important: don’t touch it for two full minutes! Let the heat do the work. After that rest time, whisk gently until it’s glossy and looks like smooth velvet. Set that bowl aside completely so it cools down to room temperature before we mix anything else in.
Whipping Cream and Folding for Light and Airy Dessert
While the chocolate cools, we focus on air! Get the remaining 300ml of cold cream (and the optional sugar) into a separate, big, chilled bowl. Beat that cream until you get stiff peaks. I mean stiff—when you lift the whisk, the peaks should stand straight up without flopping over. Now for the magic folding part! Take about a third of that whipped cream and gently mix it into the cooled chocolate base. This step lightens the heavy chocolate so it doesn’t deflate the rest of the cream later. Then, take the remaining cream and fold it in two batches. You must use a spatula, scooping from the bottom and turning it over the top. Don’t stir! Stop the second you see no white streaks left. This gentle handling is how you guarantee that light and airy dessert texture.
Chilling and Serving the Chocolate Mousse
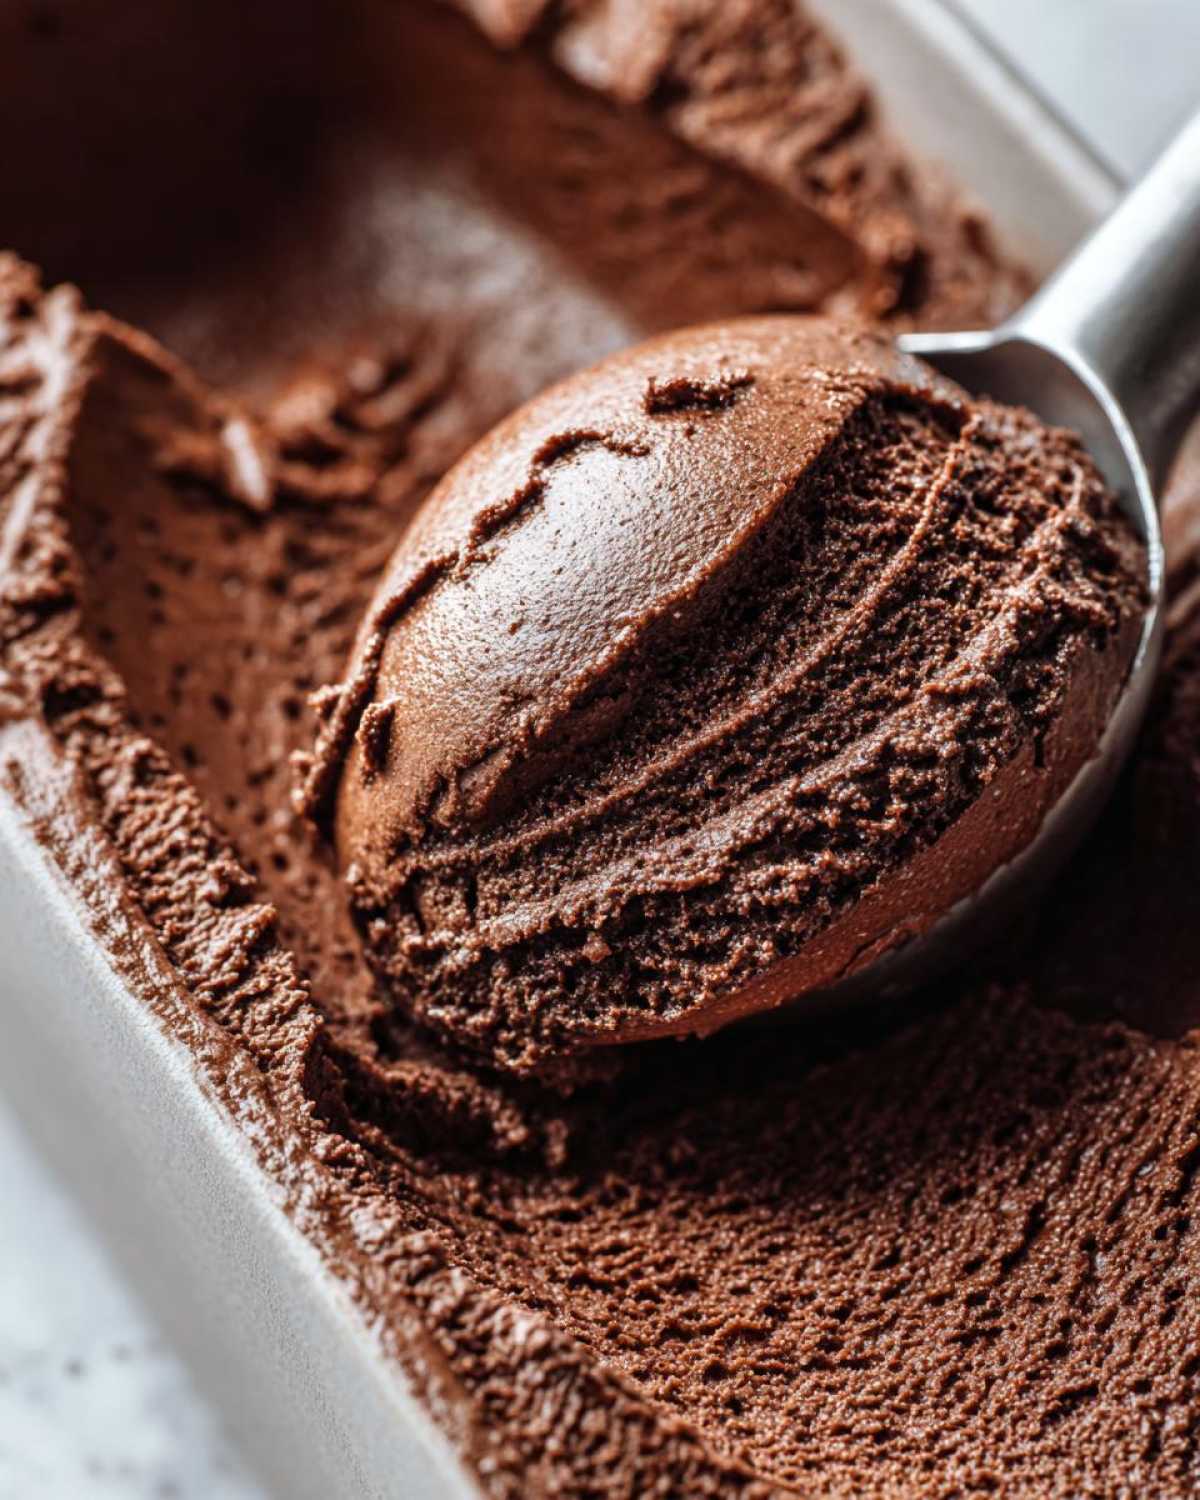
Once everything is combined, the hard part is probably over, but the waiting begins! Spoon or pipe your stunning mousse mixture into your chosen individual dessert cups or little glass bowls. You want this to set up properly to hold its shape, so stick it in the fridge for a minimum of three hours. Honestly, overnight is even better if you can manage it! When they come out, they look so professional, perfect for using as a fancy chocolate dessert.
If you’re looking for more inspiration on how to present desserts beautifully, check out my thoughts over on the main About Us page—I share lots of reader stories there!
Tips for Success When Making This Simple Mousse Recipe
Even though this is my favorite simple mousse recipe because it’s so foolproof, a couple of little tricks make the difference between a good mousse and a magnificent, rich chocolate indulgence. Remember, we aren’t tempering eggs, so temperature control becomes our new best friend! And seriously, don’t skimp on that chocolate.
Chocolate Selection for Rich Chocolate Indulgence
I keep mentioning quality, but I’m serious! If you use a waxy, lower-cocoa chocolate, the final texture will be grainy instead of velvety. You need that higher cocoa butter content from a good bar (that 60% recommendation is solid). When the fat melts, it helps create that beautiful, stable emulsion with the cream. Choosing great chocolate is honestly half the battle won for that true, rich chocolate indulgence!
If you want to see more of my general baking wisdom, hop over to my baking advice page; I cover everything from oven thermometers to pan greasing secrets!
Variations on the Classic Chocolate Mousse
Now that you’ve mastered the stunningly easy three-ingredient base, we should talk about making it YOUR own, because sometimes you just need a little extra *oomph*, right? This base is so stable and forgiving, it welcomes flavor additions beautifully. It’s the perfect blank canvas for exploring different moods of chocolate mousse!
For a sophisticated evening dessert, I love turning up the coffee notes. Add about one teaspoon of instant espresso powder right into the hot cream when you’re melting the chocolate. It deepens the flavor tremendously without making it taste explicitly like coffee—it just intensifies the chocolate! If you’re feeling boozy, a tablespoon of raspberry liqueur or maybe Cointreau added right before you fold in the last bit of whipped cream is divine. It adds a gorgeous, unexpected bright spot to the richness. We don’t keep that flavor booster a secret, though; I talk about incorporating heat and spice into chocolate in my post on Chocolate Truffles, so feel free to get adventurous!
Also, if you want something a bit zestier, grate a tiny bit of orange zest into the warm cream. Believe me, orange and dark chocolate are an unmatched pair. Just a little experimentation is all it takes to take this simple mousse from great to absolutely unforgettable!
Serving Suggestions for Your Fancy Chocolate Dessert
Once your chocolate mousse has firmed up in the fridge, serving it is where you get to dial up the glam factor! This simple mousse recipe transforms instantly into a fancy chocolate dessert with just a few thoughtful additions on top. Because the texture is so velvety, the garnishes really stand out visually.
For a classic, elegant look that screams ‘dinner party dessert,’ you can never go wrong with a simple dusting of high-quality unsweetened cocoa powder right before serving. Use a fine-mesh sieve so the powder falls evenly—it looks professionally done! If you need a bit of color contrast, a few fresh raspberries piled on top are my go-to. The slight tartness cuts through the richness so nicely.
Another brilliant touch is using a vegetable peeler to create ribbons of dark chocolate shavings right over the top. Or, for a slightly more dramatic look, I sometimes place one crisp, dark chocolate-covered espresso bean right in the center of each cup. Since this recipe is already rich chocolate indulgence, adding height and texture with garnishes is the easiest way to make it look like you worked for hours, even though we all know you didn’t!
Storage & Reheating Instructions for Your Chocolate Mousse
Because this recipe relies on heavy whipping cream that we’ve whipped full of air, storage is pretty straightforward, but you do need to respect the nature of the ingredients. This is not something you want to rush reheating, so let’s talk about keeping your beautiful dessert perfect!
The great news about this easy chocolate mousse is that it keeps really well in the fridge! Once it’s set up properly after those three hours of chilling, you can cover those individual dessert cups tightly with plastic wrap—make sure the wrap isn’t touching the surface of the mousse if possible, though that can be tricky in small cups. You can safely store it in the refrigerator for up to three days.
Now, here’s the most important point: Do not try to reheat this! Ever! This is designed to be a cold, luxurious dessert. Reheating it will first melt away all that lovely air we worked so hard to fold in, and second, the cream structure will break down into a soupy mess. If the mousse softens slightly while sitting on the counter before serving, that’s fine, but it must be served chilled straight from the fridge for that perfect texture.
If you’ve made extra, just leave it covered in the fridge. It actually tastes even richer the next day, in my opinion. It’s one of those rare decadent chocolate sweets that tastes just as good 24 hours later!
Frequently Asked Questions About No Bake Chocolate Mousse
You’ve got the recipe, but I know you still might have a few little panics running through your head. That’s totally normal when you’re trying out a lightning-fast recipe! I tried to write this so you wouldn’t have problems, but here are the answers to the things I always get asked about this easy chocolate mousse.
Can I substitute the heavy cream in this chocolate mousse without eggs recipe?
If you want to stick to this specific, magical, no-egg recipe, heavy cream is essential because it’s what we whip to give the mousse its structure and airy texture. If you want that classic French chocolate mousse without eggs but crave a different texture, you’d need to switch to a meringue-based route, which involves, well, eggs! For this particular quick version, heavy whipping cream is key to our success, so don’t substitute it unless you want a thicker, ganache-like consistency instead of light and airy dessert.
How long does this easy chocolate mousse last in the fridge?
It lasts just long enough for you to *claim* you’ll save some for later! Realistically, once it’s set, this easy chocolate mousse will keep beautifully in an airtight container in the fridge for up to three days. I find the flavor deepens slightly on day two, making it a fantastic option for dinner party desserts that you can prep ahead of time. Just remember, always serve it cold!
If you have any concerns at all about the ingredients or process, please take a quick look at my site disclaimer. Happy baking!
Estimated Nutritional Data for This Decadent Chocolate Sweets
Look, I won’t pretend that this impossibly rich chocolate mousse is an everyday health food, but for a decadent chocolate sweets indulgence, it’s actually pretty balanced out by that gorgeous dark chocolate!
Because we are working with only three primary ingredients—and no butter or flour to worry about—the nutrition breakdown is fairly straightforward. Remember, though, this is just an estimate, so please don’t take this as gospel truth for every single dark chocolate bar on the market!
- Serving Size: 1 cup
- Calories: 450
- Sugar: 25g
- Sodium: 30mg
- Fat: 35g
- Saturated Fat: 20g
- Unsaturated Fat: 10g
- Trans Fat: 0.5g
- Carbohydrates: 30g
- Fiber: 3g
- Protein: 6g
- Cholesterol: 110mg
When you look at it like that, it’s astonishingly low in sodium! And considering how much flavor you get in that single cup, I think it’s well worth it for a dinner party dessert centerpiece. Enjoy!
PrintThe Easiest, Most Luxurious 3-Ingredient Silky Chocolate Mousse Recipe (No Eggs, No Cook)

Make a rich, silky chocolate mousse using only three ingredients. This no-bake recipe is quick, requires no eggs, and results in a light, airy dessert perfect for any occasion.
- Prep Time: 15 min
- Cook Time: 5 min
- Total Time: 20 min
- Yield: 4 servings
- Category: Dessert
- Method: No Bake
- Cuisine: French Inspired
- Diet: Vegetarian
Ingredients
- 200g good quality dark chocolate (at least 60% cocoa solids), chopped
- 400ml heavy whipping cream, very cold
- 1 tablespoon powdered sugar (optional, for extra sweetness)
Instructions
- Place the chopped dark chocolate into a heatproof bowl.
- In a small saucepan, heat 100ml of the heavy cream until it just begins to simmer around the edges. Do not boil.
- Pour the hot cream over the chopped chocolate. Let it sit undisturbed for 2 minutes, then gently whisk until the chocolate is completely melted and the mixture is smooth and glossy. Set aside to cool to room temperature.
- In a separate, large, chilled bowl, pour the remaining 300ml of cold heavy cream and the optional powdered sugar.
- Using an electric mixer or a whisk, beat the cream until stiff peaks form. Be careful not to over-beat.
- Gently fold about one-third of the whipped cream into the cooled chocolate mixture using a spatula until just combined. This lightens the chocolate base.
- Carefully fold the remaining whipped cream into the chocolate mixture in two additions. Use a cutting and folding motion to keep as much air in the mousse as possible. Stop folding when no white streaks remain.
- Spoon or pipe the mousse into individual serving cups or small bowls.
- Chill in the refrigerator for at least 3 hours, or until firm. Serve cold.
Notes
- For a lighter texture, use a high-quality chocolate with a lower cocoa percentage (around 55%).
- If you prefer a French-style mousse, you can substitute the powdered sugar and 100ml of cream with 3 egg yolks and 3 egg whites, prepared separately, but this recipe focuses on the quick, no-egg method.
- This mousse works well as a filling for tarts or layered desserts once set.
Nutrition
- Serving Size: 1 cup
- Calories: 450
- Sugar: 25
- Sodium: 30
- Fat: 35
- Saturated Fat: 20
- Unsaturated Fat: 10
- Trans Fat: 0.5
- Carbohydrates: 30
- Fiber: 3
- Protein: 6
- Cholesterol: 110